Why Background Removal Cuts Off Product Edges—and How to Fix It
Background removal can erase tassels, handles, and other fine details that make a product recognizable. This guide shows marketplace sellers how to preserve the original product, repair the cutout, and place it in a new setting without hiding edge defects.

Table of contents
When the background takes part of the product with it
A background-removal tool can make a product photo look cleaner while quietly cutting off a tassel, thinning a handle, or blurring the edge of a woven pouch. Those defects are easy to miss at full size and obvious in a marketplace thumbnail. The safest fix is to keep the photographed product intact, correct its cutout, and generate only the setting around it.
Consider an off-white pouch with a cotton tassel. Its pale threads blend into a light backdrop, while the gaps between them resemble background. A convincing listing image needs both the outer silhouette and those small interior spaces to survive. The method below works for similarly difficult edges on baskets, brushes, fabric accessories, and other textured products.
Identify the edge failure before changing the background
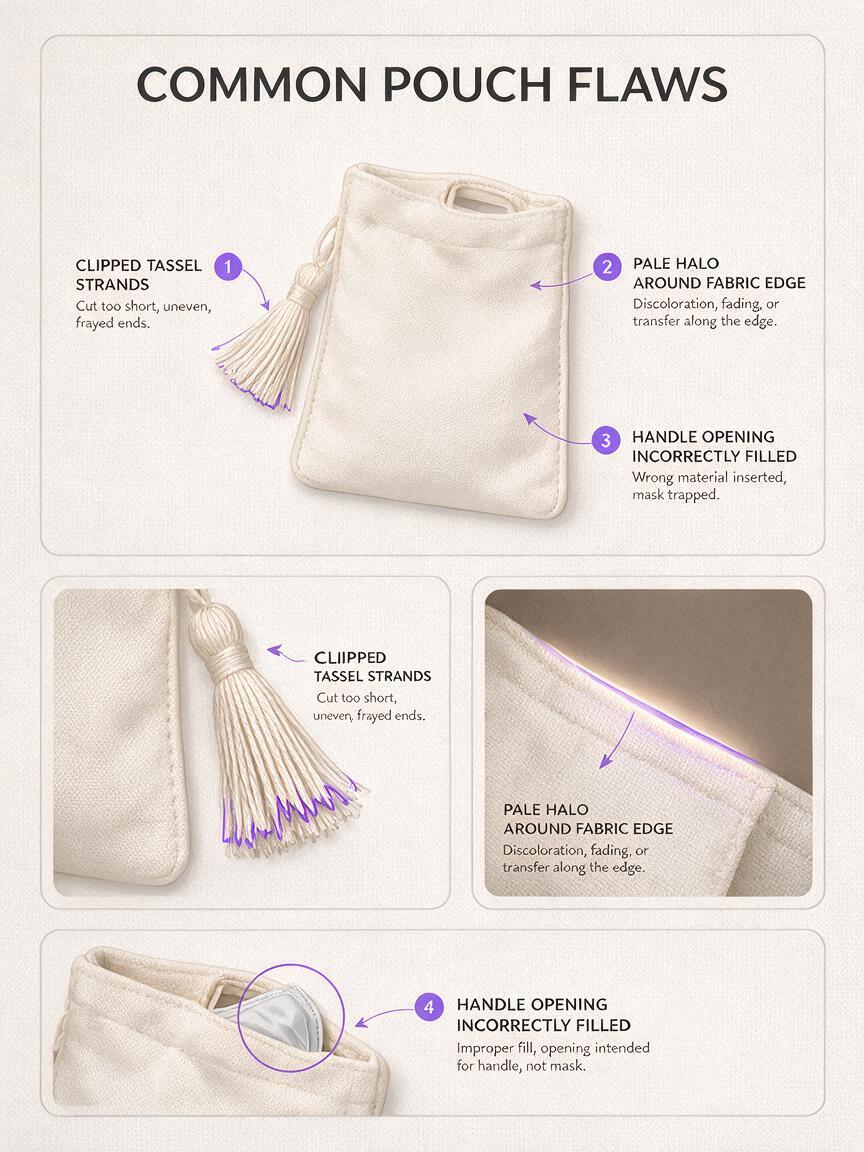
Background removal is a selection problem. If the product and backdrop have similar color and brightness, an automatic mask may not know which pixels belong to the item. Fine strands create a second problem: some edge pixels contain both product detail and reflected background color. Simply expanding the selection can bring an unwanted halo along with the missing detail.
| What you see | Likely cause | Better correction |
|---|---|---|
| Tassel strands end abruptly | The mask removed low-contrast product pixels | Restore those strands from the source photo with a small brush or refined mask |
| A pale rim surrounds the pouch | Pixels from the old background remain at the edge | Reduce the contaminated fringe locally; do not shrink the entire cutout |
| Spaces inside a handle are filled in | The mask treated an enclosed gap as product | Cut out the gap separately while retaining its photographed border |
| Fabric texture looks melted | A generative edit redrew the product | Return to the original product pixels and edit the mask instead |
Inspect the entire perimeter at enlarged view. Pay particular attention to the point where a handle joins the body, individual threads, corners, and the bottom edge where the product meets the surface. These areas can fail differently, so one global mask adjustment rarely fixes them all.
Protect the photographed product
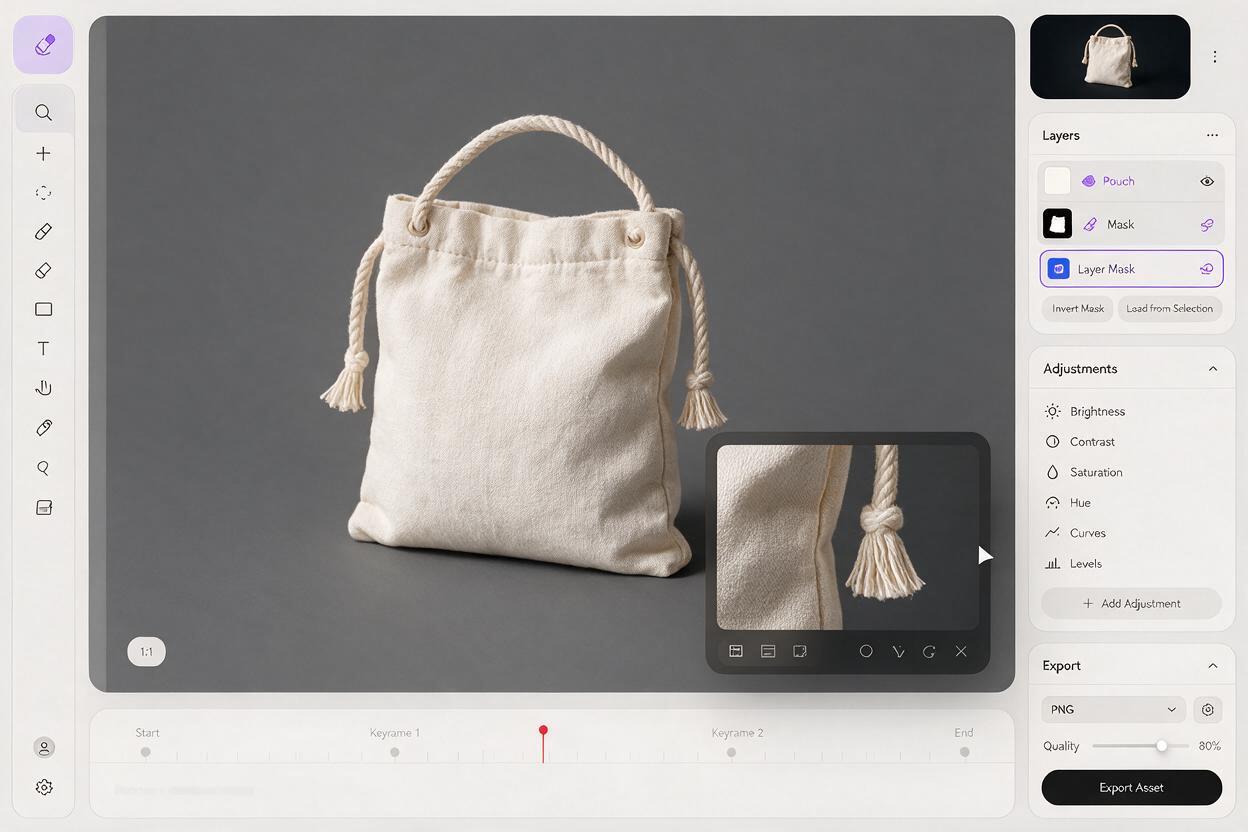
Start with the sharpest available photo of the exact item or sellable variant. Save an untouched copy. In an editor that supports layers and masks, place the photo above a contrasting temporary background, then remove or mask the original surroundings. A mid-tone color makes missing pale fibers and leftover white halos easier to spot than another white layer would.
Correct the mask rather than asking an image model to recreate the pouch. Use a firm enough brush for solid fabric edges and a smaller, softer brush only where individual threads require it. If the editor offers edge refinement, compare its result against the source: a smoother outline is not an improvement if it shortens the tassel. Restore authentic details selectively, including the spaces between strands.
Keep a simple rule: the source photograph decides the product’s shape, color, texture, and included parts. The generated image may change the surroundings, not those facts.
If the original shot is too soft to show whether a fine edge exists, take another photo rather than inventing it. For future shoots, a backdrop that contrasts with the product can make selection easier, provided it does not cast a strong color onto pale materials.
Generate an empty setting, not a replacement product
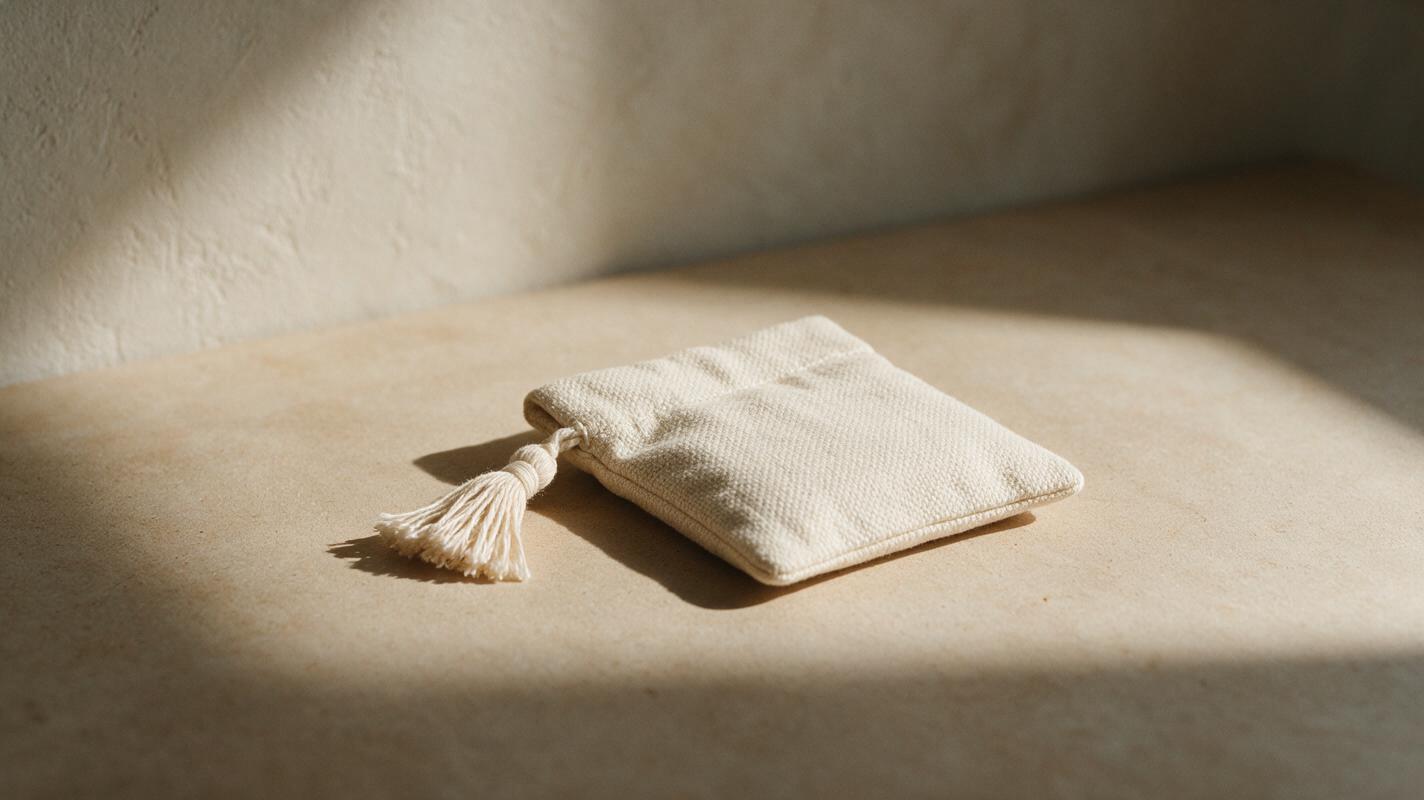
Once the cutout is sound, create a background that suits a secondary listing image or Shopify lifestyle image. Seedream 4.5 can be used to explore an empty scene through an ai image generator. Leave a clear landing area for the photographed pouch, and avoid props that might be mistaken for included items.
Photorealistic product photography background only. An empty, warm neutral tabletop in soft window light, with a subtly textured plaster wall behind it. Leave a clear open area in the center for one small off-white fabric pouch to be composited later. Gentle directional light from the upper left. No product, bag, pouch, tassel, lettering, labels, hands, people, or extra merchandise.Generate a few scene candidates, then choose one whose camera angle and light can plausibly match the source photo. A front-facing product cutout will look pasted onto a steep overhead tabletop, however polished the background is. Likewise, strong light from the right will conflict with a product photographed under light from the left.
For a main marketplace image, use the background required for that listing placement rather than assuming a lifestyle setting is allowed. Check the current image rules for the marketplace and category before uploading.
Make the product sit in the scene
Place the corrected cutout over the chosen background without scaling it so aggressively that weave or stitching loses definition. Add a restrained contact shadow beneath the photographed base of the pouch. The shadow should indicate where the product touches the tabletop; it should not obscure a missing bottom edge or create the appearance of a wider item.
Compare brightness and color temperature at the join. If the backdrop has warm daylight but the product is cool and blue, adjust the product layer gently. Avoid broad color changes that make an off-white variant appear beige. When the source photo has a visible shadow you can retain cleanly, compare it with a separately made shadow and keep whichever is more faithful to the original shape.
View the composite against a second, darker temporary background before export. A white halo that disappears on a pale tabletop can reappear against the wall or in another crop. If it does, refine the local mask; do not cover the flaw with more props.
Inspect the image at listing size
Export a draft at the dimensions you intend to use, then review it both enlarged and as a small gallery thumbnail. Enlarged view reveals clipped threads and contaminated pixels. Thumbnail view reveals a different failure: a corrected tassel may still disappear if the surrounding scene offers too little contrast.
Compare the final image beside the untouched source photo. Check the pouch’s width, handle opening, tassel length, stitching, and color. Ask whether a buyer could reasonably infer that a decorative object is included when it is not. If the image will be cropped for multiple placements, inspect each crop rather than assuming the original composition will survive.
When the cutout passes these checks, reuse it across backgrounds instead of repeatedly removing the product from the original photo. That preserves one reviewed product silhouette while letting you test different presentation scenes. Ready to compare settings for your own item? test this prompt yourself with an empty scene, then composite your verified product photo into the result.
Final checklist
- The product layer comes from a photograph of the actual item or variant.
- Fine edges, enclosed gaps, and bottom contact points match the source.
- No pale halo or leftover original backdrop appears around the cutout.
- Lighting, viewing angle, and contact shadow agree with the new setting.
- The image remains accurate in the intended marketplace placement and thumbnail crop.
Keywords
product background removal, product photo editing, product listing images, AI product photography, product photo background, ecommerce product images