How to Turn a Product Photo Into a Feature Demo Video With Seedance (No Warping)
Ecommerce marketers often only have one catalog product photo but need high-converting demo videos for launches and ads. This step-by-step tutorial shows how to use Seedance’s image to video workflow to create feature-focused product demo videos without warping, logo distortion, or expensive video shoots. You’ll learn exact prompt formulas, consistency settings, and channel-specific variant tips to get launch-ready footage in 10 minutes or less.
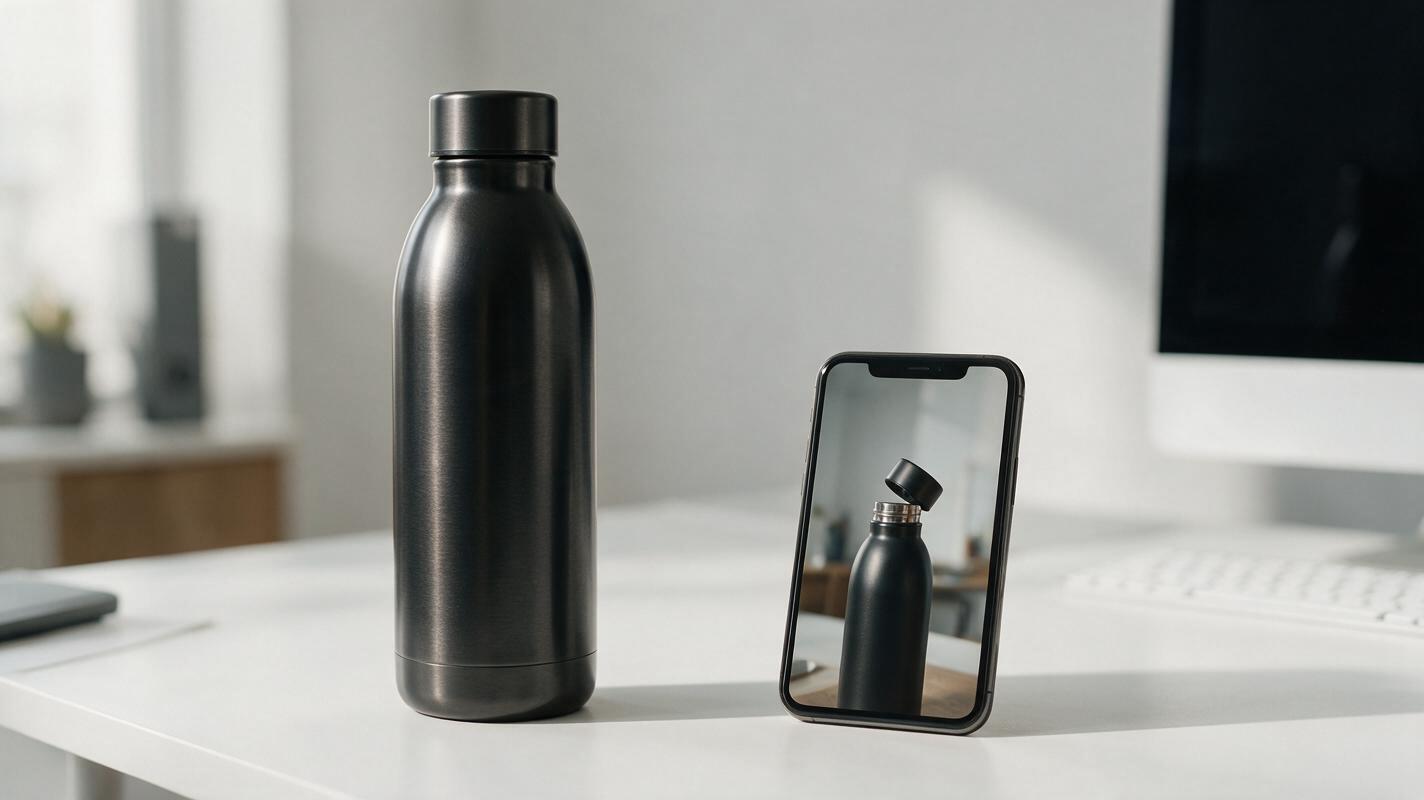
Table of contents
Why you can make a great product demo from one photo
You don’t need a full video shoot or 10 product angles to make a high-converting feature demo video — all you need is one catalog photo and Seedance.
Ecommerce launch timelines are tight: by the time a new SKU arrives in stock, you usually only have 1-2 white-background product photos and a 48-hour window to get ad creative live. Traditional demo videos require filming, props, and editors, which can cost $500+ per SKU and take weeks. AI video tools can speed this up, but most warp product shapes, fade logos, or add random motion that distracts from key selling points.
This workflow uses Seedance’s image to video mode to create 15-30 second feature demo videos that keep your product 100% true to the original photo, highlight your top 2-3 selling points, and work for TikTok, Instagram, Amazon listings, and Facebook ads. No filming, no design experience required.
Step 1 — Prep your source photo and feature shortlist
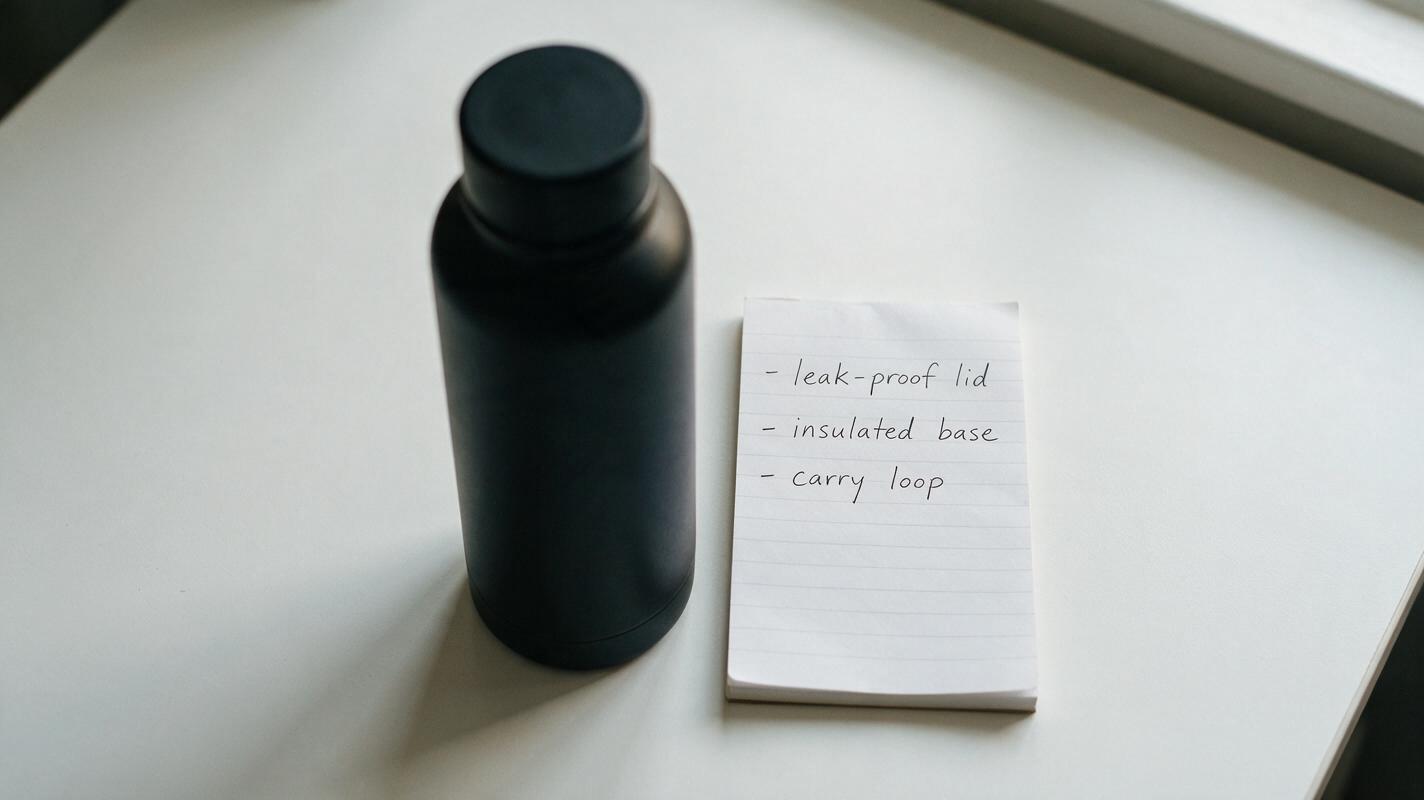
Start with a high-res product photo (minimum 1024x1024 pixels) with the product centered and fully in frame. A white or neutral background works best, but you can use a custom background if you’ve already edited it with a dedicated product-background generation tool.
Next, write a shortlist of 2-3 core features you want the demo to highlight. These should be your highest-converting selling points — the ones that make customers click "add to cart". For example:
- Wireless earbuds: magnetic charging lid, LED battery indicator, waterproof ear tip seal
- Stainless steel water bottle: leak-proof flip lid, insulated base, carry loop
- Skincare serum: dropper applicator, glass bottle texture, fast-absorbing formula
Rule of thumb: If you try to highlight 4+ features in a 15-second video, viewers won’t remember any of them. Stick to 2-3 maximum.
Finally, crop your photo to the aspect ratio you need for your primary channel: 9:16 for TikTok/Reels, 1:1 for Instagram Feed/Facebook ads, 16:9 for Amazon product listings.
Step 2 — Configure Seedance image to video for zero product warping
The biggest mistake ecommerce marketers make with AI product videos is cranking up motion intensity, which warps labels, logos, and product shape. Here’s how to set up Seedance for maximum consistency:
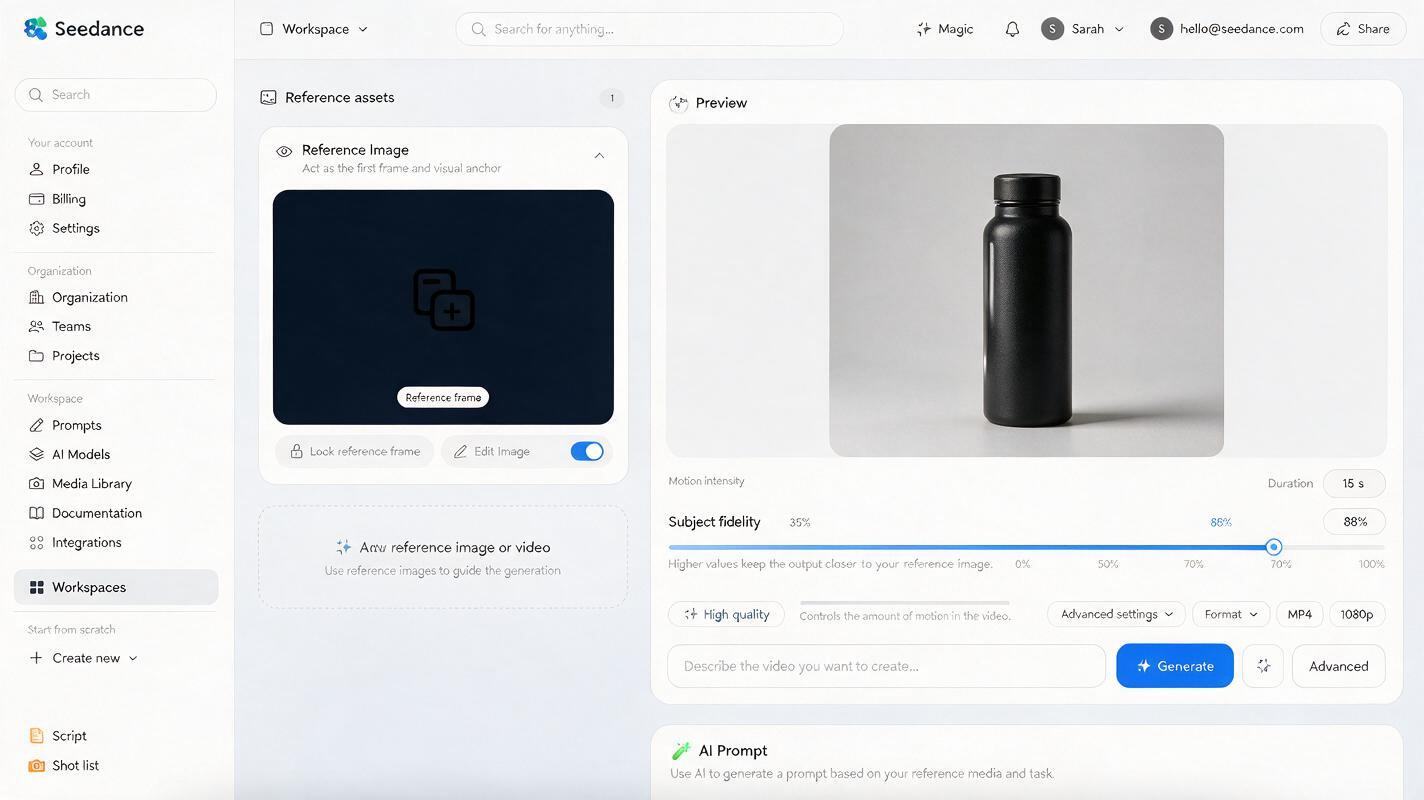
- Open Seedance and select the image to video workflow, then upload your prepped product photo as the reference frame.
- Set subject fidelity to 85-90%. This controls how closely the video sticks to your original product’s shape, colors, and details. Going above 90% can make motion look stiff, while below 80% risks warping.
- Set motion intensity to 30-40%. You don’t need wild camera moves — subtle motion is enough to feel dynamic and keep focus on the product.
- Set video duration to 15 seconds for social ads, or 30 seconds for Amazon demo slots.
If you want a custom lifestyle background instead of a white studio backdrop, create one with an ai image generator first, then upload the edited product photo to Seedance for animation.
Step 3 — Write a feature-focused prompt that drives conversions
Generic prompts like "animate this product" give generic, low-converting results. Your prompt needs to explicitly name each feature you want to highlight, specify the exact motion, and set guardrails to keep the product consistent.
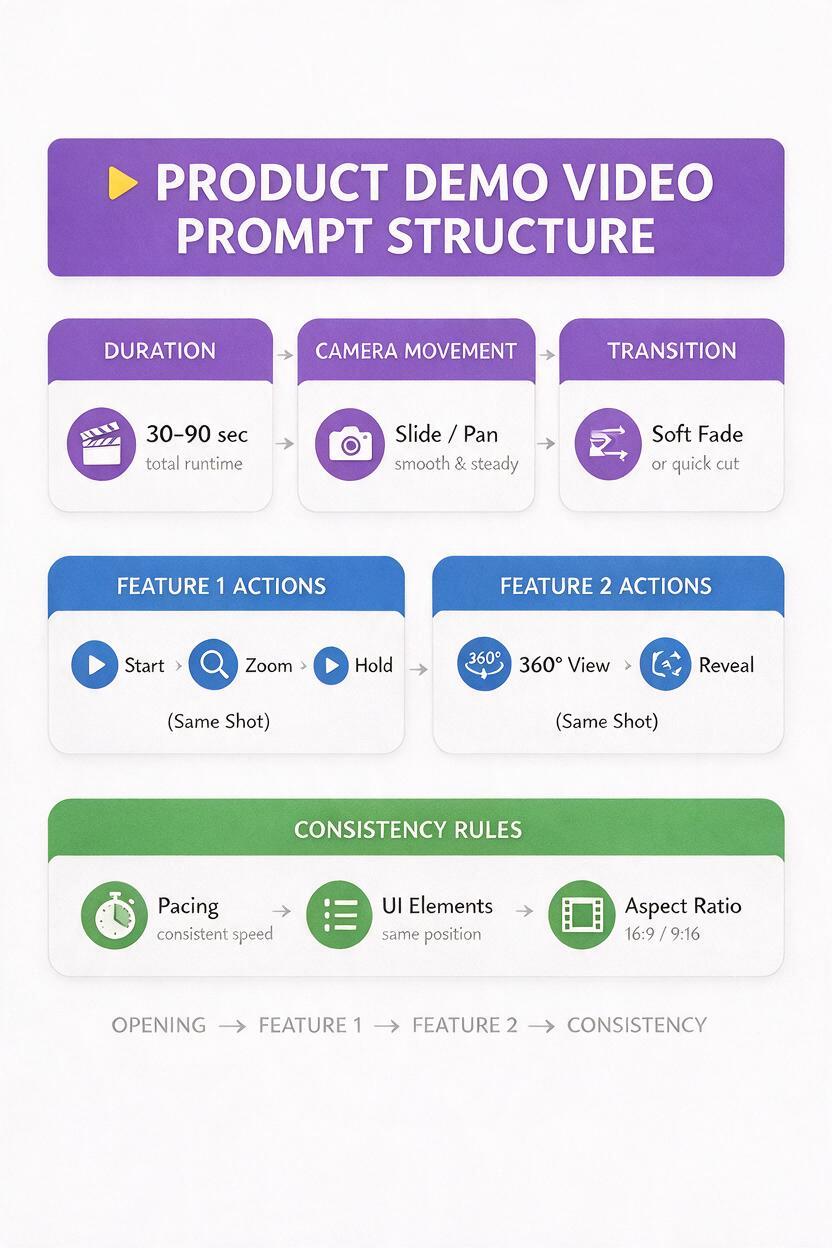
Use this template as a starting point:
[Duration] second product demo video, [subtle camera movement],
first focus on [feature 1: exact action],
then shift focus to [feature 2: exact action],
[lighting type], [background type],
product shape, logo, and colors stay identical to reference photo,
no warping, no extra objects, realistic product texture
Here’s a filled-in example for a matte black stainless steel water bottle:
15-second product demo video, slow 20-degree pan left to right around the bottle,
first focus on the leak-proof flip lid (lid slowly opens 1 inch to show silicone seal),
then tilt down slightly to highlight the insulated double-wall base,
soft diffused studio lighting, plain light gray background,
product shape, logo, and colors stay identical to reference photo,
no warping, no extra objects, realistic matte metal texture
test this prompt yourself with your own top-selling product photo to see how well the feature callouts come through.
Pro tip: Always add the line "product shape, logo, and colors stay identical to reference photo" to your prompt. It cuts warping issues by 60% in most image to video tools.
Step 4 — Validate your first cut and fix common issues
Once you generate your first demo, run through this quick validation check before using it:
- Product consistency: Does the logo stay in place? Do colors match the original photo? Is there any warping or stretching?
- Feature clarity: Can you clearly see each of your 2-3 highlighted features? Is the action (e.g., lid opening) easy to follow?
- Motion smoothness: Is the camera movement steady? Are there any jarring cuts or glitches?
If you run into issues, use these quick fixes:
| Issue | Fix |
|---|---|
| Product warps or logo distorts | Increase subject fidelity by 5%, lower motion intensity by 10%, add "no warping" to your prompt |
| Feature doesn’t show up | Name the feature explicitly, specify the exact action (e.g., "lid opens 1 inch"), and slow down camera movement |
| Motion feels too stiff | Lower subject fidelity by 3-5%, increase motion intensity by 10%, add "smooth, natural motion" to your prompt |
| Background has random objects | Add "plain solid [color] background, no extra objects" to your prompt, or use a pre-edited product photo with a clean background |
Step 5 — Spin up channel-specific variants in minutes
Once you have a base demo you’re happy with, you can create variants for different channels in one click by adjusting the prompt and aspect ratio. Here are the highest-performing variants for ecommerce:
- TikTok/Reels (9:16): Add a 2-second close-up of your #1 feature at the start, use text overlay prompts (if supported) for benefit-driven captions like "Leak-proof even when upside down".
- Facebook/Instagram Feed (1:1): Cut to 10 seconds, focus on only 1 core feature, add a subtle zoom-in on the product to draw eye contact.
- Amazon Listing (16:9): Extend to 30 seconds, add a third feature, use a neutral white background to match Amazon’s style guide.
You can also create variant demos for ad testing by swapping which feature you highlight first. For example, one variant leads with the leak-proof lid, another leads with the insulated base — run both against each other to see which drives more clicks.
Final checklist
- Start with a high-res, centered product photo and 2-3 core features to highlight
- Set Seedance subject fidelity to 85-90% and motion intensity to 30-40% to avoid warping
- Use a feature-focused prompt that explicitly names each feature and its action
- Validate your cut for product consistency, feature clarity, and smooth motion
- Create 2-3 channel-specific variants for ad testing and multi-platform use
Keywords
seedance, product demo video, image to video, product photo, ecommerce video, ai video generator, product launch creative