Turn One Product Photo Into a TikTok Shop Video Without a Reshoot
A single product photo can become a short TikTok Shop creative, but uncontrolled animation can distort the item or imply a demonstration that never happened. This tutorial shows sellers how to plan three simple shots, write image-to-video prompts, and check the finished video before publishing.
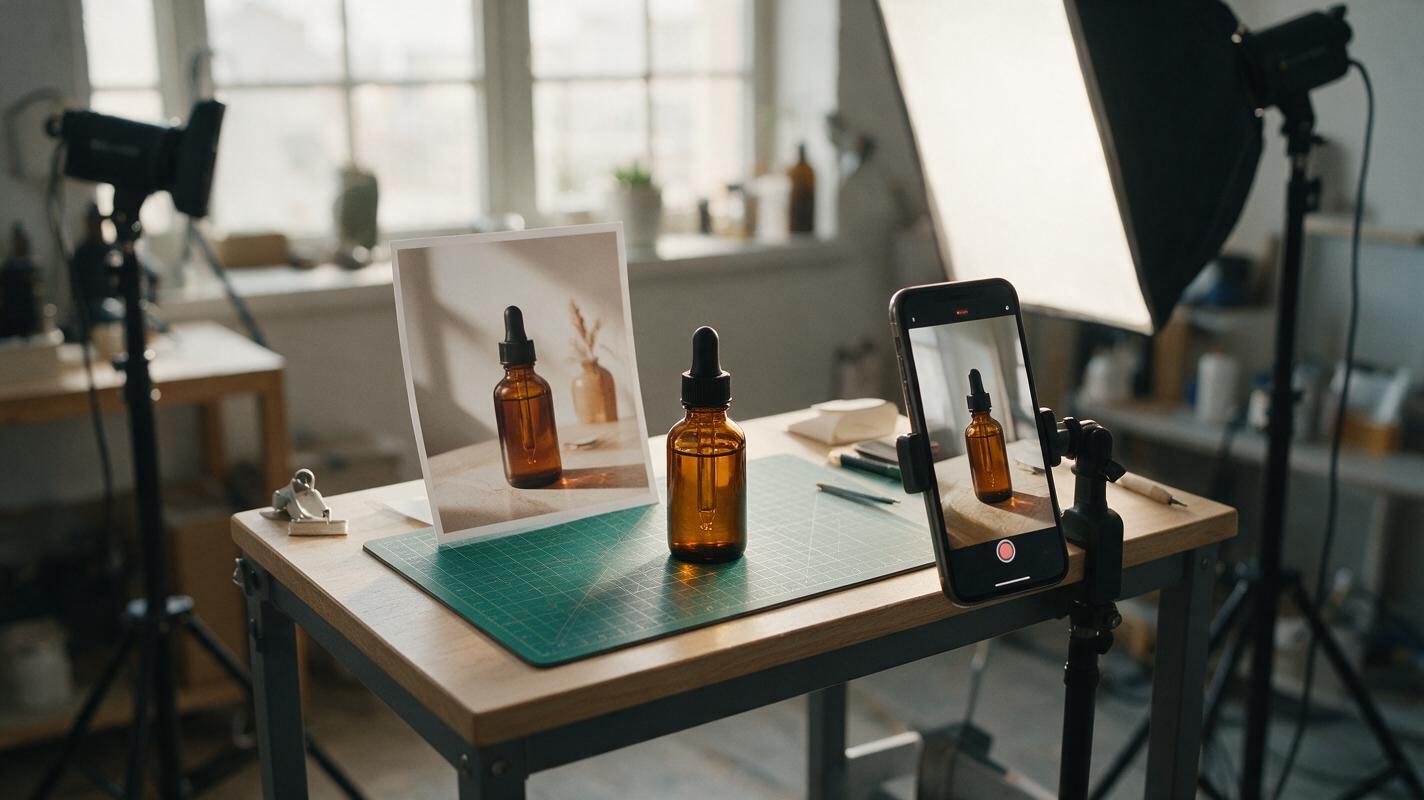
Table of contents
Turn a Product Photo Into a Video Buyers Can Trust
You have a usable product photo, but no footage for a TikTok Shop post. An image-to-video tool can add motion without a reshoot—provided the video still shows the item you actually sell. The safest approach is to animate the camera and surrounding scene first, then add only product movement you can verify. Here is a practical way to build a short, vertical creative from one photo without turning an attractive clip into a misleading product demo.
Step 1 — Choose a photo that can survive motion
Start with a sharp image of the actual SKU and variant. The product should be large enough to inspect, with its shape, label, color, and included parts visible. Avoid a heavily cropped image: an image-to-video model needs some room around the item to create a push-in or sideways camera move without inventing missing edges.
If possible, use a high-resolution photo you own, rather than a marketplace screenshot with buttons, badges, or compressed text baked in. Keep a separate copy of the original beside every generated clip; it is your reference when checking whether a logo, seam, handle, or package detail changed.
One-photo limitation: A single front view does not prove what the back, interior, or underside looks like. Do not ask the model to reveal unseen product features.
Step 2 — Plan three shots, not one complicated scene
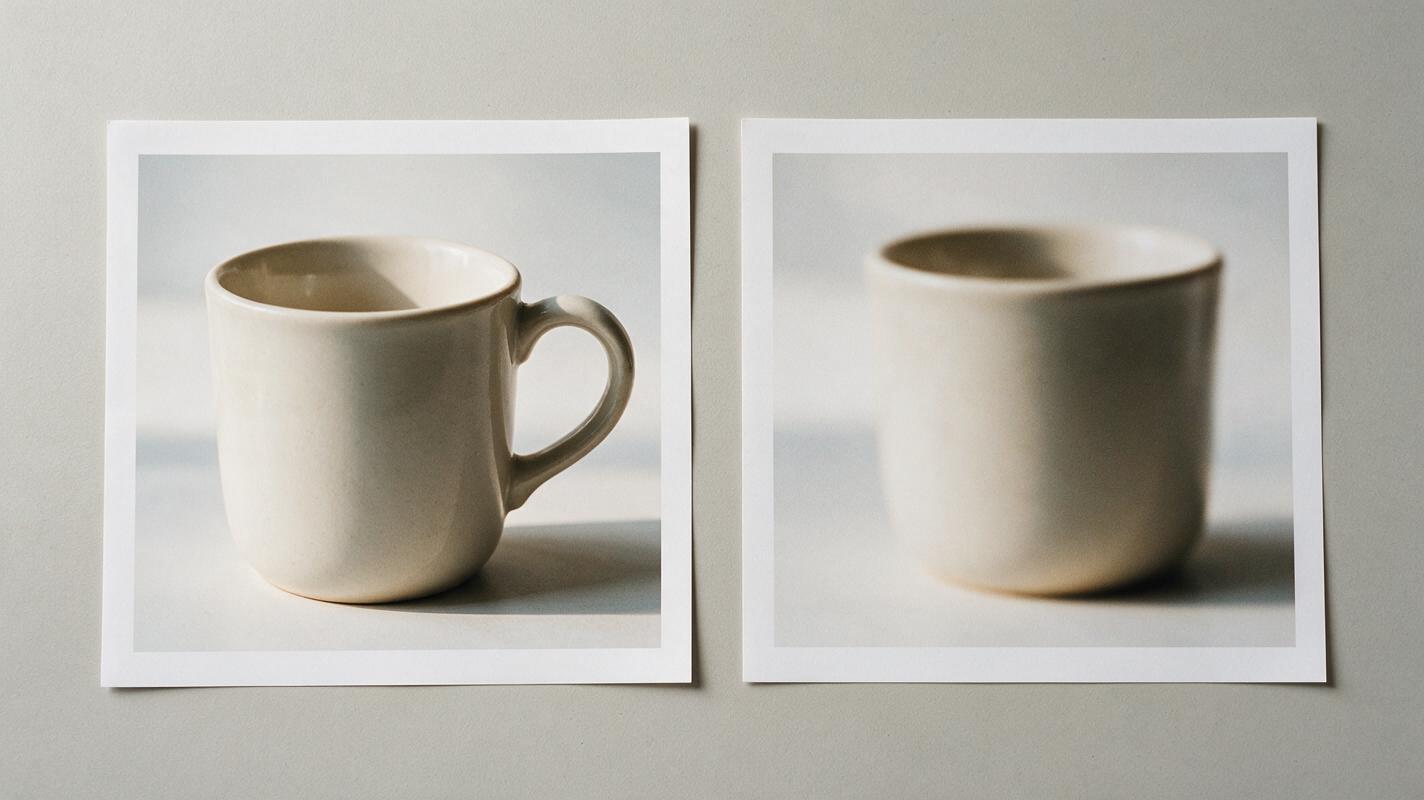
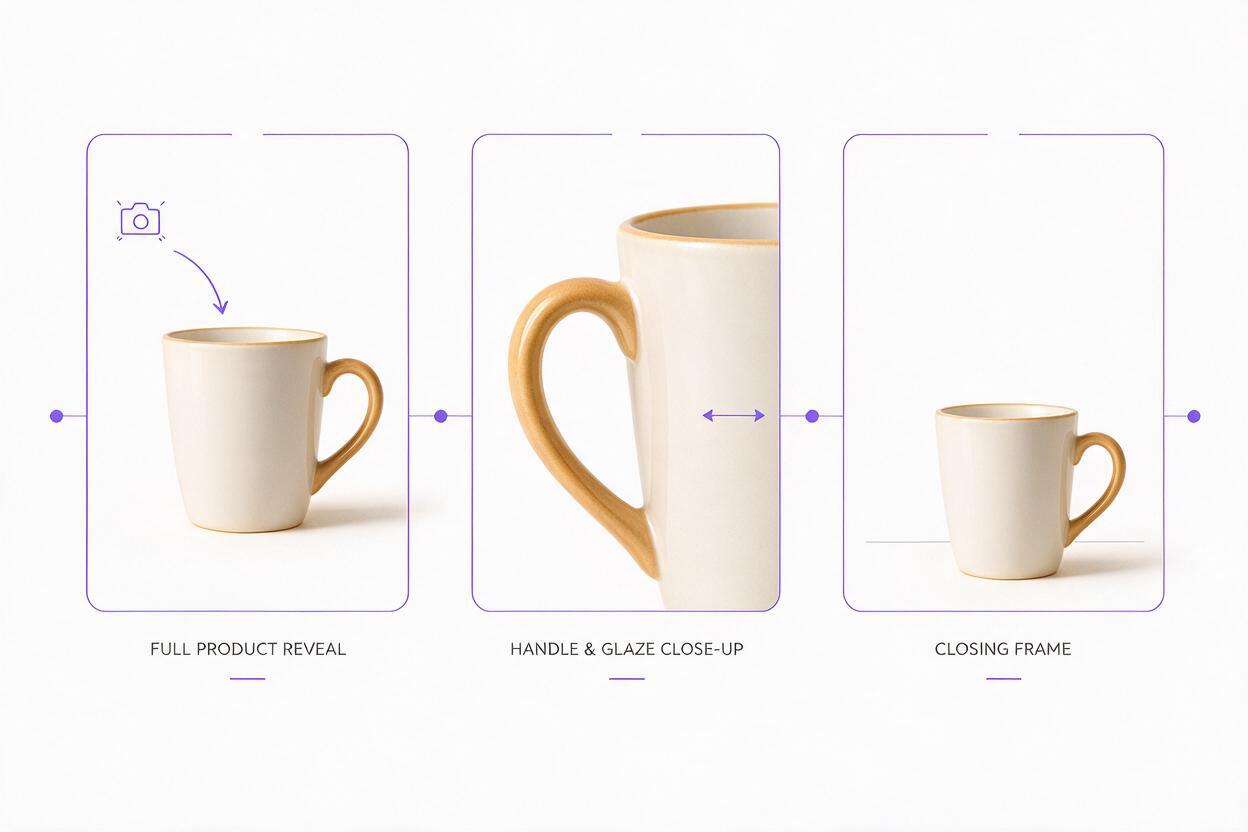
For a short vertical creative, give each shot one job. This keeps the product recognizable and makes it easier to replace a failed shot without rebuilding the whole video. A simple sequence is:
- Identify: Open on the real product, clearly framed.
- Inspect: Move closer to a visible detail, such as a photographed texture or label.
- Act: End on a clean product view with space for a seller-written call to action.
A visible action—such as a lid opening or a device switching on—belongs in the sequence only if you have real reference footage or photographs that establish how it works. Otherwise, use a camera move, light shift, or subtle background motion instead of pretending to demonstrate the feature.
| Shot | Motion to request | What to avoid |
|---|---|---|
| Product reveal | Slow camera push-in; item stays fixed | Rotating into an unseen rear view |
| Detail | Gentle lateral move across a visible surface | New label text or invented components |
| Closing frame | Nearly still product with clear text space | AI-generated prices, ratings, or guarantees |
Plan the text separately from the generated footage. Add accurate pricing, offer terms, and calls to action in your editor, where you can control and update them.
Step 3 — Generate the opening shot from your real image
Upload the chosen photo to an image to video workflow that accepts a reference image. Available controls vary by tool, so choose a vertical output if offered and begin with a short clip rather than committing to a long sequence. Your first test should preserve the product while moving the virtual camera—not transform the item itself.
Use a prompt like this, replacing the bracketed details with what the photograph actually shows:
Use the uploaded photo as the product reference. Create a short vertical product shot of the photographed [product and color]. Keep its silhouette, materials, logo, label, and visible accessories unchanged. The product remains stationary while the camera makes a slow, smooth push-in. Natural-looking light moves softly across the existing surfaces. Leave clear space above the product for text added later. Do not add hands, new features, packaging claims, readable text, or a view of unseen sides.Generate a few candidates and compare them against the source photo. Look at the first, middle, and last frames—not just the thumbnail. If a label becomes illegible halfway through, a convincing opening frame does not rescue the shot.
For the detail shot, crop or supply a closer photograph of a real feature if you have one. If you only have the original wide image, request a modest camera move toward a visible area; pushing too far may force the model to invent texture or lettering.
Step 4 — Turn the clips into a clear TikTok Shop creative
Export the strongest clips and assemble them in a vertical editing timeline. Put the clearest product view first. Cut before an animation begins to bend, blur, or change the item. You do not need a continuous AI-generated scene: short, clean shots usually give you more control over what viewers see.
- Opening text: Name the product or state a specific, supportable use.
- Middle text: Point to a feature that is genuinely visible in the shot.
- Final text: Give one clear next step, such as viewing the product listing.
Use your editor to add legible captions, music you are permitted to use, and any required disclosures. Keep important words away from interface areas that could cover them when the video appears in a feed; preview the export on a phone before posting. If a clip is intended to be a functional product demo, replace the generated action with genuine footage of the function.
Once the opening shot looks faithful to your item, test this prompt yourself with a second angle or close-up. An ai video generator is most useful here as a source of controlled visual motion, not as evidence of what the product can do.
Step 5 — Run a frame-by-frame product accuracy check
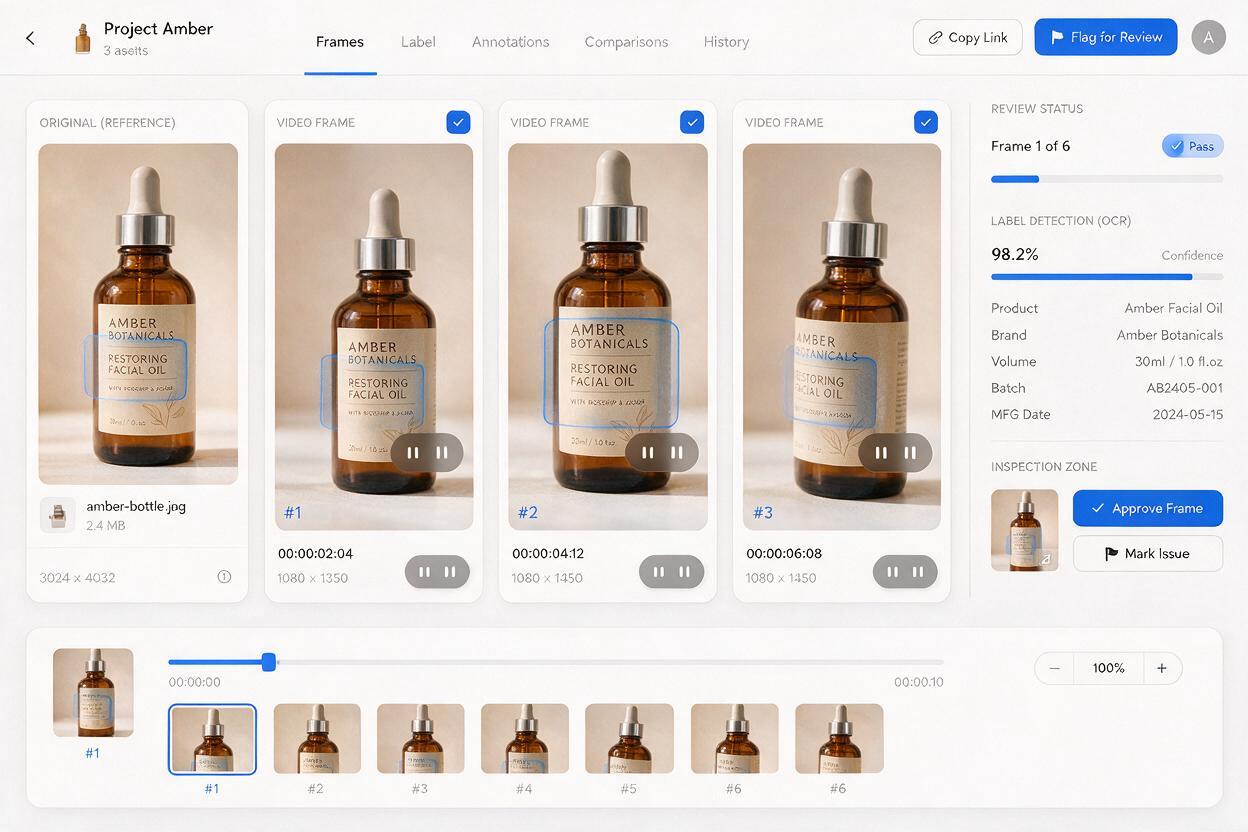
Before publishing, compare the finished export with the original photo and the listing. Pause wherever the camera moves or the product passes behind an overlay. Check more than whether the result merely looks polished:
- Identity: Does the color, shape, logo, label, and included-part count match the SKU?
- Continuity: Do seams, handles, buttons, and reflections stay in place between frames?
- Claims: Does any action or caption suggest a performance result you have not verified?
- Readability: Can a viewer understand the product and the final message at phone size?
If the item changes shape, shorten the clip or regenerate with less motion. If the model invents a feature, discard that shot rather than trying to hide it with text. If a demonstration matters to the sale, film that demonstration; keep AI-generated footage for supporting shots. The goal is a useful product video, not motion at any cost.
Final checklist
- Use a photo of the exact product and variant being sold.
- Animate visible surfaces and camera movement; do not reveal unseen features.
- Build a simple reveal, detail, and closing sequence.
- Add factual text in an editor rather than asking the model to invent it.
- Compare the final video with the photo and listing before publishing.
Keywords
product image to video, TikTok Shop video, AI product video, product photo animation, ecommerce video creative, image to video, product video prompts