Extend a Product Render to New Aspect Ratios Without Redesigning It
A product render that works in a presentation deck may not fit a wide website banner or a vertical campaign image. This guide shows industrial designers how to extend the scene with Seedream 4.5 while keeping the approved product pixels, scale, and details intact.
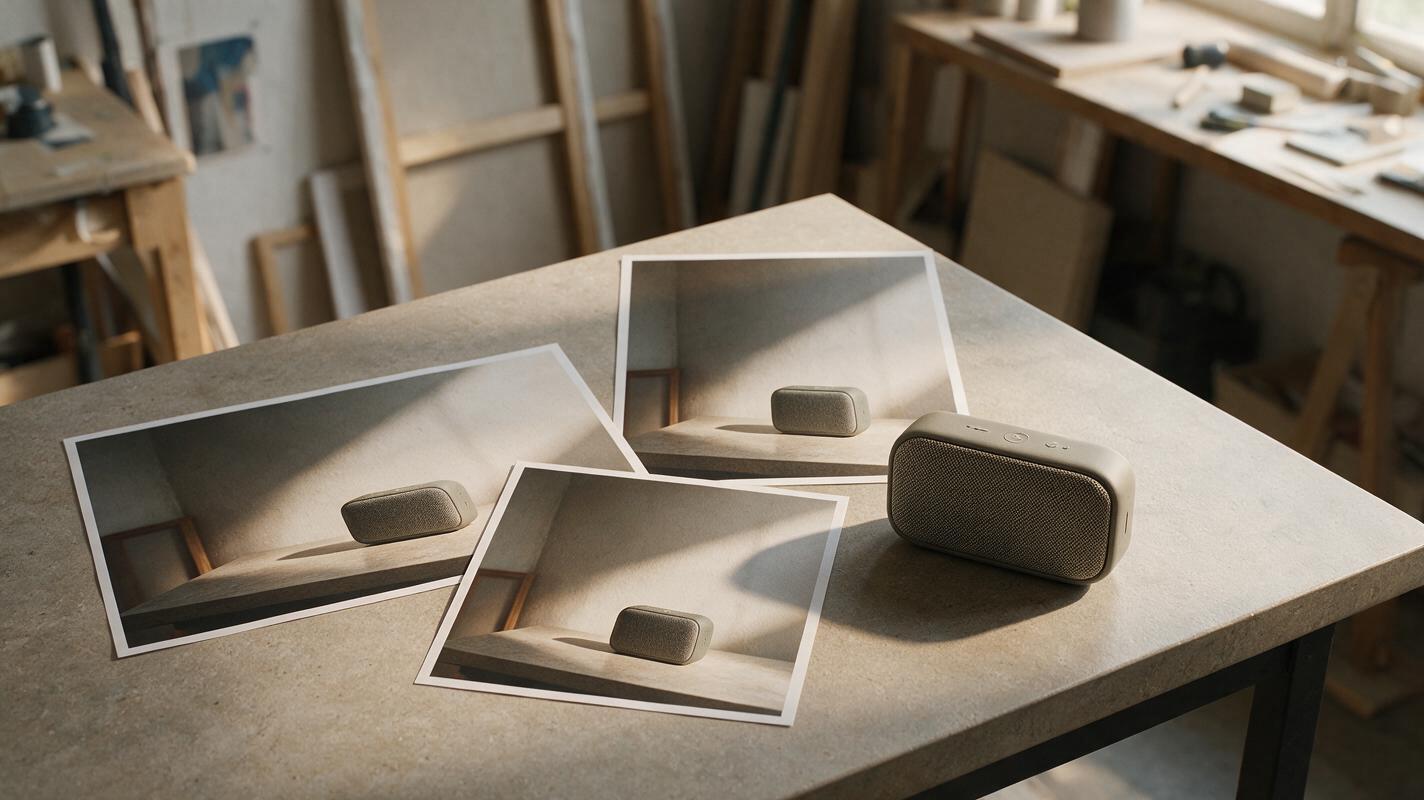
Table of contents
One approved product, several formats
Your product concept looks right in a square render, but the website needs a wide banner and the presentation needs a vertical slide. Stretching the image distorts the design; asking AI to regenerate the whole frame can move a button, reshape a seam, or change the finish. The safer approach is to keep the approved product image untouched and generate only the missing surroundings.
This is a background-extension task, not a new concept-generation task. Seedream 4.5 can help propose the additional scene area, while an image editor gives you control over the final composite. The goal is a family of layouts that looks like the same product photographed in the same setting.
Decide what must remain fixed
Start from the highest-resolution approved render you have, ideally one with enough space around the product to preserve its shadow and reflections. Keep an unaltered copy. Before changing the canvas, identify the parts that cannot be regenerated:
- The complete product silhouette: housing, feet, handle, antenna, and any other protruding feature.
- Design details: controls, ports, seams, labels, and material boundaries.
- Visual evidence of placement: contact shadow, tabletop reflection, or ground plane immediately around the object.
For a portable speaker concept, for example, the grille pattern and button layout may be approved even if the room behind them is not. Protect the speaker and its immediate contact area; extend the wall and tabletop instead.
If the requested crop cuts through the product itself, background extension cannot recover the missing design reliably. Return to a wider approved source render or an authoritative CAD view.
Choose the crop before generating the background
Make a canvas for each intended placement using its actual required dimensions. Put the approved render on the canvas without scaling it differently across versions. First test whether repositioning alone creates enough space. A wide banner might need empty area beside the product; a vertical layout might need additional wall above and tabletop below.
For each canvas, mark three zones: the protected zone containing the product and nearby shadow; the overlap zone where new background must blend into the original; and the new zone that has no source pixels. Keep the overlap outside important product edges. If a seam crosses a control or grille, even a subtle mismatch becomes conspicuous.
| Target format | Likely extension | Primary risk |
|---|---|---|
| Wide website banner | Wall or environment to one side | Perspective or lighting changes across the join |
| Vertical presentation image | Space above and below | Tabletop edge or background gradient breaking |
| Square product card | Small extensions around the perimeter | Product becoming too small in the final crop |
Do not assume one extension will serve every format. A tailored wide background and a tailored vertical background often preserve a more useful product size than cropping both from one oversized master.
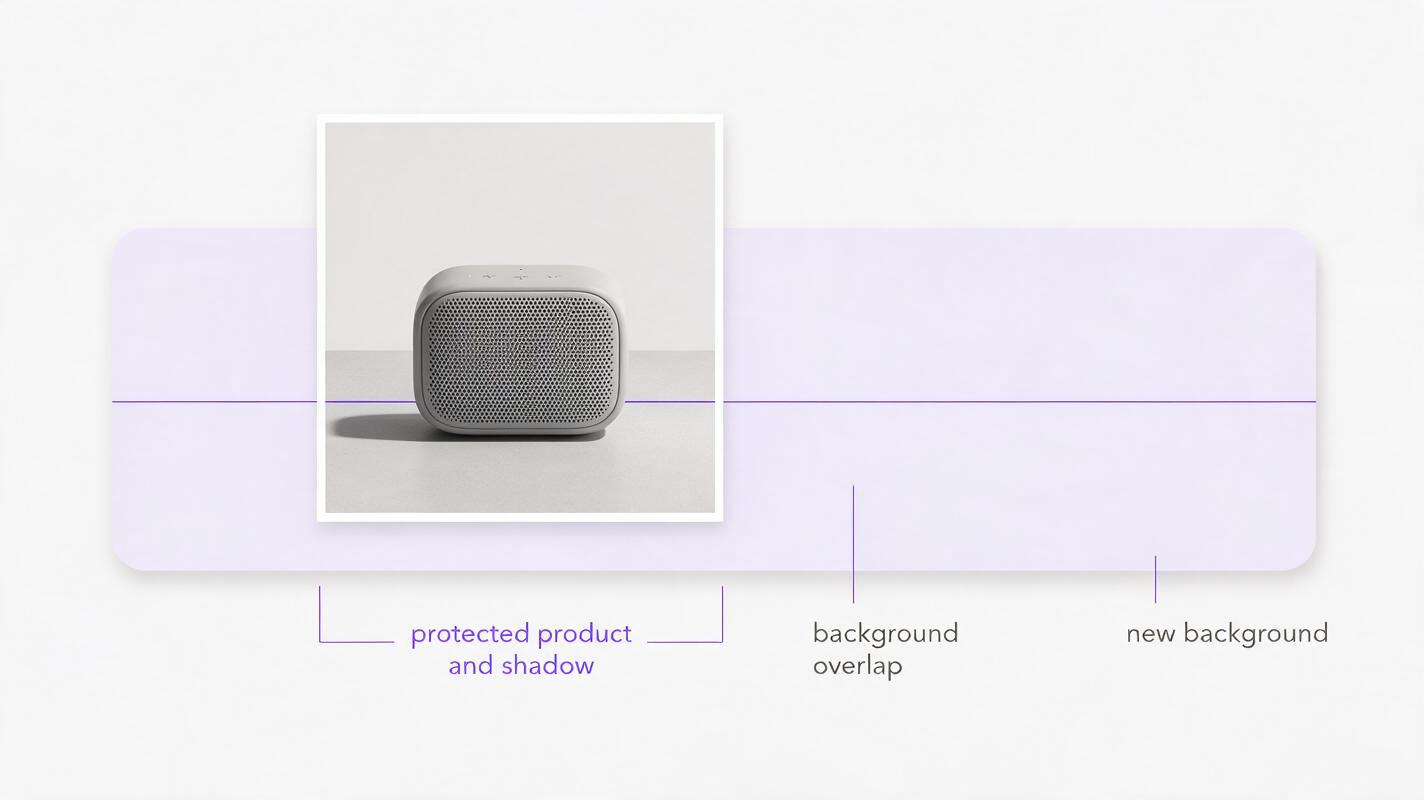
Generate only the missing scene
Use the original render as a visual reference when working with Seedream 4.5. In an ai image generator that supports reference-guided editing, give the model the expanded canvas and restrict edits to the uncovered background if the available controls permit it. If masking is unavailable, generate a matching backdrop separately and place the approved product layer over it in an image editor. Do not treat a generated replacement product as your final asset.
Describe the existing scene before describing the extension: horizon height, camera angle, surface texture, light direction, shadow softness, and palette. Ask for continuity rather than a more dramatic setting. For the speaker example, a practical prompt is:
Extend only the empty area around the supplied product render to fill a wide horizontal canvas. Continue the existing warm-gray studio wall and matte stone tabletop. Keep the tabletop horizon at the same height and angle. Match the soft light coming from upper left, subtle surface grain, and restrained contrast. Leave the speaker, its contact shadow, and the protected central area unchanged. Do not add props, text, extra controls, or a second product.That final protection instruction is useful, but it is not a guarantee. The dependable safeguard is to retain the original product pixels for compositing. If the model changes the speaker anyway, evaluate the generated image only as a candidate background.
Composite the approved render over the extension
Place the generated scene beneath the original image. Keep the original product and its nearby shadow visible on top. Blend only the less sensitive wall and tabletop regions into the extension. A soft transition can hide a slight tonal change in a plain wall; avoid feathering through a product edge or a crisp tabletop line.
Look closely at where the new scene meets the source. Does the tabletop grain run in the same direction? Is the wall gradient continuous? Does the shadow still read as belonging to the same light source? If not, revise the background prompt or make a local tonal correction. Do not solve a bad join by blurring the entire image: that sacrifices the clarity of the approved render.
Keep the working file layered. Name the source render, generated background, and blend mask separately so the team can tell which pixels depict the approved design and which pixels were generated for presentation.
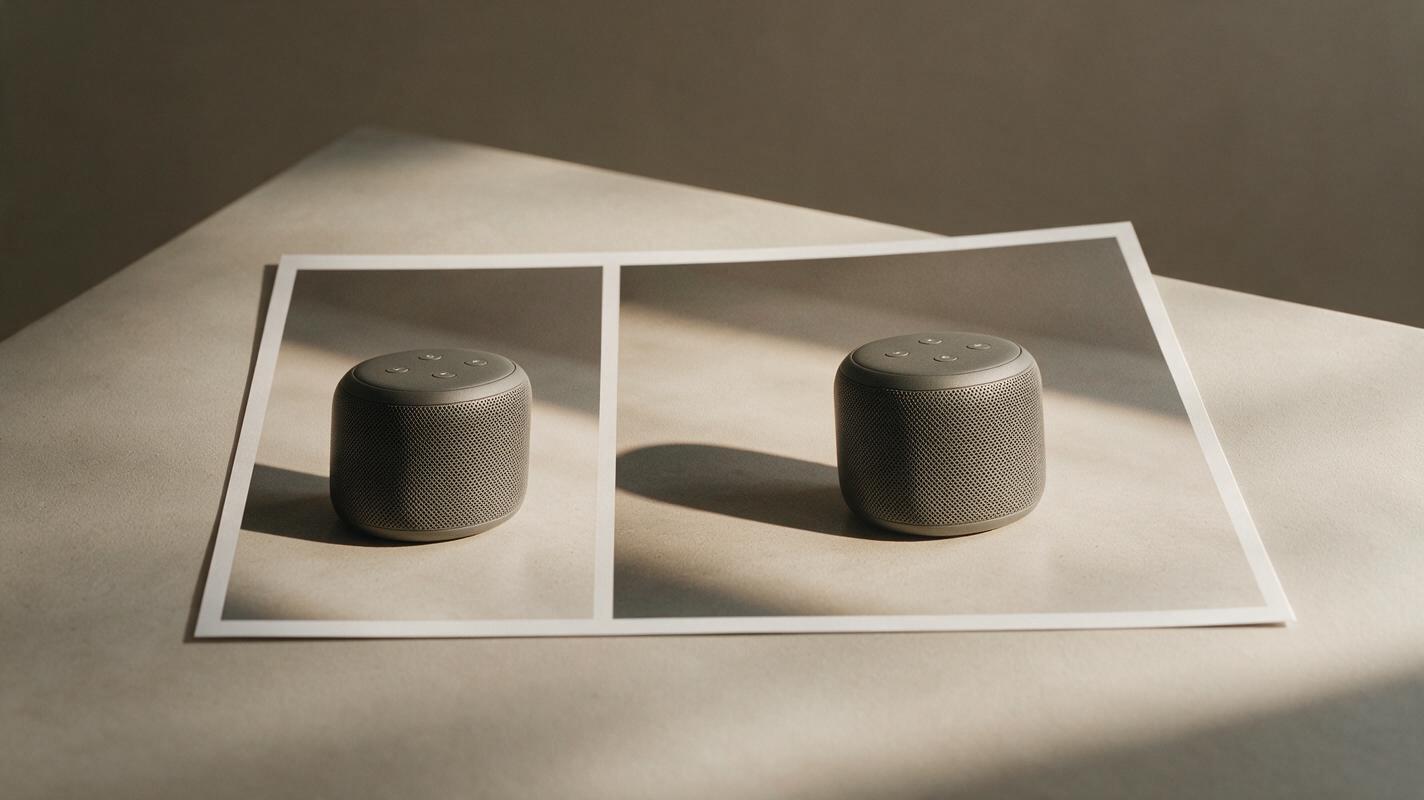
Inspect every delivered crop at its real display size
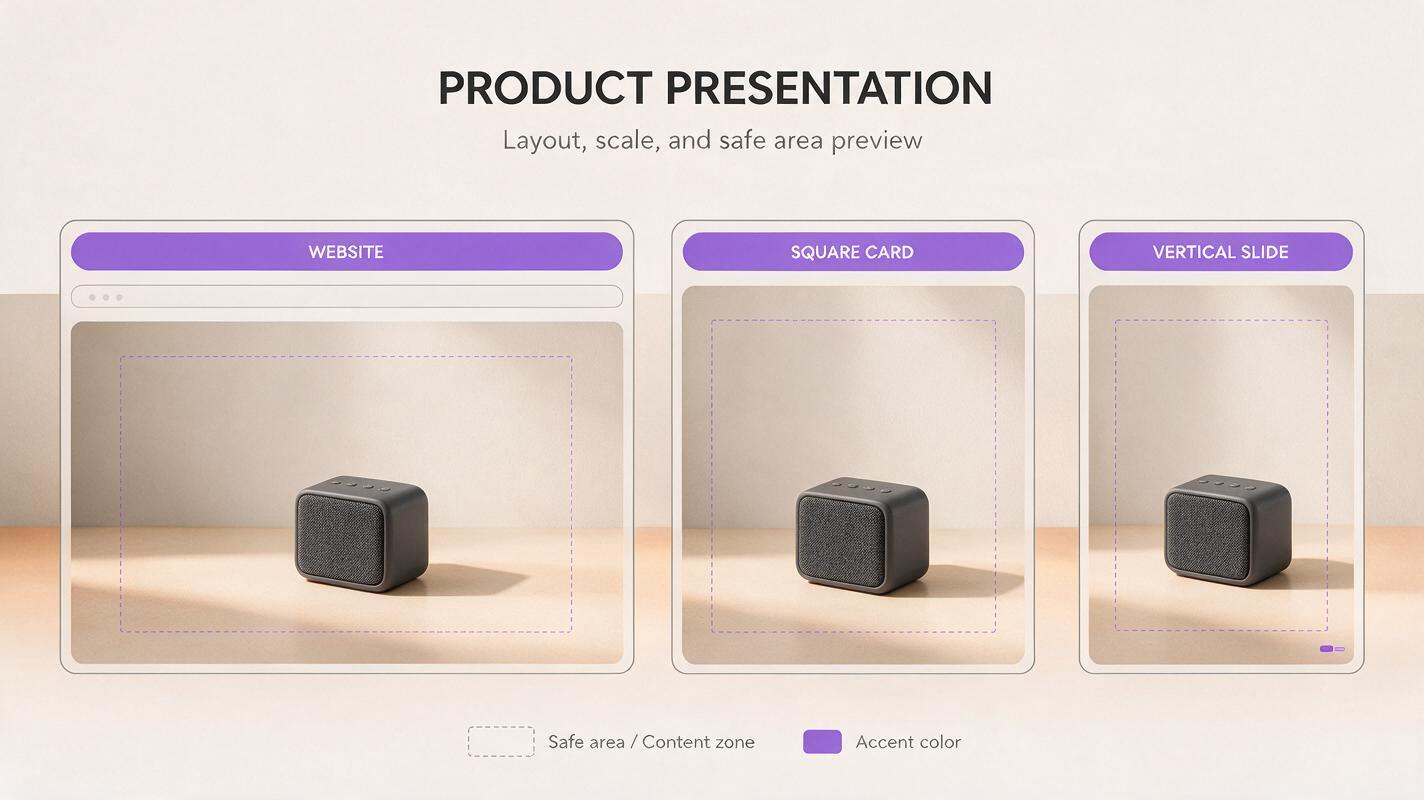
Zoomed-in inspection catches joins, but the intended output size reveals different problems. A product that looked prominent on the editing canvas may appear tiny in a banner. A vertical crop may leave no usable room for a headline, or it may push the object uncomfortably close to an edge.
Export a preview of each format and check it in context. Confirm that the product proportions match across outputs; buttons, ports, and labels remain identical; the tabletop and shadows are coherent; and any copy-safe area is genuinely clear. If a format fails because the product is too small, revisit the framing rather than enlarging a low-resolution composite after export.
Need a first background to test against a real layout? test this prompt yourself with an approved reference render, then keep the original product layer for the final composite.
Final checklist
- Use an approved, sufficiently wide source render whenever possible.
- Set each target canvas before requesting an extension.
- Protect the product and its immediate contact shadow.
- Generate matching surroundings, not a replacement design.
- Composite the original product pixels back into every final image.
- Review joins, scale, and copy space at the intended display size.
Keywords
extend product render background, product render aspect ratio, ai product visualization, product image outpainting, seedream 4.5, industrial design presentation, product render reframing