Remove a Camera Reflection From a Mirror Portrait With Nano Banana Pro
A camera reflection can spoil an otherwise strong mirror portrait, but removing it without changing the person or distorting the room takes a narrow edit. This guide shows photographers how to prepare a reference, prompt Nano Banana Pro for a localized repair, and decide when a crop or conventional retouch is safer.
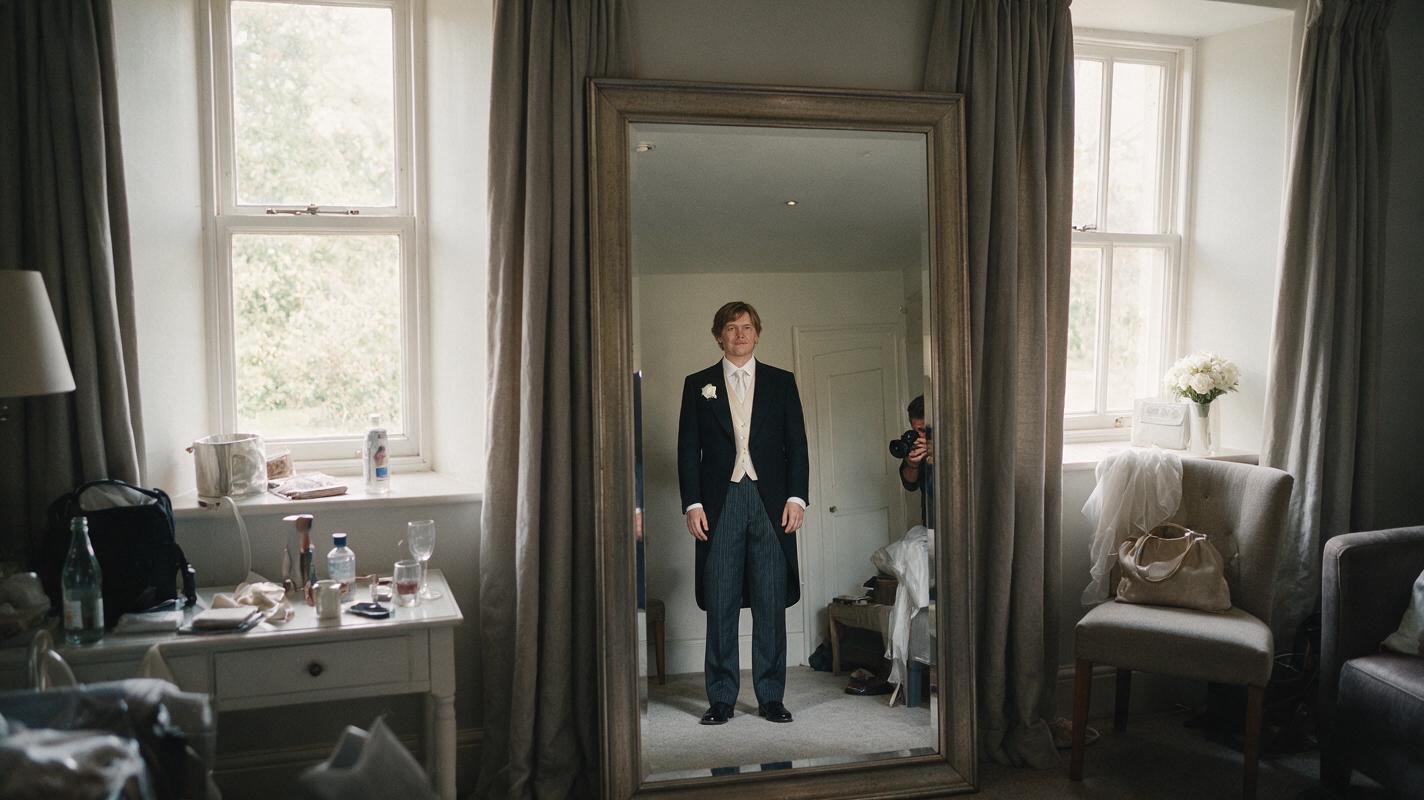
Table of contents
The mirror shot is almost perfect—except for the camera
A mirror portrait can capture both a person and the space around them. It can also reveal the photographer, camera, or light stand in a corner that looked clear through the viewfinder. The goal is not to regenerate the whole photograph. It is to replace the unwanted reflection while keeping the subject, mirror frame, room geometry, and lighting recognizable.
Nano Banana Pro can be used to propose a localized replacement. Treat its output as a retouching layer, not an unquestioned final image: a convincing patch still needs to match what the mirror would actually reflect.
Decide what the mirror should show instead
Before editing, locate the reflection’s exact boundary. A camera silhouette against a plain wall is a simpler repair than a camera crossing patterned wallpaper, the subject’s hair, or an ornate mirror frame.
Look through adjacent frames for a usable reference. During a wedding or editorial session, a nearby exposure may reveal more of the wall, doorway, or furniture hidden behind the camera in the selected photograph. It does not need to align perfectly to be informative; it needs to show what belongs in the space.
- Good candidate: The camera occupies a small area of reflected wall or curtain, away from the subject.
- Higher-risk candidate: The reflection overlaps the subject’s face, clothing, or a distinctive architectural feature.
- Better solved another way: A narrow crop removes the camera without harming the composition, or a clean donor frame can be aligned and retouched directly.
For documentary wedding delivery, do not invent a person, object, or meaningful part of the setting merely to make a reflection disappear. If the hidden area cannot be established from the scene, consider a crop or disclose a substantial alteration.
Protect the portrait and define a small repair area
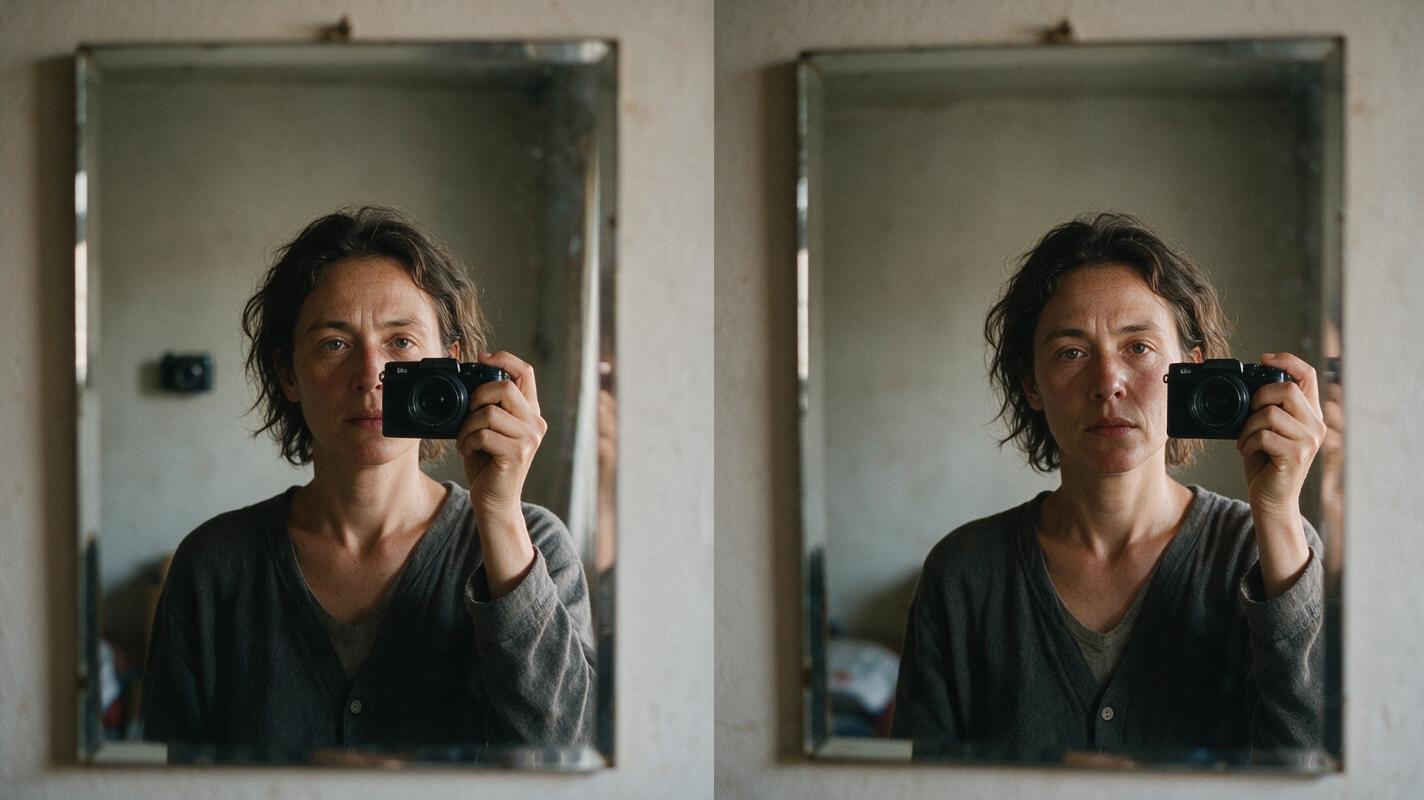
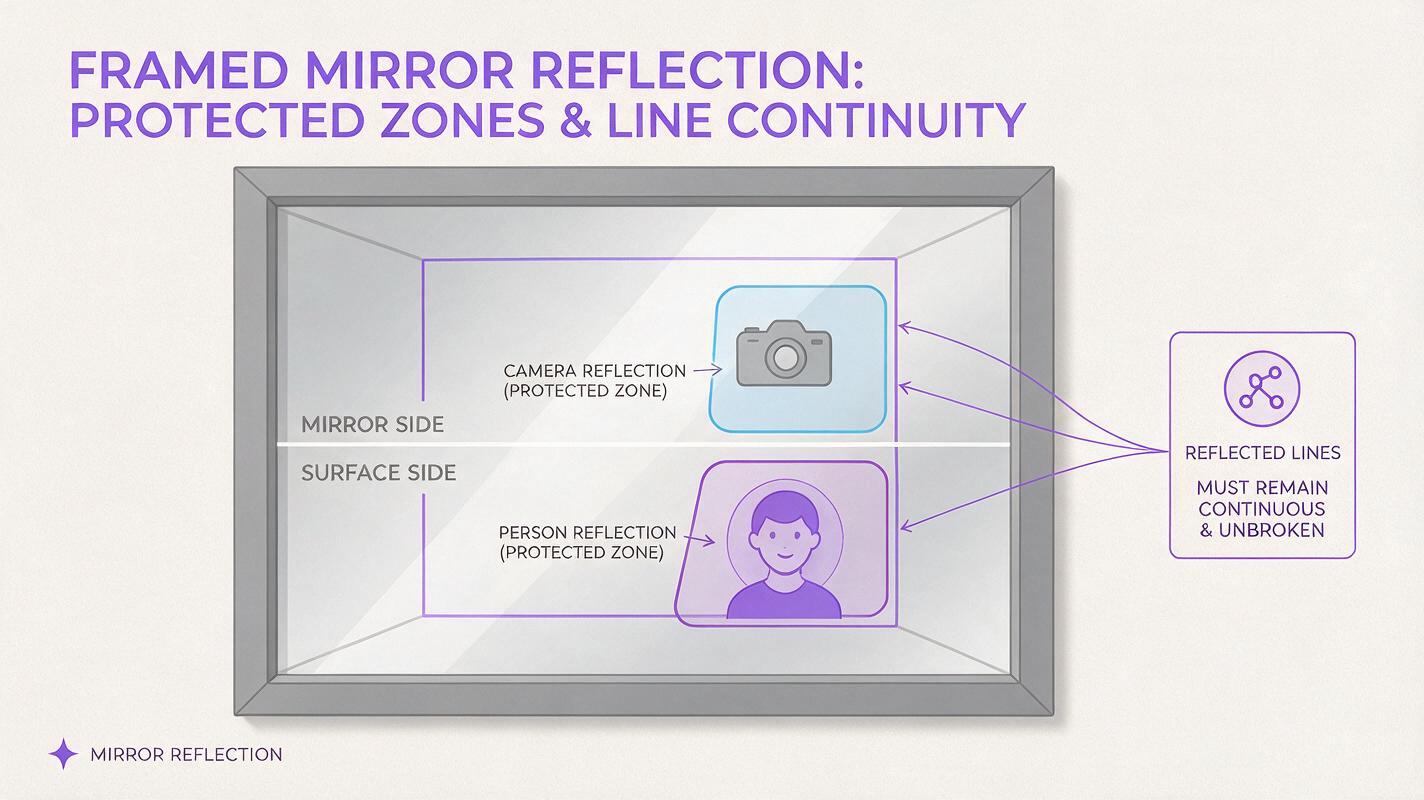
Keep an untouched copy of the original. If your editor supports masking, select the camera reflection and a small margin around it; avoid including the subject or the mirror’s outer edge unless those pixels genuinely need repair. If masking is unavailable, make the requested edit area explicit in the prompt and inspect the entire returned image for changes.
For this repair, open nano banana pro with the original photograph as the primary reference. Add an adjacent frame only if it clarifies the reflected background. Tell the model which image is the portrait to preserve and which is background evidence; otherwise, elements from the donor may be copied into the wrong place.
A useful repair request describes both the removal and the replacement. “Remove the camera” alone leaves the model to guess whether the space should contain a wall, a window, or an entirely new room.
Use a prompt that names the hidden surface
Adapt this prompt to the surface your photograph actually shows. Delete any detail you cannot verify from the original or a reference frame.
Edit the supplied mirror portrait. Remove only the photographer and camera reflection from the selected area in the mirror. Replace that area with a natural continuation of the reflected [plain plaster wall / curtain / doorway] visible beside it. Match the existing perspective, light direction, grain, and color. Preserve the photographed person's face, expression, body, clothing, hands, hair, and position exactly. Preserve the mirror frame and all objects outside the repair area. Do not add people, decor, text, or new light sources.If a second photograph shows the obscured area, add: “Use the second image only as a reference for the wall and objects behind the camera; keep the first image’s composition and subject unchanged.” One specific background instruction is more useful than a long list of aesthetic adjectives.
Need a starting point? test this prompt yourself on a copy of a mirror portrait, then compare the proposed patch with the untouched photograph at full size.
Inspect the reflection, not just the removal
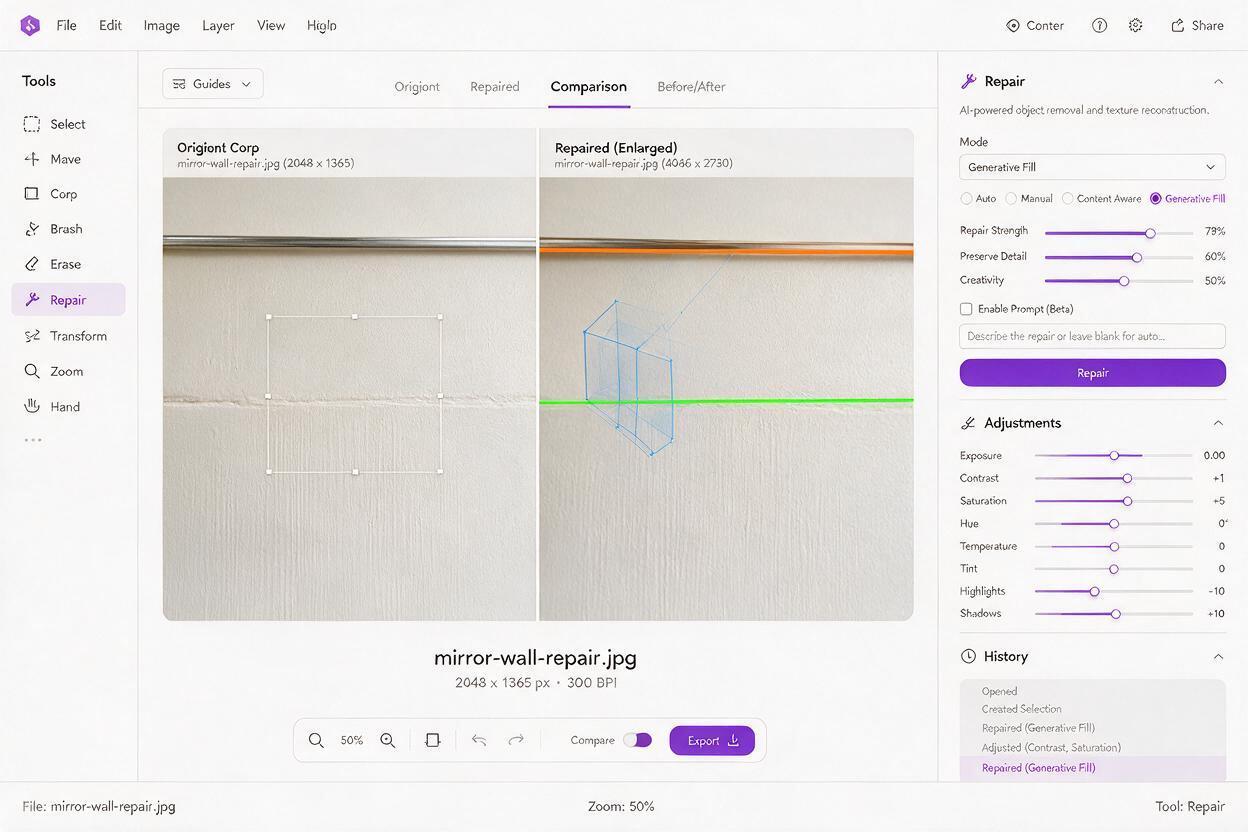
A camera-free patch may look plausible at thumbnail size while failing at delivery size. Zoom in and trace lines across the edited boundary: mirror-frame edges, wallpaper seams, curtain folds, floorboards, and window trim should continue in believable directions. Watch for repeated textures or a reflected light source that has no counterpart in the room.
| What looks wrong | Likely cause | Better next move |
|---|---|---|
| The subject’s face or outfit changes | The requested edit was too broad | Reduce the repair area and composite the untouched subject back over the result. |
| Wall or frame lines bend | The replacement ignored mirror perspective | Provide a clearer adjacent reference or repair the lines manually. |
| The patch looks too smooth | Generated texture does not match the photograph | Blend grain and tonal variation into the patch during retouching. |
| A new object appears in the mirror | The hidden background was underspecified | Name the verified surface explicitly; avoid asking for a general cleanup. |
Compare the edited file and original side by side, including areas outside the mask. If a generated version subtly changes the subject, composite only the acceptable background patch into the original photograph. A clean camera removal is not worth an altered expression or a redesigned dress.
Choose a finish that fits the photograph
AI is most helpful here when it supplies missing low-stakes background texture. Conventional retouching is often better for straight lines, small frame edges, or a donor patch that already contains the correct scene. A crop may be the strongest answer of all if the camera sits close to the edge.
Before export, check the result at both full resolution and the size the client will see. Confirm that the mirror still reads as a mirror, the repair has not softened nearby details, and the final photograph remains faithful to the moment you intend to deliver.
Final checklist
- Keep the original photograph and identify what the camera obscures.
- Use a narrow edit area and a verified background reference when available.
- Preserve the subject; inspect the entire output for unintended changes.
- Check perspective, texture, light, and the patch boundary at full size.
- Choose a crop, donor-frame retouch, or disclosure when generation would invent meaningful scene details.
Keywords
camera reflection removal, mirror portrait editing, nano banana pro, wedding photo retouching, editorial portrait editing, ai photo editing