Remove Camera Reflections From Listing Photos With Nano Banana Pro
Camera, tripod, and photographer reflections can make polished listing photos look unfinished or expose private details. This tutorial shows real estate marketers how to remove reflections with Nano Banana Pro while preserving mirrors, windows, room geometry, and truthful property features.
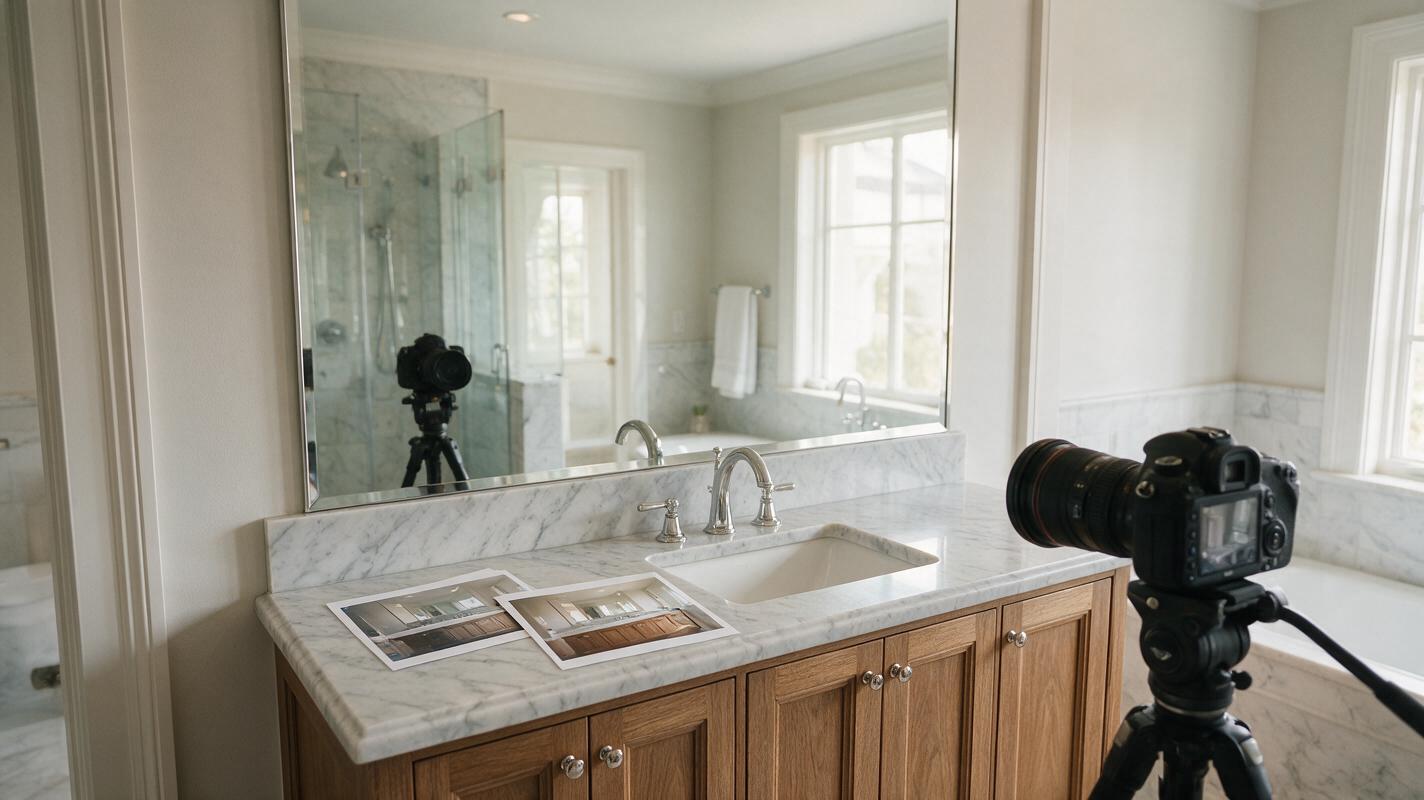
Table of contents
Remove the reflection without redesigning the room
A visible camera, tripod, photographer, or flash reflection can ruin an otherwise polished listing photo. The challenge is removing that distraction without changing the mirror frame, window shape, room dimensions, permanent fixtures, or view outside. A preservation-first edit with nano banana pro can produce a cleaner result when you define a narrow correction area and explicitly protect every verified property detail.
This workflow is intended for cosmetic reflection cleanup, not for hiding defects or materially altering a property. The finished image should show the same room and features that a buyer would encounter in person.
Decide what is safe to remove
Before editing, distinguish a temporary photography artifact from information that belongs to the property. A reflected camera, light stand, photographer, assistant, or loose cable can usually be treated like routine production cleanup. A cracked mirror, damaged tile, neighboring structure, permanent security device, or visible property defect should not be erased merely to make the listing more attractive.
Accuracy rule: Remove evidence of the photo shoot, not evidence about the home.
Keep an untouched master file and record which published images were edited. If local rules, brokerage policies, or the listing platform require disclosure, label the result as digitally retouched.
Choose a source photo that gives the model enough evidence
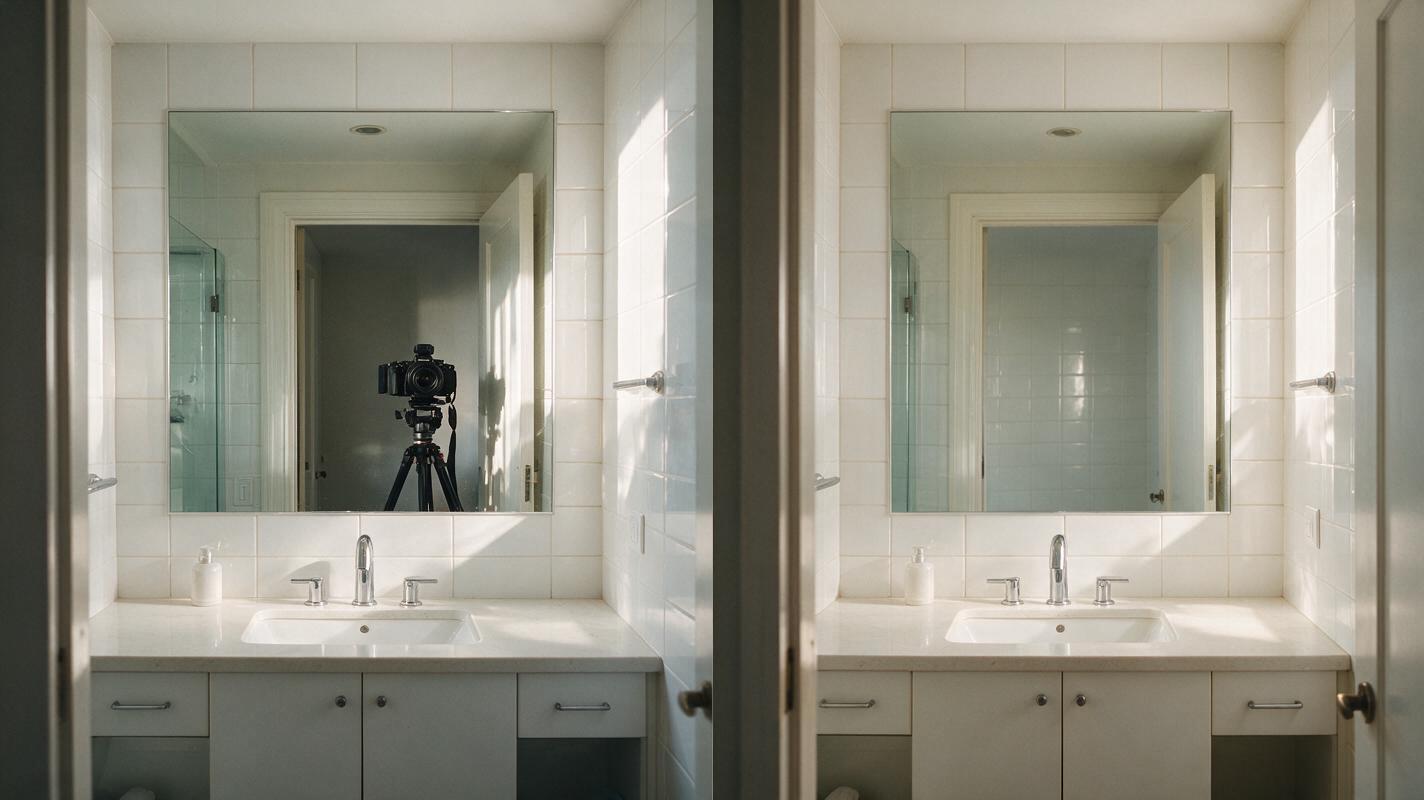
Reflection removal works best when the source image already contains visual clues about what should appear behind the obstruction. Use the highest-resolution original available, with straight vertical lines, controlled highlights, and visible context around the affected mirror or glass.
A strong source image should provide:
- Clear boundaries around the mirror, shower panel, appliance, or window.
- Unobstructed reference areas showing the surrounding wall color, tile pattern, ceiling, or cabinetry.
- Recoverable highlights rather than large areas of pure white glare.
- Minimal motion blur around reflected objects and architectural edges.
If another photograph shows the same wall or reflected part of the room, retain it as a visual reference. It can help you judge whether the generated replacement is plausible, but it should not be used to invent a view that the camera could not actually see.
Restrict the correction to the reflected object
The most common mistake is asking the model to clean the entire mirror or window. That gives it permission to reinterpret a large area, potentially moving doors, changing tile spacing, adding furniture, or replacing the exterior view.
Define the smallest practical edit region around the camera body, tripod, person, flash hotspot, or cable. Include a thin margin for blending, but exclude mirror frames, window mullions, faucets, handles, switches, and other hard-edged fixtures whenever possible.
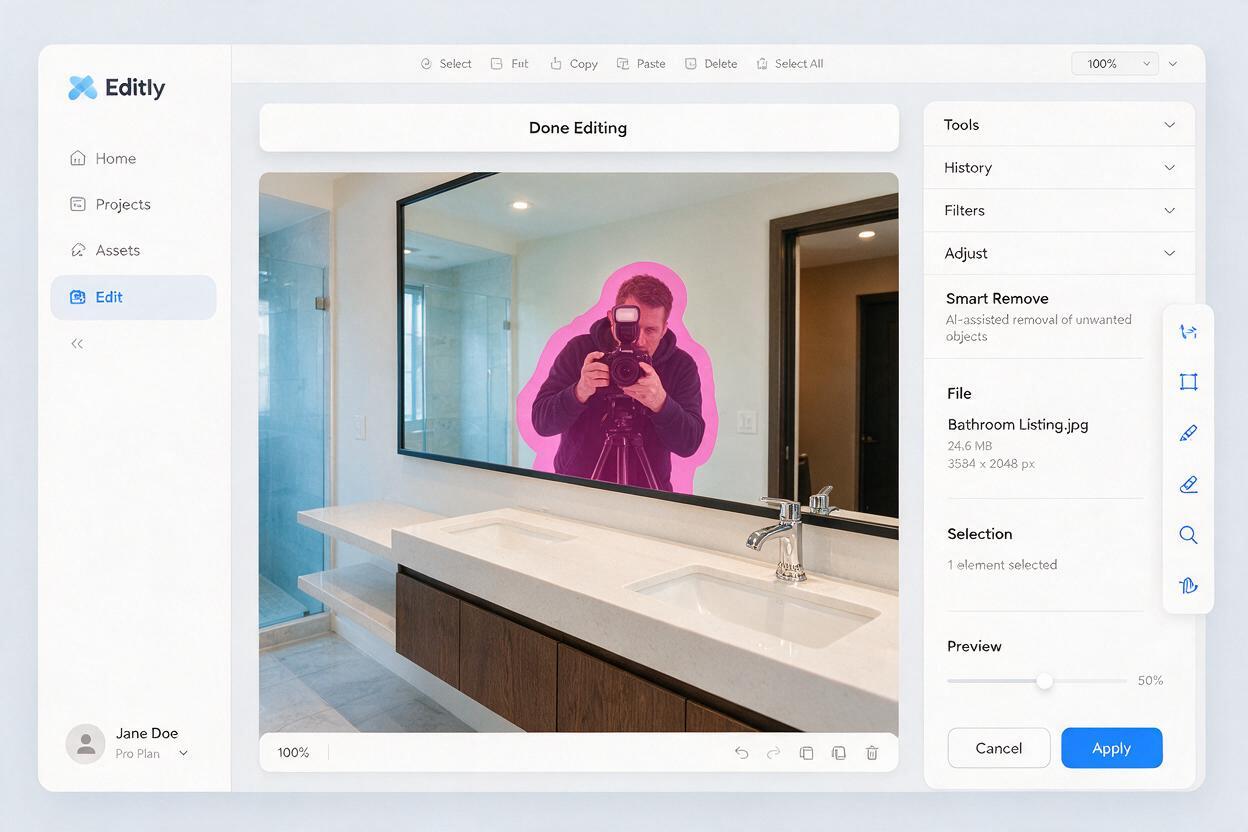
For a photographer reflected in a bathroom mirror, separate the task into smaller corrections if the figure overlaps several surfaces. Correct the torso against the reflected wall first, then the tripod against the vanity, and finally any remaining shadow. Smaller passes are easier to inspect and reject.
Use a preservation-first reflection removal prompt
The prompt should identify the unwanted object, describe the replacement surface, and lock the surrounding architecture. Avoid broad commands such as “improve the room,” “make it luxurious,” or “clean everything,” because they invite unnecessary redesign.
Edit only the selected area. Remove the reflected camera, tripod, photographer, and photography equipment from the mirror. Reconstruct the obscured reflection using the visible room as evidence. Continue the existing wall color, tile grid, ceiling line, lighting direction, and natural perspective. Preserve the exact mirror frame, vanity, faucet, cabinet edges, doorway, room proportions, materials, exposure, and color balance. Do not add furniture, decor, windows, doors, fixtures, text, or architectural features. Photorealistic real estate photograph.For a window reflection, replace “mirror” with the specific glass surface and clarify whether the correction concerns an indoor reflection or a camera visible in the glass:
Remove only the camera and operator reflection visible on the glass. Preserve the exact window frame, mullions, exterior view, landscaping, neighboring structures, weather, and time of day. Reconstruct only the missing glass reflection with subtle intensity consistent with the surrounding pane. Do not alter the view through the window.You can test this prompt yourself on a duplicate of the original file, then tighten the selected area if the first result modifies anything beyond the reflection.
Generate conservative variations instead of one aggressive edit
Create several restrained variations and compare them at full resolution. The best result is not necessarily the cleanest-looking version; it is the version that removes the production artifact while making the fewest other changes.
Reject a variation if it introduces any of the following:
- Curved door frames, countertops, grout lines, or window mullions.
- A mirror reflection that does not match the room’s actual layout.
- Repeated tiles, duplicated handles, or broken cabinet seams.
- New lights, decor, plants, furniture, or exterior scenery.
- Over-smoothed glass that looks opaque or digitally painted.
- Different exposure or white balance inside the corrected region.
If all versions drift, reduce the correction area and simplify the instruction. Do not compensate by adding more decorative detail to the prompt.
Inspect geometry, reflections, and truthful details
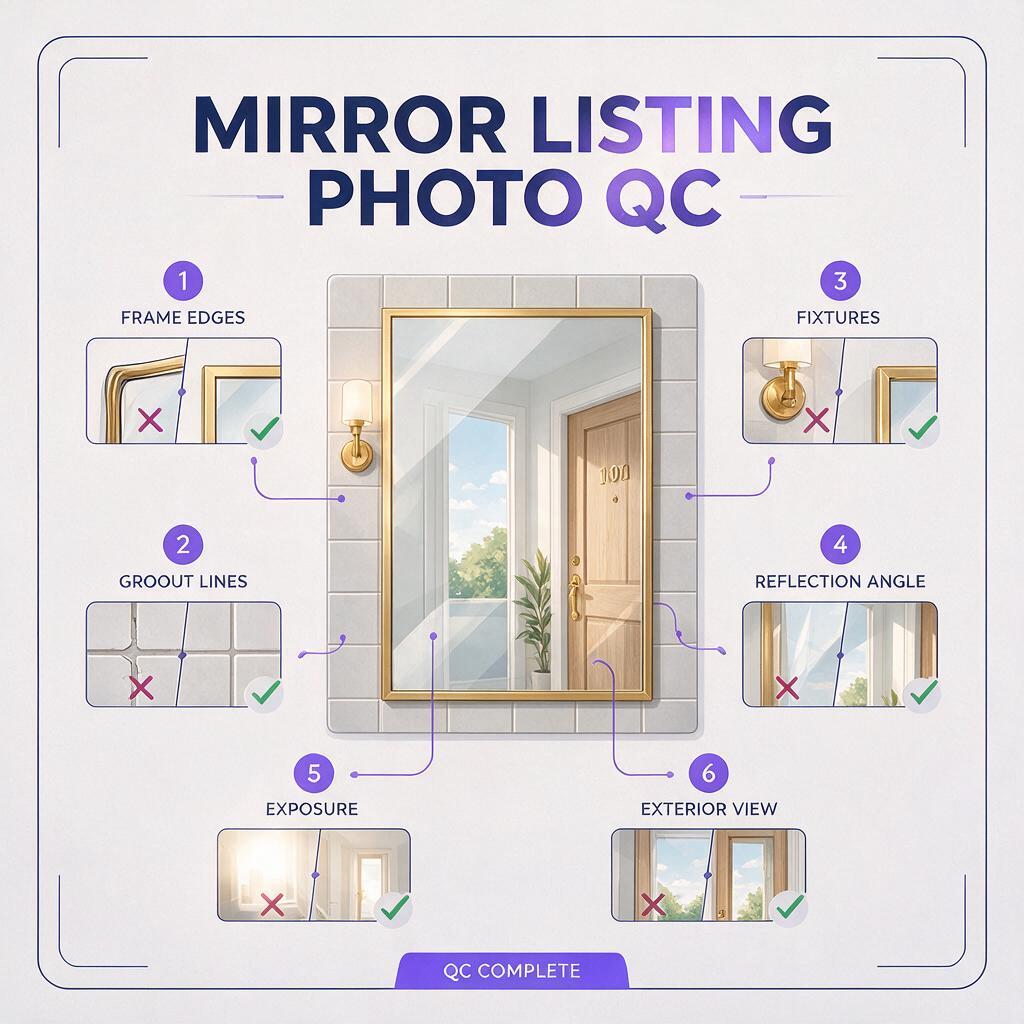
Review the edited image beside the original at normal viewing size and at 100% zoom. A social-media preview can conceal small defects that become obvious on a property portal or printed brochure.
| Inspection area | What to compare | Reason for rejection |
|---|---|---|
| Architecture | Wall corners, ceiling lines, doors, counters, frames | Any shift, curve, added opening, or changed proportion |
| Surface pattern | Tile spacing, flooring, wood grain, stone veining | Repeated, melted, discontinuous, or invented pattern |
| Reflection logic | Angle, brightness, depth, and visible room elements | Reflection contradicts the photographed space |
| Fixtures | Faucets, handles, switches, outlets, lights | Missing, duplicated, distorted, or redesigned fixture |
| Exterior evidence | Buildings, landscaping, boundaries, weather | Altered or removed feature visible through glass |
| Image finish | Noise, sharpness, color, compression | Edited patch is softer, cleaner, or warmer than its surroundings |
Also check the reflection from the expected camera position. Mirrors reveal parts of a room that may be outside the direct frame, so a visually attractive reconstruction can still be spatially impossible. Compare it with adjacent listing photos whenever uncertainty remains.
Fix difficult glass and mirror cases
The camera overlaps a frame or fixture
Do not regenerate the entire object. Mask the reflection on one side of the hard edge, preserve the frame or fixture, and complete the opposite side in a separate pass. This reduces bent metal, uneven borders, and mismatched geometry.
A flash hotspot hides the surface
Lower the ambition of the edit. Ask for a restrained highlight consistent with the surrounding glass rather than perfectly transparent glass. If the hotspot contains no recoverable visual evidence, use another exposure or reshoot instead of fabricating detailed scenery.
The mirror shows an unseen part of the room
Use another verified photo of the same area for quality control. If no reference exists, request a neutral continuation of visible walls and surfaces rather than specific furniture or architectural details. Ambiguity should produce less content, not more invention.
The result looks unnaturally empty
Real glass retains subtle reflections, tonal variation, and glare. Ask the model to preserve low-intensity environmental reflection and the original lighting falloff. A perfectly blank mirror or invisible window often looks less realistic than a gently reflective surface.
Export the corrected listing image responsibly
Return the approved edit to the same color-managed workflow as the rest of the listing set. Match crop, dimensions, sharpening, and compression so the corrected frame does not stand out. Keep the original, the edited master, and the final exported file as separate assets.
Use the correction consistently across property portals, brochures, social posts, and agent presentations. If the photo is replaced after publication, update every active channel so buyers are not shown conflicting versions.
Final checklist
- The removed element was temporary photography equipment or another non-property artifact.
- The edit region was limited to the smallest necessary area.
- Walls, frames, windows, fixtures, and room proportions remain unchanged.
- The reconstructed reflection agrees with adjacent listing photos.
- No defects, boundaries, views, or permanent features were concealed.
- Tile, wood, glass, and stone patterns remain continuous at full resolution.
- The edited master and untouched original are both archived.
- Any required digital-editing disclosure has been added.
Keywords
remove camera reflection, listing photo editing, nano banana pro, real estate photography, mirror reflection removal, property listing images, AI image editing