How to Remove Objects From Video Cleanly (No Glitchy Artifacts)
Unwanted objects like stray pedestrians, trash, or power lines can ruin a perfectly shot travel or product video. This step-by-step guide walks you through a clean AI-powered workflow to remove objects from video without glitchy artifacts, including prep work, precise targeting, and final polishing tips. You’ll also get copyable text prompts for text-guided removal and a real-world demonstration of the results.
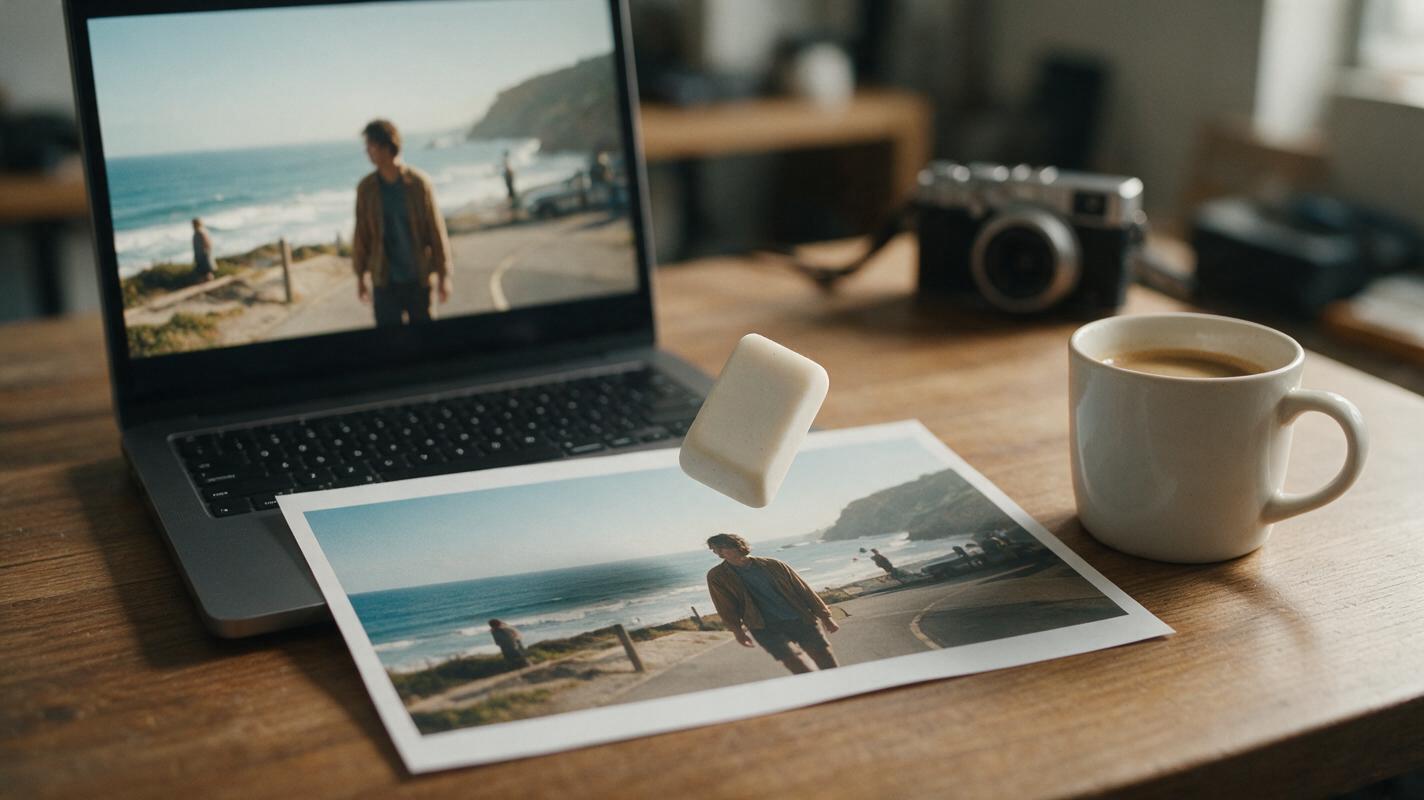
Table of contents
Why Most AI Object Removal Looks Fake
That perfect sunset travel clip you spent 20 minutes shooting? Ruined by a random tourist walking straight through the frame.
Most people assume bad object removal is the fault of the AI tool itself, but the real issue is usually skipped prep work and incorrect order of operations. Scribbling a rough mask over an object and hitting "remove" might work for simple clips, but for complex backgrounds or moving objects, you’ll end up with blurry patches, distorted lines, or weird motion trails that make the clip look worse than the original.
This step-by-step guide walks you through a reliable workflow to remove object from video without glitchy artifacts, using common AI video tools. We’ll cover prep work, precise targeting, artifact fixes, and final polishing to make the edited area blend seamlessly with the rest of your footage. You’ll also get copyable text prompts for fast, accurate text-guided removal.
Pro tip: The best object removal results come from 60% prep work, 20% removal, and 20% polishing — not just clicking a button and calling it a day.
Step 1 — Prep Your Clip to Reduce AI Errors
Before you even open the object removal tool, you need to trim and stabilize your clip. Trimming cuts out any footage before or after the shot you actually need, which reduces the total number of frames the AI has to process. Fewer frames mean fewer opportunities for tracking errors, and it also speeds up the entire workflow.
Stabilization is equally important, especially for handheld phone or action camera footage. Shaky camera motion makes it harder for the AI to distinguish the target object from the background, leading to wobbly or distorted background details like bent fence lines or blurry tree branches. Most basic video editors have a built-in stabilization tool; aim for a smooth, steady shot without cropping so much of the frame that you lose important context.
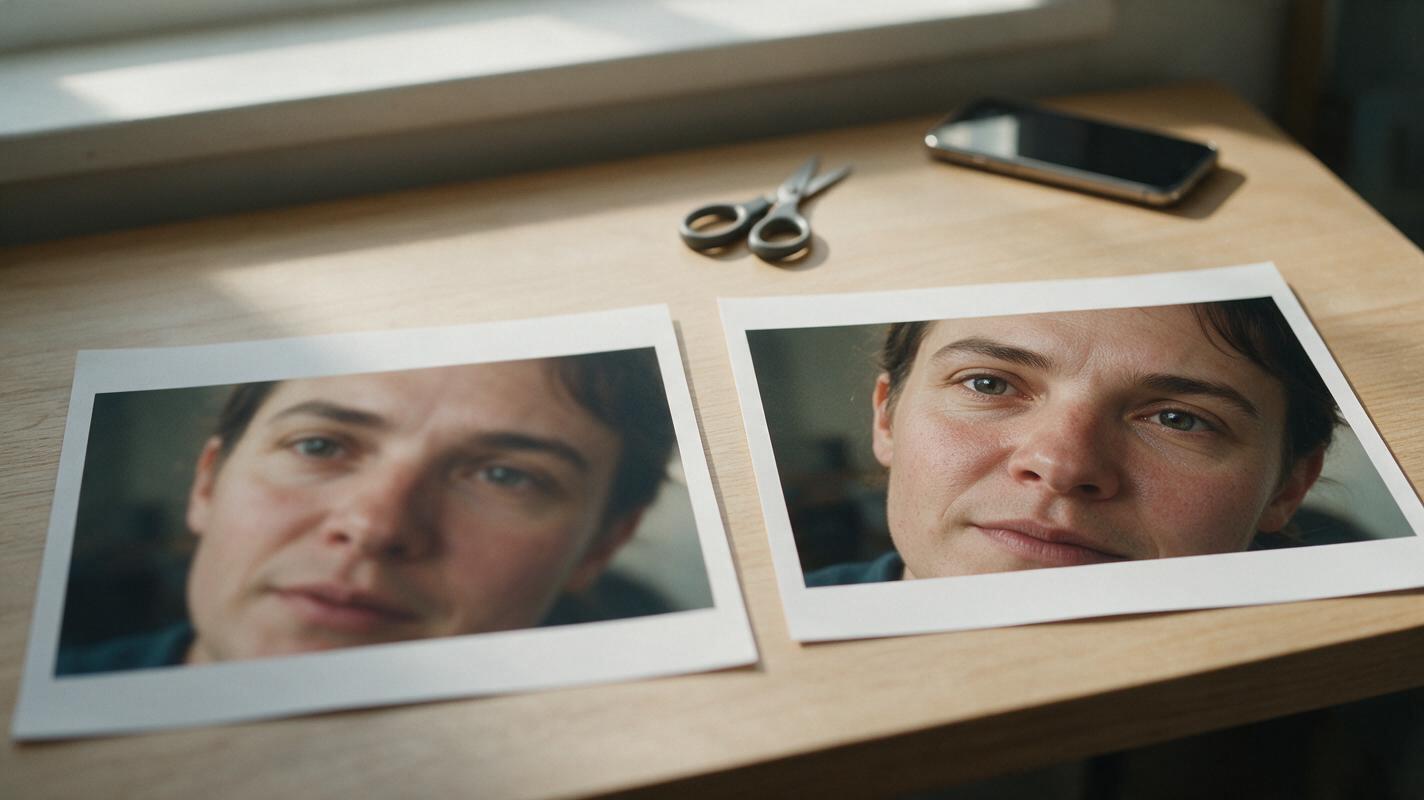
If your clip has heavy grain (from low-light shooting, for example), run a very light denoise video pass first. Don’t use a strong denoise setting here — you can do a final polish pass later. The goal is just to reduce enough noise that the AI can clearly see the edges of the object you want to remove.
Step 2 — Mark or Describe the Object Precisely
Next, you need to tell the AI exactly what to remove. Most modern video to video AI tools offer two options: a manual mask brush, or text-guided object removal.
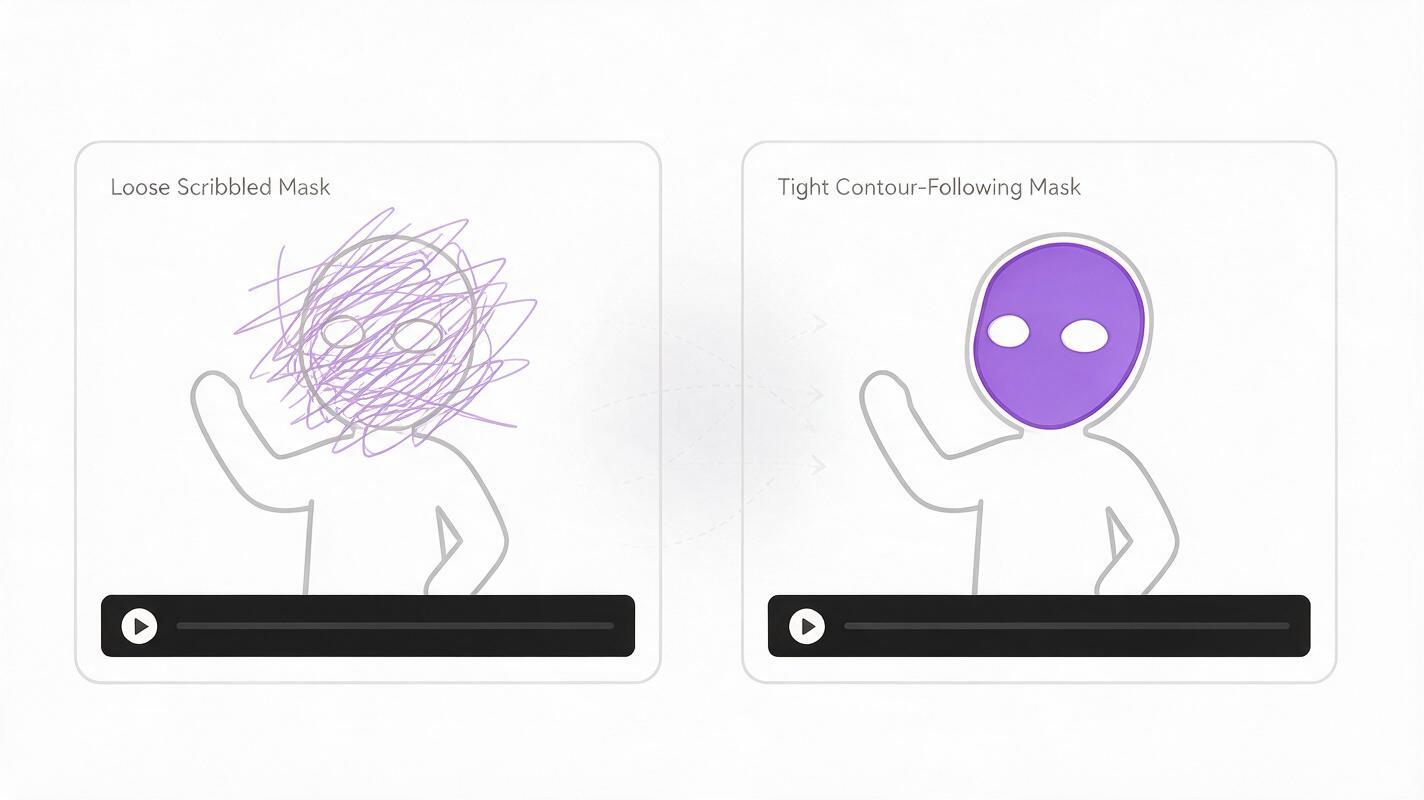
For manual masking, use the smallest brush that still fully covers the target object, and stay as close to the object’s edges as possible. Avoid painting over background details you want to keep — the AI fills in the masked area based on surrounding pixels, so extra masked space means more room for errors. For moving objects, turn on motion tracking so the mask follows the object across frames instead of staying fixed in one spot.
For text-guided removal (faster for distinct, easy-to-describe objects), use a specific prompt that includes the object’s appearance, location in the frame, and movement (if applicable). Vague prompts like "remove the person" often lead to the AI removing the wrong person or missing parts of the target. Here’s a copyable template you can adapt for your own clips:
remove the [object description] in the [frame location] [movement direction, if applicable]Example prompt for a coastal travel clip:
remove the crumpled clear plastic water bottle in the lower left foreground, stationaryThe more specific you are, the more accurate the first pass of removal will be, which means less touch-up work later.
Step 3 — Run a First Pass and Fix Local Artifacts
Once your mask or prompt is set, run a first pass of the object removal tool. Don’t expect it to be perfect on the first try — most clips will have small issues, especially around complex backgrounds like dense foliage, moving water, or textured brick walls.
Common first-pass issues include soft blurry patches, distorted straight lines (like a wavy horizon or bent handrail), or tiny leftover bits of the target object. The biggest mistake people make here is re-running the full removal on the entire clip, which causes over-processing and makes the whole footage look soft and artificial.
Instead, fix only the affected areas. Use a smaller mask brush to touch up leftover spots, or use a local repair tool to fix distorted background details. For clips with moving objects, pay extra attention to frames where the object overlaps with another element (like a person walking in front of a street sign) — these are the frames where the AI is most likely to struggle, so you may need to adjust the mask manually for individual frames.
Step 4 — Polish the Clip for Seamless Blending
Even with a perfect removal job, the edited area will often look slightly different from the rest of the clip. The AI generates new pixels to fill the gap left by the removed object, and those pixels won’t perfectly match the original footage’s texture, grain, or color tone. The final polishing step is what makes the edit look invisible.
Start with a gentle denoise pass across the entire clip to even out grain — the edited area may have less noise than the original footage, so a light denoise unifies the texture. Next, use an ai video upscaler to sharpen details across the whole clip. This helps blend the softer generated pixels with the sharper original footage, so you can’t tell where the edit happened.
If the colors are slightly off, apply a unified color grade or use one of your go-to ai video presets across the entire clip. This evens out any small color discrepancies and gives the whole footage a cohesive look.
If you want to do all of this in one tool without switching between multiple apps, MagicBoat’s ai video enhancer suite includes object removal, denoising, upscaling, and a library of presets, so you can go from raw clip to polished final version in one place. Try it for free here to clean up your next video project.
Before-and-After Breakdown: Demonstration Clip
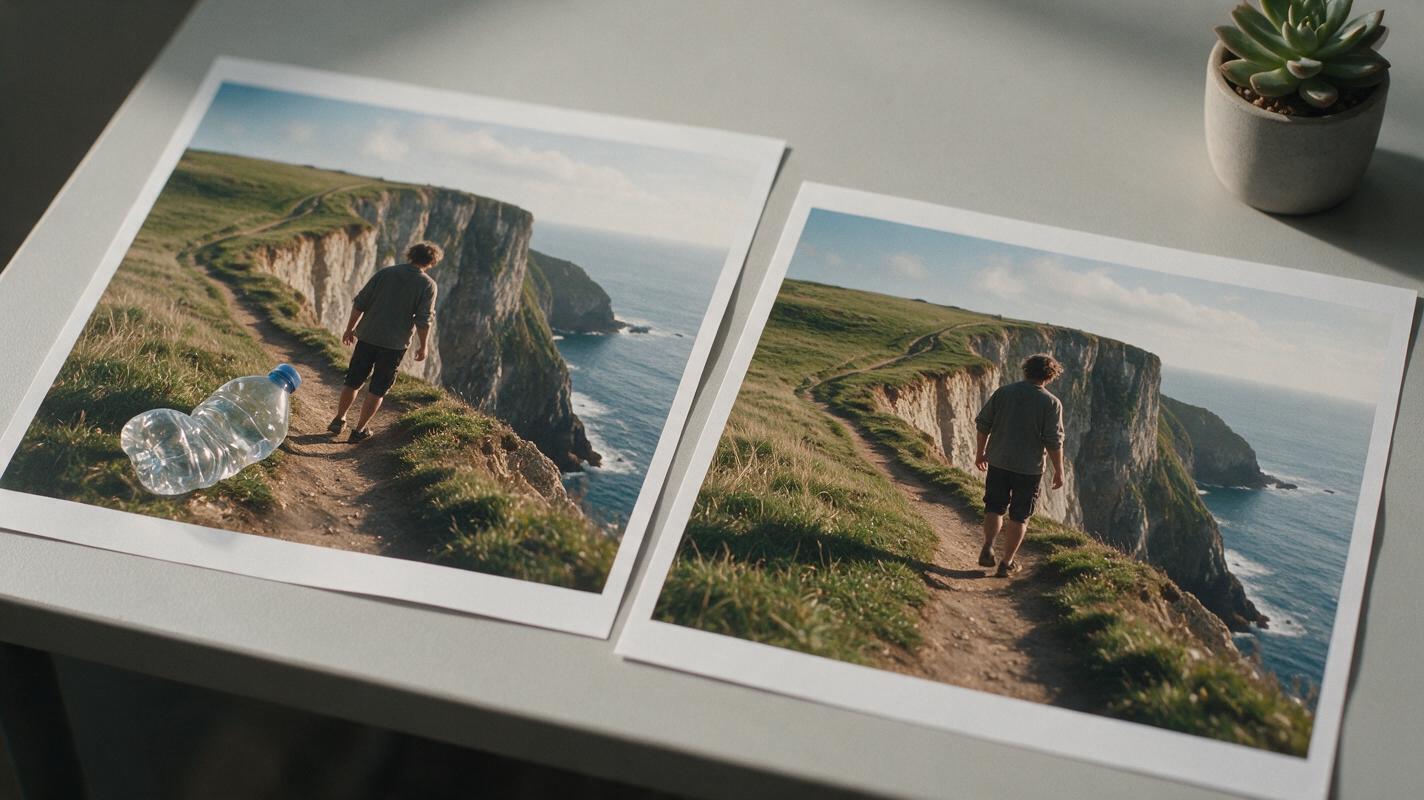
To show how this workflow works in practice, we’ll use a common real-world scenario: a 7-second handheld travel clip of a coastal cliff walk, shot on a smartphone. The raw clip has a crumpled plastic water bottle in the lower left foreground, plus mild camera shake and low-light grain.
Following the steps above: first trim the clip to remove extra footage at the start and end, then stabilize it to reduce shake. Next, use the text prompt example from Step 2 to target the water bottle. After the first pass, touch up a small soft patch on the grass below the bottle’s original position. Finish with a light denoise pass, gentle upscaling, and a warm travel preset to unify the colors.
The final result has no visible trace of the water bottle, with natural-looking grass texture and sharp, straight cliff edges. The entire clip also looks cleaner and more polished than the original raw footage, thanks to the final enhancement step.
Frequently Asked Questions
Can I remove moving objects from video?
Yes, most modern AI video tools can remove moving objects like pedestrians, cars, or animals. The key is to use motion tracking so the mask follows the object across frames, and to double-check frames where the object overlaps with other background elements for small artifacts that need touch-ups.
Will object removal work on very complex backgrounds?
It depends on the background. Simple, uniform backgrounds like a solid wall or clear sky will almost always have perfect results. Complex backgrounds like dense crowds, moving water, or intricate tree branches may require more manual touch-up work, but you can still get clean, natural-looking results if you take the time to fix local artifacts instead of re-running the full removal.
Do I need to use an AI video upscaler after removing an object?
You don’t have to, but a light upscaling pass can help blend the edited area’s generated pixels with the original footage’s texture. If you’re posting to social media (where platform compression can soften footage), an upscaling pass will also make your final clip look sharper and more professional overall.
Sources
None — practical guide based on the workflow described.
Final Checklist
- Trim and stabilize your clip before using any object removal tool to reduce AI errors
- Use a tight mask or specific text prompt to target only the object you want to remove
- Fix local artifacts with small touch-ups instead of re-running the full removal pass
- Run a light denoise and upscale pass to blend the edited area with the rest of the clip
- Apply a unified color grade or preset to hide small color discrepancies
Keywords
remove object from video, ai video enhancer, enhance videos with ai, ai video upscaler, video to video ai, denoise video, ai video presets