How to Make Renovation Before-After Listing Videos With Seedance
Renovation before-after videos are high-performing assets for flipped and updated listings, but manually editing smooth transitions between static photos takes hours of design work. This guide shows real estate marketers how to use Seedance to create architecturally accurate before-after transition videos from existing listing photos, with reusable prompts, optimal settings, and fixes for common glitches like wall warping and misaligned fixtures.
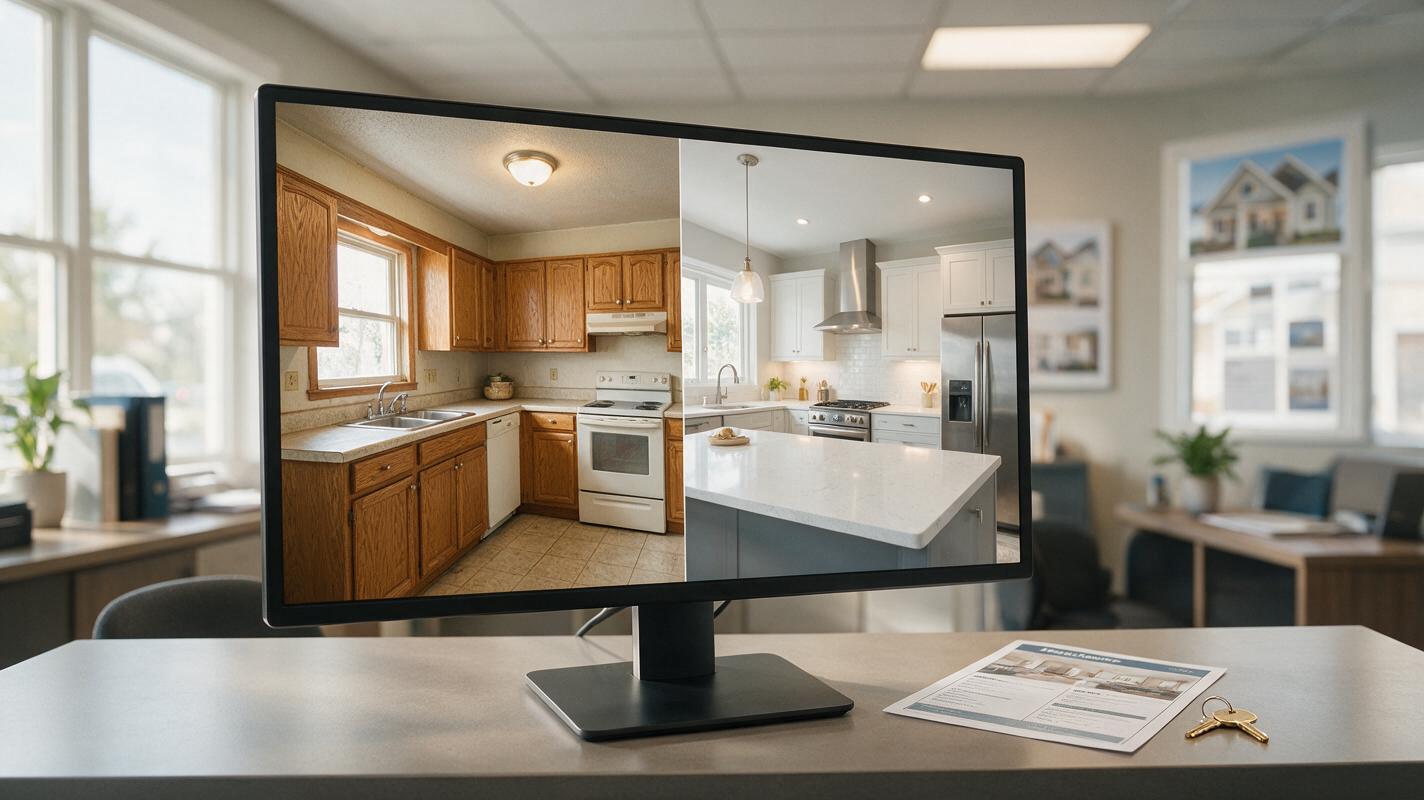
Table of contents
Renovation before-after listing videos that don’t warp walls
Static before-after photo carousels get clicks, but a smooth 3-second transition video of a kitchen or bathroom remodel stops scrollers dead — and drives higher inquiry rates for flipped and updated listings.
Manually editing those transitions in video software takes hours of aligning frames and masking layers, and generic AI animation tools often warp walls, misalign cabinets, or make light fixtures float mid-transition. Seedance’s dual-reference frame animation lets you create accurate, professional before-after listing videos in minutes, as long as you set up your inputs and prompts correctly.
Choose the right before-after photo pair
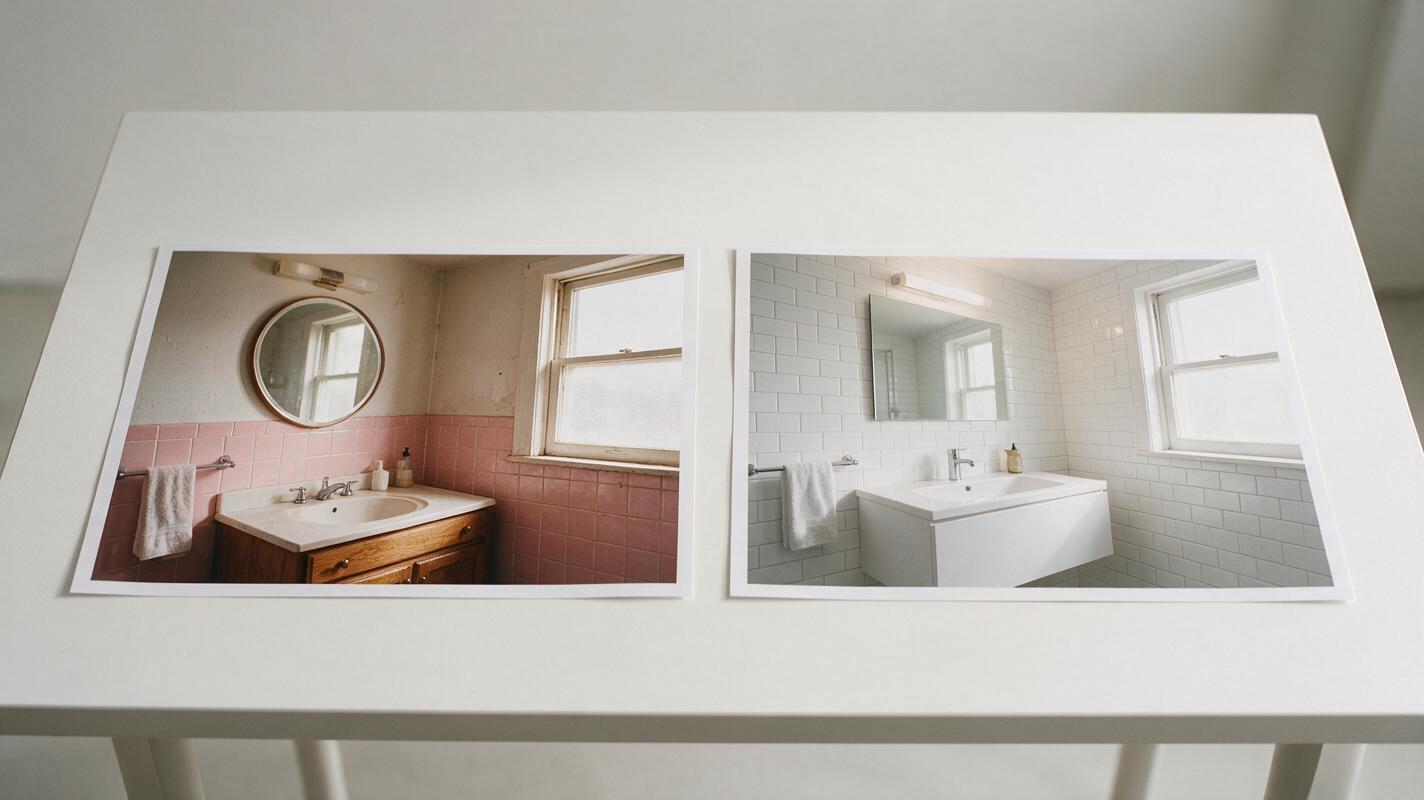
The quality of your transition depends almost entirely on how well your two input photos match. Even the best AI model can’t create a smooth, warp-free transition if the before and after shots are framed differently or shot from different angles.
Use these criteria to select your photo pair:
- Identical camera position and angle: If shooting new photos, use a tripod and mark the exact spot on the floor. For existing photos, pick shots where wall edges, window frames, and fixed fixtures line up perfectly in the frame.
- Same focal length: Avoid pairing a wide-angle shot with a zoomed-in shot, as this will cause stretching and distortion during interpolation.
- Consistent lighting direction: Harsh shadows in different positions will create jarring shifts. Overcast daylight or soft indoor lighting works best for both shots.
- No moving objects: Remove people, pets, and temporary items like moving boxes from both frames before uploading.
Pro tip: If your before and after photos are slightly misaligned, crop both to the exact same aspect ratio and line up a fixed architectural feature (like a window frame or electrical outlet) in the center of the frame before uploading.
Set up your Seedance project for transition accuracy
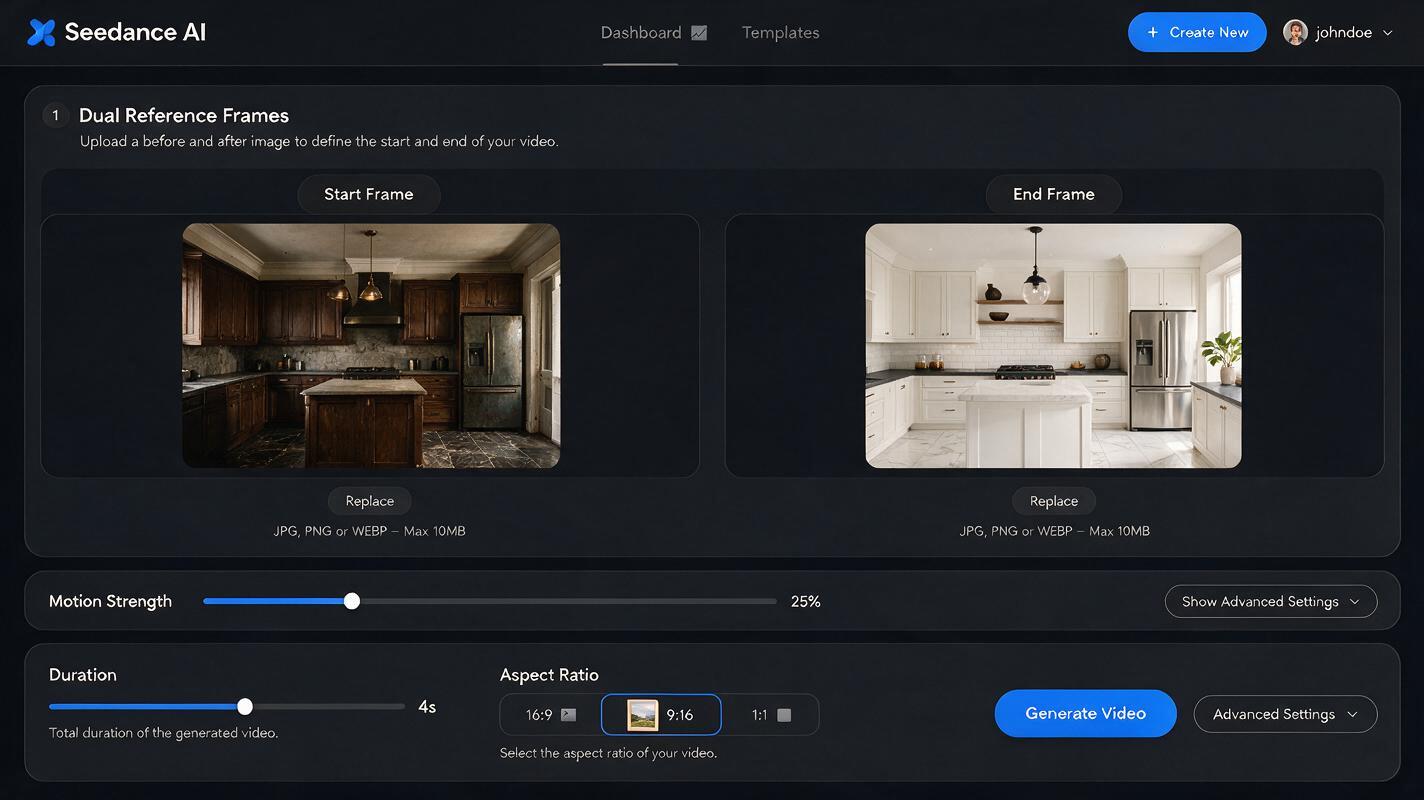
Seedance’s image to video tool supports dual reference frame input, letting you set a before photo as the start frame and an after photo as the end frame for a smooth transition. This is different from single-image animation, where the model invents motion — here, the model interpolates between two fixed points, which keeps architecture far more stable.
Use these optimal settings for real estate renovation transitions:
- Duration: 3–5 seconds total. Short enough for social media reels, long enough to show the full transformation without losing viewer attention.
- Motion strength: 20–30% (low to medium). Higher settings add unnecessary camera movement that breaks the transition effect and causes warping.
- Resolution: 1080p, with aspect ratio matched to your platform (9:16 for TikTok/Instagram Reels, 16:9 for listing pages/YouTube).
- Preservation toggle: Enable any built-in "structural preservation" or "architecture mode" if available, to prioritize stable walls and fixed features.
Reusable prompts for different renovation types
Even with dual reference frames, a well-crafted prompt guides the model to preserve fixed structural elements and only change renovated features, reducing glitches and cutting down on revision time. Below are reusable prompts tailored to the most common renovation types for residential listings.
Kitchen renovation
Smooth transition between before and after kitchen renovation, preserve all wall positions, window frames, ceiling height, and electrical outlet locations. Only change cabinetry, countertops, backsplash, flooring, and light fixtures. Photorealistic, natural daylight, no camera movement, no warping, no floating objects, architectural accuracy.Test this prompt yourself with your own before-after kitchen photos to see how the model prioritizes fixed structural elements over cosmetic changes.
Bathroom remodel
3-second smooth transition between before and after bathroom remodel, preserve tile bathtub surround, plumbing lines, wall layout, and door frame. Update vanity, toilet, flooring, lighting, and mirror. Photorealistic, soft bathroom lighting, steady camera, no distortion, no warped walls, accurate proportions.Living room refresh
Smooth before-after transition for living room renovation, preserve all exterior walls, windows, fireplace structure, and built-in shelving. Replace flooring, paint walls, update furniture and decor. Natural afternoon light, fixed camera position, no camera pan or zoom, architectural consistency, photorealistic.Exterior home update
4-second transition between before and after home exterior renovation, preserve roofline, foundation, window and door positions, and lot boundaries. Update siding, front door, porch railing, landscaping, and walkway. Overcast natural light, static camera, no warping, accurate property dimensions, photorealistic.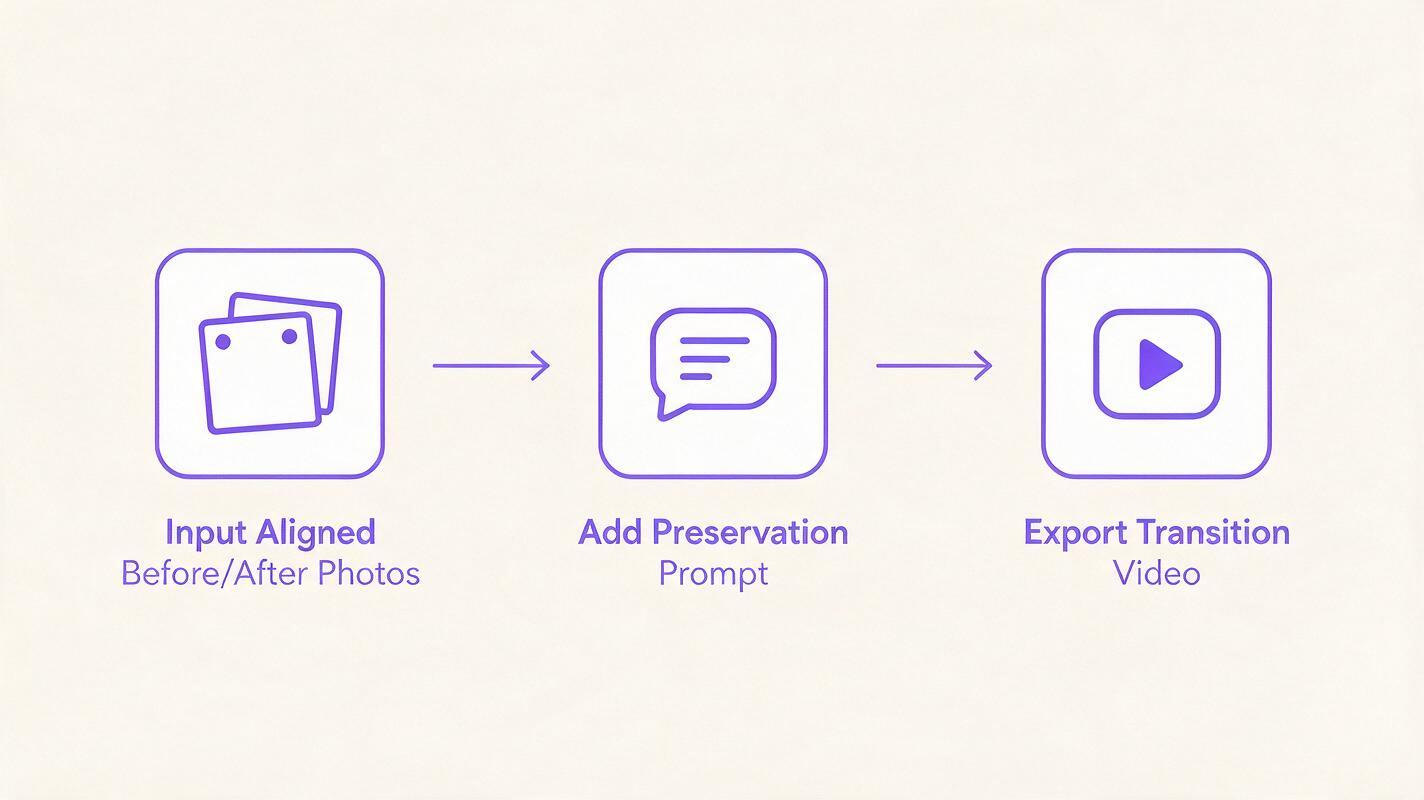
Fix common transition glitches
Even with the right setup, you may run into small rendering issues. Use these targeted fixes to resolve the most common problems:
- Warped walls or door frames: Lower motion strength by 10%, add "preserve all structural walls and door frames, no stretching or warping" to your prompt, and double-check that your two input photos are perfectly aligned at the edges.
- Misaligned cabinets or fixtures: Crop both photos to center a fixed architectural feature (like a window or electrical outlet) before uploading, and add "keep all plumbing and electrical fixtures in their exact original positions" to your prompt.
- Flickering lighting or color shifts: Adjust the brightness and contrast of your two input photos to match as closely as possible in a free photo editor first, and add "consistent natural lighting, no flickering, smooth color transition" to your prompt.
- Floating furniture or decor: Add "all furniture and decor rests firmly on floors and surfaces, no floating objects" to your prompt, and use slightly higher denoising strength if the model is blending old and new furniture incorrectly.
Important note: If your before photo shows a gutted or demoed space (exposed studs, no finishes), the model may struggle to interpolate between structural states. For demo-to-finished transitions, use a 5-second duration and add "gradual build-out of walls and finishes, no sudden jumps" to your prompt for a smoother effect.
Ways to use before-after videos in listing marketing
Before-after renovation videos are versatile assets that work across every stage of your listing marketing strategy. Here are the highest-impact use cases:
- Social media reels: Post 3-second vertical transitions as TikTok/Instagram Reels with text overlays highlighting key upgrades (e.g., "New kitchen + primary bath: $75k investment, $120k value added"). Pair with trending audio or a short voiceover to boost reach.
- Listing page highlights: Embed horizontal before-after videos at the top of the listing page or alongside the photo gallery to showcase the home’s upgrades upfront.
- Buyer nurture emails: Include a short before-after clip in nurture emails to leads interested in renovated homes, to help them visualize the potential of updated properties.
- Seller lead generation: Compile 3–4 before-after transitions from past sales into a "results" reel for your agent social profiles, to demonstrate your marketing expertise and attract new seller clients.
- Open house displays: Play before-after videos on a loop at open houses to highlight upgrades that guests might not notice in person (like new plumbing or electrical updates hidden behind walls).
Final checklist
- Select before-after photos with identical framing, camera angle, and focal length
- Crop and align both photos to match a fixed architectural feature before uploading
- Set motion strength to 20–30% and duration to 3–5 seconds in Seedance
- Use a renovation-specific prompt that explicitly preserves fixed structural elements
- Review the full transition frame-by-frame for wall warping, misaligned fixtures, or floating objects
- Disclose that the video is a stylized marketing transition if required by local real estate regulations
Keywords
seedance, renovation before-after videos, listing videos, image to video, real estate marketing, before after listing transitions, ai video generator