Runway Prompts for Seamless Room-to-Room Property Video Transitions
Create smoother room-to-room property videos from separate listing photos without making the home appear structurally different. This guide provides practical Runway prompts, transition patterns, quality checks, and editing tactics for accurate listing reels and luxury home tours.
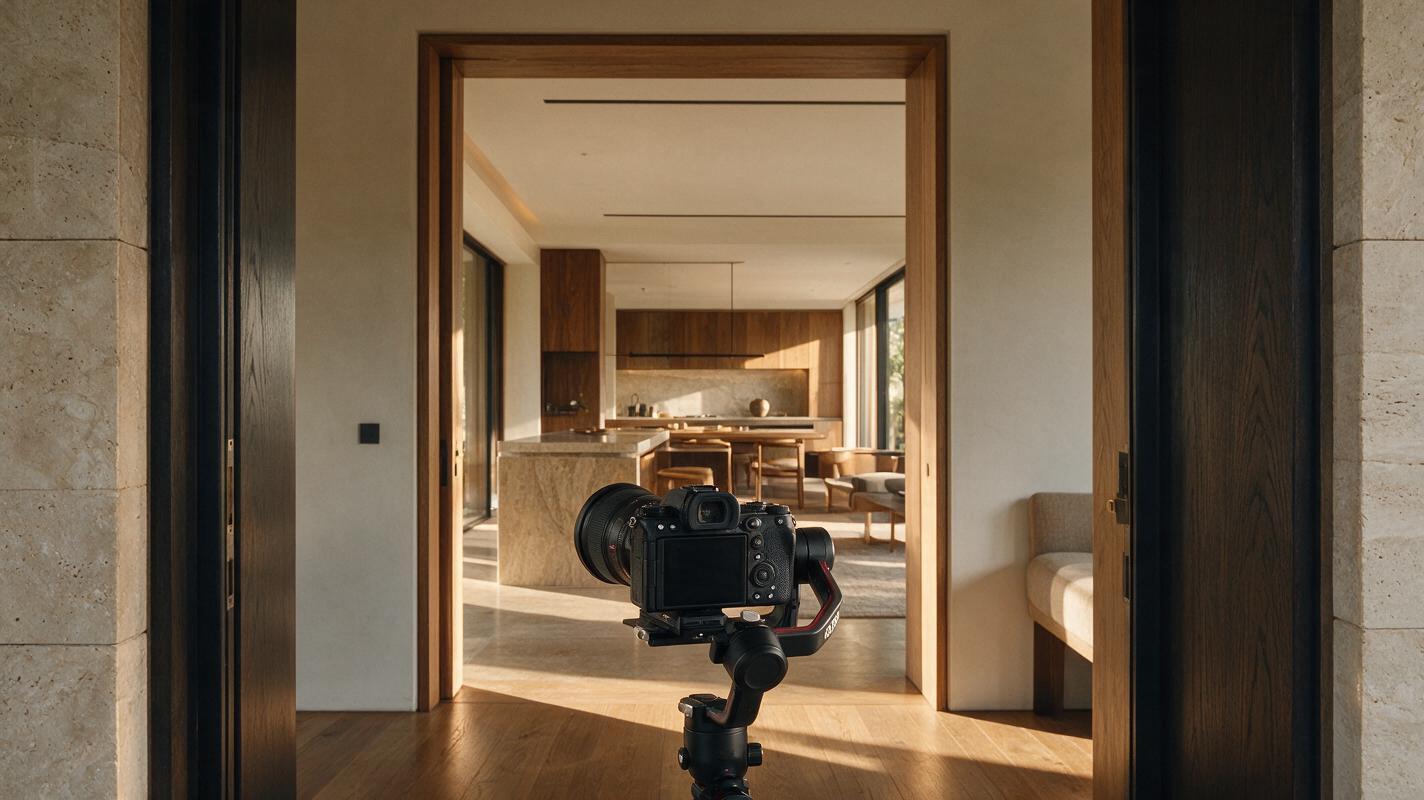
Table of contents
Create smooth transitions without inventing a different house
A convincing room-to-room property video should feel like one continuous tour, even when it is built from separate listing photos. The challenge is preserving walls, doors, windows, fixtures, and room proportions while adding enough camera motion to connect each shot. Runway can help animate the source images, but the prompt must describe restrained camera movement rather than ask the model to reconstruct unseen parts of the property.
This prompt collection focuses on transitions that hide discontinuities instead of hallucinating a physical route between rooms. You will create short clips, connect them at visually compatible frames, and reserve generated bridge shots for areas that are supported by the listing media.
Accuracy rule: Do not imply that two rooms are physically connected unless the floor plan, photographs, or verified property information confirms the connection.
Build a transition map from verified listing media
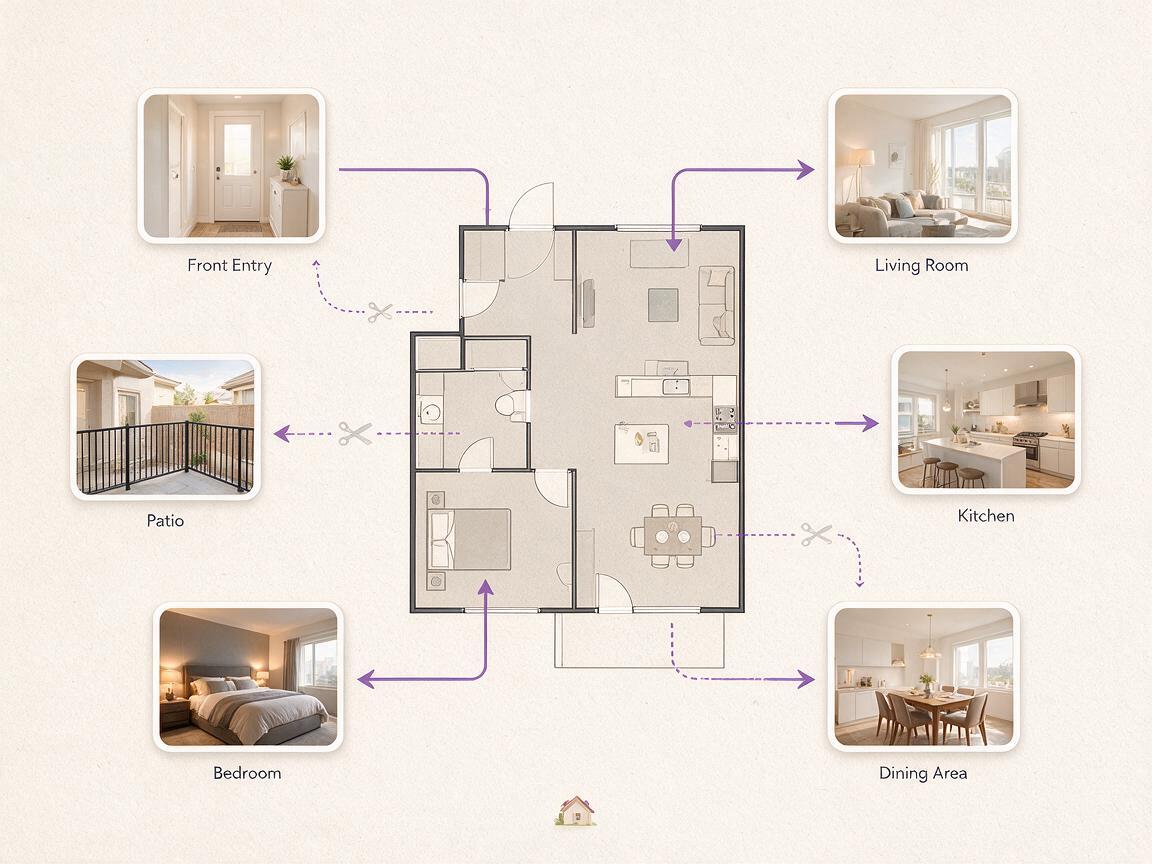
Start by arranging the listing photos in a defensible viewing order. A floor plan is the best reference, but photographer notes, image timestamps, door positions, and repeated architectural details can also help establish the route.
A practical sequence might be:
- Front exterior to entry hall
- Entry hall to living room
- Living room to kitchen
- Kitchen to dining area
- Primary bedroom to ensuite
- Patio to backyard or pool
Mark any uncertain connection before generating clips. If you cannot verify what exists between two photographs, use a cut, dissolve, title card, or detail insert. Do not ask Runway to manufacture a corridor, doorway, or staircase.
Look for transition anchors that appear in adjacent images:
- The same doorway photographed from opposite sides
- A repeated pendant light, fireplace, countertop, or window
- A shared wall color or flooring material
- A dark doorframe that can briefly fill the screen
- A close architectural detail that supports a match cut
Prepare source photos for controlled animation
Use the original edited listing photographs rather than screenshots or compressed social-media downloads. Correct perspective, white balance, and exposure before animation, because video generation can amplify tilted verticals and inconsistent lighting.
For each transition, select images with compatible movement opportunities. A centered doorway supports a forward push. A wide room with strong horizontal lines supports a slow lateral slide. A close-up of a faucet, fireplace, or pendant can become a useful visual bridge.
When using Runway for image to video, begin with one source photograph per short shot. This provides more control than requesting an entire multiroom tour in one generation. If the selected mode supports start and end frames, use them only when both images represent a verified, visually compatible connection.
| Source-image relationship | Recommended transition | Avoid |
|---|---|---|
| Same doorway from two sides | Forward push through a dark frame | Generating an unseen hallway |
| Adjacent open-plan areas | Slow lateral slide or gentle pan | Fast orbit around furniture |
| Rooms with a shared detail | Detail match cut | Morphing one fixture into another |
| Unverified connection | Dissolve, title card, or exterior insert | Fabricated continuous walkthrough |
| Exterior and interior | Doorframe occlusion or clean cut | Passing through closed glass or walls |
Use a doorway push for genuinely connected rooms
A doorway transition works best when the opening is clearly visible and the next photograph shows the confirmed room beyond it. The camera should approach the opening without revealing new architecture around the corner.
Animate this verified real-estate listing photograph as a restrained luxury property-tour shot. The camera makes a slow, straight forward push toward the open doorway. Preserve the exact wall positions, doorway dimensions, ceiling height, flooring, windows, furniture, lighting fixtures, materials, and room proportions. Keep all vertical lines straight. Natural stabilized camera motion, realistic depth, no added rooms, no new doors, no object movement, no architectural redesign. End as the dark doorway frame nearly fills the view.Cut near the moment when the doorframe occupies most of the image. Begin the next clip with a matching forward movement out of a similarly dark or visually simple frame. This hides the edit while avoiding an invented journey through space the camera never photographed.
If Runway bends the frame, shorten the movement and replace “move through the doorway” with “move toward the doorway.” The latter asks for less unseen geometry.
Connect open-plan spaces with a restrained lateral slide
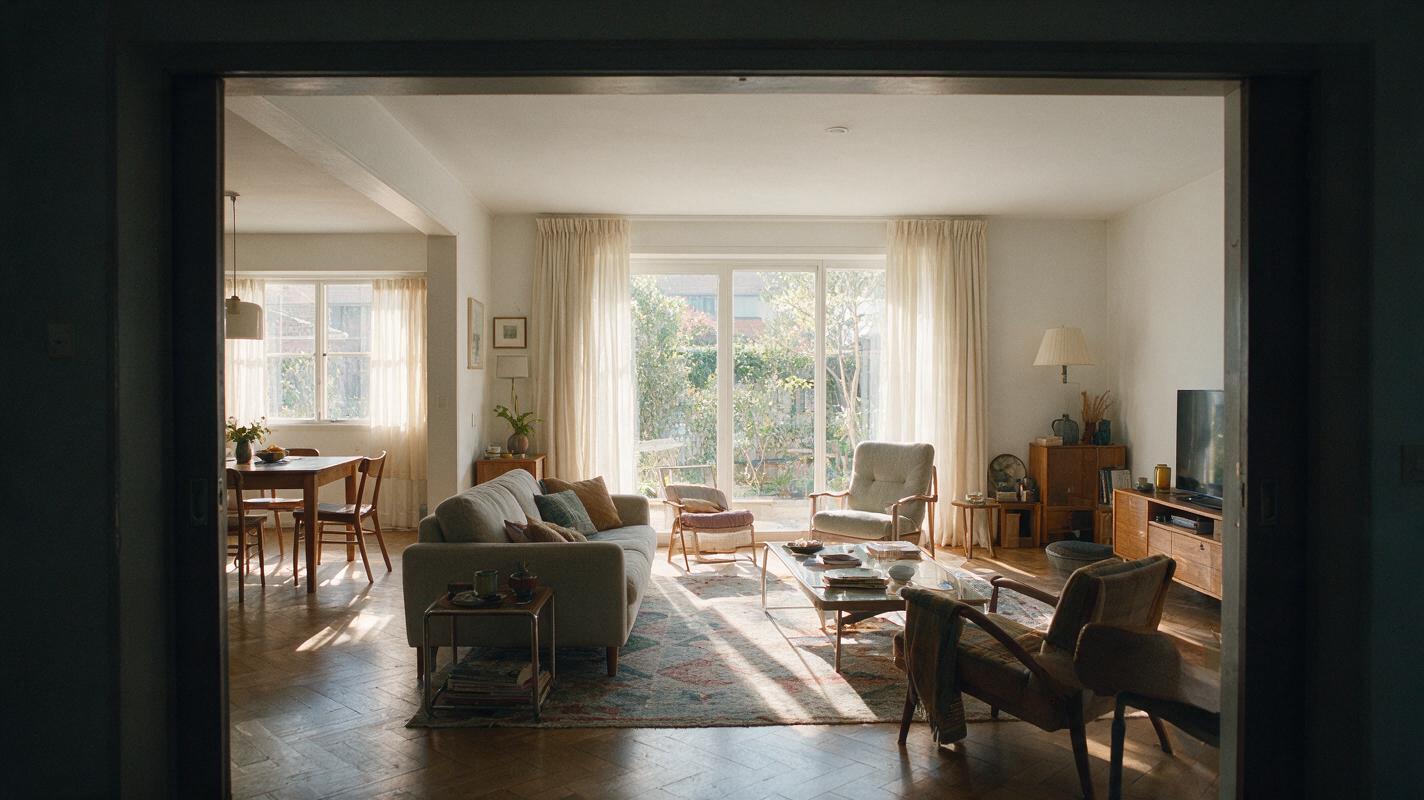
Open-plan living, dining, and kitchen areas often appear in multiple photographs taken from different corners. Trying to orbit between those viewpoints can distort islands, cabinets, and ceiling lines. A short lateral slide is usually safer.
Create a subtle stabilized lateral camera slide from left to right across this open-plan listing interior. Maintain the exact kitchen island shape, cabinet layout, appliance positions, pendant-light count, window placement, furniture arrangement, flooring pattern, and wall geometry. Preserve straight architectural lines and realistic perspective. No orbit, no zoom, no changing decor, no moving furniture, no expanding the room, no additional windows or fixtures.Generate the second room clip with motion in the same direction. Matching screen direction makes a cut feel intentional even when the camera positions are not physically continuous.
Editing tip: Preserve direction across the cut. A left-to-right slide followed by a right-to-left slide can feel like the viewer abruptly reversed course.
Hide difficult cuts with architectural details
Detail inserts are valuable when two room photos do not share a doorway or compatible viewpoint. Use a verified feature already documented by the photographer: a stone countertop edge, fireplace texture, brass handle, pendant light, tile pattern, or carved stair rail.
Animate the detail with minimal movement:
Animate this close architectural detail from the property with an extremely slow cinematic push-in. Preserve the exact material texture, color, shape, reflections, hardware, joinery, and surrounding construction. Shallow natural depth of field with no object transformation. No added decoration, no changing pattern, no artificial sparkle, no text, no logos.Place the detail clip between two wider room shots. A brief bridge resets the viewer’s spatial expectations and lets you change camera angle without pretending the video is an uninterrupted walkthrough.
This pattern is especially effective for luxury listings, where craftsmanship details can support the marketing story while making the edit more coherent.
Create an exterior-to-interior entrance transition
Passing directly through a front door often causes the model to invent the foyer behind it. A safer treatment is to approach the entrance, cut while the door or shadow fills the frame, and continue from a verified interior photograph.
Exterior entrance prompt
Animate this listing exterior with a slow stabilized forward camera push toward the existing front entrance. Preserve the exact facade, roofline, windows, doors, landscaping, driveway, exterior materials, shadows, and property proportions. Do not open the door. Do not reveal or generate the interior. End with the existing doorway and natural shadow occupying most of the frame. No people, vehicles, weather changes, or architectural alterations.Interior continuation prompt
Animate this verified entry-hall photograph with a slow stabilized forward movement beginning close to the existing dark doorframe. Preserve the exact foyer dimensions, staircase, flooring, walls, doors, windows, fixtures, artwork, and lighting. Straight vertical lines, realistic lens behavior, no new rooms, no widened hallway, no changing furniture or decor.Use a short dissolve or a few frames of near-black overlap if the doorframes do not align perfectly. The objective is a polished entrance beat, not a simulated camera path unsupported by the photography.
Adapt the prompts for vertical listing reels
A vertical crop gives architecture less room to breathe. Compose around one dominant feature and avoid wide sideways movement that pushes important details out of frame.
Add this instruction to the relevant prompt:
Compose for a vertical 9:16 property reel. Keep the principal doorway, fireplace, kitchen island, or window centered within the safe area. Use restrained motion and preserve sufficient space for interface overlays. Do not crop essential architectural features or stretch the room vertically.Use an ai video generator to produce individual transition clips, then assemble them in a conventional editor. Keep text, logos, agent details, and listing facts out of the generated frames; add those elements afterward so spelling and brand placement remain controlled.
Troubleshoot warped rooms and false connections
| Problem | Likely cause | Practical correction |
|---|---|---|
| Doorway expands or changes shape | Forward movement is too long | Shorten the clip and stop before entering |
| Kitchen island bends | Lateral movement is too aggressive | Reduce travel and remove orbit language |
| New windows appear | Prompt asks the model to reveal unseen space | Limit motion to the photographed field of view |
| Furniture slides between frames | Complex motion or weak preservation language | Request a static scene with camera-only movement |
| Two rooms appear physically connected | Generated bridge overstates continuity | Replace it with a detail insert or visible edit |
| Vertical reel feels cramped | Source image lacks crop room | Choose a more centered photograph or reduce motion |
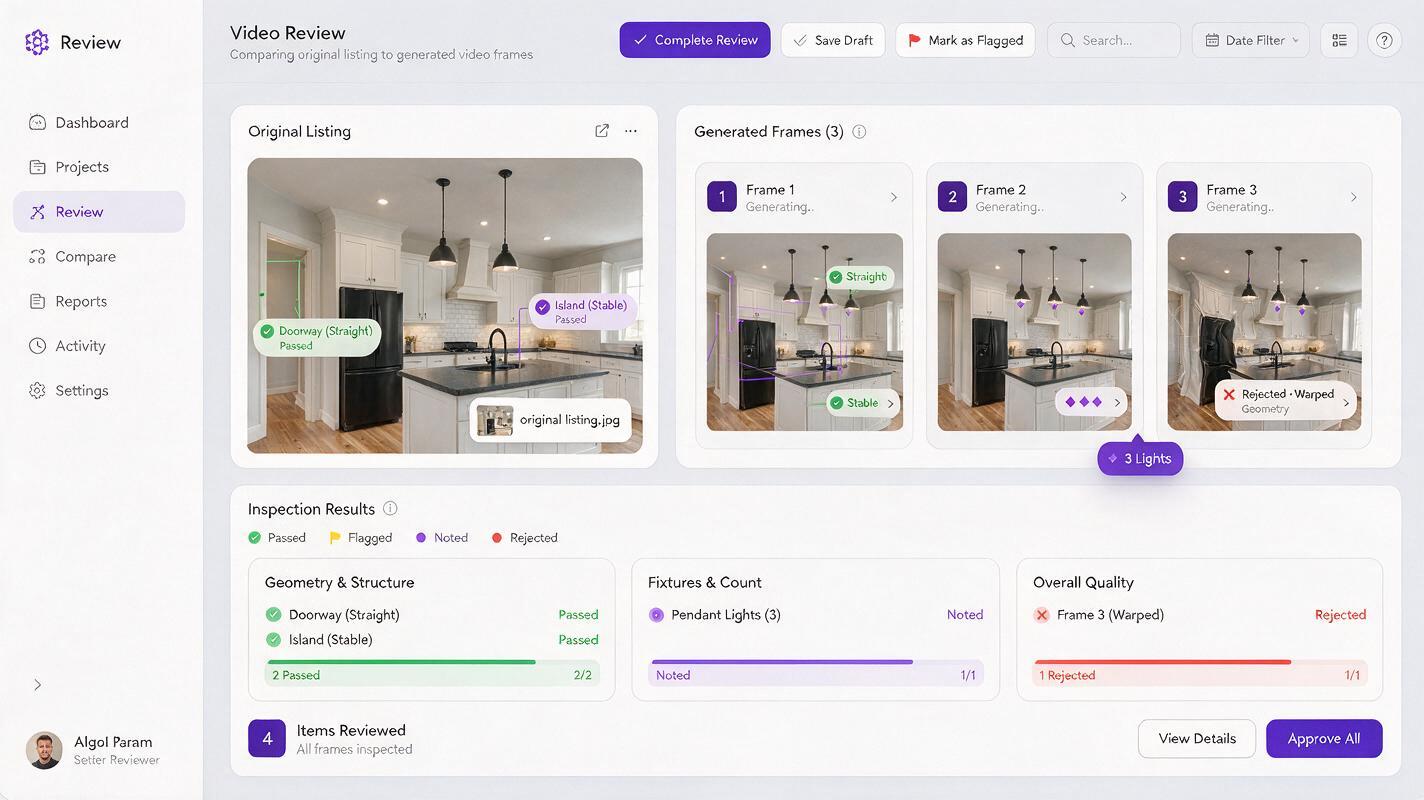
Review the first, middle, and final frames at full size. Watch straight lines, fixture counts, reflections, exterior views through windows, and any text visible on appliances or artwork. If a transition fails one of these checks, regenerate it with less movement rather than adding more prompt language.
Keep the finished property video truthful
Generated transitions should improve pacing, not alter material facts. Avoid adding fire to an unlit fireplace, opening a closed door to an undocumented room, changing landscaping, introducing a view, or removing permanent property features.
When a clip contains visibly generated movement or conceptual imagery, follow local advertising requirements and the listing platform’s disclosure policies. Internally, retain the source images, prompts, generated outputs, and approved final edit so the production trail can be reviewed.
Runway is most useful here as a shot-level animation tool. The strongest result comes from short, controlled clips connected through editing—not from asking the model to infer the entire floor plan.
Final checklist
- Confirm the room sequence with a floor plan or verified listing media.
- Use one high-resolution source photo for each short animated shot.
- Choose transitions that conceal cuts rather than generate unseen architecture.
- Keep camera movement slow, straight, and limited to the photographed view.
- Repeat explicit preservation instructions for geometry and permanent fixtures.
- Check screen direction before joining adjacent clips.
- Inspect opening, middle, and closing frames at full resolution.
- Add branding and listing text during editing, not video generation.
- Disclose generated or conceptual visuals when required.
Ready to build the first transition? test this prompt yourself with a doorway or open-plan listing photo, then compare the output against the original before producing the full tour.
Keywords
runway prompts, property video transitions, listing photo animation, room-to-room video, real estate reels, image to video, home tour editing