What AI Tools Can Turn a Script Into a Storyboard and Video?
The best script-to-video workflow separates story breakdown, storyboard approval, and motion generation instead of asking one model to interpret everything at once. This guide compares practical AI tools and shows how to turn a short-drama script into consistent, editable shots.
Table of contents
The short answer
LTX Studio is a strong option for script-led visualization in one environment, while Boords is useful when storyboard review and export matter more than final video generation. Adobe Firefly Boards can support visual development, and Runway can generate or refine individual video shots after the storyboard is approved.
For an AI short drama, the dependable approach is not one-click conversion. Break the script into visual facts, approve still anchor frames, and only then generate motion. That sequence gives you more control over casting, locations, props, screen direction, and edit points.
The storyboard is not decoration. It is the approval boundary between what the script means and what the video model will attempt to render.
Step 1 — Choose the pipeline before choosing the tools
Start by deciding whether you need an all-in-one workspace or a modular production stack. An integrated ai storyboard workflow reduces handoffs. A modular stack gives you more freedom to select a different tool for script analysis, still-image generation, motion, dialogue, and editing.
| Tool or approach | Best production role | Important limitation to test |
|---|---|---|
| LTX Studio | Script breakdown, visual planning, storyboarding, and early video development in one workspace | Confirm that its interpretation, shot language, and exports fit your production method |
| Boords | Turning screenplay material into reviewable storyboard panels and sharing boards with collaborators | It is primarily a preproduction choice, so final motion may require another tool |
| Adobe Firefly Boards | Exploring visual directions, references, compositions, and campaign-style boards | Plan a separate process for screenplay breakdown and finished scene assembly |
| Runway | Generating and refining individual video shots from approved visual ideas | Long-form narrative continuity still depends on references and production discipline |
| Modular multi-model workflow | Testing different image and video models for each shot type | Requires clear file naming, reference control, and manual continuity review |
Before committing to a platform, test one difficult scene rather than an easy establishing shot. Use a scene containing a recurring character, a recognizable prop, dialogue, and a change of emotion. If the workflow cannot preserve those facts through revisions, it will become harder to manage across an AI series video.
Copyable visual prompt:
Create a neutral four-stage filmmaking process diagram without words, logos, software interfaces, or brand marks. Show, from left to right, a physical screenplay page with unreadable markings, six cinematic storyboard cards, one polished anchor frame, and three sequential film frames suggesting controlled motion. MANDATORY LAYOUT: landscape 16:9, four clearly separated horizontal stages, consistent recurring woman and apartment location, editorial realism, muted production colors, clean light-gray background, no arrows containing text, no readable typography.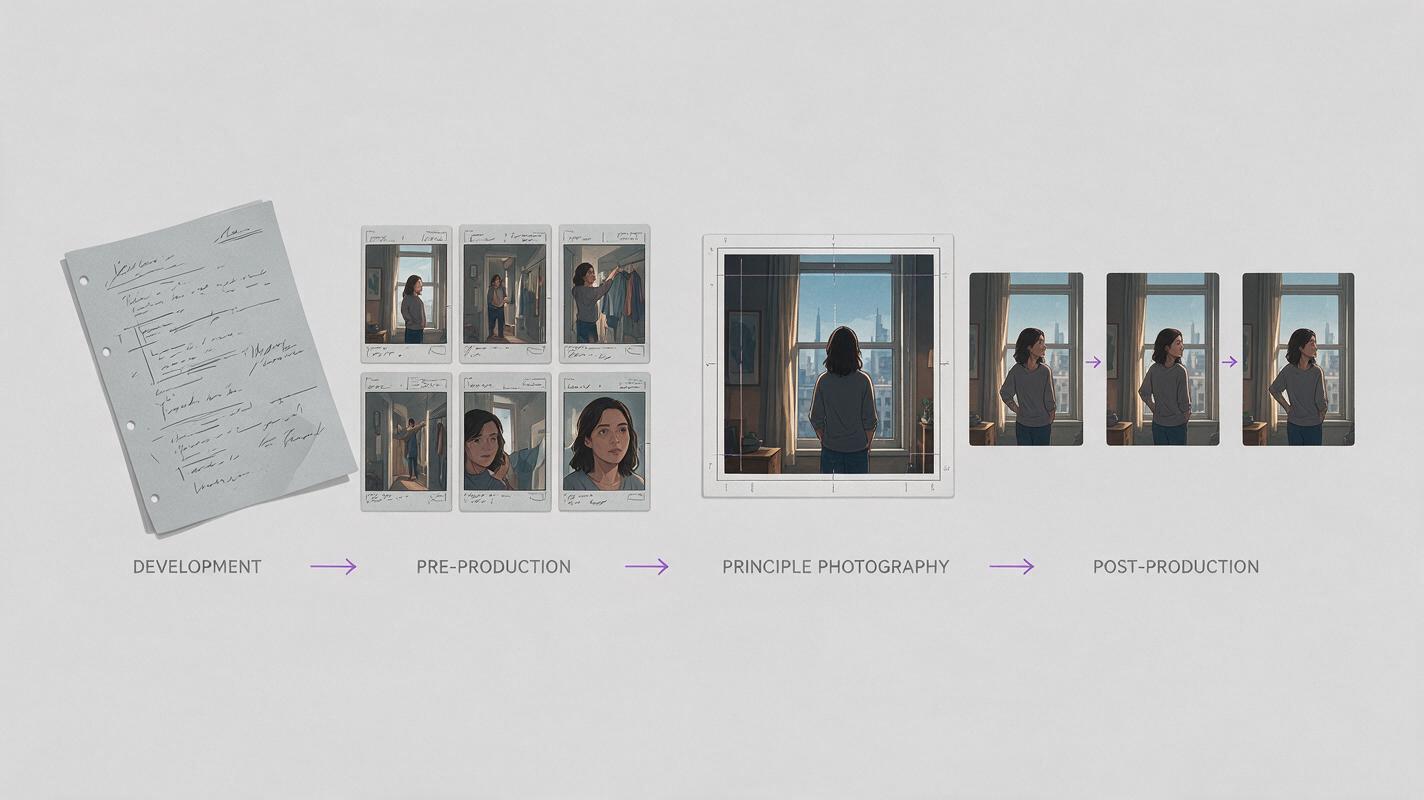
Step 2 — Convert the script into visual facts
Do not send an entire episode directly into an AI drama generator. First convert every scene into facts that can be seen or heard. This prevents the model from inventing a different interpretation each time.
For each scene, record:
- Story change: what becomes different by the end of the scene?
- Visible action: what can the audience actually observe?
- Character state: costume, emotion, injuries, carried objects, and position.
- Location state: time of day, weather, practical lighting, and important background features.
- Required evidence: the insert, reaction, or reveal that makes the plot understandable.
- Exit image: the final composition that must connect to the next shot.
A line such as “Mara realizes the key belongs to her missing sister” is not yet visual direction. Convert it into observable beats: Mara studies the scratched key, recognizes a blue thread tied through its ring, stops breathing for a moment, and looks toward the locked bedroom.
Next, create one reference sheet for every recurring character. Approve facial structure, hair, costume, age range, and body proportions before generating scene frames.
Copyable character-sheet prompt:
Photorealistic three-panel character reference sheet of the same fictional woman, Mara, age 31, oval face, warm brown skin, shoulder-length tightly curled black hair, small scar through the right eyebrow, charcoal wool coat over a muted blue shirt, black straight-leg trousers, simple silver ring, natural makeup. Show exactly three full-body views: front, true left side, and back. MANDATORY CAMERA: eye-level orthographic reference photography, 70mm lens appearance, identical scale and neutral posture in every panel. MANDATORY LAYOUT: landscape 16:9, three equal vertical panels, neutral light-gray seamless studio background, soft even lighting, no text, no logos, no props, no extra people.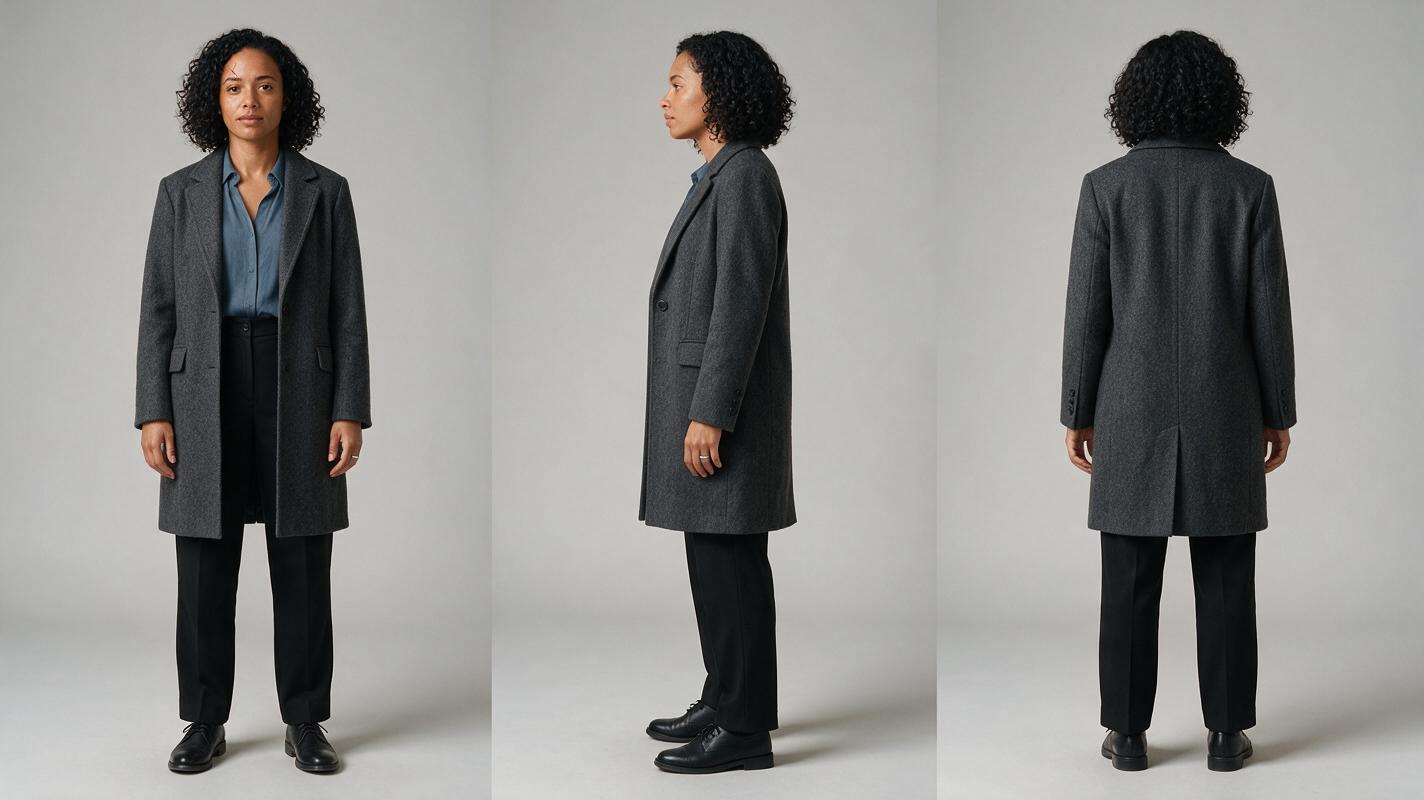
Step 3 — Build storyboard frames around editorial decisions
A useful storyboard does more than illustrate dialogue. Each panel should answer an editing question: where are we, who has the information, what changes, and where can the editor cut?
Build a compact shot set for each scene:
- An establishing frame that defines geography only when the location matters.
- An action frame that shows the initiating behavior.
- An evidence frame for the key, message, photograph, wound, or other plot detail.
- A reaction frame that gives the discovery emotional meaning.
- An exit frame that prepares the transition or cliffhanger.
Keep each panel focused on one dominant event. A prompt asking a character to enter, find a key, read a note, cry, turn around, and confront another person creates too many opportunities for visual failure.
Label continuity outside the generated artwork. Record the character reference, location reference, costume state, prop state, shot size, lens intention, screen direction, and intended duration in your production notes. Do not depend on text rendered inside an AI image.
Step 4 — Approve anchor frames before generating motion
An anchor frame is the approved still image that defines the visual contract for a shot. It should lock the cast, wardrobe, location, lighting, composition, and important props before animation begins.
Review anchor frames as a sequence rather than one at a time. Place adjacent shots side by side and inspect:
- Whether the same character remains recognizable across shot sizes.
- Whether doors, windows, furniture, and practical lights stay in plausible positions.
- Whether a prop changes hands or orientation without a story reason.
- Whether screen direction supports the intended cut.
- Whether the final frame leaves enough negative space for vertical reframing or captions.
If the first generated board is weak, repair the stills now. Generating motion from an incorrect frame usually preserves the wrong costume, prop, or composition while adding new movement problems.
SHOT: Mara recognizes her sister's key.
SUBJECT: Use the approved Mara character reference without changing face, hair, coat, or jewelry.
ACTION: Mara holds a scratched brass key at chest height and notices one faded blue thread tied through the ring.
LOCATION: Narrow lived-in apartment hallway, cream walls, dark wooden bedroom door behind her, warm ceiling practical.
CAMERA: Tight medium shot, eye level, 70mm lens appearance, static composition.
CONTINUITY: Key in right hand; locked bedroom remains over Mara's left shoulder; no other person visible.
EMOTION: Recognition beginning, restrained rather than crying.
OUTPUT: Photorealistic cinematic anchor frame, natural skin texture, believable hands, no text or logos.
Step 5 — Generate motion from approved anchor frames
Move from storyboard to video shot by shot. A controlled script to video workflow should treat each clip as an editable unit, not as a complete scene that must be accepted or rejected as a whole.
Describe one primary movement and one secondary movement. For example, Mara raises the key slightly while her eyes shift toward the door. Avoid combining walking, speaking, turning, handling a prop, and changing expression in the same short generation.
Animate from the approved anchor frame. Mara remains in the same hallway, costume, lighting, and camera composition. She raises the brass key by approximately five centimeters, notices the blue thread, pauses, then shifts her eyes toward the locked bedroom door without turning her body. Static camera, restrained natural performance, subtle breathing, stable facial identity, stable right hand and key geometry. No zoom, no new objects, no costume change, no extra person, no exaggerated expression.Generate dialogue coverage separately when lip movement is essential. A reaction shot, prop insert, or off-screen line can often communicate the same information with less visual risk. Preserve silent versions of useful clips so the editor can adjust timing later.
Copyable failure-mode comparison prompt:
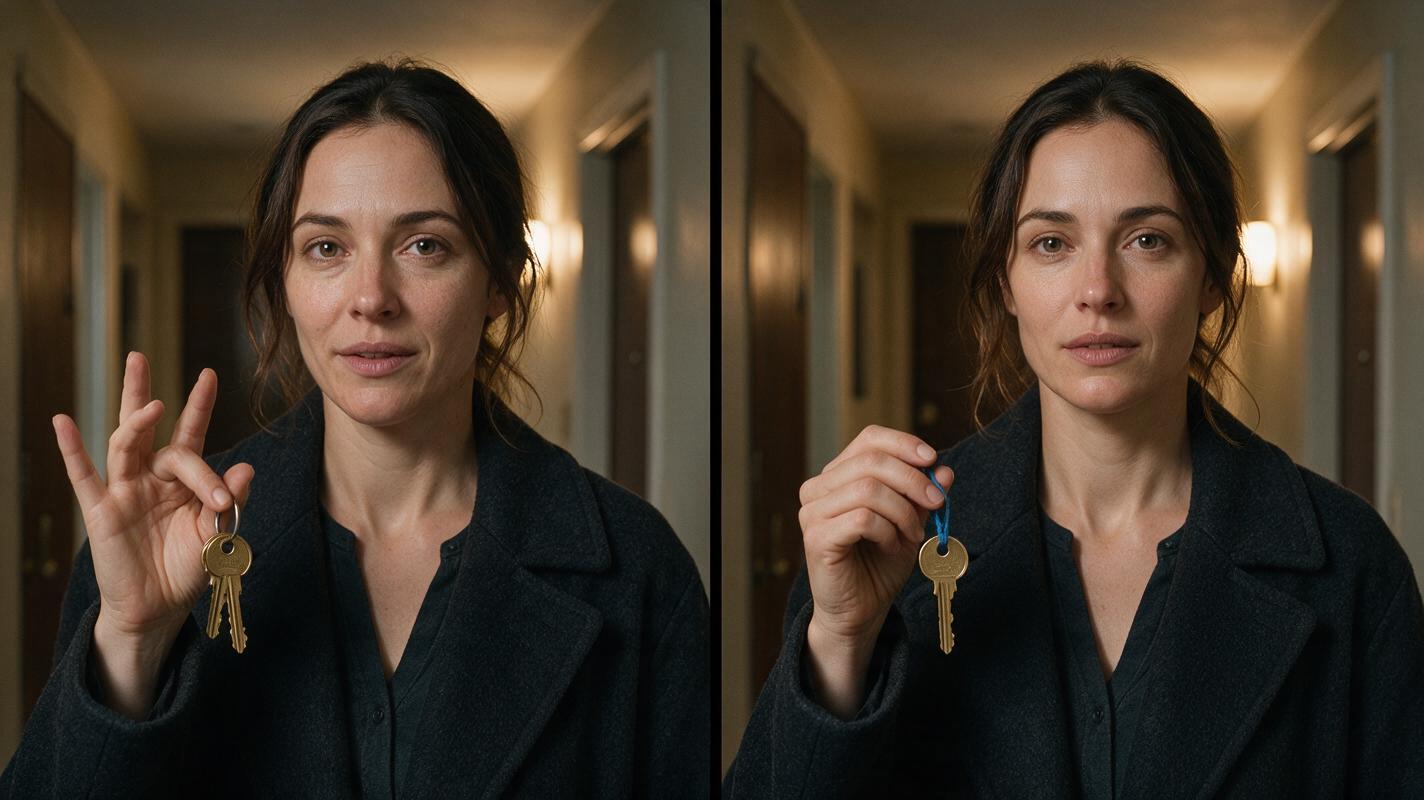
Create a photorealistic side-by-side filmmaking comparison using the same fictional woman, hallway, brass key, costume, and warm practical lighting. Left panel: a failed video frame with subtly drifting facial identity, duplicated fingers around the key, and an unexplained second key appearing near the hand. Right panel: corrected frame with stable facial features, one anatomically believable right hand, and exactly one brass key with blue thread. MANDATORY CAMERA: identical tight medium shot, eye level, 70mm lens appearance, locked camera and matching composition in both panels. MANDATORY LAYOUT: landscape 16:9 split into two equal panels, cinematic editorial realism, no labels, no text, no logos, no software interface.Step 6 — Assemble the scene and repair only what fails
Edit the approved clips with temporary dialogue, sound effects, and room tone before regenerating anything. A shot that feels slow may need a shorter edit rather than a new render. A questionable hand movement may disappear under a prop insert or reaction cut.
Classify each problem by layer:
- Story problem: revise the scene card or add missing evidence.
- Identity problem: return to the approved character reference and anchor frame.
- Motion problem: shorten or simplify the requested action.
- Continuity problem: regenerate the smallest affected shot or create a bridge insert.
- Timing problem: solve it in the edit before generating replacement footage.
This repair-first approach is especially important for short drama from script because episodic production multiplies small continuity errors. Keep approved references and completed story states available for later episodes rather than rebuilding them from memory.
When your test scene, reference packet, and shot prompts are ready, try these models for free and compare the same anchor frame across different generation options before rendering the full episode.
FAQ
Can one AI tool turn a complete script directly into a finished video?
Some platforms can interpret scripts and produce boards or generated footage in a connected workflow. However, a finished narrative still benefits from human approval at the scene-card, character-reference, storyboard, anchor-frame, and edit stages. Direct conversion is best treated as a first visualization pass.
Should I generate the storyboard as 16:9 or 9:16?
Use the intended delivery format whenever possible. For vertical drama video, compose important faces, hands, props, and doorways inside the narrow story column. A 16:9 character reference sheet can still be used because it documents identity rather than final framing.
Which tool is best for storyboard collaboration?
Choose based on how reviewers need to comment, reorder panels, export boards, and compare revisions. Boords is oriented toward storyboard production and review, while broader visual-development platforms may be preferable when mood, style, and image exploration are the main goals.
Should text-to-video or image-to-video come first?
Text-to-video is useful for exploration. Image-to-video is usually easier to direct after character and scene frames have been approved because the starting composition already contains the required visual facts.
Sources
- LTX Studio official website
- Boords official website
- Adobe Firefly Boards official product page
- Runway official website
Final checklist
- Test the pipeline with one continuity-heavy scene before processing an episode.
- Translate internal emotions into visible actions and evidence.
- Approve recurring characters and locations before storyboarding.
- Use each storyboard panel to make a specific editorial decision.
- Generate motion only from approved anchor frames.
- Limit each clip to one primary and one secondary movement.
- Repair the failed layer instead of regenerating the whole scene.
- Archive references and story states for future episodes.
Keywords
short drama from script, AI short drama, AI drama generator, AI short film generator, AI series video, vertical drama video