What AI Tools Turn a Script Into a Storyboard and Video?
The strongest script-to-video workflow separates story planning, storyboard approval, anchor-frame generation, and shot animation instead of asking one model to make an entire episode at once. This guide compares practical tool paths and shows how to convert a short-drama script into editable, continuity-safe video.
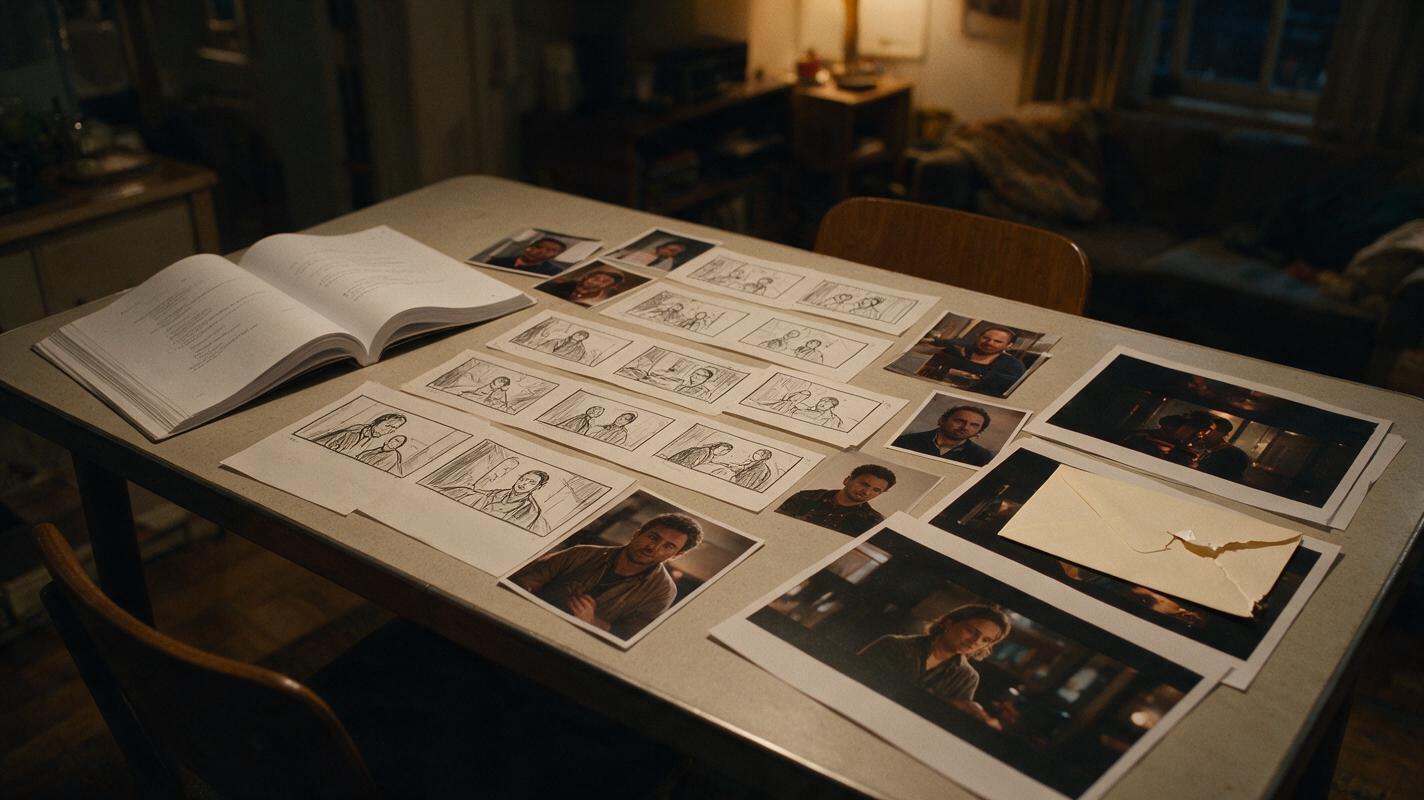
Table of contents
From Written Scene to Editable Video
The best AI tools for turning a script into a storyboard and video are LTX Studio for integrated visualization, Boords for storyboard planning and animatics, Runway or Adobe Firefly for shot generation, and a multi-model workflow when one model cannot handle every shot consistently.
The crucial production decision is not simply which tool accepts a script. It is whether the workflow gives you control between the script and the final video. For an AI short drama, that control comes from approving scene beats, character references, storyboard frames, and shot boundaries before animation begins.
Use AI to generate shots, not to make unattended editorial decisions. A storyboard should expose continuity and pacing problems while they are still inexpensive to change.
Step 1 — Choose the Right Script-to-Video Tool Path
No single route is best for every production. An integrated platform is convenient for a first pilot, while a modular toolchain offers more control over character identity, camera design, and selective regeneration.
| Tool path | Best use | Storyboard control | Video role |
|---|---|---|---|
| LTX Studio | Rapid script visualization | Scene and shot planning inside an integrated filmmaking workspace | Moves from planned shots toward generated sequences |
| Boords plus a video model | Approval-led production | Dedicated storyboard, shot-list, and animatic workflow | Approved frames are recreated or exported for animation elsewhere |
| Runway | Generating and revising individual shots | External boards or reference images are usually helpful | Text- and image-guided video generation and editing |
| Adobe Firefly | Shot generation within an Adobe-centered workflow | Boards or approved stills can guide production | Text-to-video and image-to-video generation |
| Multi-model workspace | Testing different models shot by shot | References and boards remain independent of the selected model | Useful when dialogue, action, environments, and inserts require different strengths |
If you want planning and generation in one production path, begin with script to video. The practical advantage of a one-stop, multi-model route is that the script, visual references, and generated shots do not need to be rebuilt whenever a scene calls for a different model.
Do not evaluate tools from a single attractive clip. Test the same short scene in each candidate workflow and compare character continuity, shot control, regeneration effort, export options, licensing terms, and the clarity of the approval process.
Step 2 — Convert the Script Into Visual Shot Packets
Before generating a storyboard, break each scene into packets containing one visible action or change. A packet should specify who is present, what the audience learns, the opening composition, the action, and the closing frame needed by the edit.
SCENE: Apartment kitchen, night
STORY BEAT: Mara discovers that the envelope has already been opened.
SHOT: Medium close-up, vertical-safe composition.
OPENING STATE: Mara enters holding a sealed-looking envelope.
ACTION: She notices a torn edge and stops moving.
ENDING STATE: Her thumb holds the tear toward camera.
DIALOGUE: None.
CONTINUITY LOCKS: Navy coat, silver ring, damp hair, warm kitchen light.
NEXT-SHOT HANDOFF: Torn corner remains at lower center of frame.
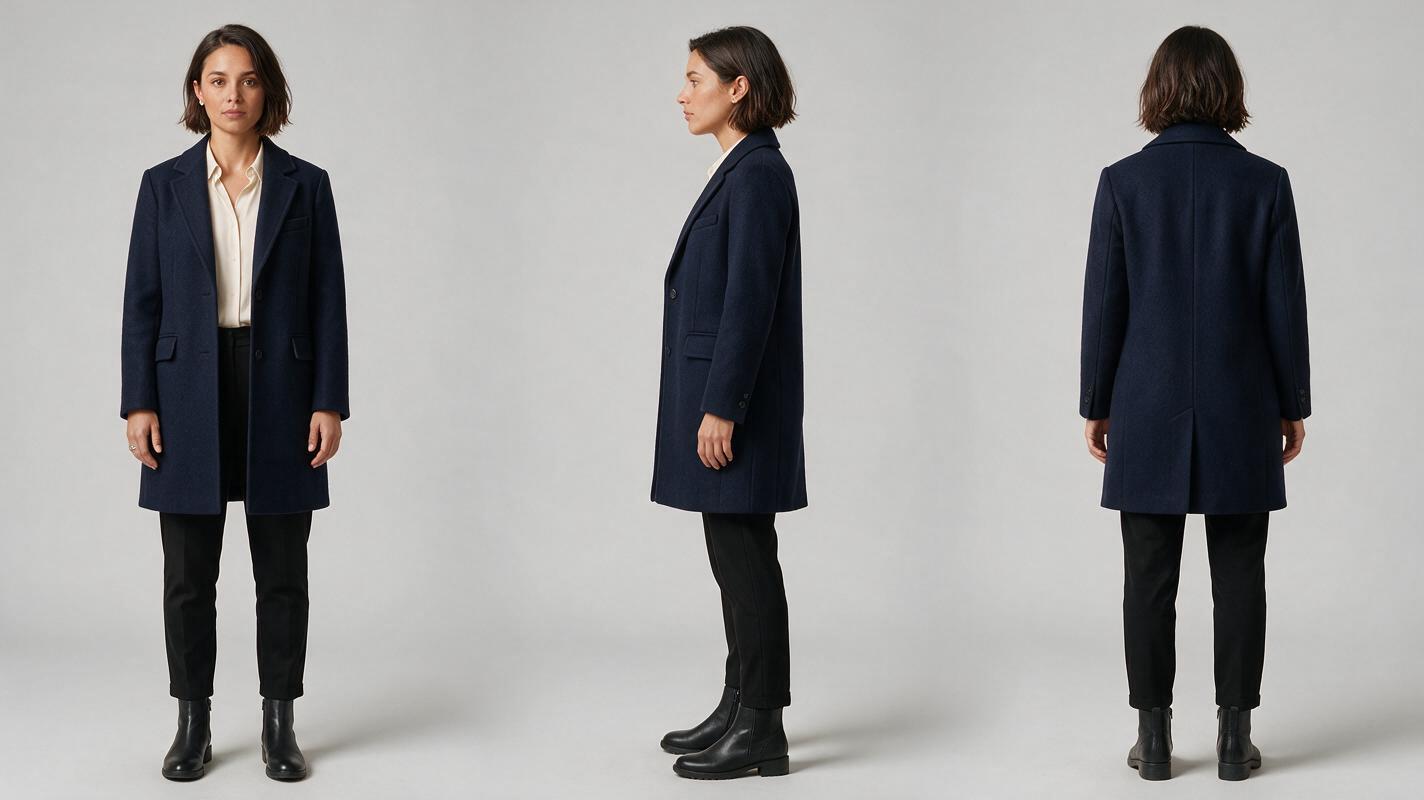
Generate a reference sheet before asking a storyboard tool to interpret repeated characters. Keep facial structure, age range, hairstyle, wardrobe, and distinctive accessories concrete. Avoid emotional language such as “mysterious woman” unless it is translated into visible design choices.
Visual asset: recurring-character reference sheet
Use this sheet as the identity reference for every storyboard frame and video shot featuring Mara.
Photorealistic three-panel character reference sheet of the same fictional woman, Mara, age 32, oval face, dark brown chin-length bob tucked behind the right ear, brown eyes, small silver ring on right hand, navy wool coat over a cream shirt, black trousers and practical ankle boots; front view, exact left-side profile, and exact back view arranged from left to right with equal scale and full body visible; neutral expression, relaxed arms, accurate anatomy, identical wardrobe and hairstyle in all panels; neutral light-gray seamless studio background, soft even studio lighting, no props, no labels, no text, no logos. MANDATORY CAMERA: eye-level orthographic reference views with minimal perspective distortion. MANDATORY LAYOUT: landscape 16:9, three evenly spaced panels, complete figure contained in each panel.Step 3 — Build and Approve the Storyboard
Import the script into an integrated tool such as LTX Studio, use a dedicated service such as Boords, or create the frames manually with an ai storyboard workflow. Regardless of the tool, review the result as an editor rather than as an image collector.
Every storyboard frame should answer four questions:
- Story information: What new fact, decision, or emotional change appears?
- Continuity: Which character, costume, prop, and location details must persist?
- Editability: Does the shot begin and end on usable visual states?
- Composition: Will the important action remain readable in the delivery format?
For a vertical drama video, design the board around the central vertical area even if the working storyboard is displayed in 16:9. Keep faces, hands, clues, and story-critical props away from expendable side regions.
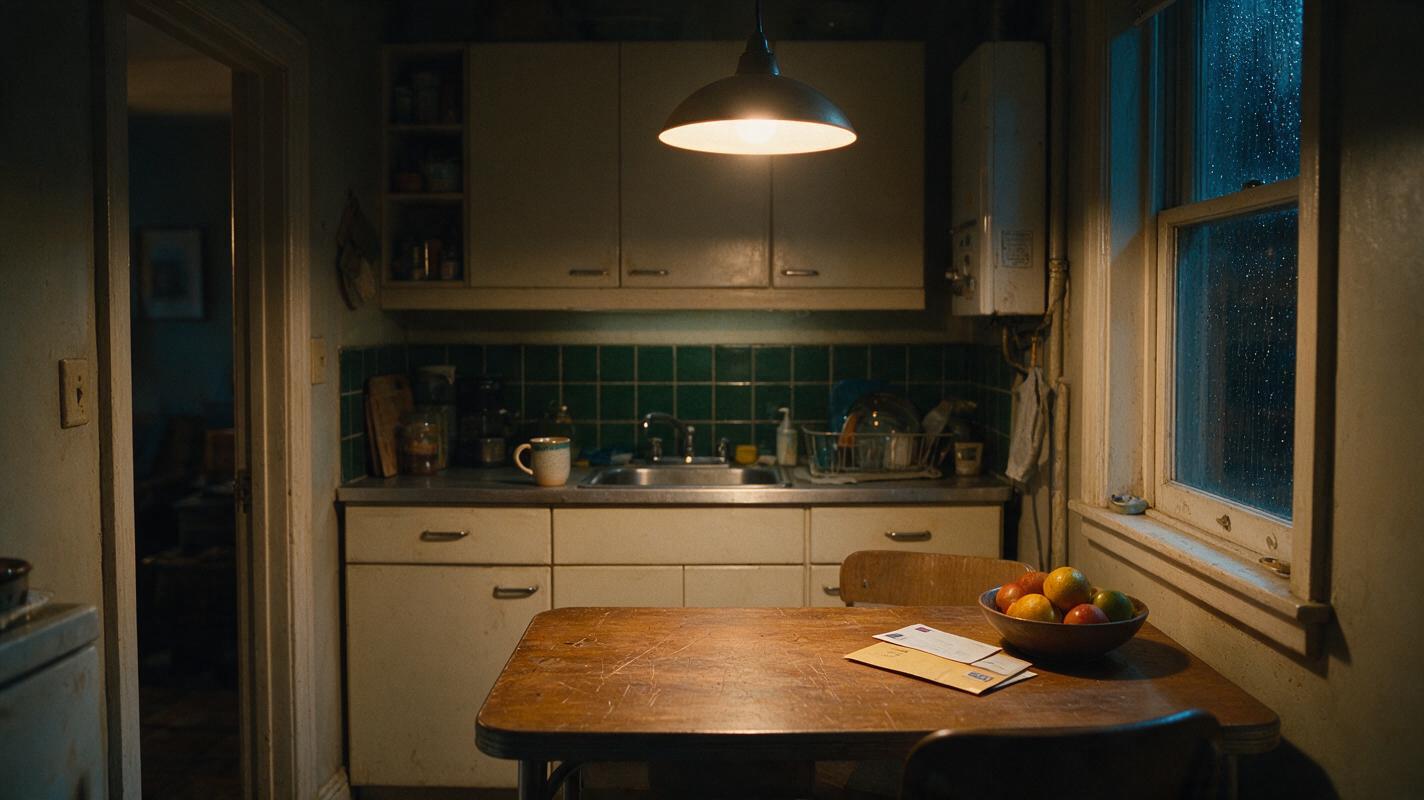
Visual asset: lived-in location anchor
Create one approved location frame without characters, then reuse its architecture, light direction, and object placement in later shots.
Cinematic editorial-realism photograph of a small lived-in apartment kitchen at night, warm pendant light above a scratched wooden table, narrow window with rain droplets, cream cabinets, dark green tile backsplash, ceramic mug near the sink, unopened mail beside a fruit bowl, believable wear and slight clutter, no people, no readable text, no logos, no interface elements; consistent warm key light from upper left and cool blue window fill from right. MANDATORY CAMERA: true three-quarter view from the doorway at standing eye level, 35mm lens appearance. MANDATORY LAYOUT: landscape 16:9, table in lower center, doorway visible at left, window visible at right, clear central staging area.Reject boards that silently alter the room, reverse entrances, duplicate props, or change wardrobe between adjacent frames. Those are not cosmetic problems: they will become harder to diagnose after motion is added.
Step 4 — Generate Anchor Frames Before Video
Do not animate the first storyboard draft. Turn each approved panel into a polished anchor frame using the character sheet, location anchor, and continuity details from the shot packet.
For dialogue coverage, generate separate frames for each speaker rather than placing both faces close together in every image. For physical interactions, establish the characters and the object in a static frame before requesting contact or complex movement.
Mara stands alone in the established apartment kitchen at night, wearing the exact navy coat and cream shirt from the character reference, damp dark-brown bob tucked behind her right ear. She holds a cream envelope at chest height and has just noticed a torn upper-right corner. Restrained alarm, lips closed, eyes fixed on the tear. Preserve the established cabinets, green backsplash, wooden table, warm pendant light and cool rainy-window fill. MANDATORY CAMERA: eye-level medium close-up, 50mm lens appearance, camera static, Mara in true three-quarter view. MANDATORY LAYOUT: vertical-safe 16:9 master frame, face in upper center, envelope and both hands fully visible in central safe area, no other people, no text, no logos.Visual asset: storyboard-to-anchor comparison
The comparison should show composition becoming more specific without changing the underlying shot.
Side-by-side production comparison of the same fictional kitchen shot: left panel is a simple monochrome storyboard drawing of Mara holding a torn envelope; right panel is the corresponding photorealistic cinematic anchor frame with the same pose, camera height, crop, envelope position and background geometry; Mara matches the approved character design with navy coat, cream shirt and dark-brown bob; neutral border between panels, no labels, no captions, no readable text, no logos, no software interface. MANDATORY CAMERA: identical eye-level medium close-up composition in both panels. MANDATORY LAYOUT: landscape 16:9 split evenly into two panels, matched subject scale and horizon line.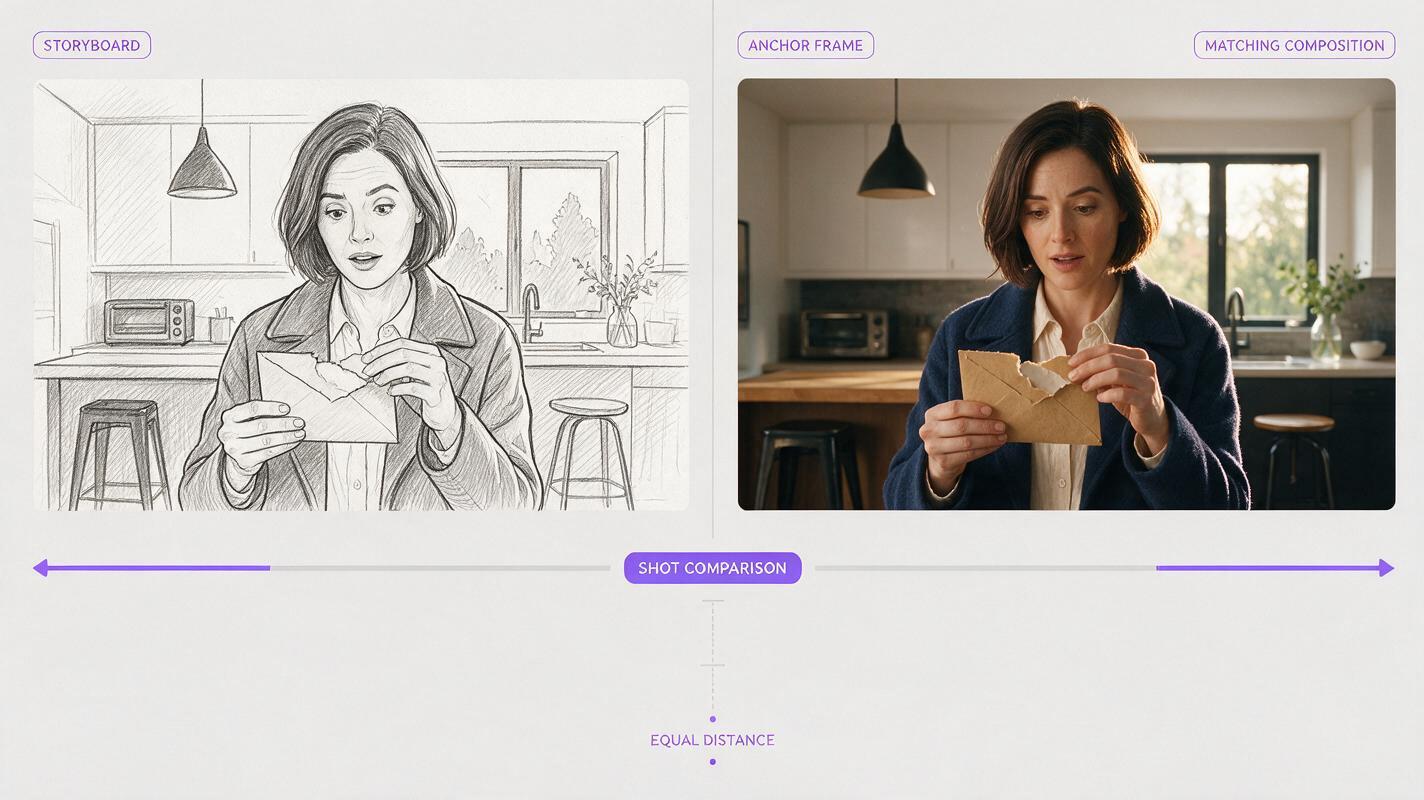
Step 5 — Animate One Controlled Change Per Shot
Send the approved anchor frame to an image-guided video model. Runway, Firefly, or another suitable model can be tested here, but keep the motion prompt narrower than the image prompt. The frame already defines identity, wardrobe, lighting, and composition; the video instruction should define only action, camera behavior, and timing.
Duration: short reaction shot.
Camera: locked; no zoom, orbit, pan or reframing.
Action: Mara lowers her eyes to the torn corner, stops breathing for a beat, then tightens her thumb slightly against the paper.
Performance: restrained recognition, closed mouth, no head turn.
Object rule: envelope remains cream-colored and rectangular; tear stays on the upper-right corner.
End frame: hold with the torn corner clearly visible.
Avoid: extra fingers, duplicated envelope, speaking, exaggerated expression, background movement.
Generate variants from the same anchor instead of rewriting the entire prompt after a failure. If the face changes, return to the reference or anchor frame. If the action is wrong, revise only the motion instruction. If the location mutates, reduce camera movement and shorten the requested action.
Step 6 — Edit the Pilot Before Expanding the Series
Cut one complete scene before generating the rest of the episode. A scene that works as isolated clips may still fail because reactions arrive late, screen direction reverses, or no shot provides a clean transition.
Review the pilot in three passes:
- Story pass: Watch without sound and confirm that the discovery is visually understandable.
- Continuity pass: Compare faces, wardrobe, props, geography, lighting, and hand positions at every cut.
- Sound pass: Add dialogue, room tone, effects, and music only after the picture order is stable.
Once the pilot works, freeze the approved character sheets, location anchors, prompt vocabulary, aspect ratio, and export settings. Those assets become the reusable production kit for an AI series video rather than disposable material from one episode.
At this point, you can try these models for free with the same anchor frame and motion prompt. Compare the resulting clips inside the actual edit; the most useful model is the one that preserves the required story information with the least repair.
FAQ
Can an AI tool generate a finished video directly from a full script?
Some platforms can interpret a script and produce visual sequences, but direct generation reduces opportunities to correct casting, coverage, continuity, and pacing. Short dramas are usually easier to control when the script is divided into approved shots before animation.
Should I use a storyboard tool or a video generator first?
Use the storyboard first. It establishes shot purpose, coverage, composition, and transitions without spending generation time on motion that may later be discarded.
What is the best option for recurring characters?
Choose a workflow that accepts stable reference images and supports image-guided generation. A three-view character sheet, fixed wardrobe description, and approved anchor frames matter more than repeatedly pasting a long prose description.
How detailed should a short-drama storyboard be?
It should show every story change and every shot required to edit that change clearly. It does not need to illustrate every small gesture. Add panels when the camera position, information, emotional state, or continuity state changes.
Can the same process support batch short drama production?
Yes. Approve a pilot first, then reuse locked references, locations, shot-packet fields, prompt structure, and quality-control checks. Batch the work by shared character and location setup rather than generating whole episodes independently.
Sources
- LTX Studio — official product website
- Boords — official AI storyboard generator page
- Runway — official product page
- Adobe Firefly — official AI video generator page
Final Checklist
- Choose an integrated or modular workflow based on the control your production needs.
- Divide the script into visible shot packets with defined opening and closing states.
- Lock recurring characters and locations before generating the complete storyboard.
- Approve anchor frames before adding motion.
- Animate one controlled change per shot and regenerate only the failed layer.
- Edit one pilot scene before scaling into episodes or batch production.
- Confirm current licensing, privacy, export, and usage terms on each tool's official website.
Keywords
short drama from script, ai short drama, ai short film generator, ai drama generator, ai series video, batch short drama production, vertical drama video