Script to Video: Use Motion Transfer AI for Realistic Character Movement
Stiff, inconsistent character movement is a common pain point for script to video AI creators, especially for longer short films and novel to video adaptations. This guide shows how to integrate motion transfer ai video into your workflow to borrow realistic human movement from reference clips, while preserving consistent character design and art style locked in during the ai storyboard phase. You’ll get copyable prompts, continuity checks, and editing tips for seamless, natural-looking AI story videos.
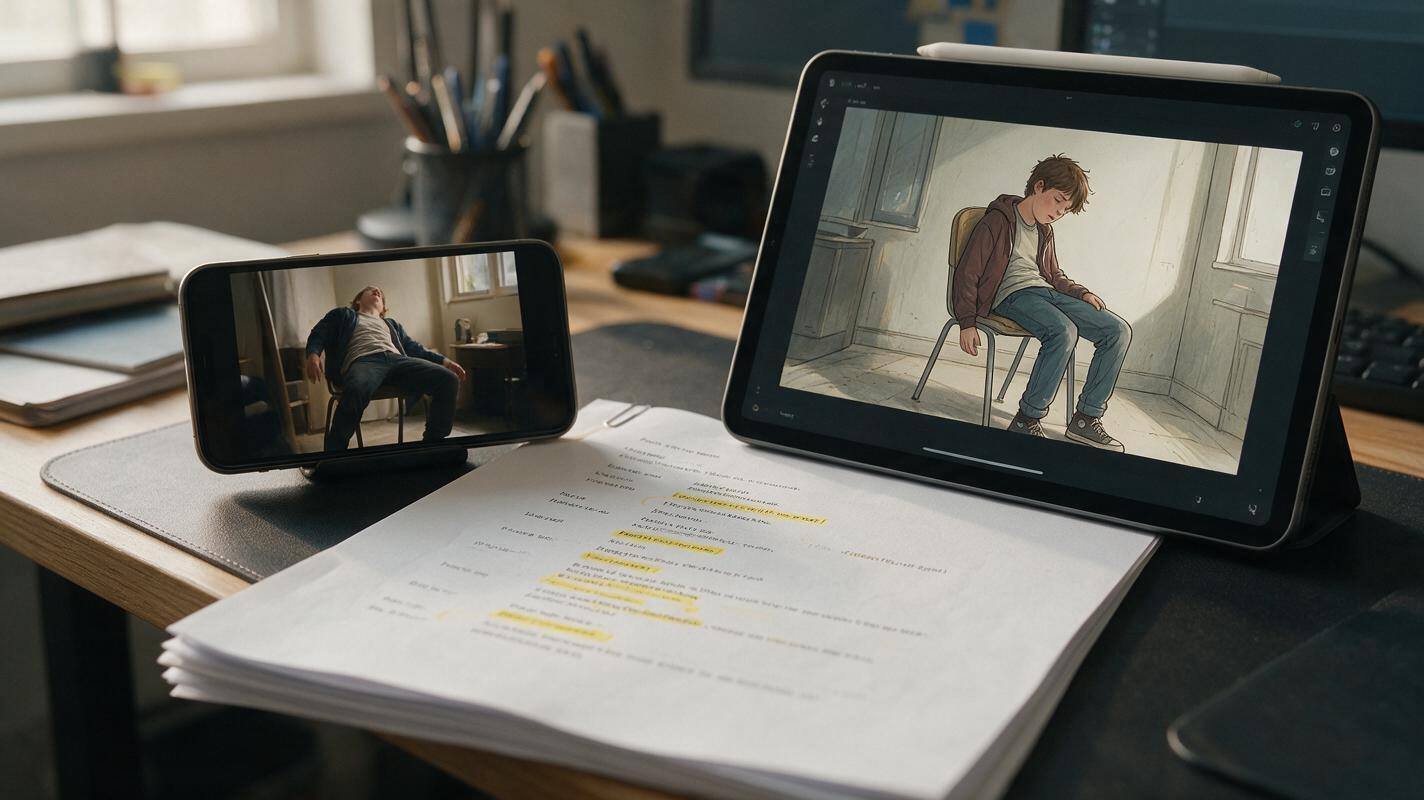
Table of contents
How Motion Transfer Fixes Stiff Script-to-Video Character Movement
If you’ve ever finished a script to video project only to find your characters move stiffly, jitter between frames, or change posture mid-scene, you’re not alone. Consistent, natural character movement is one of the biggest pain points for AI story video creators — especially for longer short films or novel to video adaptations with multiple speaking roles.
Motion transfer ai video solves this by borrowing realistic movement from real human reference clips and applying it to your AI-generated characters. When integrated into a standard script-to-video workflow, it eliminates stiff walks, awkward hand gestures, and robotic facial expressions, while preserving the consistent art style and character design you lock in during the ai storyboard phase.
This guide walks through a repeatable workflow for adding motion transfer to your script-to-video pipeline, with copyable prompts, continuity checks, and tips for avoiding common pitfalls like style drift or distorted proportions.
Step 1 — Mark Up Your Script for Motion Transfer Beats
Not every shot in your script needs motion transfer. Overusing it can create inconsistent pacing or add unnecessary work. Start by reading through your script and marking only the shots where character movement is critical to the scene:
- Close-ups with hand gestures or facial expressions tied to dialogue
- Full-body movement shots (walking, running, sitting down, picking up objects)
- Action beats where posture or gait reveals character emotion
- Reaction shots where subtle body language sells the moment
For each marked shot, add a one-line motion reference note in your script margins, describing the exact movement you want to replicate. For example:
SCENE 3 - INT. COFFEE SHOP - DAY
Maya slumps into a booth, drops her backpack on the seat, and runs a hand through her hair.
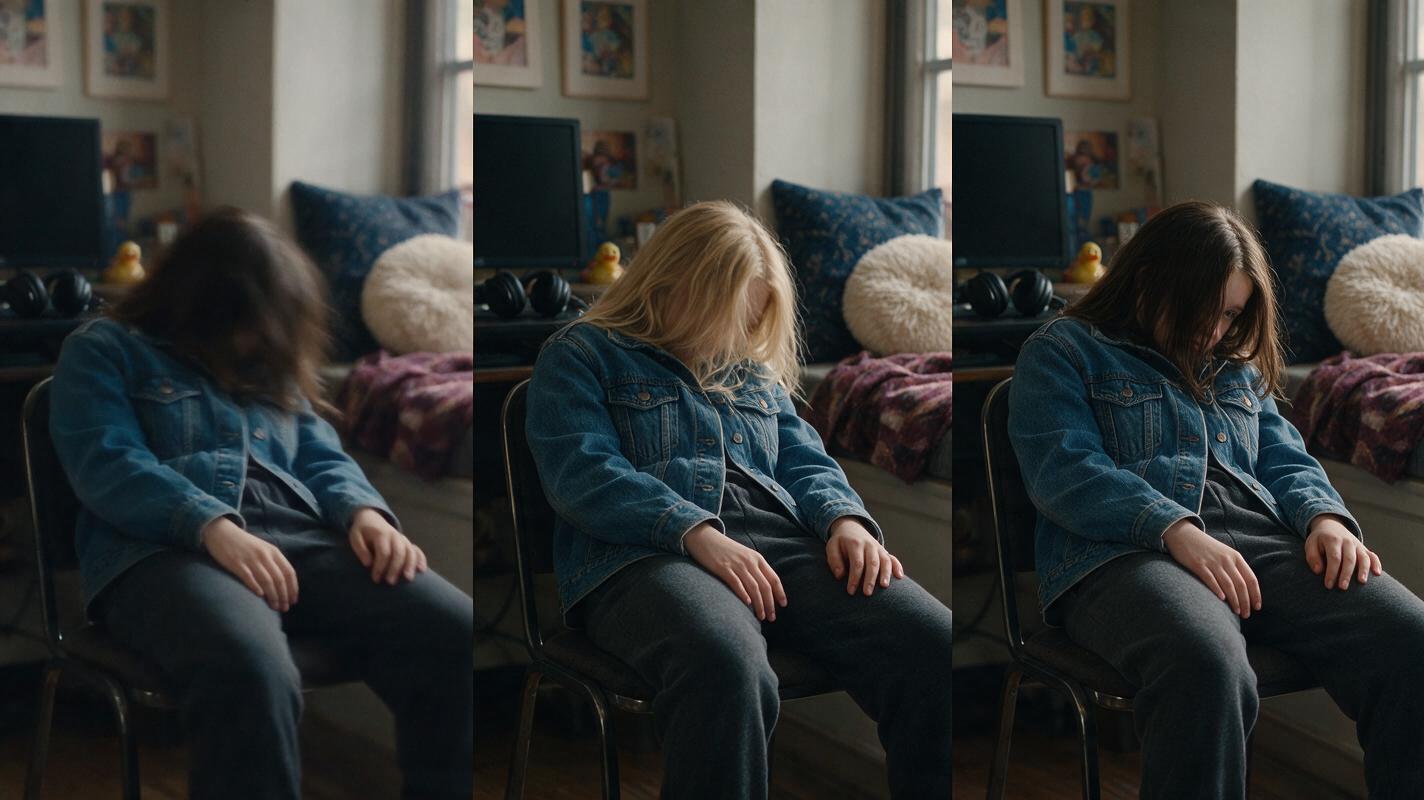
[MOTION REF: tired teen slumping into a booth, one hand pushing hair back, slow slouched posture]
This step works for both original screenplays and novel to video adaptations — just pull movement descriptions directly from the novel’s prose to make your motion notes.
Step 2 — Build a Consistent AI Storyboard With Locked Characters
Before you generate any motion transfer clips, you need a fixed character design to apply the motion to. If your character’s face, hair, or clothing changes between clips, motion transfer will exaggerate those inconsistencies and break immersion.
Start by creating a character sheet for every lead character, then use that sheet as a reference for every frame in your storyboard. This ensures every shot uses the same character proportions, clothing, and facial features.
Use this copyable prompt to generate a consistent character sheet for your storyboard:
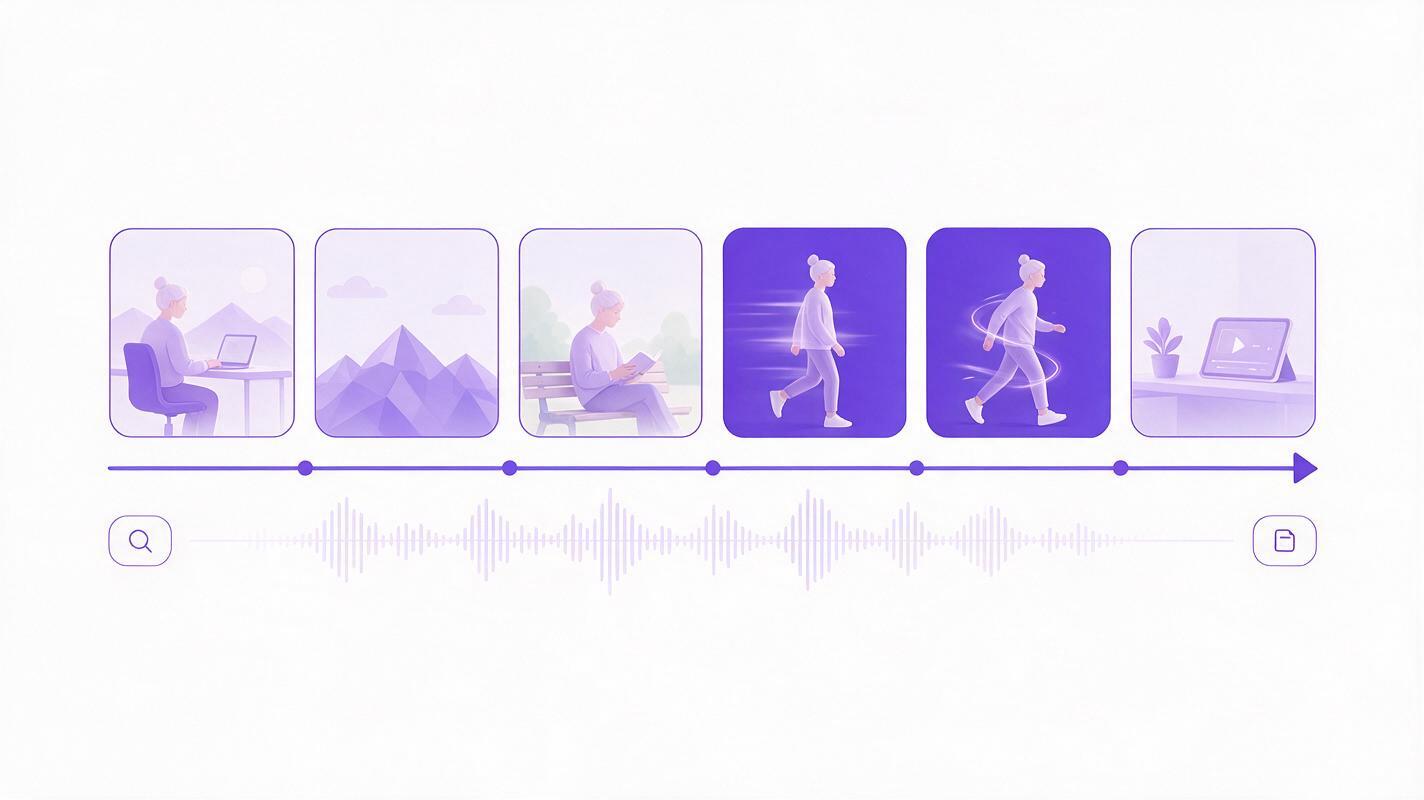
Photorealistic three-panel character sheet of [CHARACTER DESCRIPTION: e.g. 17-year-old girl with wavy brown hair, worn denim jacket, black jeans, scuffed white sneakers], same character shown in front view, side view, back view, neutral light-gray seamless background, soft even lighting, no shadows on the background, consistent facial features and clothing across all three panels.
MANDATORY CAMERA: eye-level, three equal horizontal 16:9 panels, no distortion, no text.
Once you have your character sheets, generate your full storyboard using the same character reference for every shot. Lock your art style (e.g. cinematic 35mm film, warm indoor lighting) in the first storyboard frame, and reuse that style prompt for every subsequent frame.
Step 3 — Source or Record Short Motion Reference Clips
You don’t need professional actor footage or expensive stock clips to make motion transfer work. Most creators use quick phone recordings of themselves, friends, or family members acting out the beats they marked in the script.
Follow these guidelines for reference clips that produce clean, consistent results:
- Keep clips 2–5 seconds long, matching the length of your storyboard shot
- Film in a well-lit space with a plain background to reduce visual noise
- Wear clothing with a similar silhouette to your character (e.g. a jacket if your character wears a jacket) to help the AI map motion correctly
- Frame the shot the same way as your storyboard (medium shot, close-up, full body) to avoid cropping or distortion
- Face the same direction as your character in the storyboard to preserve screen direction
If you don’t want to record your own clips, free stock footage sites work too — just look for clips with simple, clear movement that matches your script beat. For novel to video projects, match the reference movement to the mannerisms described in the book (e.g. a character who “fidgets with their sleeve when nervous” should have a reference clip of someone doing exactly that).
Step 4 — Generate Motion-Transfer Clips With Style Locking
This is the core step where you apply real human motion to your AI character. You’ll use two inputs: the storyboard frame for your shot (as the character and style reference) and the motion reference clip (as the movement source).
Most AI video generator tools with motion transfer support let you upload both a reference image and a motion clip. To avoid style drift, always enable style locking or character consistency mode if it’s available, and include your art style prompt in the generation text box.
Use this copyable prompt alongside your storyboard frame and motion reference clip:
Apply the motion from the reference clip to the character in the reference image. Preserve 100% of the character’s facial features, hair, clothing, and proportions from the reference image. Preserve the art style from the reference image: [STYLE DESCRIPTION: e.g. cinematic 35mm film, warm coffee shop lighting, shallow depth of field, soft grain]. No distortion, no extra limbs, no facial changes. Match the background from the reference image exactly.
MANDATORY: Keep character design identical to the reference image throughout the entire clip.
try these models for free to test how motion transfer works with your own storyboard frames and reference clips. Start with a short 2-second clip first to check for consistency before generating longer shots.
If you notice distorted hands, mismatched clothing, or style drift, try these quick fixes:
- Crop your reference clip tighter to focus on the moving body part
- Add “no distorted hands, no extra fingers” to your prompt
- Use a higher-resolution storyboard frame as the character reference
- Slow down the motion reference clip by 20% to reduce motion blur
Step 5 — Edit Motion Clips Into Your Script-to-Video Timeline
Once you have all your motion transfer clips generated, it’s time to assemble them into your final film alongside your regular AI-generated clips. The goal is to make the motion transfer shots feel seamless, so viewers can’t tell which clips used motion reference and which didn’t.
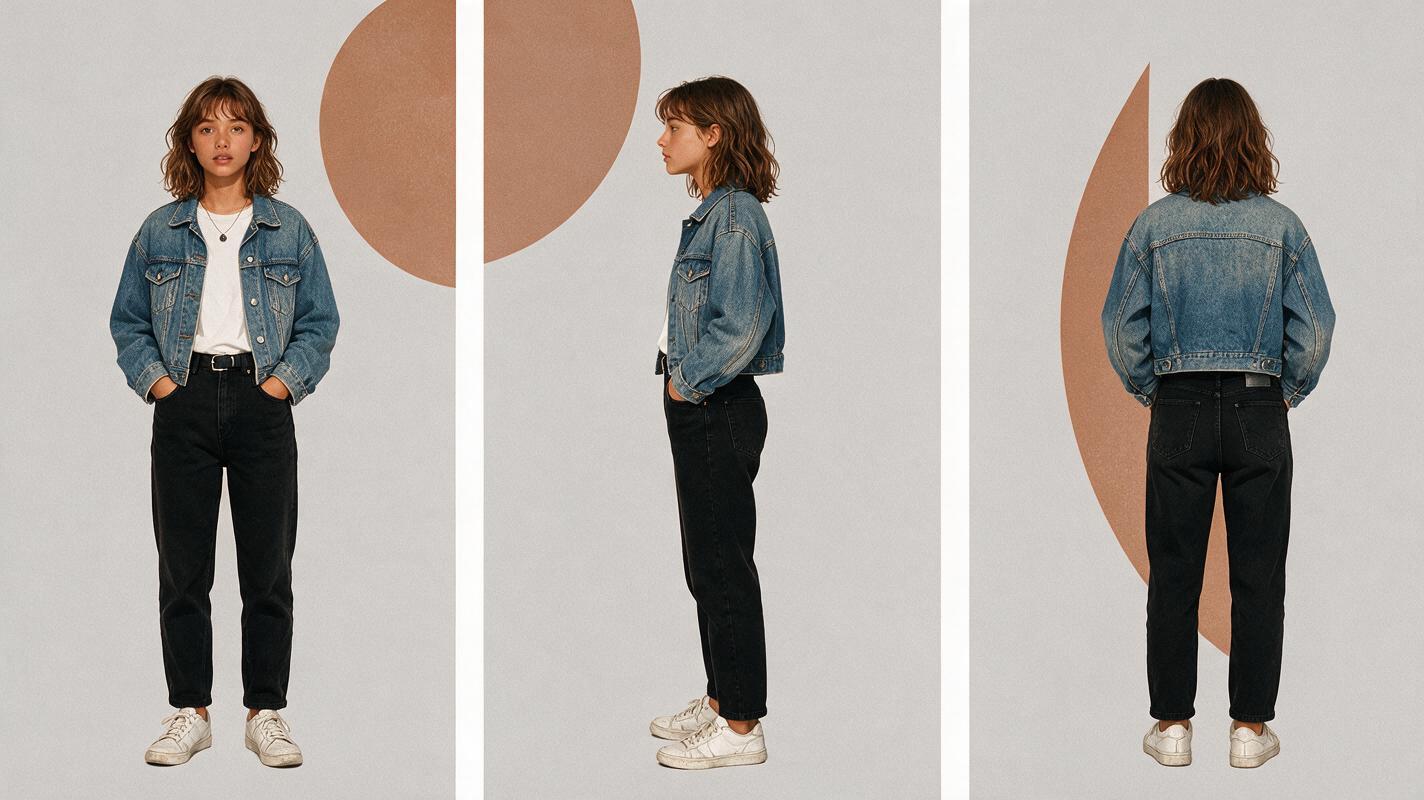
Start by aligning all clips to your voiceover or audio track first. Motion beats should land on key dialogue moments — for example, a character slamming their fist on a table should line up exactly with the line of dialogue that accompanies the action.
Next, match color grading and exposure across all clips. Motion transfer clips may have slightly different lighting than your regular generated clips, so adjust brightness, contrast, and color temperature to make them match.
Finally, add short crossfades (0.1–0.3 seconds) between motion transfer clips and regular clips to smooth out any subtle jumps in character position or lighting. For longer scenes with multiple motion transfer shots, use the same character reference for every shot to maintain consistency.
Final Checklist
- Script marked with motion transfer beats only for high-impact movement shots
- Lead character sheets generated and locked before building your ai storyboard
- Motion reference clips match the framing, silhouette, and screen direction of your storyboard shots
- Style and character consistency enabled during motion transfer generation
- All clips color-graded and aligned to audio before adding transitions
- Short crossfades added between motion transfer and regular clips to hide cuts
Keywords
script to video, motion transfer ai video, ai storyboard, ai movie maker, story video, ai video generator, novel to video