Script to Video AI: 5-Step Workflow to Make a Polished Short Film
Learn a repeatable 5-step script to video AI workflow to turn a raw short film script into a polished, watchable AI story video. This guide covers script prep, AI storyboard generation, scene rendering, editing, and final export, with copyable prompts for every step. No prior video production experience is required.
Table of contents
What this script to video AI workflow delivers
You can turn a 2-page short film script into a polished, watchable AI story video in 60 minutes or less with this 5-step, no-film-school-required workflow.
This workflow works for any genre — drama, sci-fi, fantasy, even novel to video adaptations — and uses standard AI movie maker and storyboard tools. We’ll walk you through every stage, from script prep to final export, with copyable prompts you can paste directly into your tools of choice.
No prior video production experience is needed. The only requirement is a 1-3 page short script (or novel excerpt) you want to bring to life.
Step 1 — Prep your script for AI
The biggest mistake new creators make is feeding a raw, literary script directly into an AI video tool. AI can’t read subtext or internal monologue — every emotion, action, and detail must be visual to appear on screen.
Pro tip: If you’re working on a novel to video adaptation, cut all internal thought and descriptive prose that can’t be shown through action, setting, or character expression. This alone will cut your script revision time in half.
Follow these rules to rewrite your script for AI:
- Start every scene with a clear slug line: INT./EXT., LOCATION, TIME OF DAY
- Specify character appearance (age, clothing, hair, build) the first time they appear
- Add lighting style and camera angle for every key beat
- Replace all internal monologue with visual cues (clenched fists, teary eyes, a crumpled letter)
- Keep scenes 2-8 seconds long to avoid AI consistency artifacts
Here’s a copyable prompt to refine your script automatically:
Refine this short film script for AI video generation. For every scene:
1. Add a full slug line (INT./EXT., location, time of day)
2. Specify character appearance (age, clothing, hair) on first mention
3. Add lighting style and camera angle for key beats
4. Replace all internal monologue with visual actions
5. Keep each scene 2-8 seconds long

Script to refine:
[PASTE YOUR RAW SCRIPT HERE]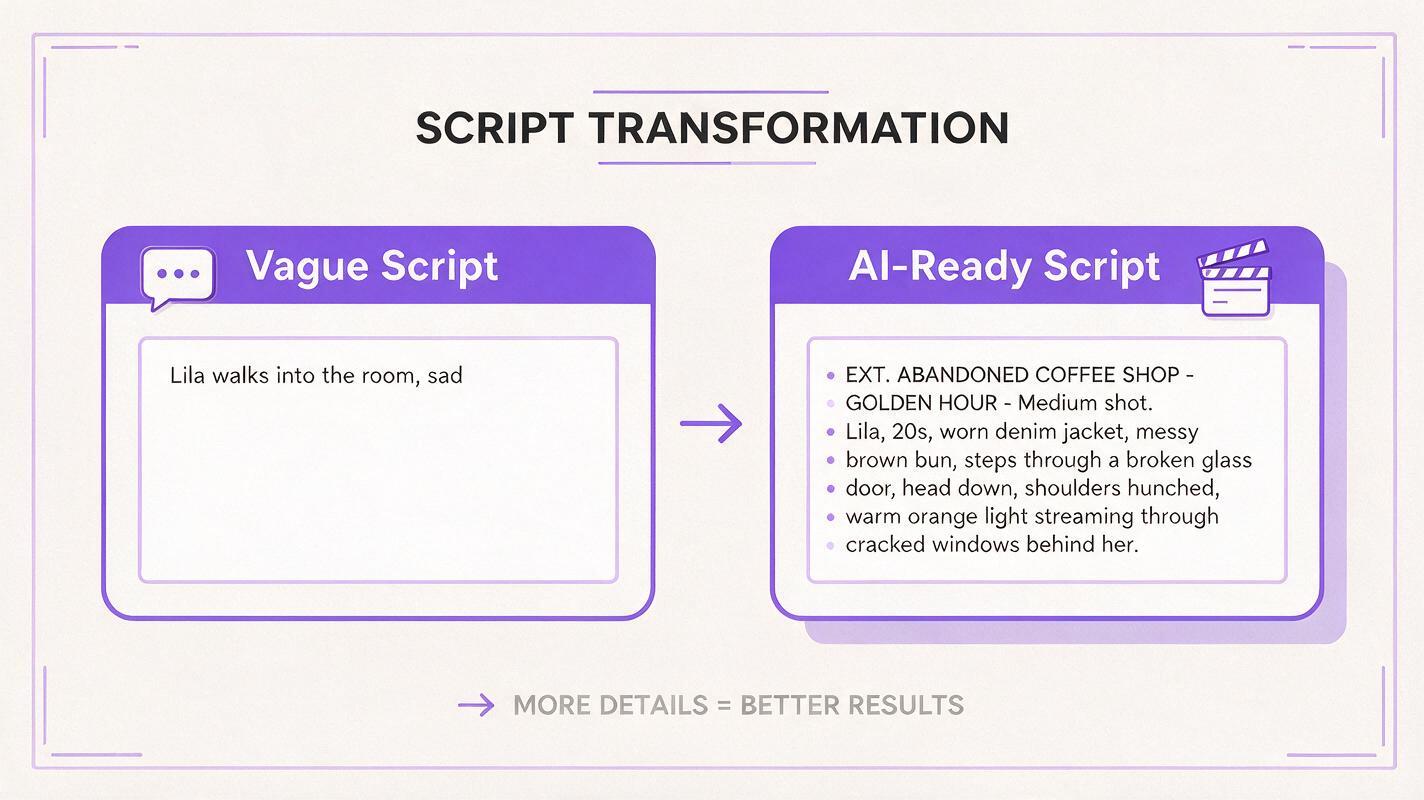
Step 2 — Generate your AI storyboard
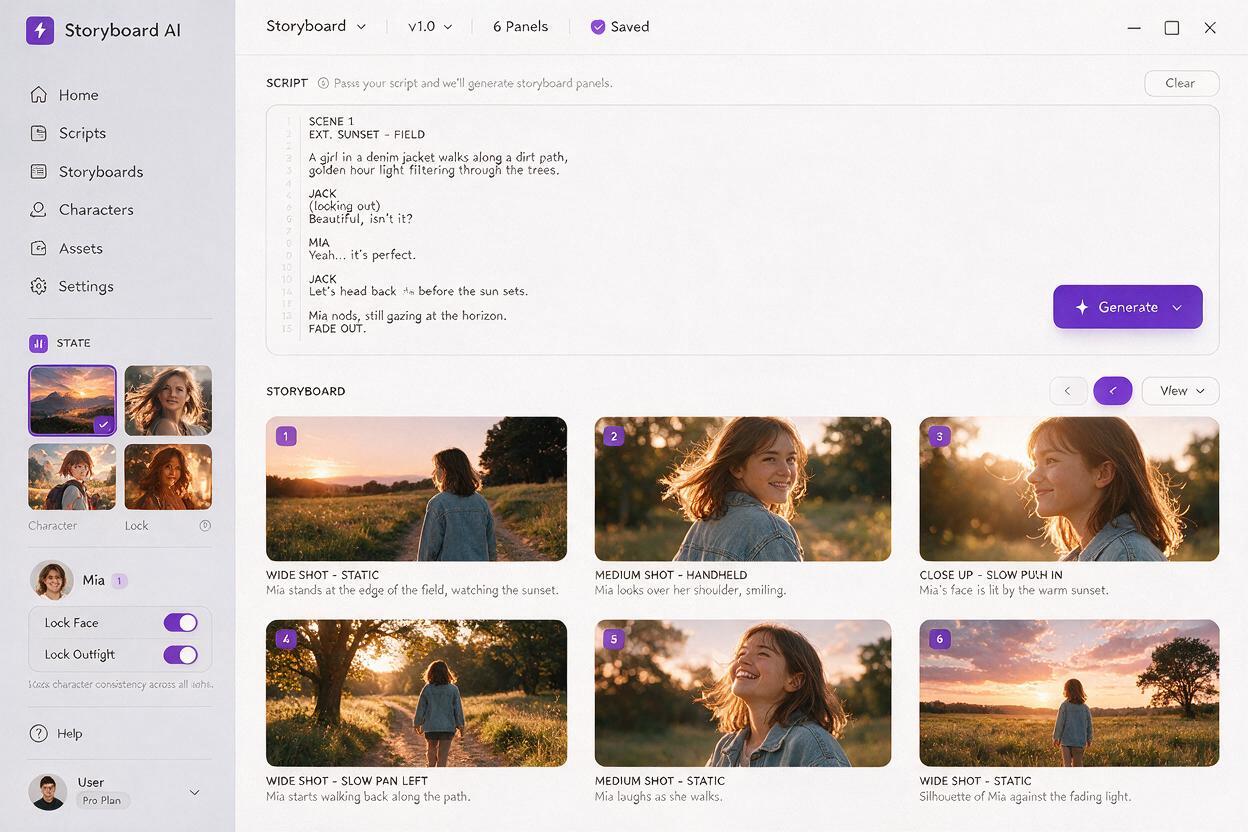
Once your script is visually ready, use an AI storyboard generator to turn it into a grid of framed shots. This step is non-negotiable: it lets you fix character consistency, art style, and shot composition issues before you spend time rendering full video clips.
Look for a storyboard tool that lets you lock character reference images or descriptions, so your protagonist looks the same across every panel. You’ll also want to pick a consistent art style (photorealistic, 2D animation, cinematic) before generating.
- Aim for 1 storyboard panel per 2-5 seconds of final video
- Export panels with their attached scene descriptions for easy video prompt generation
- Adjust any panels that have inconsistent character looks or wrong setting before moving on
Use this copyable prompt for your AI storyboard generator:
Generate a cinematic 8-panel storyboard from the attached AI-ready short film script.
- Art style: photorealistic 35mm film
- Lock character appearance: Lila = 20s, brown messy bun, worn blue denim jacket, scuffed white sneakers
- Color palette: warm golden hour tones with cool blue shadows
- Include camera angle and scene description under each panel
If you want to streamline the process and move straight from script to storyboard to full video clips in one workflow, try an end-to-end script to video AI tool.
Step 3 — Render individual AI video clips
It’s tempting to paste your entire script into an AI movie maker and hit generate, but you’ll get far better results if you render one clip per storyboard panel. This gives you more control over consistency and lets you re-render only the clips that have artifacts.
Use your storyboard frame as an image reference for each clip — this is the easiest way to make sure your video matches the shot you planned. Keep clips short (2-6 seconds) to minimize weird warping or character changes.
- Generate 2-3 takes per scene so you have backup options if one has AI glitches
- Match your video prompt exactly to the storyboard description for consistency
- Use the same art style and color palette across all clips
Copy this prompt for each individual clip, swapping in the details from your storyboard:
Generate a 4-second photorealistic video clip from this storyboard scene:
Scene: EXT. ABANDONED COFFEE SHOP - GOLDEN HOUR
Camera: Medium tracking shot, slow push-in
Action: Lila (20s, brown messy bun, denim jacket) steps through a broken glass door, head down, shoulders hunched
Lighting: Warm golden sunset light streaming through cracked windows, dust motes floating in the air
Style: 35mm film, shallow depth of field, soft focus background
Reference image: [ATTACH STORYBOARD FRAME]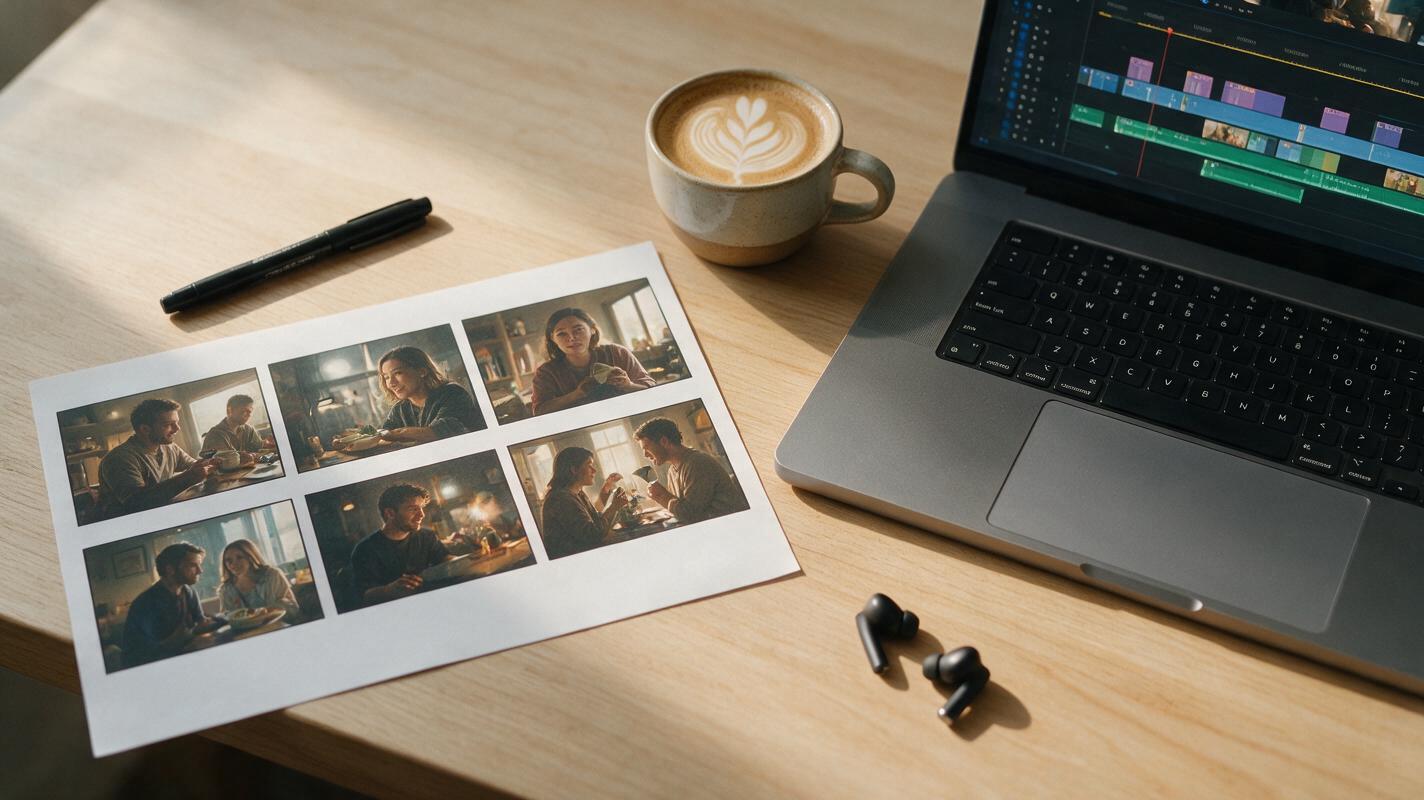
Step 4 — Edit and assemble your clips
Now you’ll turn your stack of raw AI clips into a coherent short film. You can use any video editor (free tools like CapCut or DaVinci Resolve work perfectly) or an AI clip maker to auto-arrange clips to match your script.
- Arrange all clips in story order on your timeline, following your storyboard sequence
- Add subtle transitions (crossfades work best for a cinematic look; avoid flashy wipes or zooms)
- Layer in sound effects and background music (use royalty-free libraries or AI-generated audio)
- Add voiceover or dialogue if your script has it, and sync it to the clips
- Color grade all clips to match lighting — warm up golden hour scenes, cool down night scenes, and adjust saturation so every clip feels like part of the same film
If a clip has obvious AI artifacts (warped hands, distorted faces, flickering objects), swap it for one of your backup takes. It’s almost always faster to use a spare take than to try to fix a glitched clip.
Step 5 — Add final polish and export
Before you share your film, run through these final checks to make sure it’s polished and ready for your audience:
- Watch the full video through once without distractions to check for pacing issues or awkward cuts
- Adjust audio levels so dialogue is clear, music doesn’t overpower sound effects, and there are no sudden loud jumps
- Add subtitles or closed captions if you’re posting to social media (most viewers watch without sound)
- Add opening or closing text overlays if needed (keep them simple, with a font that’s easy to read)
Export your video in the right aspect ratio for your platform: 9:16 for TikTok, Reels, or Shorts; 16:9 for YouTube; 1:1 for Instagram feed posts. Choose 1080p resolution for most platforms, or 4K if you’re uploading to YouTube or Vimeo.
Final checklist
- Script is formatted with visual descriptions, no internal monologue
- AI storyboard has consistent character appearance and art style
- Each video clip is rendered with a storyboard reference image
- Clips are arranged in order with smooth, subtle transitions
- Audio levels are balanced across dialogue, music, and sound effects
- Color grading is consistent across all scenes
- Final export matches your target platform’s aspect ratio and resolution
Keywords
script to video ai, ai storyboard generator, ai movie maker, create ai video from script, turn a script into an ai storyboard, ai story video generator, ai clip maker, novel to video