Script to Video: Plant Visual Clues for Mystery AI Short Film Twists
This tutorial shows creators how to use script to video AI to make mystery short films with earned twist endings by intentionally planting visual clues at every production stage. You’ll learn to mark clue beats in your script, generate consistent AI storyboard frames with hidden details, and render motion clips that guide viewer attention subconsciously. By the end, you’ll be able to direct an AI short film with satisfying foreshadowing without manual frame-by-frame edits.
Table of contents
Why Mystery Twists Fall Flat With Generic Script to Video AI
If you’ve ever used script to video AI to make a mystery short, you’ve probably run into this problem: the twist feels unearned. Generic tools translate dialogue and action literally, but they miss the subtle visual clues that make a payoff satisfying. A throwaway line about a sticky note or a potted plant never gets the visual weight it needs, so viewers are confused instead of impressed when the reveal hits.
This workflow fixes that. You’ll learn how to intentionally plant visual clues in every stage of production — from script markup to AI storyboard generation to clip rendering — so your twist lands exactly as intended, no manual frame-by-frame edits required. It works for 60-second micro-shorts, 5-minute mystery stories, and everything in between.
Step 1 — Mark Clue Beats in Your Mystery Script
Before you generate any visuals, you need to flag every visual clue in your script and assign it a weight. This tells the AI which details matter, even if they’re not the focus of the scene. Clue weights range from 1 (subtle, background detail) to 3 (obvious, front-and-center reveal).
Start with a tight, 1-2 page mystery script with one clear twist. For this example, we’ll use a 60-second micro-short about a hidden key. Mark each clue with a [CLUE: weight X] tag right after the relevant action or dialogue.
Copy this marked-up sample script to follow along:
Title: The Key
Genre: Micro-short mystery, warm twist
Runtime: ~60 seconds

INT. SMALL APARTMENT KITCHEN - NIGHT
Warm yellow overhead light. LILA, 32, in fuzzy socks, fumbles with a locked wooden jewelry box on the counter.
LILA (V.O.)
I swore I left the silver key on the fridge this morning. Now it’s gone.

She scans the counter from left to right. On the counter: a half-empty chamomile tea mug,
a yellow sticky note that says "reminder: water plants" [CLUE: weight 1],
a small potted succulent with chipped pink pot [CLUE: weight 2].
LILA (V.O.)
My roommate said she didn’t touch it. But she’s been acting weird all week.

LILA reaches for the succulent to move it out of the way. She turns it over — a small brass key is taped to the bottom [CLUE: weight 3].
LILA (V.O.)
Wait. The note said "water plants". She wasn’t lying. She was giving me a hint.

Cut to close-up of the jewelry box opening. Inside is a dainty silver necklace with a tiny succulent charm.
LILA (V.O.)
She didn’t steal my key. She was hiding my birthday present.
Stick to 2-3 clues max for a 1-minute short. Too many clues will overwhelm viewers and make the twist obvious too early.
Step 2 — Generate an AI Storyboard With Intentional Clue Placement
Generic ai storyboard generators will place props randomly, which means your clues might be cut off, out of focus, or missing entirely. To fix this, write prompts that specify the exact position, size, and focus level of each clue, plus a style lock to keep frames consistent across the short.
For each storyboard frame, include:
- Shot type (wide, medium, close-up)
- Exact position of each clue (e.g., "succulent on the right third of the counter, in focus")
- Lighting and color palette to match the mood
- A style reference phrase to lock the art style across all frames
Copy this prompt for the counter scan storyboard frame:
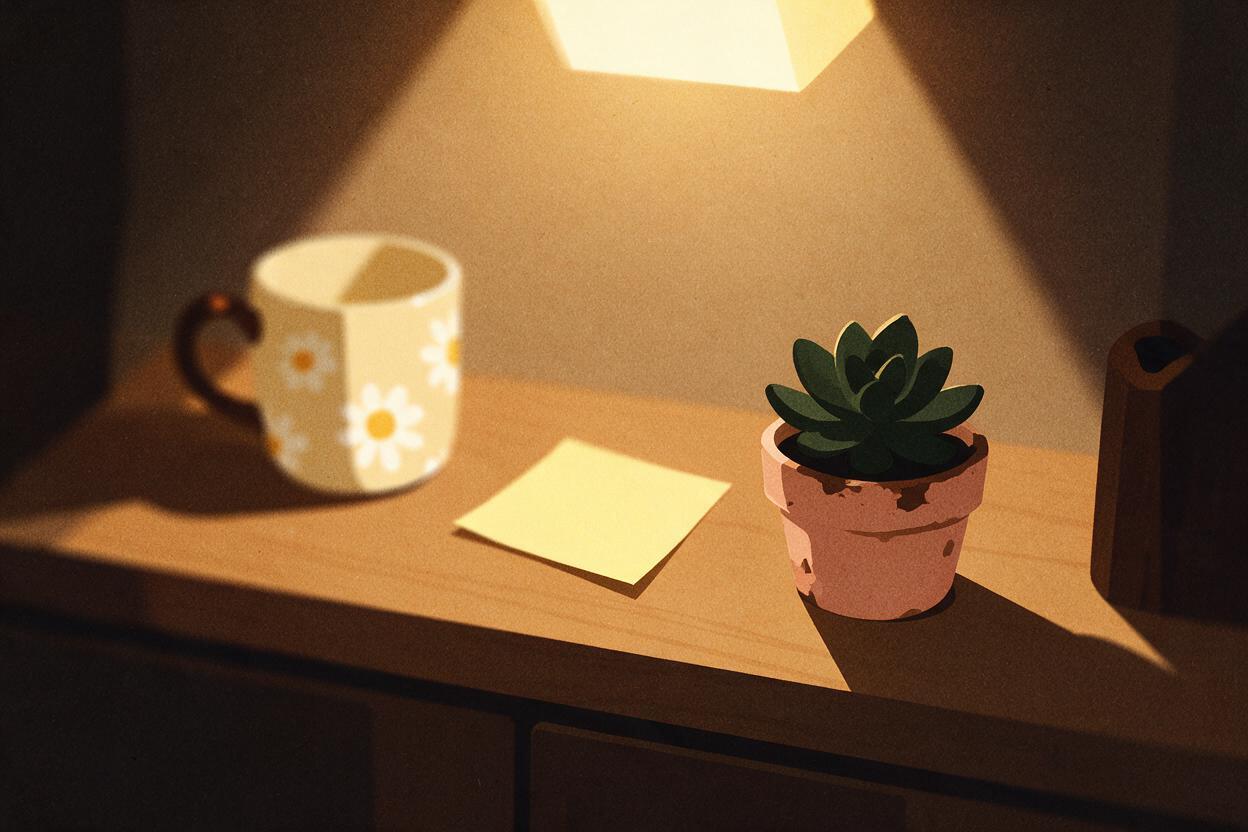
Medium shot of a small apartment kitchen counter at night, warm yellow overhead light.
Left side: half-empty chamomile tea mug, slightly out of focus.
Middle: yellow sticky note with handwritten text "water plants", soft focus.
Right side: small potted succulent in chipped pink pot, sharp focus, positioned on the right third of the frame.
Style: cozy indie live-action film, 35mm grain, muted warm tones, consistent character Lila (30s, curly brown hair, fuzzy blue socks) partially visible on the left edge of frame.
No text overlays, no UI elements.
Repeat this for every key beat, reusing the same style phrase and character/location descriptions to keep continuity. If you want to test this prompt yourself, you can try these models for free.
Pro tip: For weight 1 clues, place them just outside the main focal point — viewers will register them subconsciously but won’t fixate on them. For weight 2 clues, keep them in focus but not the center of the action.
Step 3 — Render AI Clips With Motion That Draws (or Diverts) Attention
Once your storyboard is locked, use an ai clip maker to turn each frame into a short motion clip. The key here is to control camera movement to guide (or misdirect) the viewer’s eye without giving away the twist.
Follow these motion rules by clue weight:
- Weight 1 (subtle): Slow pan or tilt that passes over the clue for 0.5-1 second, no pause.
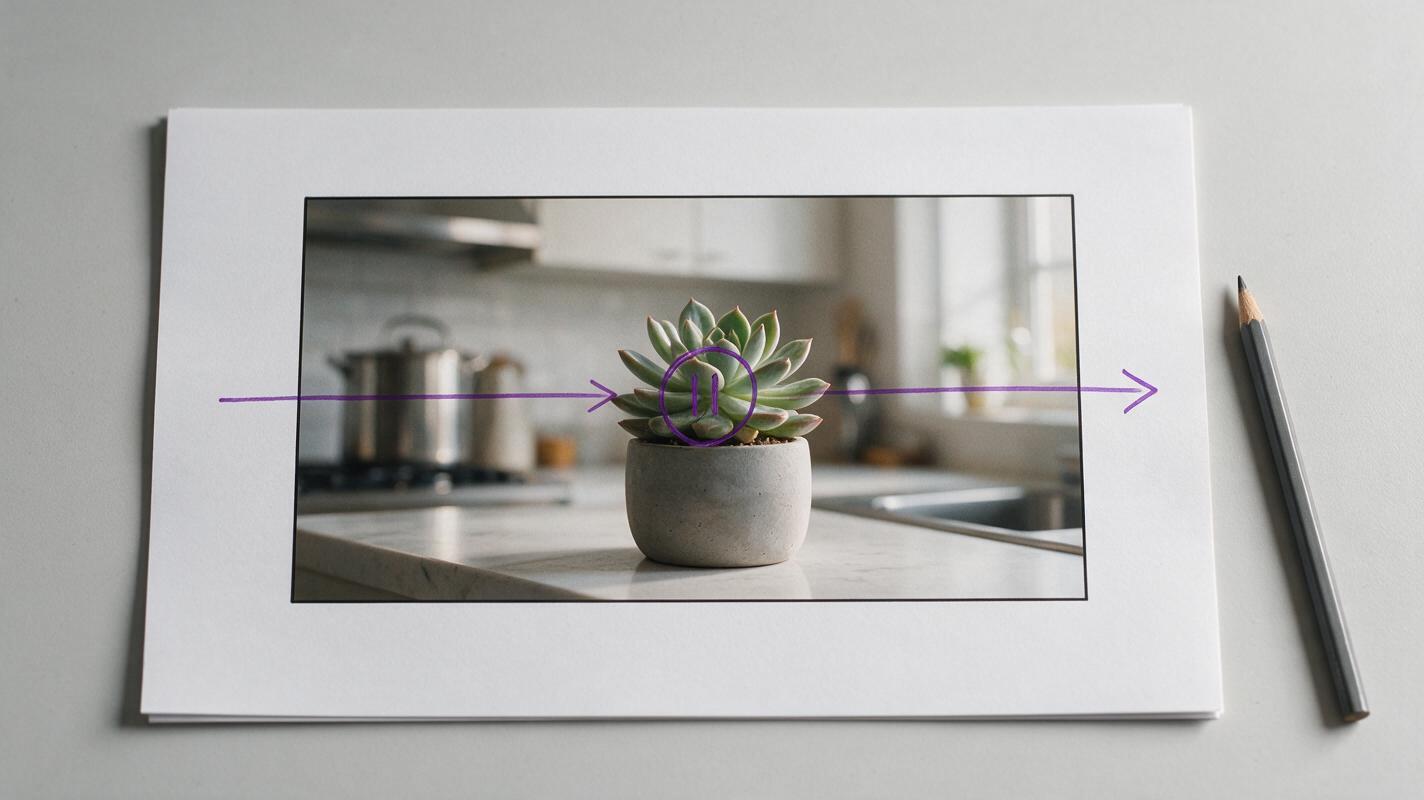
- Weight 2 (moderate): Slow pan that briefly pauses on the clue for 1-2 seconds, then continues.
- Weight 3 (reveal): Push-in or snap zoom to the clue, held for 2-3 seconds for maximum impact.
Copy this motion prompt for the counter scan clip:
Animate the kitchen counter storyboard frame.
Motion: Slow left-to-right pan across the counter, starting at the tea mug, moving past the sticky note, pausing for 1.5 seconds on the succulent, then stopping.
Camera speed: Very slow, smooth, no shake.
Lighting: Flicker slightly from the overhead bulb, subtle warm glow.
Duration: 6 seconds.
No extra objects, no text, no sound.
Render each clip individually, using the corresponding storyboard frame as a style reference to keep art consistent across all shots.
Step 4 — Edit for Pacing to Land the Twist
The final step is to assemble your clips and adjust timing so the twist hits at the right moment. The goal is to give viewers just enough time to register the clues subconsciously, but not enough time to figure out the twist before the reveal.
Use this timing breakdown for the 60-second sample short:
| Shot | Duration | Purpose |
|---|---|---|
| Lila fumbling with jewelry box | 8 seconds | Establish the problem |
| Counter scan pan | 6 seconds | Plant both clues subconsciously |
| Lila looking frustrated | 5 seconds | Misdirect, build tension |
| Lila picking up succulent | 7 seconds | Build to reveal |
| Close-up of key under succulent | 4 seconds | Twist reveal |
| Jewelry box opening, necklace reveal | 6 seconds | Emotional payoff |
| Lila smiling, holding necklace | 4 seconds | Closing beat |
Add voiceover and soft background music last, syncing each VO line to the start of its corresponding shot. For extra impact, add a subtle sound effect (like a soft "click") when the key is revealed.
Final Checklist for Mystery Script to Video Success
- Mark 2-3 visual clues in your script with clear weight ratings (1-3)
- Write ai storyboard prompts that specify exact clue position, focus, and style
- Match camera motion to clue weight to guide viewer attention intentionally
- Keep total runtime tight (60 seconds for micro-shorts, 3-5 minutes for longer mysteries)
- Test the cut with a friend — if they guess the twist 10+ seconds early, make the weight 1 clues more subtle
- Use a consistent style reference across all storyboard frames and clips
Keywords
script to video, ai storyboard, ai movie maker, story video, ai clip maker, direct an ai short film