Script to Video AI: Turn a Written Montage Into a Coherent Sequence
Learn how to translate a written montage into a clear AI video sequence without generating a disconnected collection of attractive shots. This tutorial shows how to define visual progress, build storyboard beats, design transitions, prompt motion, and edit the final montage.
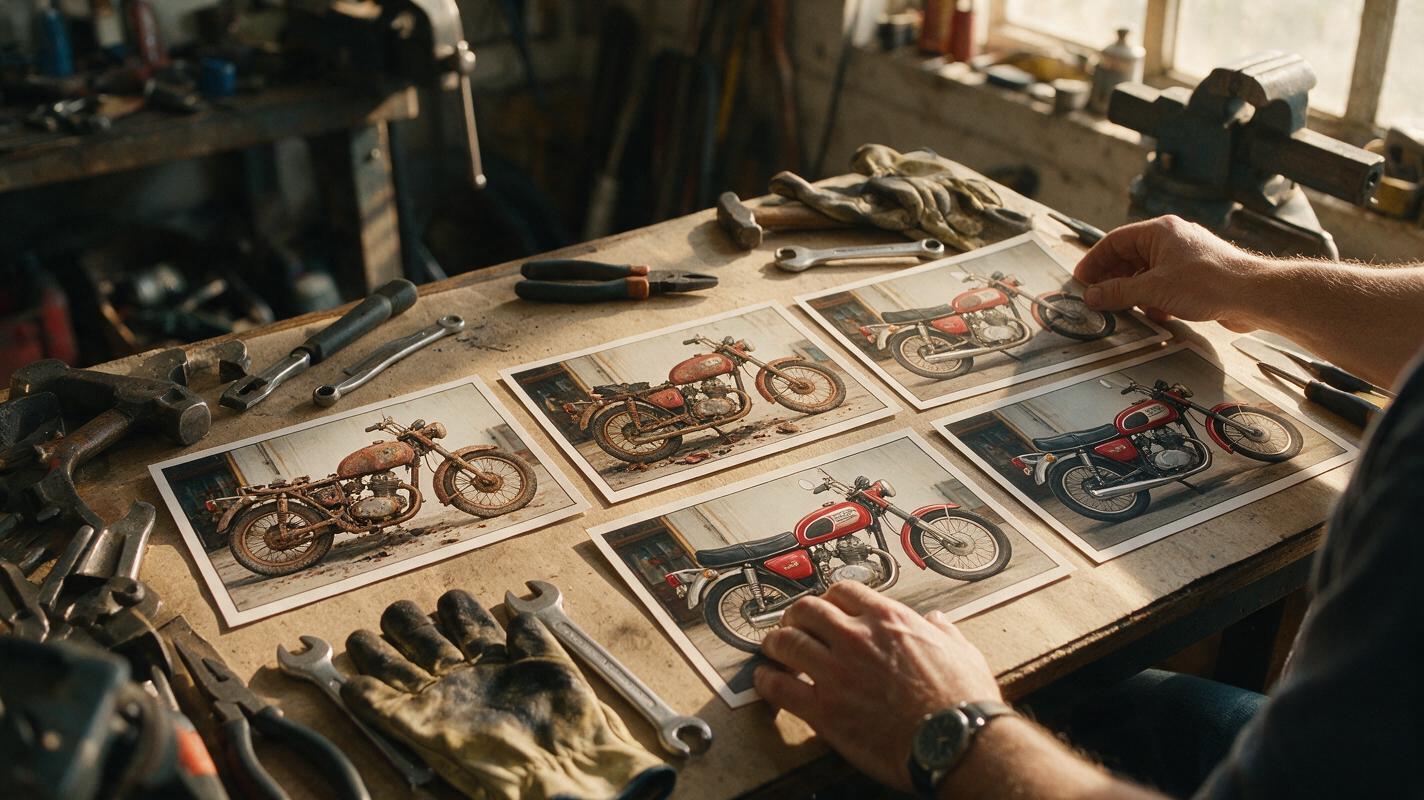
Table of contents
Turn montage prose into visible progression
A successful AI montage does not merely show several related images—it makes change visible from one shot to the next.
Screenplays often compress days, journeys, investigations, training routines, or creative projects into a short montage. A human production team can interpret a line such as “Maya rebuilds the motorcycle over several difficult weeks,” but a video model needs each stage translated into a specific image and motion event.
The practical solution is to separate the montage into progress beats before generating anything. In this script to video workflow, every clip must communicate a new state, connect visually to its neighbors, and contribute to one overall transformation.
Step 1 — Define the montage transformation
Start by completing one sentence:
At the beginning, the subject is ________. By the end, the subject is ________.
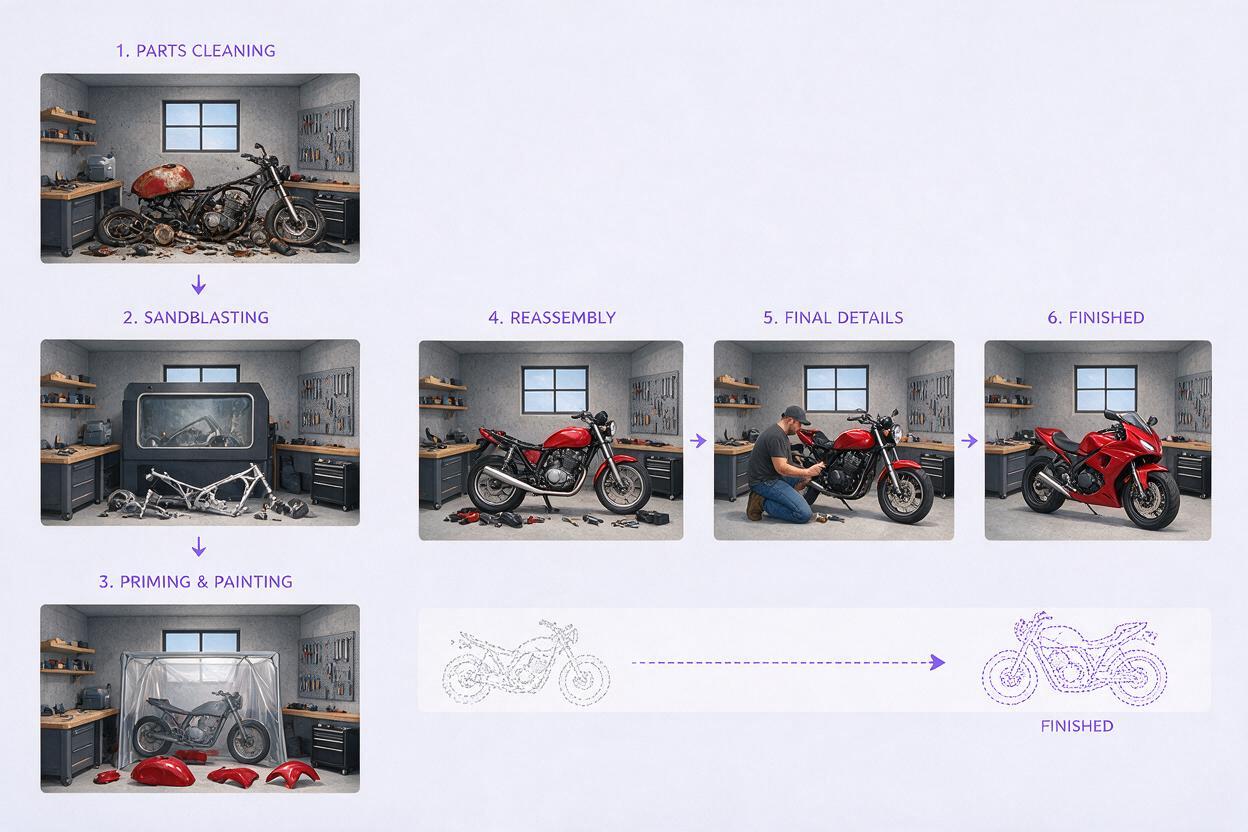
This creates a measurable dramatic direction. “A mechanic works on a motorcycle” is only an activity. “A corroded motorcycle becomes road-ready while an uncertain mechanic becomes confident” contains two transformations that the audience can track.
Identify four elements before breaking the montage into shots:
- Initial state: What is visibly incomplete, disordered, weak, or unknown?
- Final state: What visible evidence proves that progress occurred?
- Repeated action: What action can return in changing forms?
- Escalation: How does the task become harder, faster, or more consequential?
If the opening and ending would look nearly identical in a silent film, the transformation is not yet visual enough.
Step 2 — Convert prose into visual progress beats
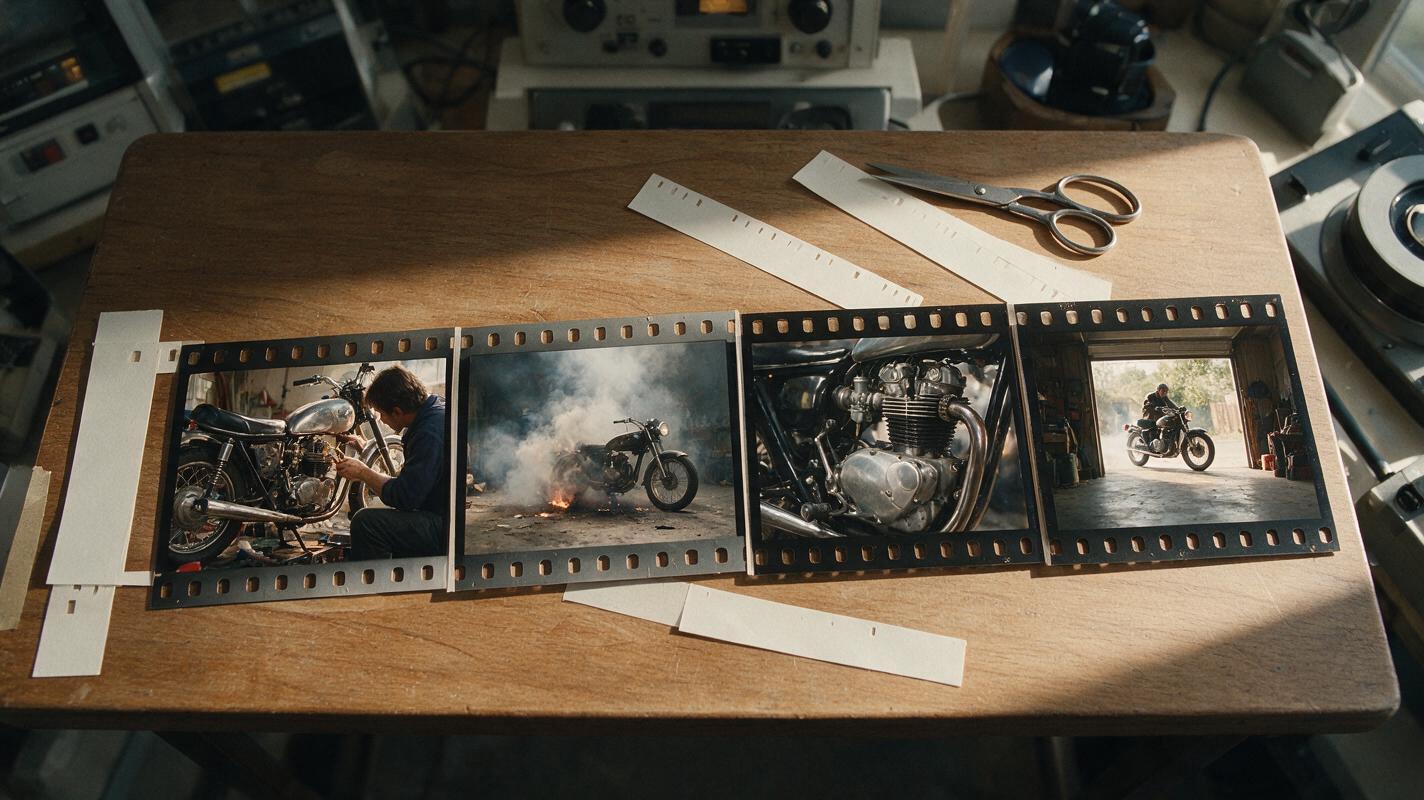
Divide the transformation into five to eight beats. Each beat should introduce a visible difference rather than restating the same activity from another angle.
| Beat | Visible state | Shot purpose |
|---|---|---|
| Opening | Rusty motorcycle in scattered pieces | Establish the scale of the problem |
| Attempt | Mechanic struggles with a seized bolt | Show resistance |
| Learning | Parts are cleaned and organized | Show growing control |
| Setback | Engine produces smoke and stops | Interrupt easy progress |
| Breakthrough | Engine runs steadily | Deliver a turning point |
| Result | Finished motorcycle exits the garage | Prove transformation |
Use this prompt to convert montage prose into filmable beats:
You are adapting a screenplay montage into a short visual sequence.

Montage text:
[PASTE THE MONTAGE]

Overall transformation:
[DESCRIBE THE OPENING AND FINAL STATES]

Create 6 visual beats. For each beat, provide:
- one visible subject action
- one concrete change from the previous beat
- one dominant prop or environmental detail
- the emotional function of the shot
- a clear final frame that can transition into the next shot

Do not repeat the same action with only a different camera angle.
Keep every beat filmable without dialogue or explanatory text.
Step 3 — Build a storyboard around changing states
Create one key frame for each beat with an ai storyboard. The sequence should remain understandable when viewed as silent still images.
Lock recurring details before generating frames:
- The subject’s clothing, age range, hairstyle, and distinguishing features
- The location layout and dominant light direction
- The appearance and condition of the main prop
- The visual signs of elapsed time, such as daylight, weather, clutter, or costume wear
Do not ask one large prompt to create the entire montage. Generate frames beat by beat while reusing the same compact continuity description.
Storyboard frame for beat [NUMBER].

Continuity lock:
A compact neighborhood garage, workbench on frame left, open door on frame right, cool morning light entering from the right. The same young mechanic wears dark green coveralls with rolled sleeves. The same vintage red motorcycle remains the central prop.

Current story state:
[DESCRIBE WHAT HAS CHANGED]

Composition:
[SHOT SIZE], camera at [ANGLE]. The mechanic [VISIBLE ACTION]. The motorcycle now shows [PROGRESS DETAIL]. Emphasize [STORY INFORMATION]. Natural cinematic lighting, realistic materials, no captions, no logos, no interface elements.
Review the resulting frames as a contact sheet. If two adjacent frames convey the same state, remove one or rewrite it around a stronger change.
Step 4 — Design transitions before generating clips
Transitions should be planned at the storyboard stage because they affect the final pose, composition, and movement of each clip. Randomly generated endpoints are much harder to connect in the edit.
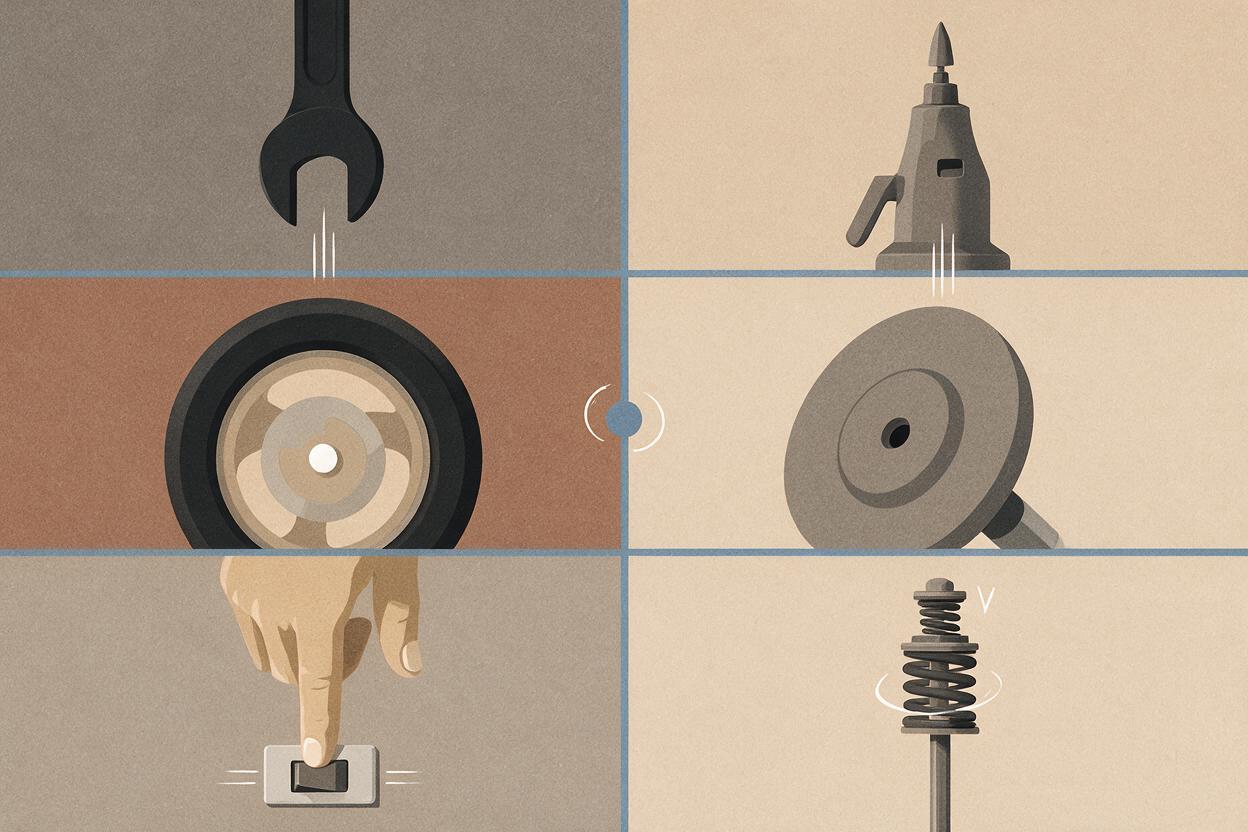
Choose a transition principle for every cut:
- Match on action: A hand lowers a wrench in one shot and raises a different tool in the next.
- Graphic match: A circular wheel fills the frame before cutting to a spinning polishing pad.
- Direction match: Movement continues from left to right across consecutive shots.
- State jump: The camera remains similar while the object changes from damaged to repaired.
- Cause and effect: A switch is pressed, followed by the engine beginning to move.
Add a transition line to each storyboard beat:
Transition plan:
The clip begins with [STARTING COMPOSITION].
The main action is [ONE CONTROLLED MOTION].
The clip ends with [FINAL POSE OR OBJECT POSITION].
Cut to the next shot using [MATCH ON ACTION / GRAPHIC MATCH / DIRECTION MATCH / STATE JUMP / CAUSE AND EFFECT].
Generate for the cut, not just for the individual clip. The final half-second of one shot can be more important than its opening image.
Step 5 — Generate one controlled motion event per clip
A montage can feel energetic without requiring complicated movement inside every shot. Give each clip one dominant action, such as tightening a bolt, sliding a component into place, wiping grease from a surface, or testing the ignition.
Avoid prompts that combine several sequential actions. “She opens the toolbox, selects a wrench, repairs the engine, tests it, smiles, and walks away” asks one clip to cover an entire scene. Split that material into separate beats.
Animate this storyboard frame as one montage shot.

Primary motion:
[SUBJECT] performs [ONE PRECISE ACTION].

Camera:
[LOCKED / SLOW PUSH-IN / SHORT LATERAL TRACK].

Continuity requirements:
Preserve the subject, clothing, location, motorcycle design, lighting direction, and object placement from the reference frame.

Ending requirement:
Finish with [SPECIFIC HAND POSITION, PROP POSITION, OR COMPOSITION] so the next shot can continue the planned transition.

Avoid extra people, changing tools, altered clothing, object duplication, sudden camera rotation, and unrelated background motion.
Generate alternatives for weak beats rather than changing the entire sequence. At the high-intent production stage, you can try these models for free with the same storyboard and motion prompt, then keep the take whose ending connects most cleanly.
Step 6 — Edit the montage around visible change
Assemble the silent clips before adding narration or music. This reveals whether the images alone communicate progression.
Begin with the minimum number of shots needed to understand the transformation. Then adjust the rhythm according to narrative function:
- Hold the opening long enough to establish the problem.
- Shorten repeated work actions as momentum increases.
- Interrupt the pattern with a longer setback shot.
- Accelerate again after the breakthrough.
- Give the final result enough screen time to register.
Cut close to the strongest part of each action. If a generated clip includes an unstable opening or an unwanted movement at the end, trim around the usable middle instead of forcing the entire clip into the sequence.
Music can support the rhythm, but it should not be the only source of structure. First make the visual progression clear; then align selected cuts, impacts, and reveals with musical accents. Add voiceover only when it contributes story information that cannot be shown.
FAQ
How many shots should an AI montage contain?
Use enough shots to establish an initial state, meaningful progress, at least one complication, and a final result. A short montage may need only five or six strong beats. Add another shot only when it communicates a distinct change.
Should every montage shot use the same camera angle?
No. Vary shot size to control emphasis, but preserve enough visual logic for the sequence to connect. Repeating one composition can also be effective when the purpose is to show an object changing over time.
How do I show time passing without captions?
Use cumulative physical evidence: changing daylight, increasing wear, growing piles of completed work, altered weather, reorganized tools, or progressive changes to the central object. Choose only details that fit the story’s actual duration.
Why does my montage feel like unrelated stock footage?
The usual causes are missing continuity locks, repeated actions without state changes, and transitions designed after generation. Give every shot a progress function and specify how its final frame connects to the next clip.
Sources
Final checklist
- The opening and final states are visibly different.
- Every beat introduces new story information.
- Recurring characters, props, and locations have continuity descriptions.
- Each clip contains one dominant motion event.
- Every ending frame supports a planned transition.
- The silent edit communicates progress without explanatory captions.
- Music and voiceover support rather than replace the visual structure.
Keywords
script to video ai, ai storyboard generator, create ai video from script, direct an ai short film, ai clip maker, ai movie maker