Script to Video AI: Direct Suspense With Cross-Cutting
Learn how to convert parallel-action scenes into a clear, suspenseful AI short film instead of a collection of disconnected clips. This tutorial covers interlocking beat lanes, paired storyboard frames, controlled motion prompts, audio bridges, and cross-cutting rhythm.
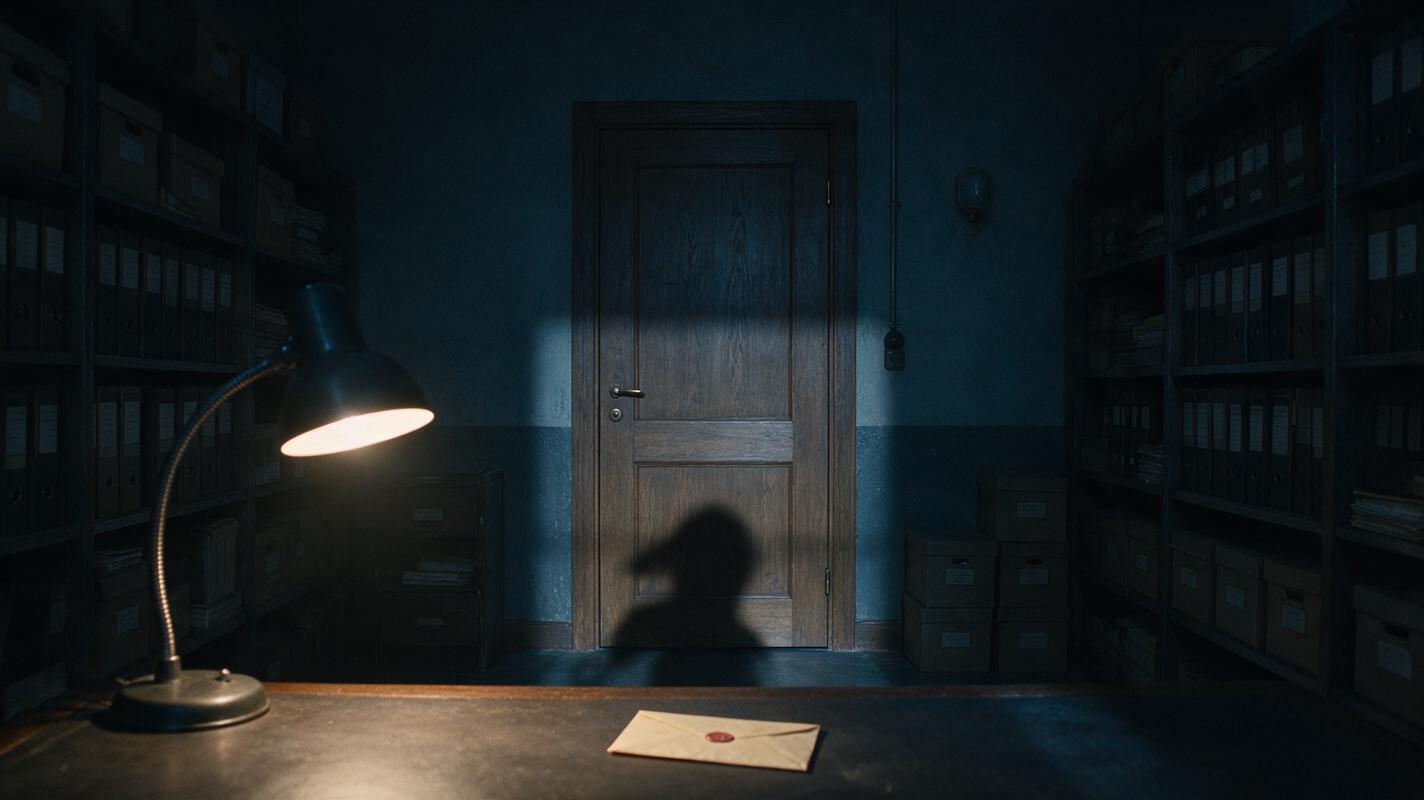
Table of contents
Turn Two Script Locations Into One Suspense Sequence
Cross-cutting works when every cut reveals a changing relationship between simultaneous events.
A screenplay may jump effortlessly between a character approaching a locked room and another character trying to escape it. A generator, however, usually treats each prompt as an isolated shot. Without deliberate planning, the resulting sequence can feel like two unrelated videos placed side by side.
The solution is to build a shared dramatic clock before generating anything. In this script to video workflow, each location gets its own progression, but both progressions converge on the same decisive moment.
Step 1 — Define the Convergence Event
Begin with the event that joins both sides of the sequence. This may be a door opening, an alarm reaching zero, a train arriving, or one character discovering what the other has done.
Write that event as a visible and audible change. “They almost meet” is too abstract. “The hallway door handle turns as the hidden character covers the lamp” gives both locations an observable endpoint.
Next, work backward and identify three escalation stages:
- Setup: Each character begins a separate task.
- Pressure: An obstacle or warning makes both tasks urgent.
- Collision: One action directly affects the other location.
Use this prompt to extract the parallel structure from a scene:
Analyze the screenplay excerpt below as a parallel-action suspense sequence.

Identify:
- Location A and its character objective
- Location B and its character objective
- the shared convergence event
- three visible escalation stages in each location
- one sound that can connect the locations
- the final action immediately before the convergence

Do not add new characters, props, or plot events.

SCREENPLAY:
[PASTE SCENE]
Planning rule: If the two locations do not share a deadline, consequence, sound, or cause-and-effect relationship, cross-cutting may only create confusion.
Step 2 — Build Two Interlocking Beat Lanes
Create one lane for each location rather than converting screenplay paragraphs directly into shots. Each row should contain a filmable state change: a prop moves, a distance closes, a warning appears, or a character makes a decision.
| Beat | Location A: Hallway | Location B: Archive Room | Connection |
|---|---|---|---|
| Setup | A guard enters the corridor. | Mara searches a desk. | Distant footsteps begin. |
| Pressure 1 | The guard checks the first door. | Mara finds a sealed envelope. | The footsteps grow louder. |
| Pressure 2 | The guard reaches the archive door. | Mara notices the moving handle. | Both shots feature the door. |
| Collision | The handle turns. | Mara extinguishes the lamp. | The room falls dark before entry. |
Do not force perfect alternation. One lane may need two consecutive beats while the other character remains in a stable state. What matters is that each return advances the viewer’s understanding.
Mark any continuity facts that must survive generation: the guard’s direction of travel, which hand holds the envelope, the door’s hinge side, the lamp’s position, and the lighting change after it is extinguished.
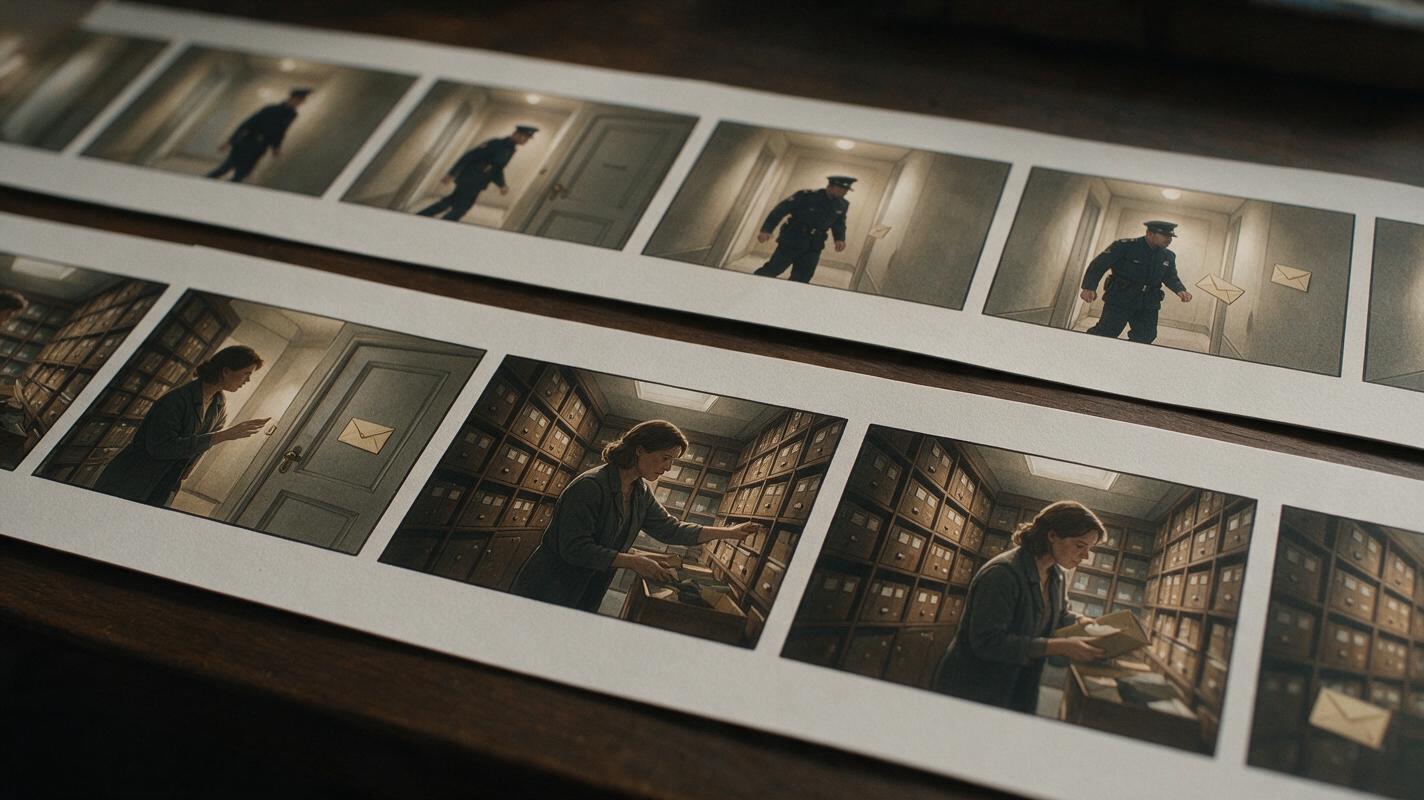
Step 3 — Design Storyboard Pairs Around Match Points
Use an ai storyboard to design shots in pairs. A pair contains one frame from each location connected by composition, movement, sound, or meaning.
Useful pair structures include:
- Object match: A hand approaches the outer handle; cut to the inner handle beginning to rotate.
- Direction match: The guard moves left to right; Mara retreats in the same visual direction.
- Scale contrast: A wide hallway shows decreasing distance; a tight close-up shows rising fear.
- Cause and reaction: A key enters the lock; Mara turns toward the sound.
- Light contrast: A bright corridor cuts to a room that suddenly becomes dark.
Generate the frames with a shared visual specification, but describe each shot independently:
Create eight storyboard frame descriptions for a cross-cut suspense scene.

Continuity rules:
- realistic nocturnal thriller
- muted blue-gray palette with one warm practical lamp
- the archive door, envelope, clothing, and room layout remain unchanged
- the guard approaches from screen left to screen right
- Mara stays on the room side of the same door

For every frame, provide:
- location
- shot size
- camera angle
- character action
- visible continuity details
- connection to the preceding or following frame

Arrange the frames as four connected A/B shot pairs.
Do not introduce text overlays or additional props.
Review the still frames as a silent strip. The sequence should communicate decreasing distance in the hallway and decreasing options inside the room. Repair unclear geography now rather than hoping motion generation will solve it.
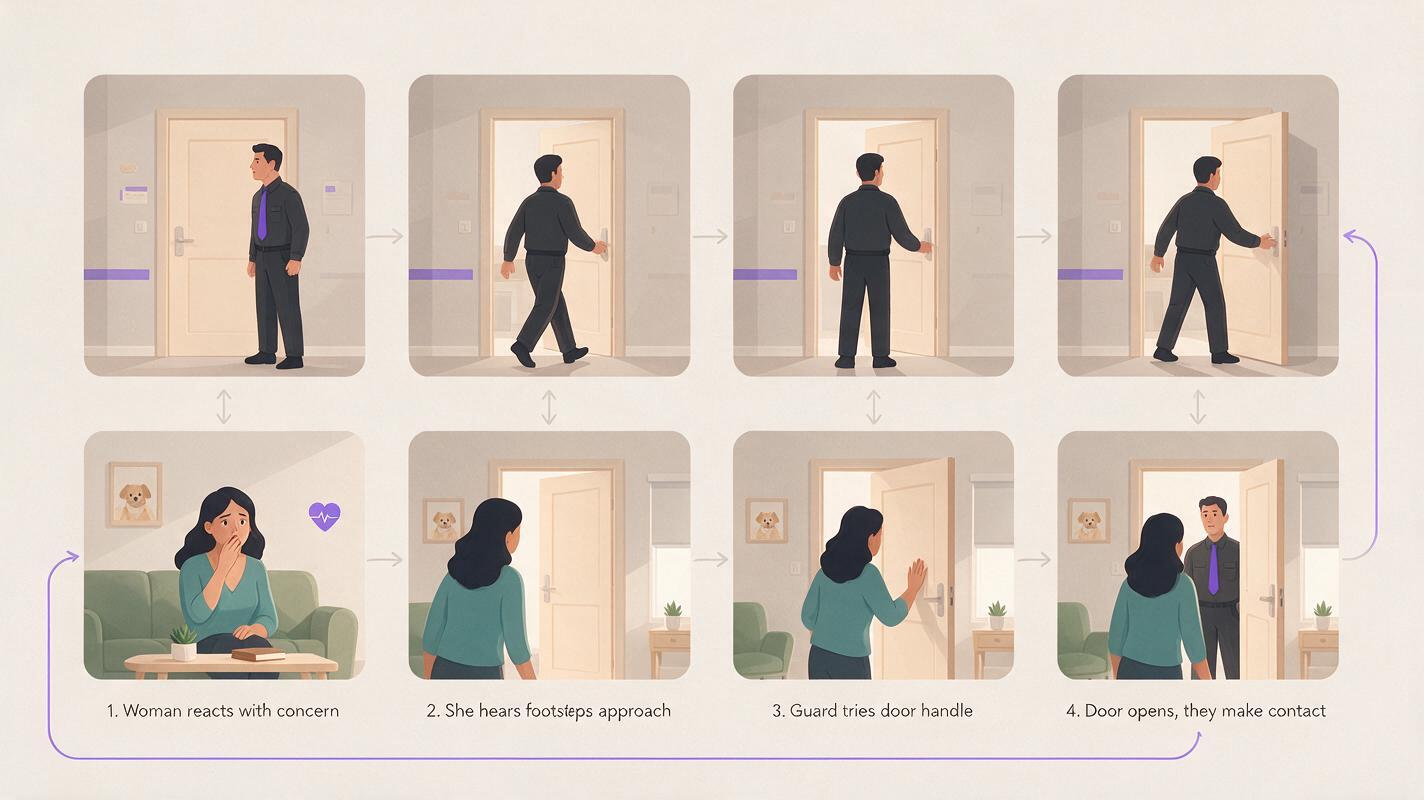
Step 4 — Generate Clips With One Dominant Motion
Cross-cut sequences depend on precise endpoints, so assign one dominant movement to each clip. A shot that combines walking, turning, unlocking, reacting, and camera orbiting is harder to connect cleanly than several focused shots.
Write motion prompts around four elements: the starting pose, the dominant action, the camera behavior, and the required final state.
Animate this storyboard frame as a restrained suspense shot.

Starting state: the guard stands three steps from the archive door.
Dominant action: he walks slowly toward the door and raises one hand.
Camera: static medium-long shot, no zoom, no orbit.
Environmental motion: subtle coat movement and weak ceiling-light flicker.
End state: his hand stops just before touching the handle.
Preserve the corridor layout, costume, face, lighting, and screen direction.
Do not open the door.
The endpoint restriction is important. If the door opens early in the hallway clip, the later interior reaction loses its cause. Stop each clip immediately before or after a meaningful action so the edit controls when the event occurs.
Generate clean environmental sound separately when possible: footsteps, a key touching metal, fabric movement, a lamp switch, and room tone. These sounds can connect shots even when their visual motion differs.
Step 5 — Cut for Escalation, Not Alternation
Assemble the clips according to pressure rather than an automatic A-B-A-B pattern. Early shots can be longer because the audience is learning the geography. Later shots can become more compressed as the shared event approaches, but every cut should still deliver readable information.
A practical first pass might follow this shape:
- Establish the hallway and the guard’s direction.
- Establish Mara, the room, and the envelope.
- Return to the guard only after he has closed part of the distance.
- Let footsteps continue over Mara’s next shot.
- Cut between the key, Mara’s reaction, and the moving handle.
- Hold briefly on darkness before the door opens.
Use audio bridges to make separate generated clips feel simultaneous. Footsteps can begin over the final frames of the room shot. A lock click can occur before the cut to Mara’s reaction. The lamp switch can create a short silence that delays the collision.
Avoid adding a transition effect to every location change. Straight cuts usually preserve urgency, while an occasional sound-led cut can clarify cause and effect. Save dissolves for an intentional change in time or mental state rather than ordinary parallel action.
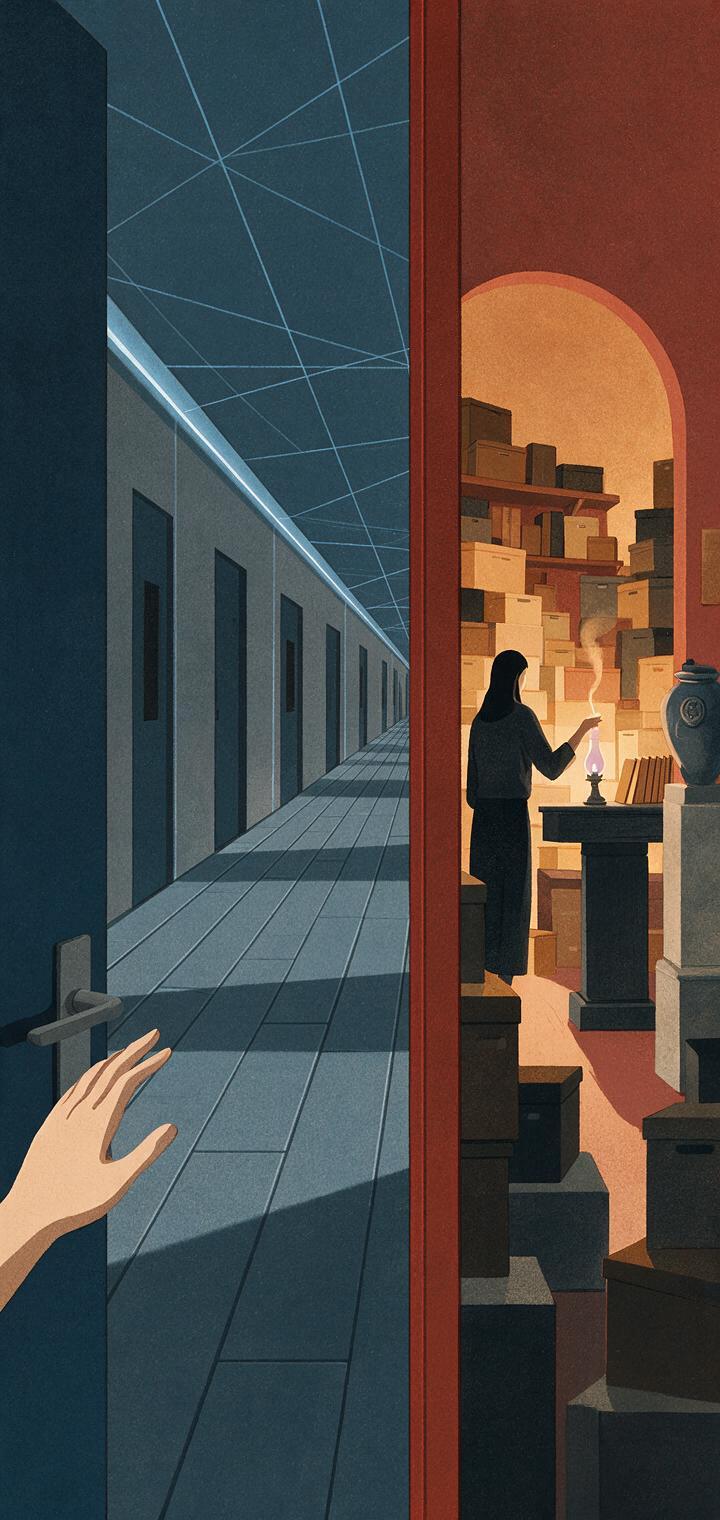
Step 6 — Run a Geography and Causality Test
Watch the sequence three different ways before finalizing it.
- Muted: Can you identify both locations, each objective, and the approaching collision from the images alone?
- Audio only: Do footsteps, locks, room tone, and silence describe a coherent rise in pressure?
- Full playback: Does each cut answer a question or create a more urgent one?
If the sequence is confusing, do not immediately generate more footage. First check whether one of these structural problems is present:
| Problem | Likely cause | Repair |
|---|---|---|
| The locations feel unrelated. | No shared sensory or causal link. | Add a recurring sound, prop, deadline, or action. |
| The guard appears to reverse direction. | Inconsistent screen direction. | Replace or horizontally reframe the conflicting shot. |
| The climax feels premature. | A generated clip completed the key action too early. | Trim before the action or regenerate with a restricted endpoint. |
| The cutting feels mechanical. | Every beat uses the same A-B alternation. | Hold or repeat a lane when its pressure is still developing. |
When the beat lanes and paired storyboard frames are ready, try for free and build a short test sequence before committing to the full scene.
FAQ
How many locations should a short cross-cut sequence use?
Start with two. A third location adds another objective, geography problem, continuity set, and timing relationship. Introduce it only when its actions materially change the same convergence event.
Should both sides receive the same number of shots?
No. Give each side enough coverage to show meaningful changes. Equal shot counts can make the edit predictable and may force cuts before new information is available.
Can narration explain that the actions are simultaneous?
It can, but visual and audio connections are usually stronger. Repeated sounds, shared props, changing distance, and clear cause-and-effect relationships let viewers infer simultaneity without exposition.
What should I regenerate first if the sequence is unclear?
Replace the shot that breaks geography or causality, not necessarily the least attractive shot. A visually polished frame is still harmful if it reverses movement, changes the room, or completes an action at the wrong time.
Sources
Final Checklist
- The two locations share a clear deadline, consequence, sound, or cause.
- Each lane contains visible state changes rather than general activity.
- Storyboard frames are planned as connected A/B pairs.
- Every generated clip has one dominant motion and a controlled endpoint.
- Screen direction, props, lighting, and door geography remain consistent.
- The edit accelerates through rising pressure rather than rigid alternation.
- The sequence remains understandable when viewed without sound.
Keywords
script to video AI, AI storyboard generator, AI movie maker, create AI video from script, direct an AI short film, AI story video generator, AI clip maker
Decision: PUBLISH — This tutorial covers a distinct, execution-focused method for directing simultaneous suspense across two locations.