How to Direct a Dialogue Scene with Script-to-Video AI
Learn how to turn a two-character script into an editable AI dialogue scene using performance beats, screen direction, shot-reverse-shot coverage, and reaction cuts. The workflow includes copyable prompts for creating an AI storyboard, generating shots, and assembling a clear dramatic exchange.
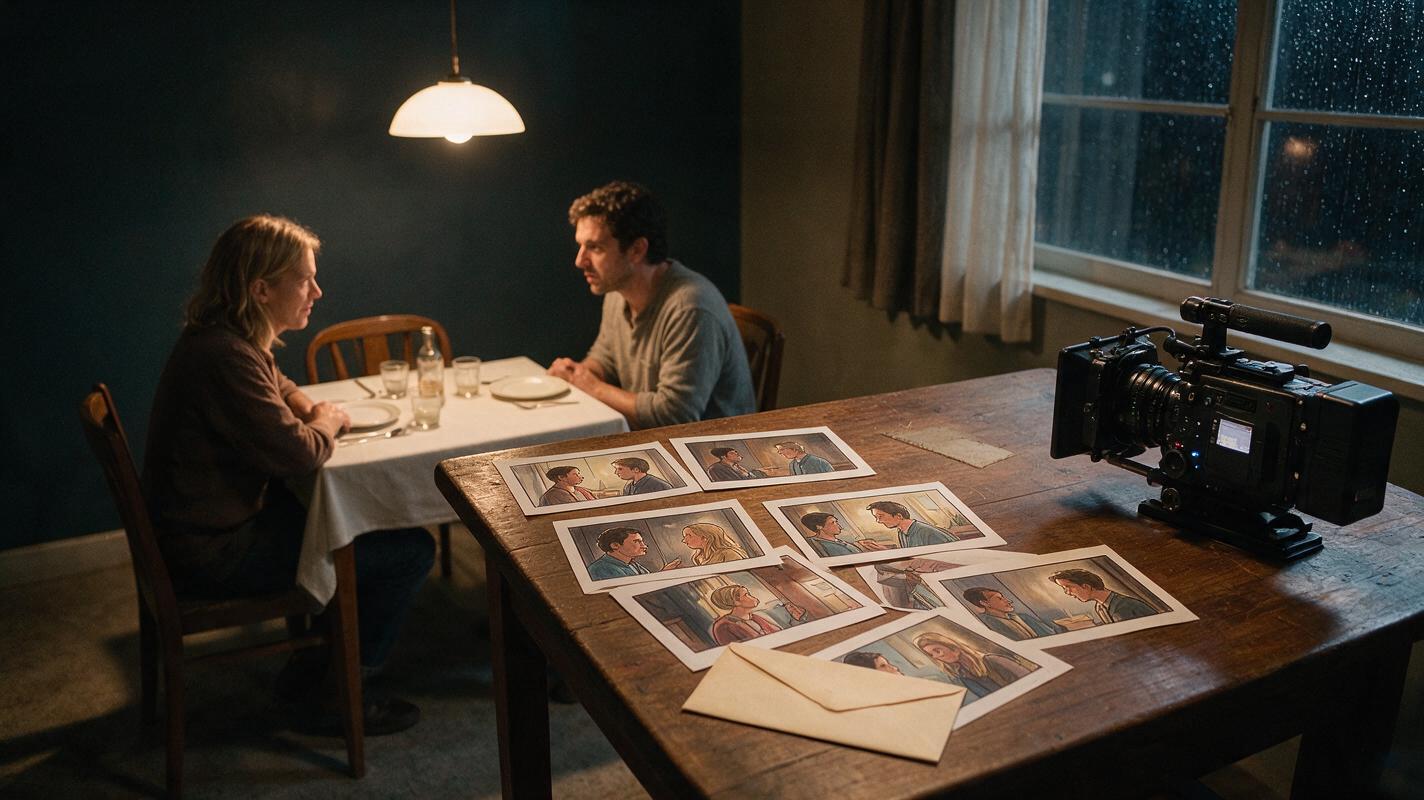
Table of contents
Turn written dialogue into a scene that feels directed
A convincing AI dialogue scene depends less on animated mouths than on readable intentions, controlled eyelines, purposeful reactions, and cuts that reveal who holds the power.
This tutorial shows how to convert a short exchange between two characters into a production-ready storyboard and a set of editable video shots. It is designed for filmmakers who already have a script but need practical visual direction—not another general scriptwriting workflow.
Best starting point: Use a scene with two characters, one location, one central conflict, and no more than a page of dialogue while testing the method.
Step 1 — Mark the performance beats in the script
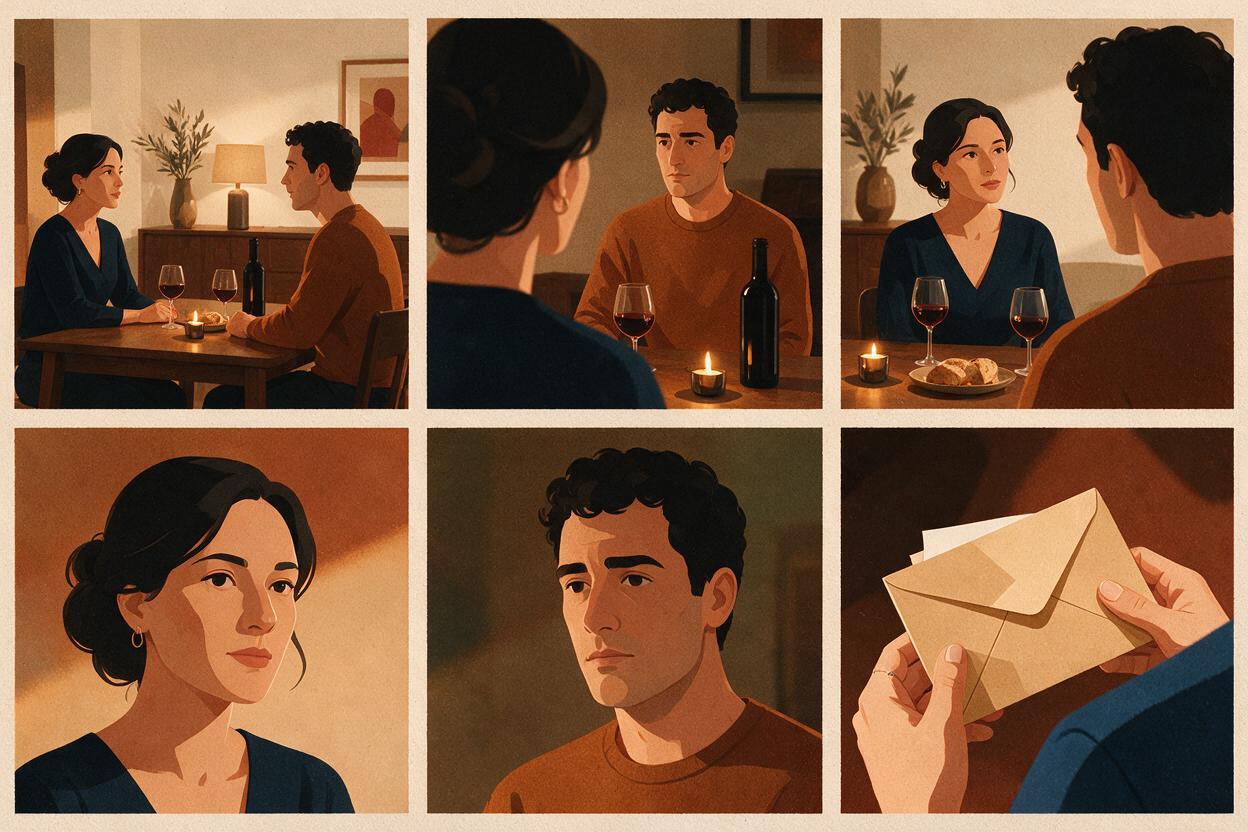
Do not storyboard every line as a separate shot. First divide the scene into performance beats: moments when a character changes tactics, learns something, avoids a question, or gains control.
For each beat, identify four elements:
- Speaker intention: What does the character want right now?
- Hidden emotion: What are they trying not to reveal?
- Visible behavior: What physical action can communicate that emotion?
- Dramatic change: What becomes different by the end of the beat?
Consider this short example: Mara asks Eli whether he opened a locked envelope. Eli denies it, but he keeps moving his thumb over a fresh paper cut. Mara notices and silently places the torn envelope on the table.
| Beat | Intention | Visible evidence | Change |
|---|---|---|---|
| The question | Mara tests Eli | She watches instead of confronting him | Eli realizes he may be suspected |
| The denial | Eli tries to appear casual | His thumb covers a paper cut | His body contradicts his words |
| The reveal | Mara ends the deception | She places the envelope between them | Mara takes control |
Use this prompt to extract beats without rewriting the dialogue:
Analyze the dialogue scene below as a film director.
Preserve every spoken line exactly.
Divide the scene into dramatic performance beats.
For each beat, provide:
- the active character
- their immediate objective
- the emotion they are concealing
- one subtle physical behavior that reveals it
- the moment when control shifts
Do not add narration or new plot events.

SCRIPT:
[Paste the scene]
Step 2 — Establish the eyeline and camera axis
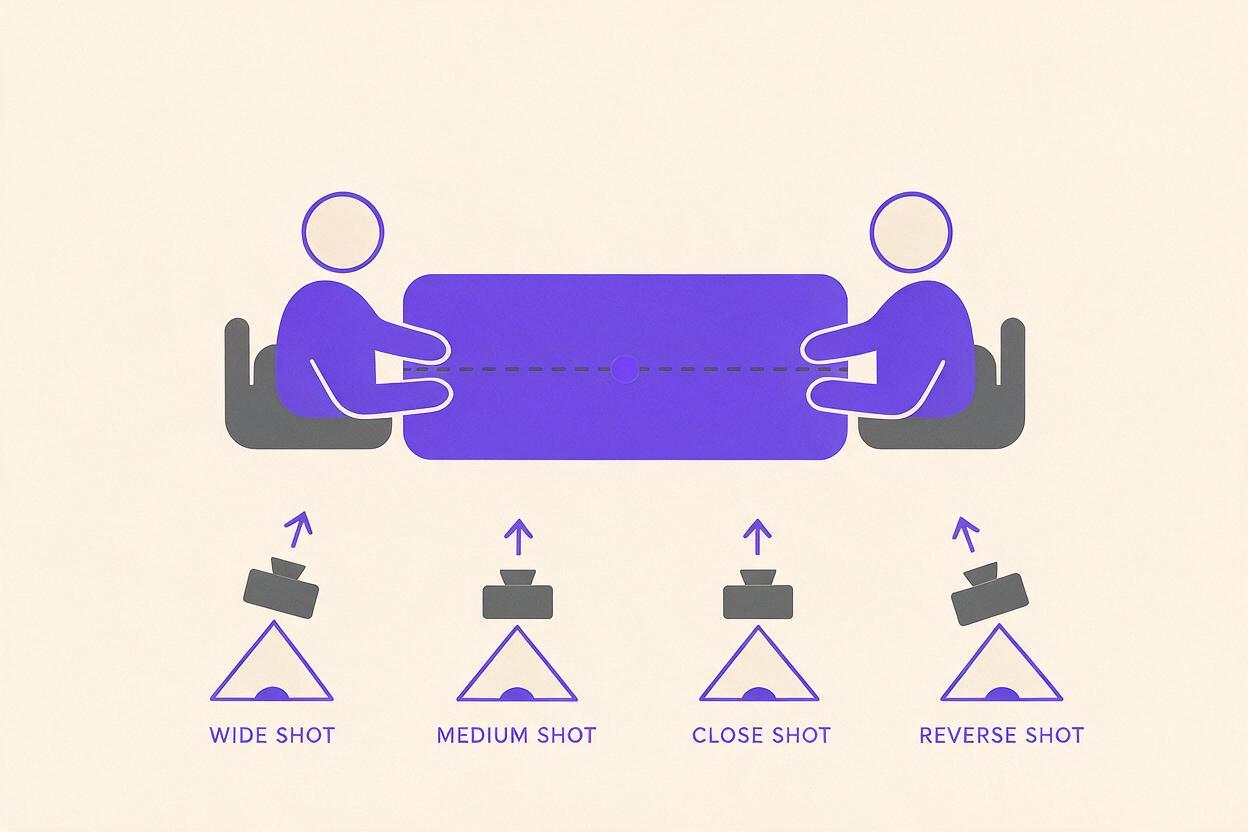
Before choosing close-ups, decide where the characters stand or sit and draw an imaginary line between them. Keep the principal camera positions on one side of that line so each character maintains a stable screen direction.
If Mara faces screen right in her close-up, Eli should generally face screen left. This visual opposition helps viewers understand that they are looking at each other, even when the characters appear in separate generated clips.
A compact dialogue coverage plan usually needs:
- One master shot establishing both characters and the location.
- Two matching over-the-shoulder shots for the main exchange.
- One close-up per character for decisive emotional changes.
- One insert if a prop carries story information.
- One reaction shot that can bridge dialogue or hide a difficult visual transition.
The 180-degree rule is a useful foundation, but crossing the axis can still work when it is deliberate—for example, after a revelation that changes the relationship. Do not cross it accidentally because separate generations assigned inconsistent facing directions.
Step 3 — Turn the script into an AI storyboard
Now convert the performance beats and coverage plan into storyboard frames. Treat the storyboard as a directing document: every panel should specify framing, eyeline, body behavior, and narrative purpose.
Repeat stable character and location details in every frame prompt. Then vary only what the shot requires. This reduces the chance that a close-up introduces a different costume, lighting direction, or room layout.
Create a cinematic storyboard plan for a tense two-character dialogue scene.

LOCATION LOCK:
Quiet apartment dining room at night, dark wooden table, warm pendant light,
rain visible through one background window.

CHARACTER LOCK:
Mara: woman in her early thirties, short dark hair, charcoal cardigan.
Eli: man in his mid-thirties, wavy brown hair, pale blue shirt with rolled sleeves.

SCREEN-DIRECTION LOCK:
Mara remains on frame left and looks screen right.
Eli remains on frame right and looks screen left.

For each panel, specify:
- shot size and camera height
- which character is visible
- exact eyeline
- restrained physical action
- important prop position
- dramatic purpose of the shot

Include a master shot, matching over-the-shoulder coverage,
close-ups for both characters, an envelope insert, and a silent reaction.
Review the proposed frames as a sequence rather than as isolated pictures. Check whether the viewer can infer the room layout, who is speaking, what each character sees, and when the emotional balance changes.
Once the shot plan reads clearly, you can turn the prepared script and storyboard into working video shots instead of asking one generation to interpret the entire scene at once.
Step 4 — Generate shots around one playable action
Each video prompt should describe a single playable action. Avoid packing a spoken line, a walk across the room, a prop interaction, and a major camera move into the same request.
For example, Eli’s denial can be communicated through a held gaze, a guarded posture, and his thumb covering the cut. The prompt does not need to explain the full backstory.
Medium close-up of Eli seated at the dining table, facing screen left.
He tries to maintain calm eye contact with someone off camera.
His right thumb slowly covers a small paper cut on his left index finger.
His expression stays controlled, but his jaw tightens briefly.
Locked camera, warm overhead light, rainy night background,
restrained natural performance, no exaggerated gestures.
Generate the master shot and neutral listening reactions before the most emotionally specific close-ups. Those neutral shots give the edit room to breathe and can cover timing changes later.
Keep camera instructions concrete:
- Use locked camera when performance is the focus.
- Use slow push-in only when a realization or decision justifies it.
- State screen-left or screen-right eyeline in every single-character prompt.
- Describe gestures by speed and size, such as “slowly lowers her hand.”
- Request a stable ending pose so the shot is easier to cut.
Step 5 — Cut for thought, not just for speech
Dialogue editing is not simply alternating between the person speaking and the person listening. Stay on a listener when their reaction is more important than the words. Cut to the speaker when a new tactic begins, and use the insert only when the audience needs to recognize the evidence.
A useful edit for the example scene could follow this rhythm:
- Open on the master shot as Mara asks the question.
- Cut to Eli’s medium close-up before he answers.
- Hold on Eli while his thumb covers the cut.
- Cut to Mara’s silent reaction after she notices it.
- Show the envelope insert as it touches the table.
- Return to Eli for the final loss of composure.
Let some dialogue begin before the picture changes or continue after the cut. These overlapping edits, often called J-cuts and L-cuts, can make separate shots feel like one continuous conversation. Blackmagic Design provides additional public editing training materials for practicing timeline and sound workflows.
Editing principle: Cut when the audience’s attention moves—not automatically at the end of every sentence.
Step 6 — Check whether the scene works without dialogue
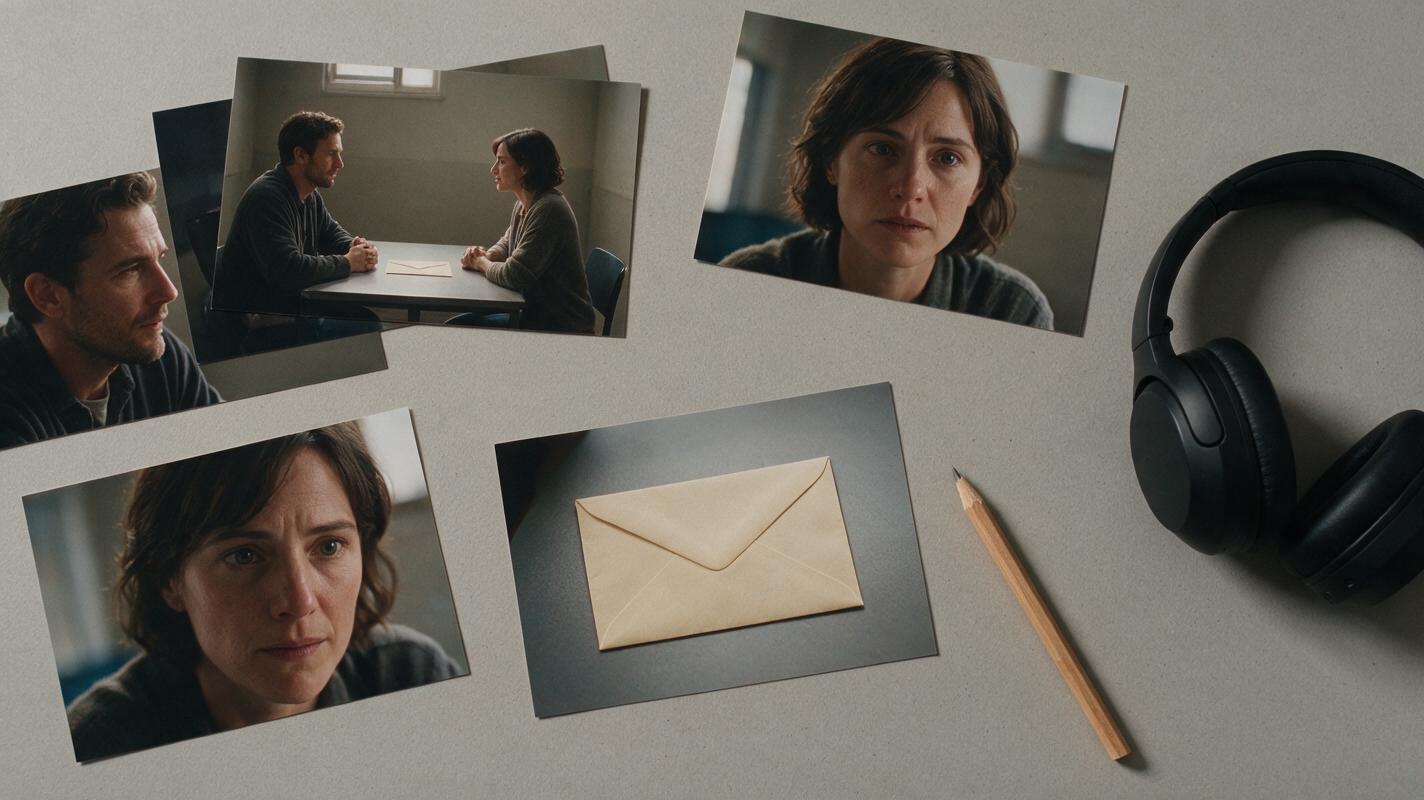
Mute the scene and watch it once. You should still understand who is pressuring whom, which object matters, and where the major reversal occurs. If the emotional logic disappears completely, the images are illustrating speech rather than directing behavior.
Then play the scene with audio and inspect the technical joins:
- Do Mara and Eli preserve opposite eyelines?
- Does the envelope remain in a plausible position?
- Do hand positions jump noticeably between cuts?
- Does a reaction begin early enough to feel motivated?
- Is the master shot available when spatial clarity is needed?
- Does each close-up correspond to a genuine dramatic change?
If one answer is no, replace the smallest possible unit. A corrected reaction shot or insert is usually more efficient than rebuilding the entire exchange.
Final checklist
- The script has been divided into changes of intention, not individual lines.
- Character placement and screen direction are defined before generation.
- The storyboard includes a master, matching coverage, reactions, and essential inserts.
- Every generation prompt contains one primary physical action.
- Close-ups are reserved for decisions, discoveries, or shifts in control.
- The edit follows audience attention and includes useful listening shots.
- The scene remains understandable when watched without dialogue.
FAQ
Should every line receive a separate AI-generated shot?
No. Generate around dramatic beats and edit-worthy reactions. Assigning a new shot to every line often produces mechanical pacing and creates more continuity problems than the scene needs.
Can an AI storyboard generator preserve eyelines automatically?
Do not assume it will. Define where each character sits, which direction each person faces, and which side of the camera axis is permitted. Repeat those constraints in both storyboard and video prompts.
What is the minimum coverage for a two-person dialogue scene?
A master shot, one angle favoring each character, and at least one useful reaction can be enough for a simple exchange. Add close-ups and inserts only when they reveal information or mark a change in power.
Should I generate the full scene as one clip?
Separate shots usually provide more control over framing, performance, timing, and replacement. A continuous master can still be useful as a spatial reference or fallback angle.
How can I hide a weak transition between generated clips?
Cut to a motivated reaction, a relevant prop insert, or the master shot. Sound can continue across the cut so the conversation remains connected even while the image changes.
Sources
- StudioBinder: The 180-Degree Rule Explained
- StudioBinder: Shot Reverse Shot
- Blackmagic Design: DaVinci Resolve Training
Keywords
script to video AI, AI storyboard generator, create AI video from script, turn a script into an AI storyboard, direct an AI short film, AI movie maker, AI story video generator
Decision: PUBLISH — This tutorial addresses the distinct production task of directing and editing a two-character AI dialogue scene.