Seedance Prompts for 6 Standard Dialogue Scene Coverage Shots
Directors and previsualization artists often spend hours mocking up dialogue scene coverage to plan their shot list. This collection of Seedance prompts generates short, cinematic previs clips for 6 standard coverage shot types from a single script scene description. It also includes simple continuity rules to keep lighting, setting, and character placement consistent across every shot in the scene.
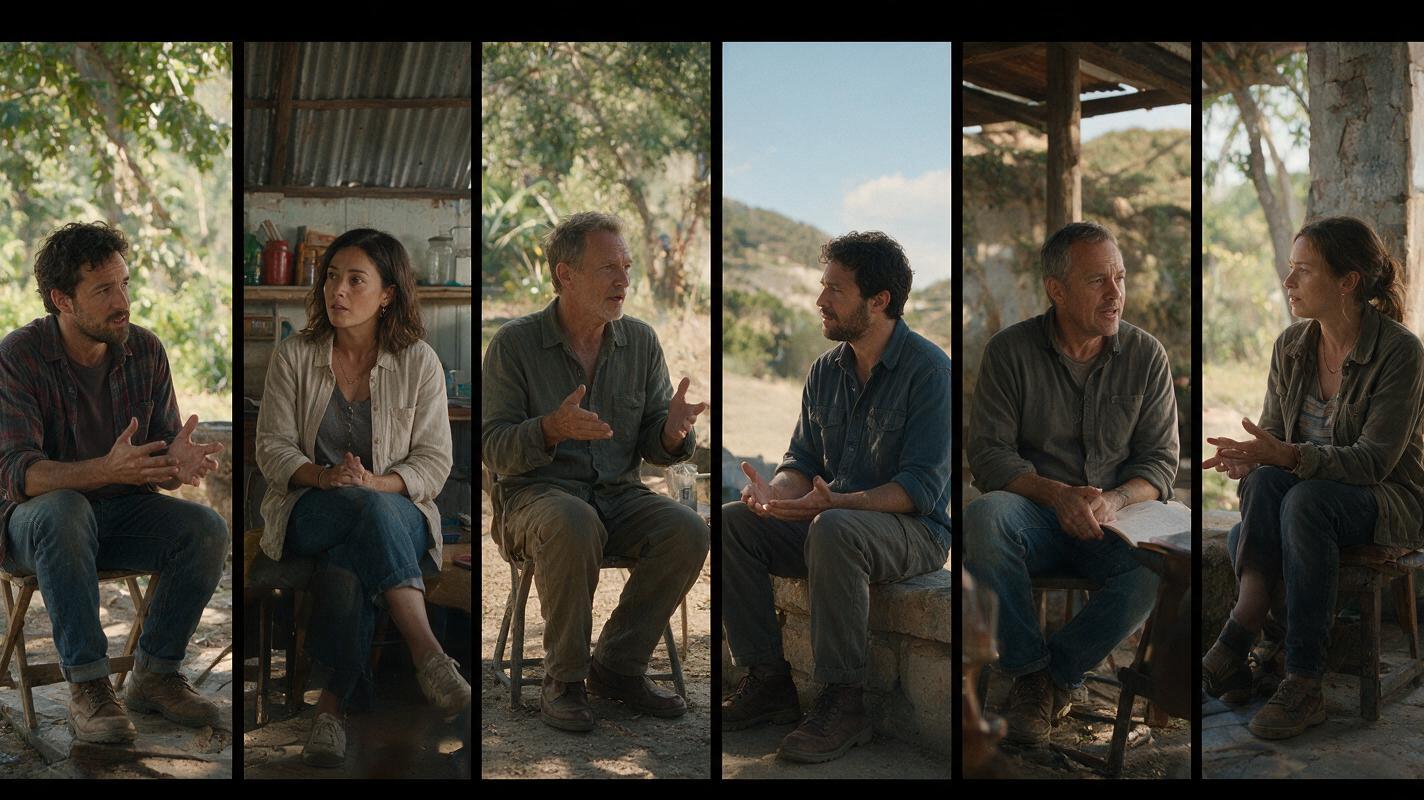
Table of contents
Dialogue scene coverage previs without 3D tools or storyboard artists
When prepping a two-person dialogue scene, most directors spend hours sketching shot lists, mocking up 3D scenes, or working with storyboard artists just to visualize standard coverage options. You need to see how a master shot frames the space, how close-ups land on emotional beats, and how over-the-shoulder shots feel before you lock your shot list — but manual previs takes time you don’t always have on tight prep schedules.
Seedance, a text-to-video model built for cinematic motion, can generate 5-10 second previs clips for every standard coverage shot from a single scene description in minutes. The trick is building a shared base prompt that locks in setting, lighting, and character details, then swapping only the camera angle modifier for each shot. This keeps continuity tight across your entire coverage set so you can actually compare shot options side by side.
Base prompt template for scene continuity
Before you generate any individual coverage shot, build a base prompt that defines every shared element of the scene. This base prompt locks in all the shared scene details so every text to video generation matches the same world, even as you change camera angle. Skipping this step leads to mismatched lighting, shifting character outfits, and changing room layouts across shots — which makes the previs useless for planning.
[Scene setting: location, time of day, weather, ambient light]
[Characters: two characters, brief physical descriptions, wardrobe, posture]
[Scene tone: mood, genre, overall visual style]
[Cinematic baseline: 2.39:1 aspect ratio, cinematic previs style, natural motion, no VFX flourishes]
[Shot modifier: insert specific coverage shot type and camera details here]
Fill in the first four sections once, then only edit the final [Shot modifier] line for each coverage type. If you’re working from a full script page, pull the core action, character, and setting beats to build your base prompt for script to video previs. For example, here’s a filled-in base for a tense indie drama scene:
Scene setting: dimly lit 1970s suburban kitchen, late evening, rain streaking the window, warm yellow overhead light mixed with cool blue streetlight coming through the glass
Characters: 40s woman in a faded blue house dress, leaning against the counter, arms crossed; 16s boy in a worn black hoodie, slouched in a wooden kitchen chair, staring at the table
Scene tone: tense, quiet, understated drama, realistic indie film style
Cinematic baseline: 2.39:1 aspect ratio, cinematic previs, natural human motion, soft focus background, no text or overlays
Shot modifier: [replace with coverage shot details]
Copy the base template, swap in your scene details, and test this prompt yourself to generate your first master shot clip.
6 coverage shot prompts for dialogue scenes
Below are six standard dialogue coverage shot types, each with a ready-to-use shot modifier that plugs directly into your base prompt. Each shot serves a specific narrative purpose, so you can mix and match to build a coverage set that fits your scene’s tone.
Master shot
The master shot frames both characters and the full space of the scene, establishing geography and blocking so your audience understands where everyone is relative to each other. It’s the foundation of your coverage set, and you’ll cut back to it whenever you need to reorient the viewer.
Shot modifier: wide master shot, static camera, both characters fully in frame, kitchen counter and table visible, eye levelUse this clip to check if your blocking feels natural and if the space reads clearly on camera. If the room feels too cramped or the characters are too far apart, adjust your base prompt’s setting details before generating the rest of the coverage.
Two-shot
The two-shot frames both characters from the waist or chest up, focusing on their interaction without showing the full room. It’s ideal for moments where both characters are speaking equally, or when you want to show their body language side by side.
Shot modifier: medium two-shot, static camera, both characters from the waist up, woman on left leaning on counter, boy on right sitting in chair, eye level, shallow depth of fieldThis shot is workhorse coverage for most dialogue scenes. If you only generate a few clips, start with the master, two-shot, and close-ups.
Over-the-shoulder (OTS) shot
OTS shots frame one character from behind the shoulder of the other, putting the viewer in the perspective of the listening character. They create intimacy and make conversations feel more immersive than flat two-shots.
Shot modifier: over-the-shoulder shot from behind the woman’s left shoulder, focus on the boy’s face in the middle ground, woman’s shoulder and back of head blurred in foreground, eye level, shallow depth of fieldGenerate two OTS shots — one for each character’s perspective — to have coverage for both sides of the conversation. Keep the camera height and depth of field identical for both to maintain visual consistency.
Close-up
Close-ups frame a single character’s face from the shoulders up, amplifying emotion and drawing the viewer’s attention to subtle expressions. Use them for key lines, reaction beats, or moments of high tension.
Shot modifier: tight close-up on the boy’s face, static camera, shallow depth of field, background kitchen blurred out, soft side lighting from the window, eye levelFor maximum emotional impact, match the close-up’s lighting to the wider shots so it doesn’t feel like it’s from a different scene. Pay attention to which side of the face the key light hits — it should stay consistent across all coverage.
Insert shot
Insert shots focus on a small, important detail in the scene — a clenched fist, a crumpled letter on the table, a ticking clock — to emphasize a narrative beat. They’re useful for breaking up long dialogue stretches and highlighting subtext.
Shot modifier: close insert shot of the boy’s clenched fists resting on the wooden table, static camera, shallow depth of field, warm overhead light hitting his knuckles, background blurredInsert shots are easy to overlook during prep, but they add texture and rhythm to your edit. Generate 1-2 inserts per scene to give yourself options in post.
Establishing wide shot
The establishing wide shot shows the location from a distance, setting the scene before you cut into the dialogue. It’s often the first shot of the scene, and it tells the viewer where the action is taking place.
Shot modifier: exterior wide establishing shot of the 1970s suburban house at night, rain falling, warm kitchen window glowing, static camera, slightly high angle, street in foregroundEven if your scene takes place entirely inside, a quick establishing shot helps ground the audience. You can also use a wider interior shot as a buffer between the exterior establishing shot and the master shot.
Continuity tips to avoid shot-to-shot drift
The biggest challenge of generating multiple coverage shots from text is keeping details consistent across clips. Use these simple rules to make sure every shot feels like it’s from the same scene:
- Use the exact same base prompt every time. Only edit the final shot modifier line. Even small changes to the setting or character description will cause noticeable drift.
- Lock your aspect ratio and resolution. Use the same 2.39:1 cinematic aspect ratio for every generation to keep framing consistent.
- Match camera height where possible. For dialogue coverage, keep the camera at eye level for most shots. Changing the height drastically will make the space feel different.
- Keep lighting descriptions specific. Mention exactly where the key light is coming from (e.g., "warm overhead kitchen light + cool blue streetlight from left window") so it stays consistent across shots.
- Use a fixed seed if available. If you’re using Seedance’s advanced settings, lock the seed value for all coverage shots of the same scene to minimize random variation.
Even with these tips, you may notice small differences between clips — a slightly different shirt fold, a shifted chair position. That’s normal for previs; the goal is to get a clear sense of framing and mood, not pixel-perfect continuity. You can always tweak details manually later if you need more polished clips.
Key takeaways
- Build a shared base prompt with all scene details first, then only edit the shot modifier for each coverage type to maintain continuity.
- Seedance can generate 6 standard dialogue coverage shots (master, two-shot, OTS, close-up, insert, establishing wide) as short previs clips in minutes.
- Prioritize master shots, two-shots, and close-ups for basic coverage, then add OTS and insert shots for more editorial flexibility.
- Small shot-to-shot variations are normal for previs — focus on framing, tone, and geography when evaluating your clips.
Keywords
seedance prompts, dialogue scene coverage, previs clips, text to video, filmmaking previsualization, script to video, cinematic shot types