Seedance Prompts for Match Cuts in Faceless YouTube Videos
A match cut can carry a faceless video from one idea to the next without a flashy transition. These Seedance prompt pairs use matching shapes, direction, and color, then leave the precise cut to the editor.
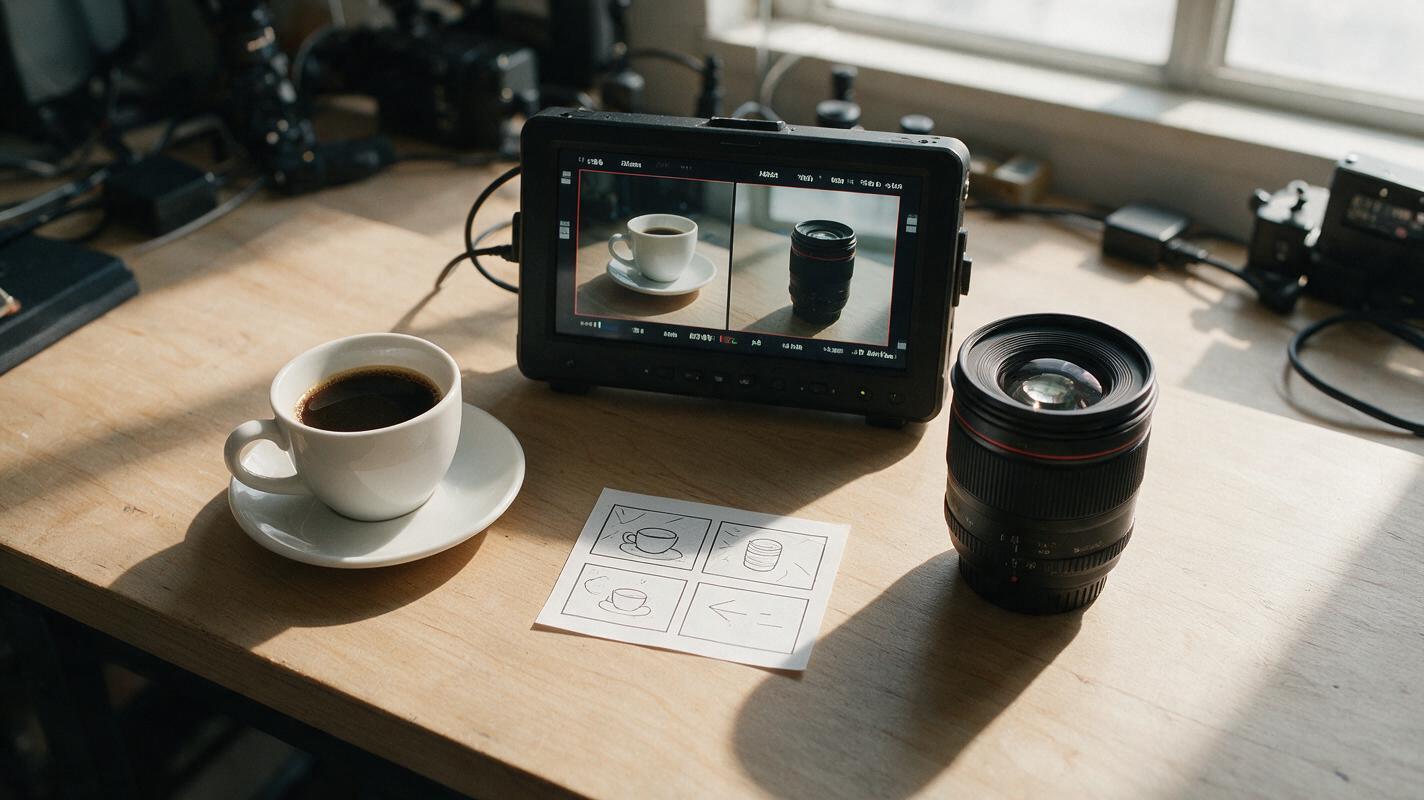
Table of contents
Make the cut feel intentional
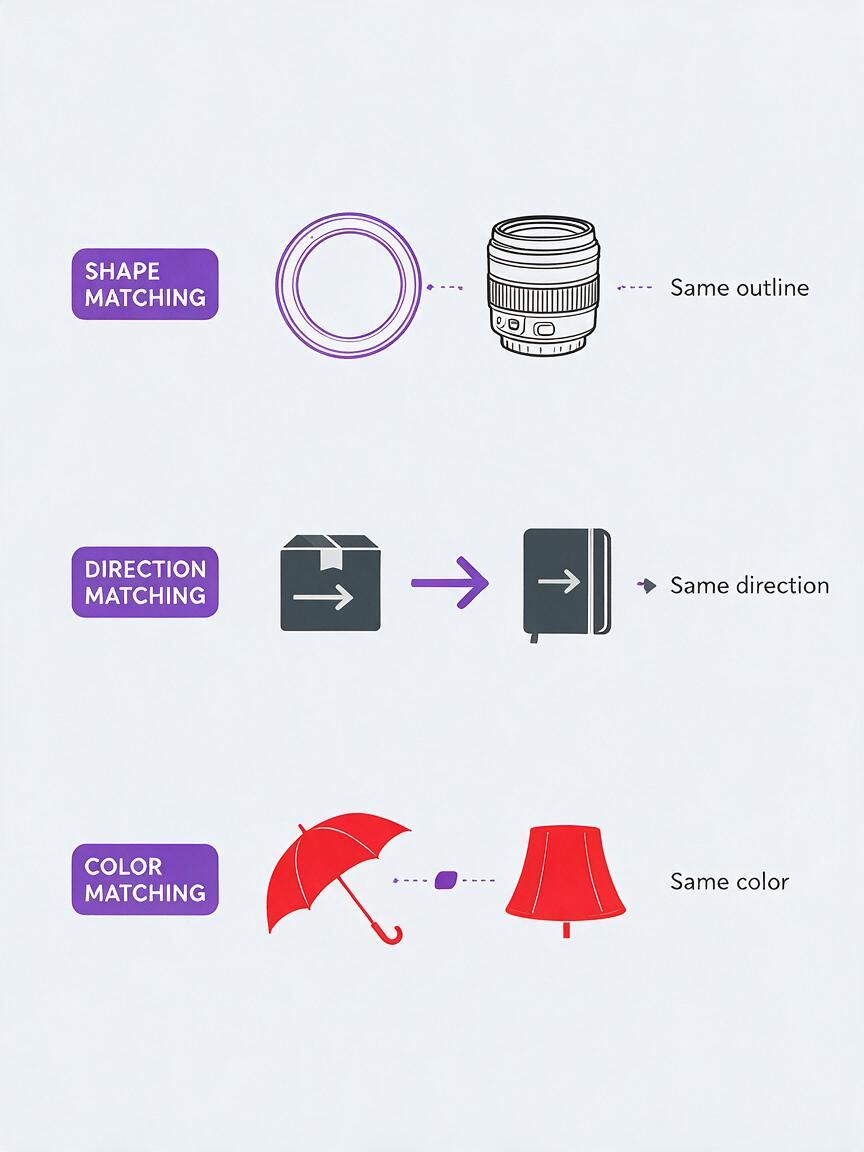
A good match cut makes two unrelated shots feel connected: a coffee cup becomes a camera lens, or a red umbrella becomes a red lampshade. For a faceless YouTube video, that visual handoff can move the story forward without an on-camera host or a distracting transition effect. The trick with Seedance is to prompt two simple shots that share a cuttable feature, then align their best frames in your editor. Do not ask the model to invent the entire transition in one clip.
Use the prompt pairs below as starting points. Each is designed around something you can inspect before editing: shape, motion, or color. Generated shots vary, so treat the first result as a candidate rather than a guaranteed match.
Give both shots the same visual anchor
Before generating, decide what must line up at the cut. Note the subject’s position, its approximate size in frame, the camera angle, and whether anything moves. Keep everything else flexible. A circular match, for example, needs two readable circles; it does not need identical rooms.
| Match type | Keep consistent | Useful for |
|---|---|---|
| Shape | Outline, scale, and screen position | Moving between related topics |
| Direction | Movement across the frame | Maintaining momentum through a narration beat |
| Color | One dominant patch of color | Linking different locations or moods |
Use Seedance for text to video when you need original cutaways rather than footage of a real event or product. Generate each side separately so you can reject a weak shot without rebuilding the whole pair. If a shot must show a specific product, person, or documented place accurately, use authorized source footage instead.
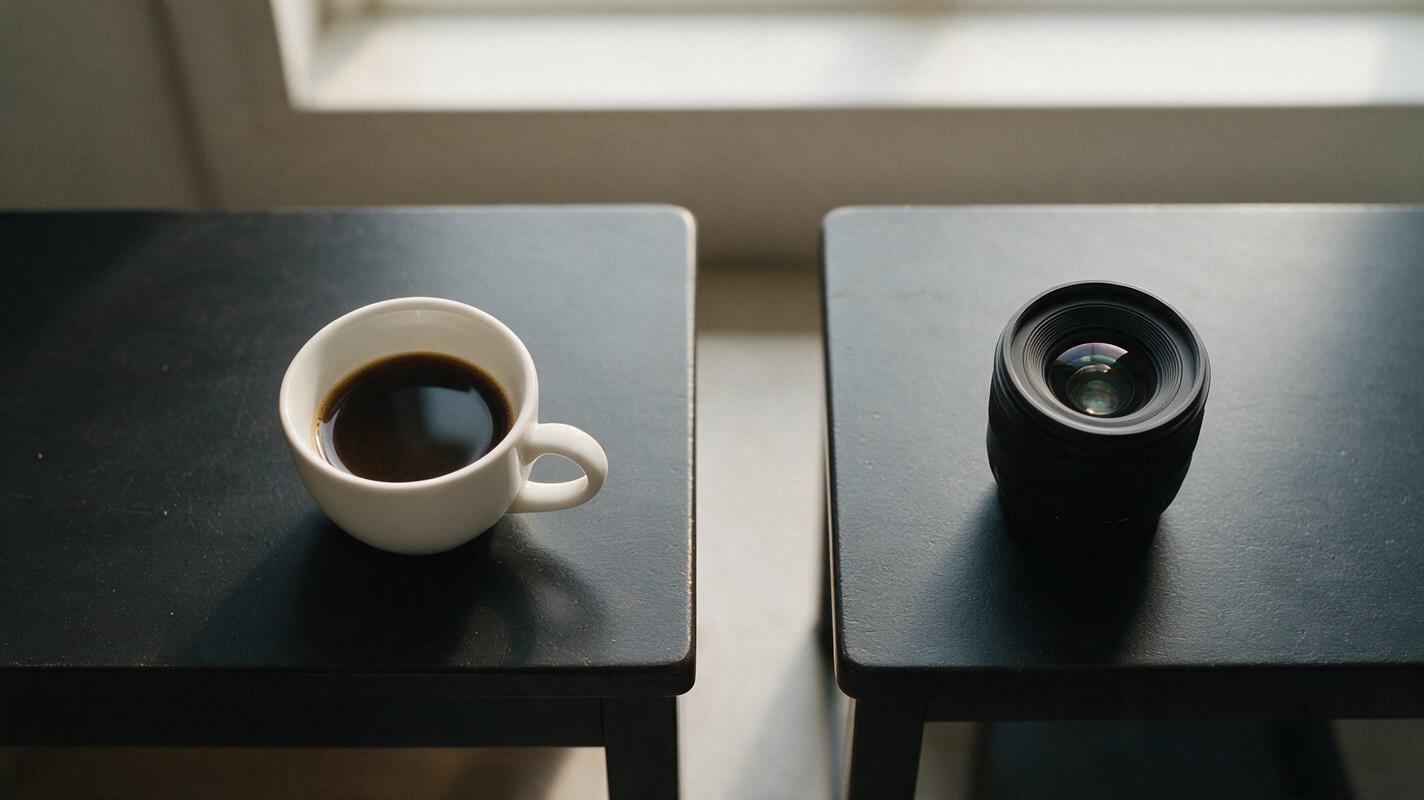
Match shape: coffee cup to camera lens
This pair works as a transition from a morning routine into a section about filming. The overhead angle makes the shared circular outline easy to see. Leave a brief hold at the end of the cup shot and the beginning of the lens shot; those are your likely cut points.
Cup shot:
Locked overhead shot of a single white ceramic coffee cup on a plain dark tabletop. The cup is centered and fills about one third of the frame width. The dark coffee surface is still, with one subtle ripple that settles. Soft window light, uncluttered background. Hold the final centered composition. No hands, text, logos, camera movement, or additional objects.Lens shot:
Locked overhead shot of a single black camera lens lying face-up on a plain dark tabletop. Center the circular front element and size its outer ring to fill about one third of the frame width, matching an overhead coffee-cup composition. Soft window light, uncluttered background. Begin with a steady hold; add only a slight glint across the glass afterward. No hands, text, logos, camera movement, or additional objects.Cut when the cup rim and lens ring occupy roughly the same pixels on screen. If one object is much larger, try a modest crop in the editor before regenerating. If the lens develops extra rings or the cup changes shape, regenerate that shot: the outline is the point of this transition.
Match direction: a parcel to a journal
Shape is not the only bridge. A rightward-moving object can pass the viewer’s attention to another rightward-moving object. This is useful when narration shifts from receiving information to investigating it.
Parcel shot:
Side-on, locked camera view of a small unmarked cardboard parcel sliding smoothly from the center toward the right edge of a wooden desk. Only the parcel moves. Neutral daylight, simple background, no visible person, no writing or label. Keep the parcel fully visible at the start and let it leave the frame on the right.Journal shot:
Side-on, locked camera view of a closed, unmarked dark journal sliding into frame from the left across a wooden desk and coming to rest near the center. Match the parcel shot's camera height, neutral daylight, movement speed, and plain background. Only the journal moves. No visible person, writing, or label.Trim the first clip as the parcel approaches the right edge, then start the second while the journal is already moving. Play the pair without sound: if the motion appears to stop and restart, shorten the gap or choose frames with more similar speeds. Add a restrained sound cue only after the picture cut works.
Match color: umbrella to lampshade
A color match is more forgiving of imperfect geometry, but it still needs a clear focal area. This pair can take a travel or story video from an outdoor scene into an indoor chapter without pretending the two places are the same location.
Umbrella shot:
Locked overhead view of one open, solid deep-red umbrella filling the center of the frame against a neutral rain-dark pavement. Gentle raindrops move on the surrounding pavement; the umbrella stays steady. Soft overcast light. No people, signs, text, or logos. Hold the centered red shape at the end.Lampshade shot:
Locked overhead view of one solid deep-red circular lampshade centered against a quiet neutral interior background. Match the umbrella shot's dominant red tone and approximate red area in the frame. Warm, restrained room light. Begin with a steady centered composition. No people, text, logos, or camera movement.Compare the two shots side by side. If the reds differ, a small color adjustment may be enough. If one frame has a busy background that overwhelms the red shape, select a cleaner generation instead of trying to repair it with an aggressive grade.
Find the cut before adding effects
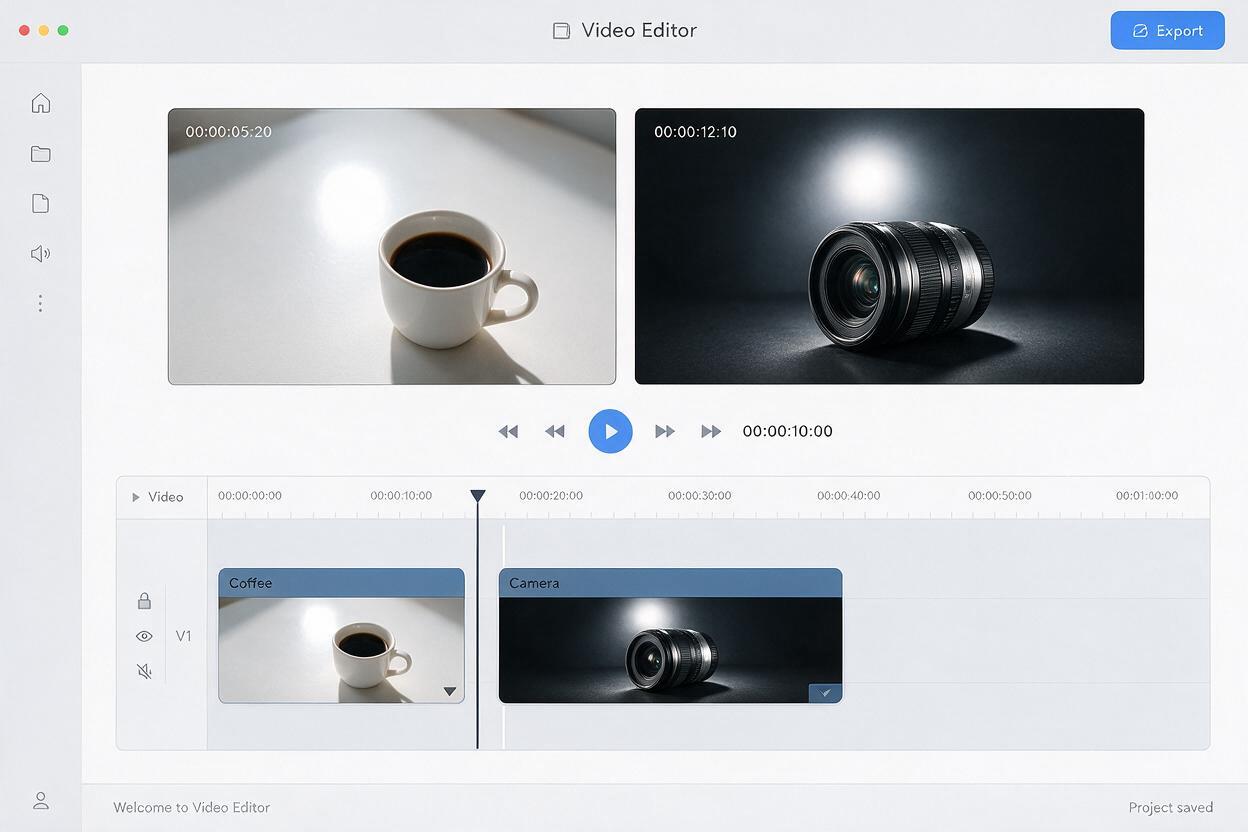
Place the two clips next to each other on the timeline and scrub through the join one frame at a time. For a shape match, compare outlines; for a directional match, compare where the moving object exits and enters; for a color match, compare the dominant areas at the cut. A straight cut should be your first test.
- Freeze-frame test: Pause immediately before and after the cut. Is the shared feature obvious in both frames?
- Playback test: Watch at normal speed. Does the transition support the narration, or call attention to itself?
- Continuity test: Check for extra objects, warped edges, accidental lettering, or changes in the object within either shot.
- Truthfulness test: If the video discusses real events, make clear when a generated scene is illustrative rather than documentary footage.
If the match is almost right, try trimming, cropping, or changing playback speed slightly before generating again. If the defining shape or movement is wrong, revise the prompt around that one feature. Adding more scene detail rarely fixes a poorly aligned cut.
Editing rule: Generate for a clear entry or exit frame, not for maximum action throughout the clip. A stable moment gives you more control over the transition.
Final checklist
- Each prompt pair shares one obvious shape, direction, or color.
- Camera angle and subject size are specified where alignment matters.
- Each clip has a usable steady or moving frame at the intended cut.
- The transition works as a straight cut before sound or effects are added.
- Generated imagery is not presented as footage of a real event.
Pick a transition your next script actually needs, then test this prompt yourself. Keep the pair that advances the story, not merely the one that looks most elaborate.