Turn Before-and-After Room Photos Into a Renovation Reveal With Seedance
Create a short renovation reveal from existing room photos or approved design concepts without asking AI to invent the construction between them. This guide covers photo matching, restrained Seedance motion prompts, editing, and checks that keep the result honest and easy to compare.
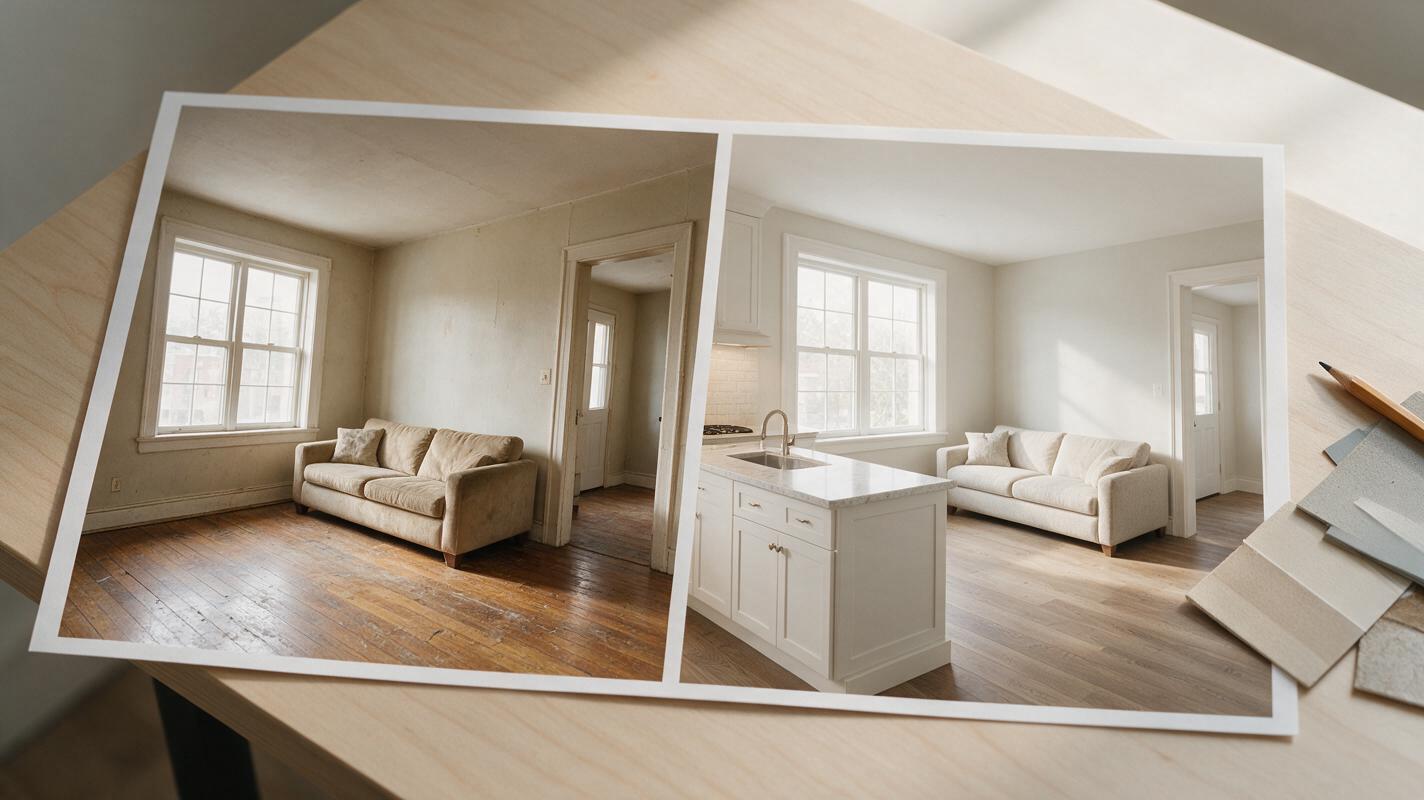
Table of contents
Make the change clear without inventing the renovation
A renovation reveal should help a client compare the original room with the proposed result—not make the walls bend, the windows move, or unfinished work appear complete. The reliable approach is to animate each approved still briefly, then join the clips with a clean cut. Seedance can add restrained camera motion; your source images and edit determine whether the comparison remains credible.
This works for an existing-room photograph paired with a finished photograph, or for an existing-room photograph paired with a clearly labeled design visualization. Keep those two cases distinct: a concept render is a proposal, not photographic evidence of a completed project.
Choose a before-and-after pair that can actually be compared
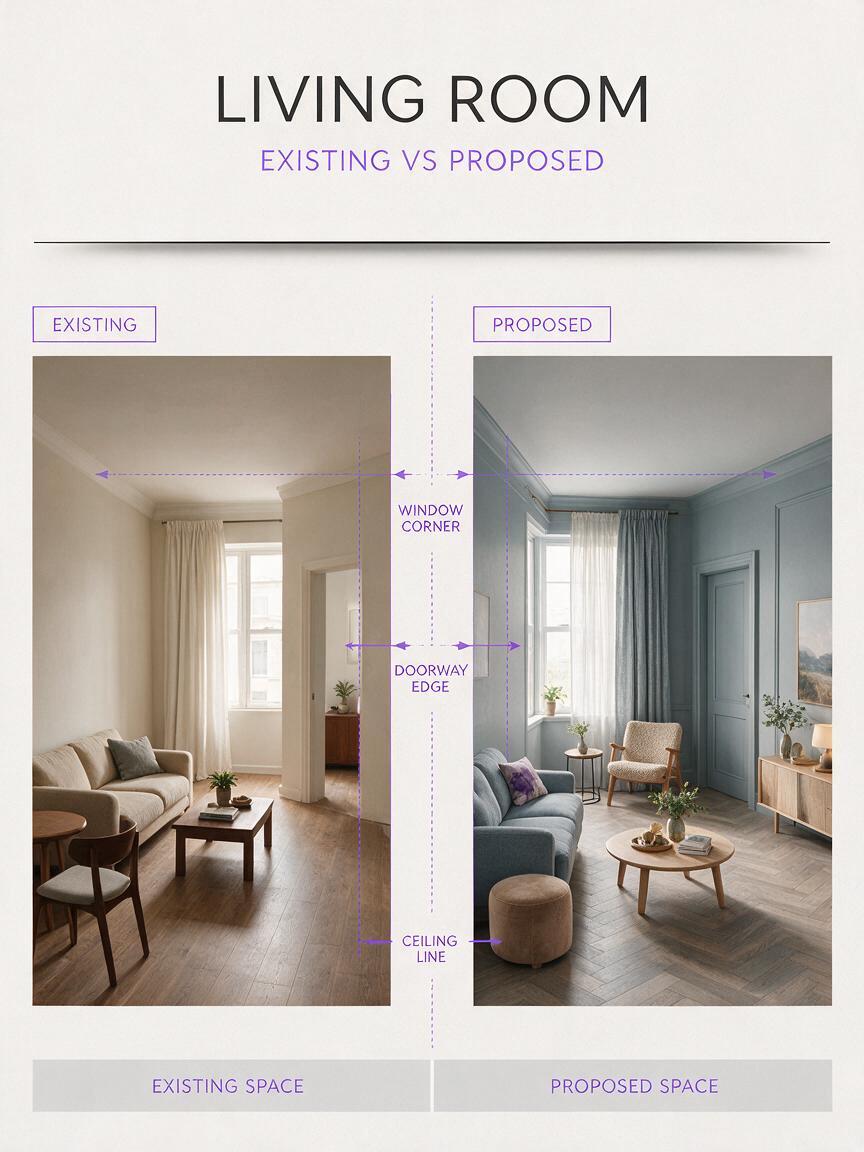
Start with two images that show substantially the same part of the room. Match the camera height, viewing direction, crop, and vertical lines as closely as you can. A dramatic wide-angle before photo followed by a tight after render may look exciting, but it hides what changed and makes the transition difficult to read.
- Find fixed landmarks: a doorway edge, window frame, ceiling line, or column visible in both images.
- Align the frame: crop both images to the same aspect ratio and place the landmarks in roughly the same positions.
- Resolve conflicting details: check whether doors swing the same way and whether windows, ceiling heights, and major openings agree.
- Keep the status clear: distinguish an after photograph from a proposed render in the final edit.
If the perspectives are too different to align, do not force a morph. Use a brief title card or a deliberate cut between distinct viewpoints instead.
Animate the original room with minimal movement
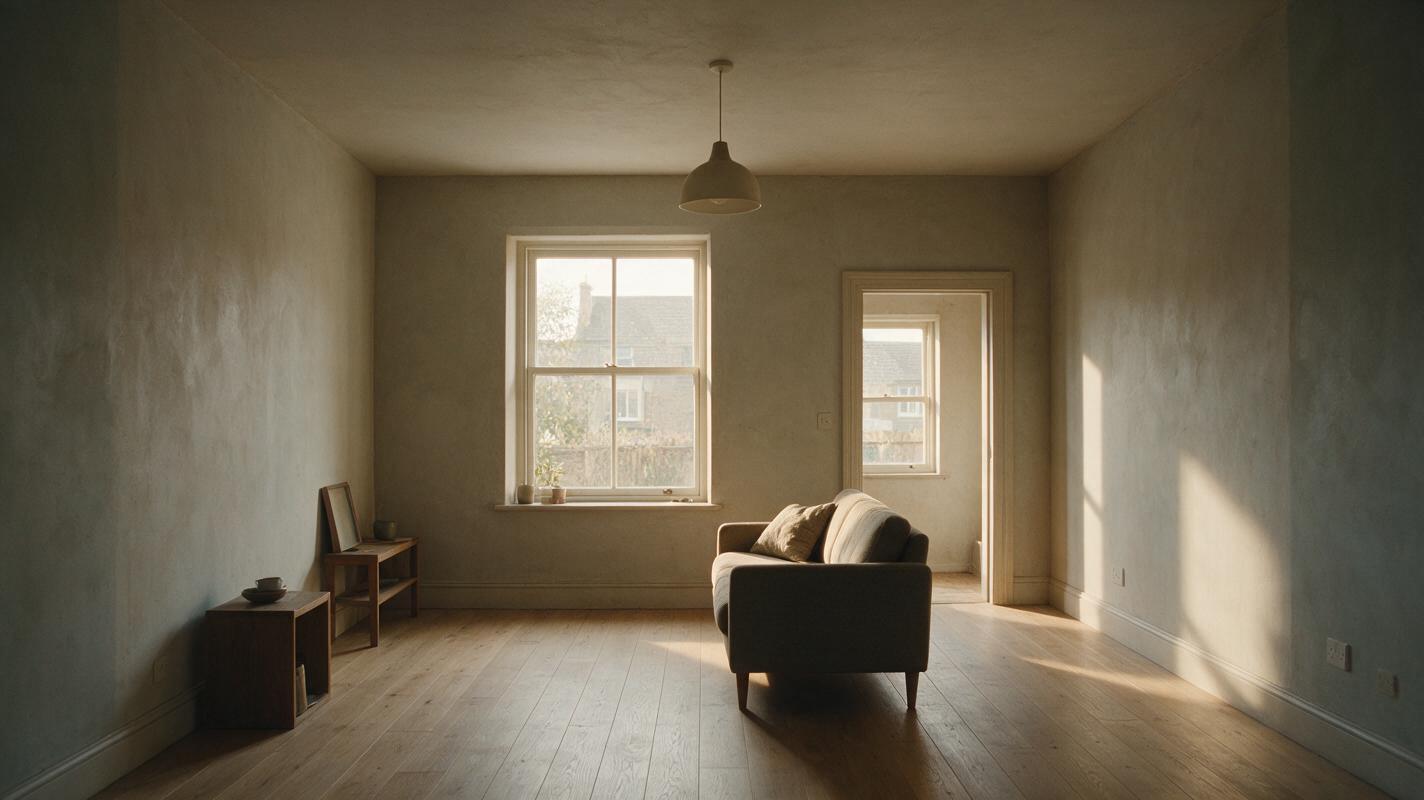
Use the before image as the source for an image to video clip in Seedance. Ask for a subtle, steady camera move rather than animated furniture or an imagined demolition. A slight push-in gives the viewer time to recognize the room while reducing the chance of warped architecture.
Source: the original room photograph.
Create a short, photorealistic interior shot with a very slow, steady camera push-in. Preserve the room layout, window and door positions, ceiling lines, floor boundaries, furniture placement, and visible wear exactly as shown. Keep straight architectural lines straight. Use the existing light in the photograph. No renovation, object replacement, wall movement, people, text, or dramatic camera rotation.
Generate a short test and inspect the door frames, baseboards, and corners throughout. If they wobble, reduce the requested movement or use the still photograph in the edit. A clean still is more useful than unstable motion.
Give the finished view the same camera treatment
Animate the after photograph or approved render separately. Reuse the before clip’s aspect ratio, approximate duration, camera direction, and movement strength. The purpose is a matched comparison, not a second cinematic shot with a different lens or a sweeping orbit.
Source: the approved after photograph or design visualization.
Create a short, photorealistic interior shot with a very slow, steady camera push-in matching the movement of the before clip. Preserve the supplied layout, window and door positions, ceiling lines, furniture arrangement, materials, and lighting concept. Do not add decor, change finishes, move openings, reveal unseen areas, or alter the camera angle substantially. Keep architectural edges stable and straight. No people or text.
If the source is a visualization, assess the generated clip against that approved image—not against an imagined completed room. Stop and regenerate if a countertop changes material, a pendant shifts position, or a window gains extra panes.
Edit for a readable reveal, not a simulated construction sequence
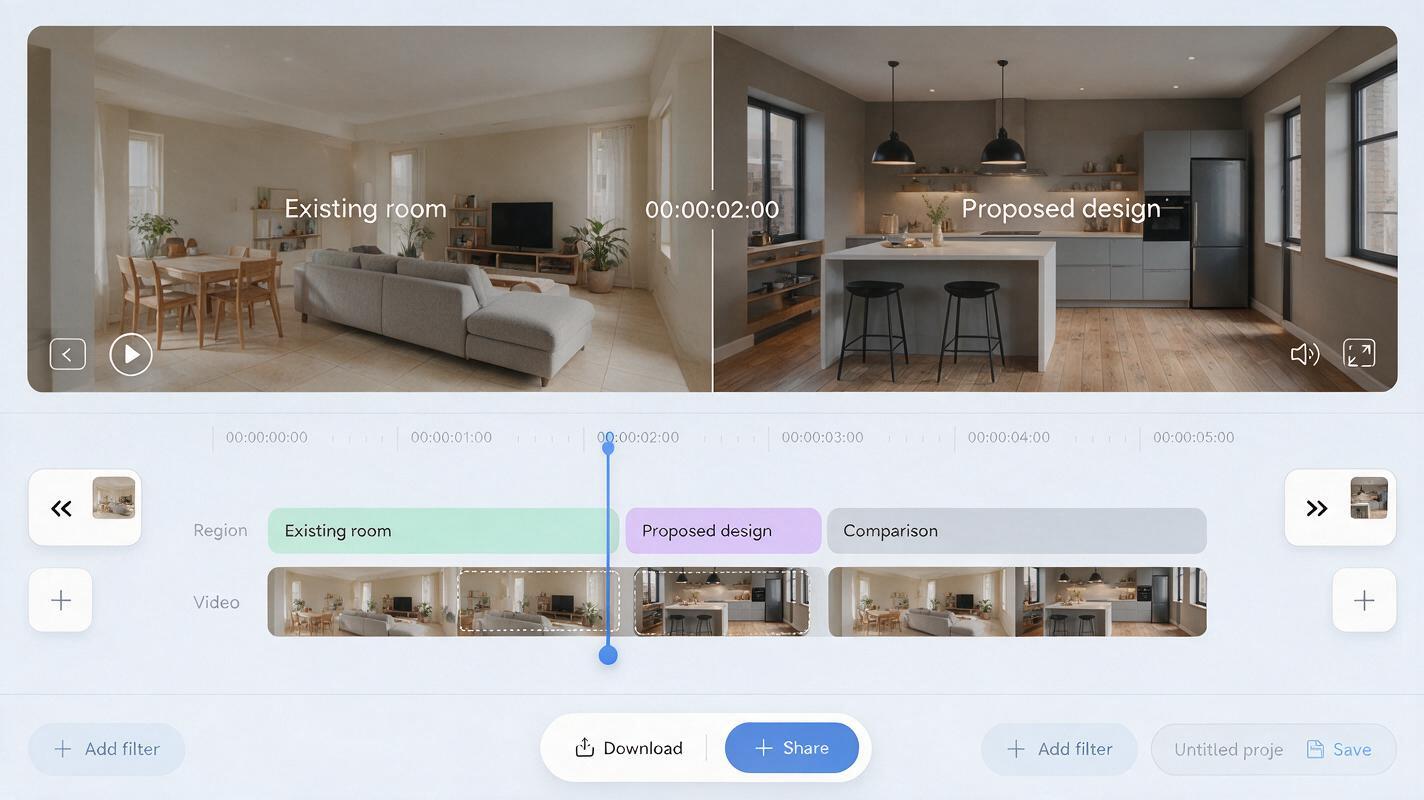
Place the before and after clips on a timeline and align their most comparable frames around the changeover. A straight cut is usually the clearest option. A brief fade can work when the images differ in brightness, but a liquid-like morph may imply that walls and furniture physically transformed on camera.
Add simple labels in the editor: Existing room and either Completed room or Proposed design, whichever is true. Hold each view long enough to inspect. If you add music, keep it secondary to the comparison; do not use a loud transition to conceal a mismatched angle. Export and watch once without sound to check whether the room changes are understandable on their own.
For client approvals: consider including a final side-by-side still. Motion attracts attention, but a paused comparison makes it easier to discuss the layout, finishes, and scope.
Have a matched pair ready? Test this prompt yourself with a short clip of each image before spending time on the full edit.
Fix the failures that weaken a before-and-after video
| What goes wrong | Likely cause | Better approach |
|---|---|---|
| Walls or windows appear to move | The prompt asks for too much camera travel, or the frames differ substantially. | Use a gentler push-in; if the source angles do not match, cut between stills. |
| The after clip changes approved finishes | The motion pass invents detail not clearly visible in the source. | Specify the key materials and reduce motion; compare frames against the approved image. |
| The reveal suggests work is finished when it is not | A proposed render is presented as an after photograph. | Label it “Proposed design” on screen and in the accompanying description. |
| The comparison feels confusing | Different crops, lens distortion, or unrelated camera moves obscure the landmarks. | Reframe the source images and match clip movement before editing. |
Do not use generated frames as a substitute for measured drawings, site verification, product specifications, or an accurate record of built work. Their role here is to communicate a visual proposal or present documented photographs more clearly.
Final checklist
- The two source images show comparable viewpoints and correctly represent their project status.
- Doorways, windows, ceiling lines, and major finishes remain stable in both clips.
- The edit uses a clear cut or restrained fade rather than an invented construction morph.
- On-screen labels distinguish an existing room, a completed room, and a proposed design.
- The final video still makes sense when paused or watched without sound.
Keywords
Seedance renovation reveal, before and after room video, interior renovation video, room photo animation, interior design presentation, image to video