How to Make Stylized Match-Cut Transitions with Seedance
Learn how to build controlled match-cut transitions with Seedance by designing visually related keyframes, animating each shot separately, and hiding the edit inside shared motion. This workflow produces cleaner stylized transitions than asking an AI video model to perform one long transformation.
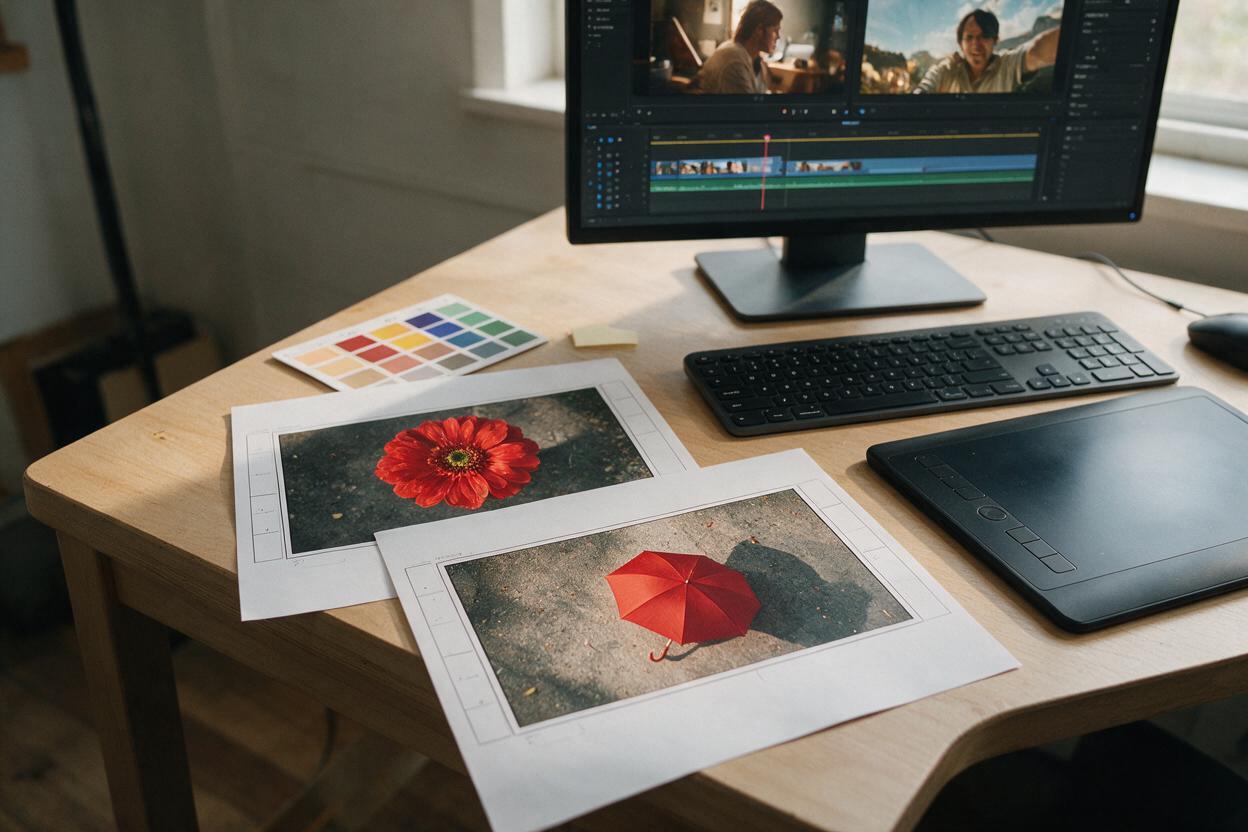
Table of contents
Make the Cut Feel Designed, Not Generated
A clean AI match cut does not require one object to survive a complicated transformation; it requires two shots that share the right shape, position, color, and motion at the edit.
That distinction matters when creating stylized motion graphics with Seedance. A prompt such as “transform a red flower into a spinning umbrella” may produce an imaginative clip, but it also gives the model many opportunities to distort silhouettes, invent intermediate objects, or move the subject away from the intended composition.
A more controllable method is to design two related keyframes, animate them as separate clips, and place the cut where their visual anchors align. The viewer perceives a continuous transformation even though the edit is doing most of the work.
Core principle: generate motion around the cut, not through the entire transformation.
Step 1 — Choose One Strong Match Anchor
Begin with a visual feature that can remain recognizable across both shots. This is the anchor that directs the viewer’s eye through the cut.
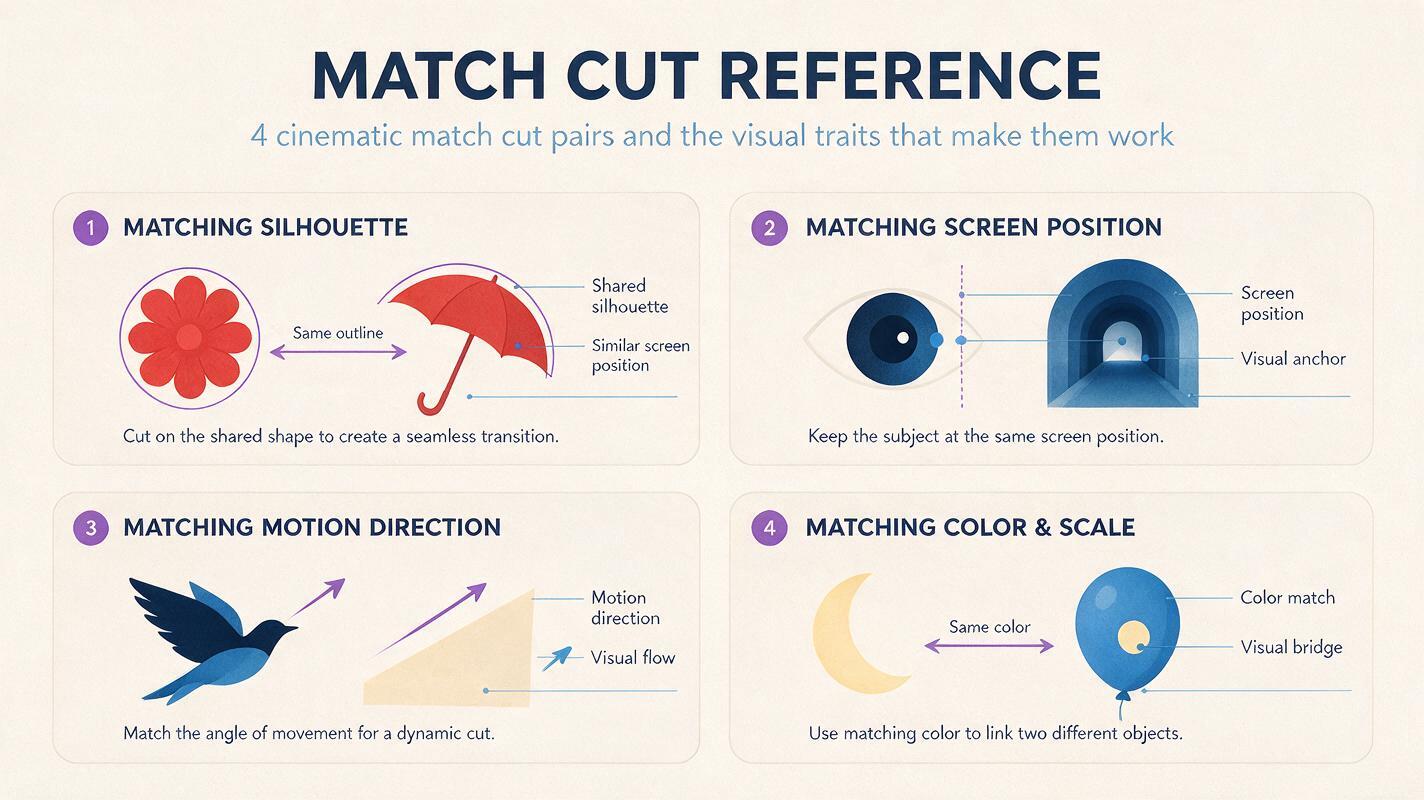
Useful match anchors include:
- Silhouette: a circular sun becomes a circular record.
- Screen position: a character’s raised hand matches the location of a streetlight.
- Color: a yellow raincoat cuts to a yellow product package.
- Motion direction: a clockwise wheel cuts to a clockwise eye graphic.
- Scale: a small pupil expands until it matches a dark tunnel entrance.
- Texture: ocean foam cuts to torn white paper moving in the same direction.
Use one dominant anchor and no more than one supporting anchor. Trying to match shape, color, texture, lighting, camera angle, and subject identity simultaneously often makes the concept harder to direct.
| Transition idea | Primary anchor | Motion around the cut |
|---|---|---|
| Flower to umbrella | Radial silhouette | Clockwise rotation |
| Eye to tunnel | Dark central circle | Rapid push-in |
| Bird wing to paper page | Diagonal edge | Left-to-right wipe |
| Moon to white balloon | Round white shape | Slow upward drift |
Step 2 — Design the Two Keyframes Before Animating
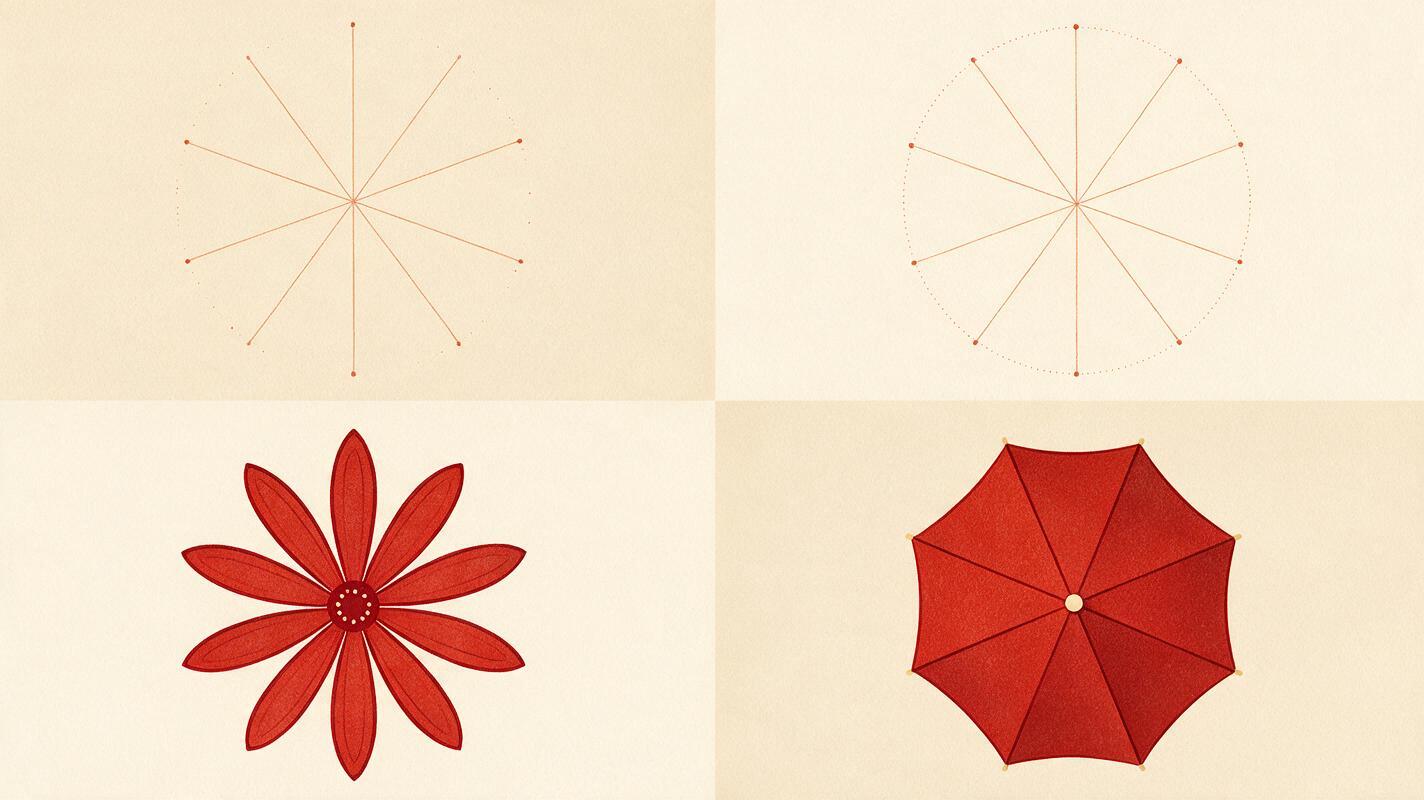
Create the outgoing and incoming images as a deliberate pair. You can draw them manually, assemble them in a design application, or use a text to image workflow to explore multiple compositions quickly.
The images do not need identical scenes. They need matching geometry at the point where the edit will occur. If the first image contains a red flower centered at 45 percent of the frame height, place the red umbrella at approximately the same position and scale in the second image.
Use repeated composition language in both prompts:
FRAME A — OUTGOING IMAGE
Graphic editorial illustration of a single red flower viewed directly from above,
centered in the frame, eight broad radial petals, pale cream background,
minimal flat shapes, subtle paper texture, no typography, 16:9 composition

FRAME B — INCOMING IMAGE
Graphic editorial illustration of an open red umbrella viewed directly from above,
centered in the frame, eight broad radial panels matching a flower silhouette,
pale blue pavement, minimal flat shapes, subtle paper texture,
no typography, 16:9 composition
Generate several versions, then select the pair with the closest central silhouette. Do not choose frames only because they look attractive individually; judge how convincingly they will connect.
Practical test: place the images on adjacent timeline frames and flick between them. If the eye immediately accepts the relationship, the transition is ready for motion.
Step 3 — Prepare Animation-Safe Source Images
Before sending either frame into Seedance, remove visual elements that could compete with the transition anchor. Busy backgrounds, tiny accessories, small text, and irregular fingers can produce distracting changes during animation.
Prepare each source image with:
- Enough margin around the main subject for camera movement.
- A clearly readable silhouette at thumbnail size.
- Consistent aspect ratio and framing across both images.
- No important text that must remain perfectly typeset.
- Separated foreground and background values.
- A final resolution suitable for the intended delivery format.
If the transition is meant for a vertical social post, design in 9:16 from the beginning. Cropping a wide composition later may shift the anchor away from the center and weaken the match.
Keep a clean copy of both stills. If a generated clip drifts, returning to the original frame is usually faster than trying to repair a degraded output with another generation.
Step 4 — Animate the Outgoing Shot with Seedance
Use the first keyframe as the source for an image to video generation. Ask for one simple action that accelerates toward the cut. The motion should make the anchor easier to match, not introduce a new story beat.
For the flower-to-umbrella example:
A stylized red flower viewed directly from above begins rotating clockwise.
The rotation gradually accelerates while the camera pushes slightly closer.
The flower remains centered with eight clearly defined petals.
Preserve the flat editorial illustration style, clean silhouette,
and pale background. No new objects, no camera tilt, no morphing.
The most important instructions are the action, direction, framing, and preservation constraints. Long descriptions of mood or symbolism can dilute those priorities.
Generate a few short variations and inspect the final third of each result. Look for a frame where:
- The anchor has the desired orientation.
- The silhouette remains readable.
- The motion has enough speed to conceal a cut.
- The subject has not drifted away from its target position.
Once the motion is stable, save the strongest take rather than continually extending it. You can turn your image into a video and test the edit before investing in longer generations.
Step 5 — Animate the Incoming Shot in the Same Direction
Animate the second keyframe independently, but continue the outgoing shot’s motion direction. If the flower rotates clockwise before the cut, the umbrella should already be rotating clockwise after it.
A stylized red umbrella viewed directly from above rotates clockwise at a brisk speed,
then gradually slows to a stop. Keep the umbrella centered and preserve its eight-panel
radial silhouette. The camera gently pulls back to reveal pale blue pavement.
Maintain the flat editorial illustration style. No people, no deformation, no text.
Notice the different motion curves: the outgoing shot accelerates, while the incoming shot begins quickly and decelerates. This creates the impression that one continuous movement passes through the cut.
If the generated incoming clip starts too slowly, reverse a suitable section during editing or trim past the static opening. The viewer only needs a few coherent frames after the cut before the new scene becomes legible.
Step 6 — Hide the Edit Inside Peak Motion
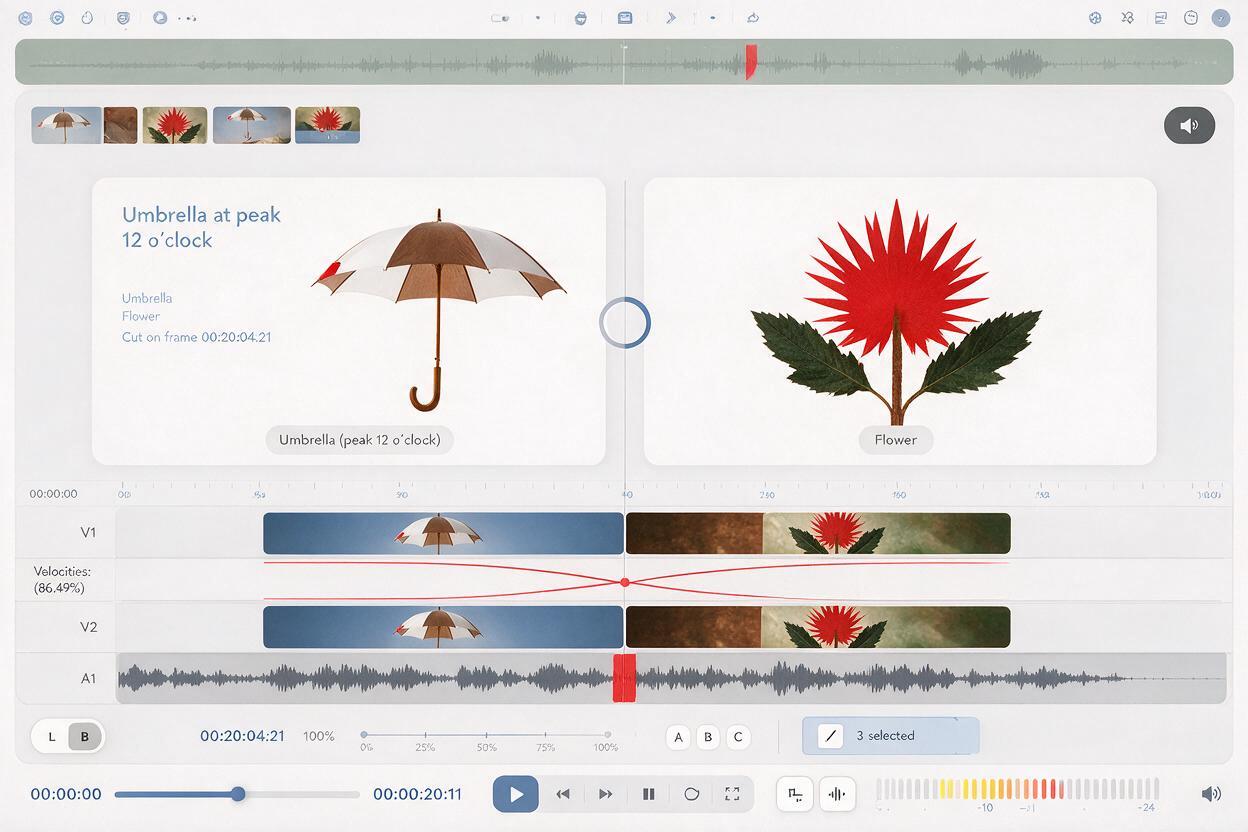
Place the two clips on a timeline and search for the closest visual match. Compare the anchor’s position, size, angle, and motion blur rather than relying on the clips’ default start and end points.
- Trim the outgoing clip to a frame with strong but readable motion.
- Find an incoming frame with a similar silhouette and orientation.
- Place a hard cut between those frames.
- Advance or delay the second clip by one frame at a time.
- Review the transition at full speed instead of judging only still frames.
A hard cut is often cleaner than an automatic dissolve. Dissolves reveal both images simultaneously, exposing differences that motion would otherwise conceal.
If the cut still feels abrupt, try one restrained finishing device:
- A two- or three-frame directional blur.
- A foreground wipe crossing the cut.
- A brief scale push shared by both clips.
- A small flash caused by an existing bright element.
- A sound accent placed exactly on the edit.
Do not stack every effect. The match should carry the transition; polish should only reinforce it.
Step 7 — Troubleshoot Shape Drift and Visual Popping
| Problem | Likely cause | Best fix |
|---|---|---|
| The subject deforms before the cut | The prompt implies transformation | Remove words such as “morphs” and request only rotation, translation, or scale |
| The cut visibly jumps | Anchor positions do not match | Reframe one clip or rebuild the second keyframe against an overlay |
| The transition feels slow | The edit occurs during low motion | Cut closer to peak velocity or shorten both clips |
| The new scene is confusing | The incoming shot keeps moving too long | Decelerate after the cut and hold a readable composition |
| Style changes unexpectedly | The two source images use different rendering language | Repeat palette, texture, lens, and illustration terms in both image prompts |
| Extra objects appear | The motion prompt contains too many events | Reduce the prompt to one subject action and one camera action |
When a transition repeatedly fails, diagnose the still frames first. Video generation cannot reliably rescue a weak visual relationship. Better source composition usually produces a larger improvement than adding prompt detail.
Step 8 — Build a Short Chain of Match Cuts
Once one transition works, extend the method into a sequence. A circular motif could progress from an eye to a tunnel, then to a record, a wheel, and finally a setting sun.
Plan the chain as a series of pairs rather than one long prompt:
SHOT 1: eye — push in
CUT ON: dark circular pupil
SHOT 2: tunnel — continue push in, then accelerate rotation
CUT ON: circular tunnel opening
SHOT 3: record — continue rotation, then pull back
CUT ON: black disc silhouette
SHOT 4: setting sun — slow upward drift and settle
Vary the secondary action while preserving the shared anchor. This keeps the sequence coherent without making every cut feel identical. Test each pair separately, lock the strongest edits, and only then assemble the full motion-graphics piece.
Final Checklist
- Choose one dominant visual anchor for the transition.
- Design the outgoing and incoming keyframes as a matched pair.
- Keep the subject position, scale, and silhouette easy to compare.
- Animate each side of the cut as a separate Seedance clip.
- Continue the same motion direction across both shots.
- Cut near peak motion instead of requesting a long AI morph.
- Use blur, wipes, or sound only when the underlying match already works.
- Fix recurring problems in the source frames before rewriting the video prompt.
Keywords
Seedance, match cut transition, stylized animation, image to video, motion graphics, AI video prompts, transition tutorial