Remove Glasses Glare From Headshots With Seedream 4.5
Glare across eyeglass lenses can obscure a subject’s eyes in an otherwise strong headshot. This guide shows photographers when to use Seedream 4.5 for a localized repair, how to avoid invented eye detail, and how to blend the edit back into the original photograph.
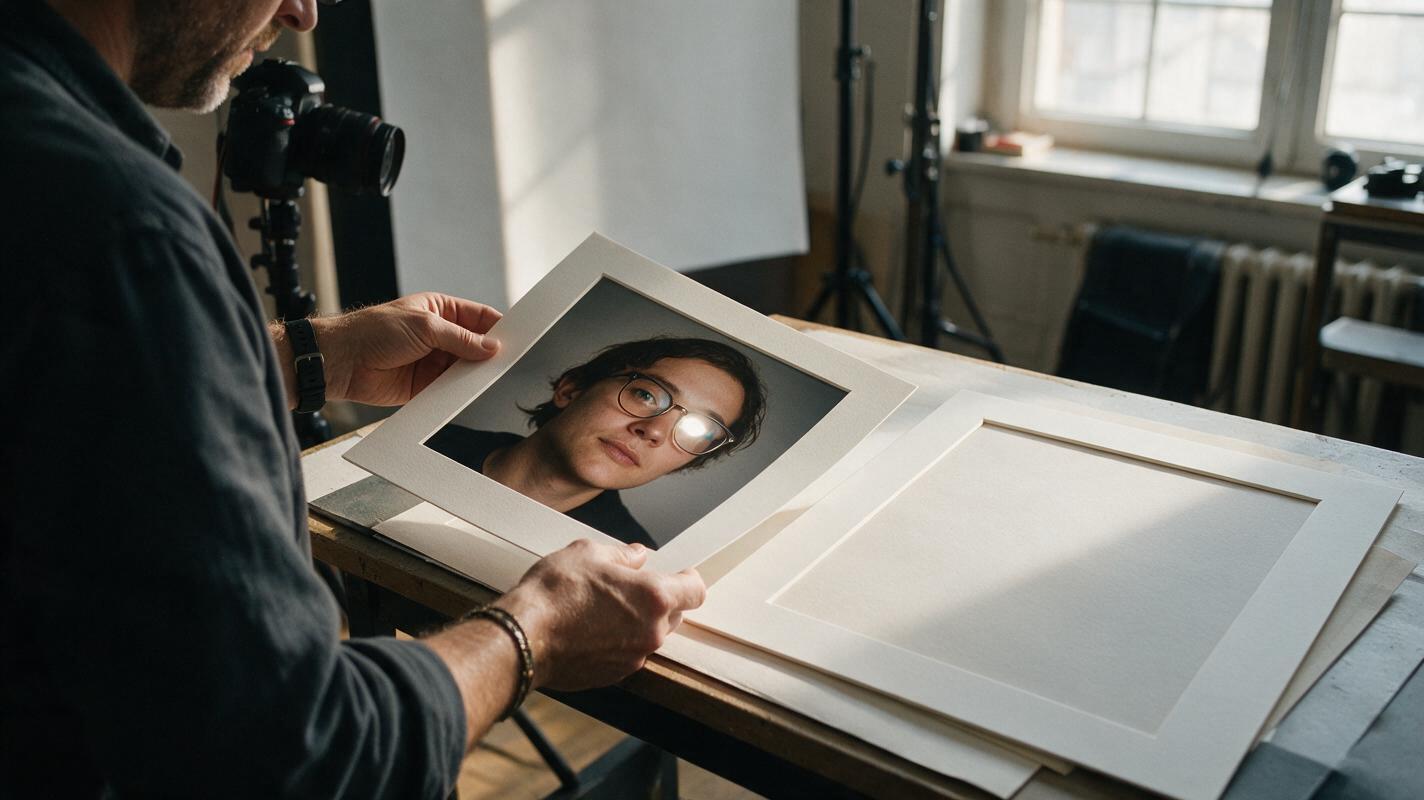
Table of contents
Keep the eyes, lose the glare
A bright reflection across eyeglass lenses can make an otherwise excellent headshot difficult to deliver. The goal is not to generate a more attractive pair of eyes. It is to remove a distracting reflection while keeping the subject’s actual eyes, frames, expression, and lighting intact.
Seedream 4.5 can be used to propose a localized repair, but the photograph should remain your source of truth. Work from the highest-quality original you have, compare every proposed change with it, and use a second frame from the same sitting whenever the glare hides important detail.
Decide whether the hidden detail can be recovered
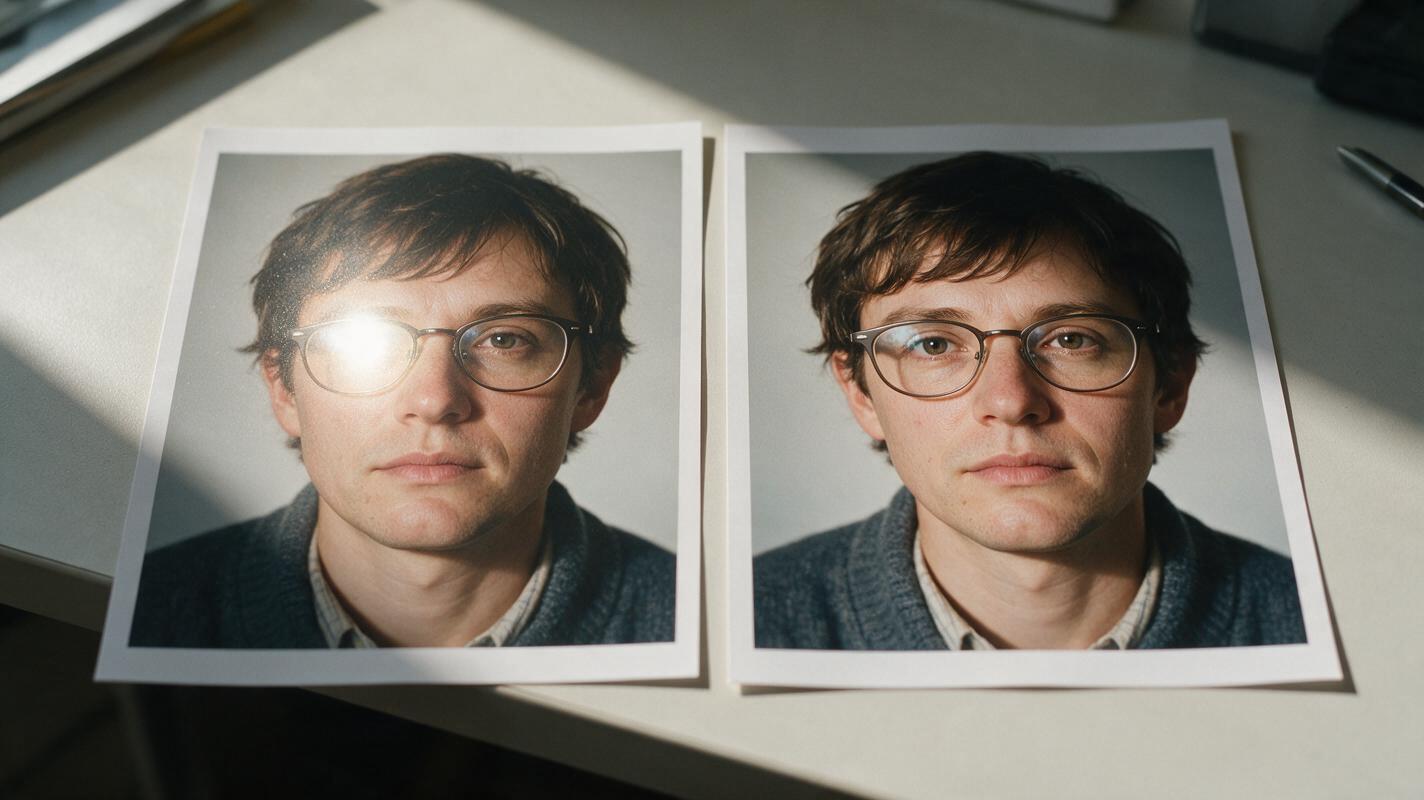
Zoom in before opening an AI editor. If you can still see the iris, eyelids, and skin texture beneath a pale reflection, a restrained edit may be enough. If a white flash completely covers an eye, no prompt can recover the detail that the camera did not record. A generated replacement may look plausible while being wrong for that person.
Search adjacent frames for a clean view of the same eye. A nearby image from the same session is more useful than a general description such as “natural brown eyes”: it gives you evidence for eye shape, gaze, makeup, and how the frames sit on the face. If no suitable reference exists, consider delivering another frame rather than inventing a defining facial feature.
Editorial rule: Treat a clear reference frame as evidence. Treat generated eye detail without a reference as a fabrication, not a restoration.
Prepare a small, reversible edit
Make a copy of the selected headshot and retain the untouched original. Correct exposure and white balance first so the repair is judged against the intended final look. Then crop a working view around the glasses with enough surrounding skin and frame detail for visual context.
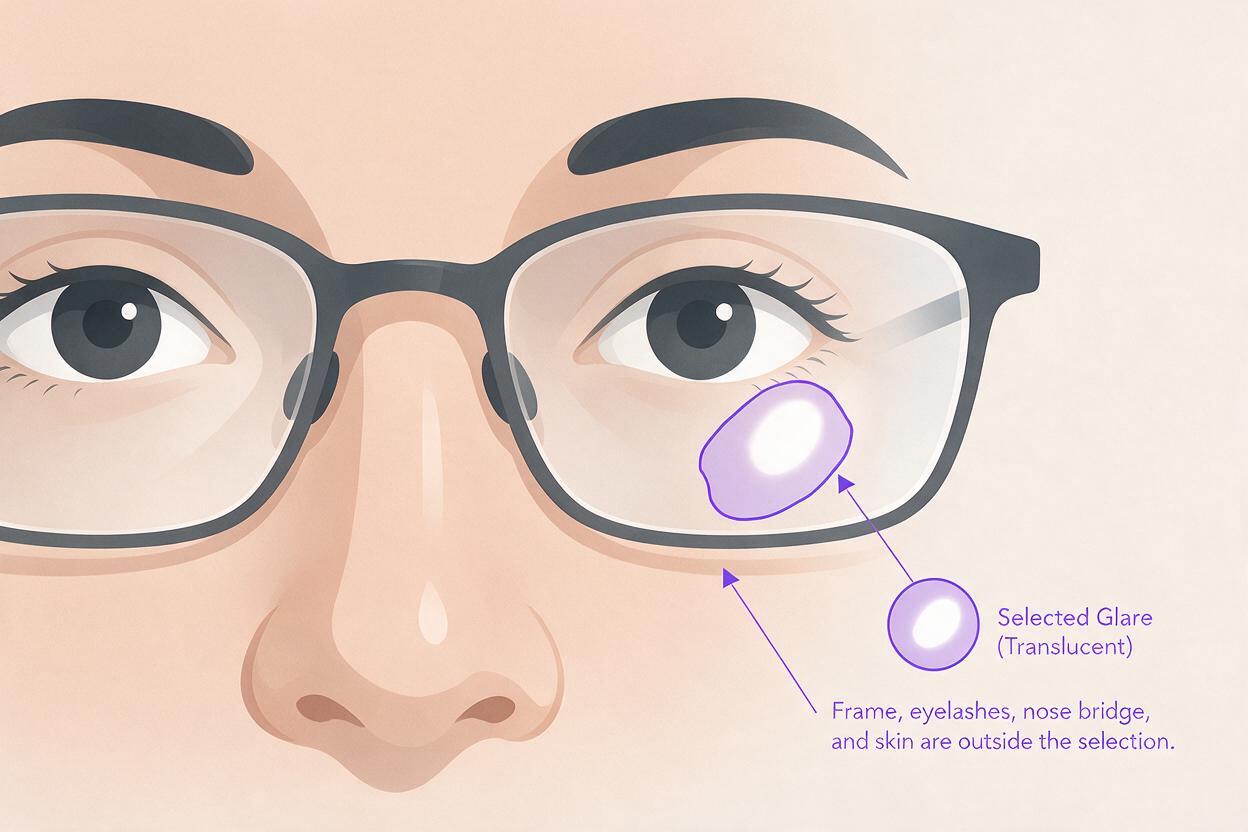
If your editing interface offers a brush or mask with Seedream 4.5, target only the reflective area inside the lens. Keep the mask away from frame rims, eyelashes, and the bridge of the nose unless those areas genuinely need repair. If local masking is unavailable, generate a candidate from the full image, then plan to composite only the useful lens area back into the original in your photo editor.
For a reference frame, choose a photograph with similar head angle and eye direction. It does not need to match the final crop, but a radically different expression can make the resulting eye look misplaced.
Prompt for a restrained lens repair
Upload the headshot as the image to edit. Add the clean adjacent frame as a reference only if the interface supports reference images for the edit; otherwise, keep it open beside your retouching canvas for comparison. Select Seedream 4.5 where available and ask for a narrow change, not a portrait makeover.
Remove the bright glare only within the eyeglass lens over the subject's right eye. Preserve the person's identity, eye shape, gaze direction, expression, skin texture, eyeglass frame, lens edge, hair, and original lighting. Keep a subtle, believable lens reflection rather than making the glass disappear. Do not change any other part of the photograph.Replace “right eye” with the correct side as seen on the subject, and specify whether the reflection affects one lens or both. If you have a clean reference frame, add: “Use the second photograph only to match the visible eye’s real shape and gaze.” Avoid requests to brighten eyes, smooth skin, or improve symmetry; those instructions expand the edit beyond glare removal.
Generate a small set of candidates and compare them at the same zoom level. Test this prompt yourself on a non-delivery copy first, especially if the headshot belongs to a client who expects faithful retouching.
Inspect the details that give away a false repair
The best candidate is not necessarily the one with the clearest-looking eye. A completely transparent lens can look unnatural beside a reflective second lens. Check these areas before choosing a result:
- Gaze: Do both eyes appear to focus in the same direction as in the original or reference frame?
- Frames: Are the rim, nose pads, and any frame shadow still in their original positions?
- Lens behavior: Is there a soft, believable trace of reflection rather than a cut-out-looking patch?
- Skin and eyelashes: Have texture, makeup, and eyelash patterns changed outside the intended repair?
- Expression: Does the subject still look like themselves at full-image size?
Inspect both a close crop and the complete headshot. Small defects matter at close range, while an overly bright eye or mismatched lens usually becomes more obvious when the whole face is visible.
Blend the useful area into the original photograph
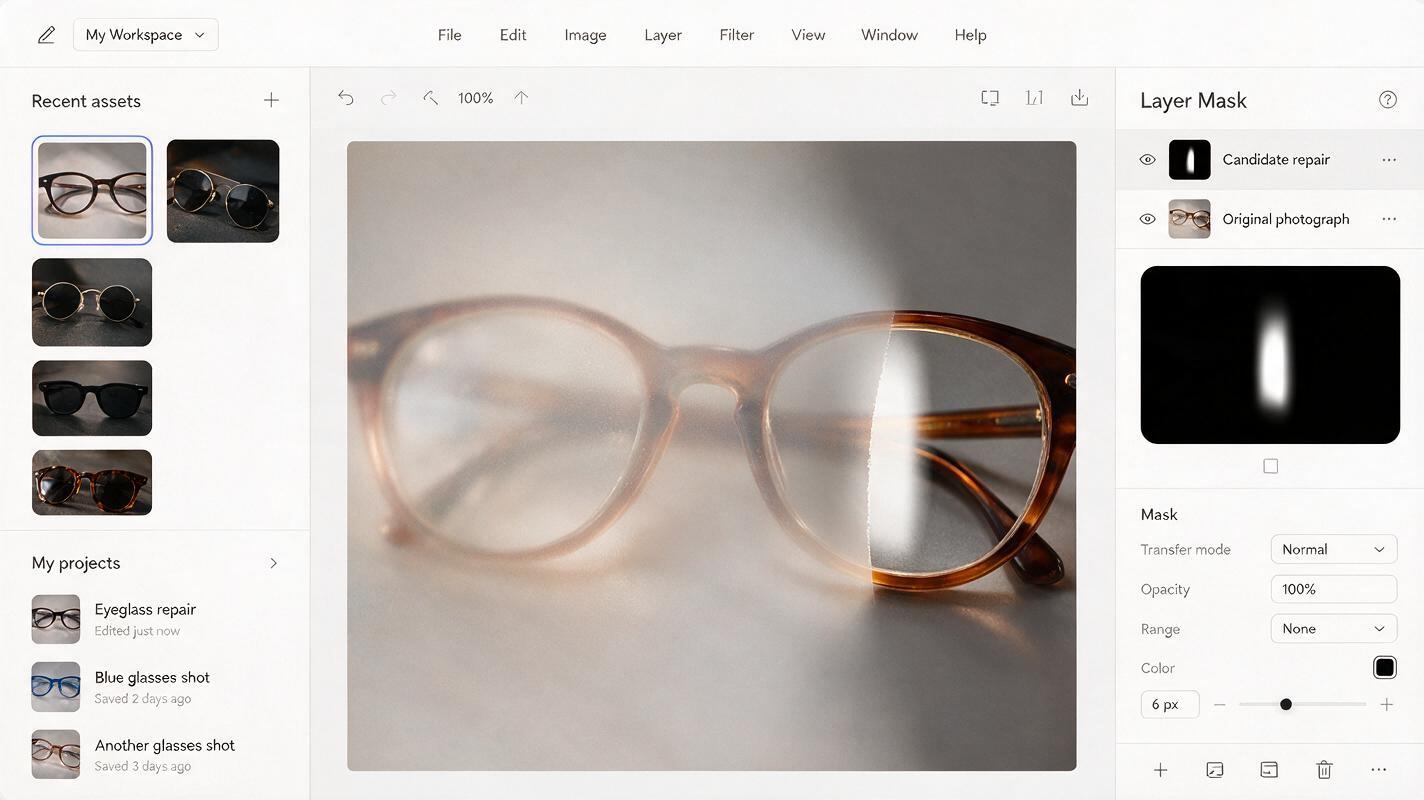
Open the original and your chosen candidate as separate layers in a photo editor. Put the candidate on top and reveal only the repaired portion of the lens with a soft mask. Keep the original frame, face, hair, and background wherever possible. If the result changes the iris or eyelid in a way the reference does not support, reduce the mask or reject the candidate.
Match the repaired area’s grain, sharpness, and brightness to the surrounding photograph. Then toggle the layer on and off: the viewer should notice that the glare is less distracting, not that the eye has been replaced. If one lens now looks unnaturally clear, leave or restore a faint reflection so both lenses belong in the same lighting setup.
For a client set, compare the finished image with neighboring delivered frames. Consistency across the gallery matters more than making one headshot look impossibly polished.
Final checklist
- The original photograph is preserved, and the edit is reversible.
- Any detail hidden by heavy glare is supported by a real reference frame—or a different photograph is used.
- Eye shape, gaze, expression, frames, and surrounding skin remain faithful to the subject.
- Both lenses retain believable reflections under the scene’s lighting.
- The repair holds up at close zoom and at normal delivery size.