Seedream 4.5 Prompts for Kitchen Backsplash Makeovers
Preview different kitchen backsplash finishes in an existing room photo without redesigning the cabinets, counters, or layout. These Seedream 4.5 prompts help interior designers make controlled comparisons and catch misleading tile scale or installation details.
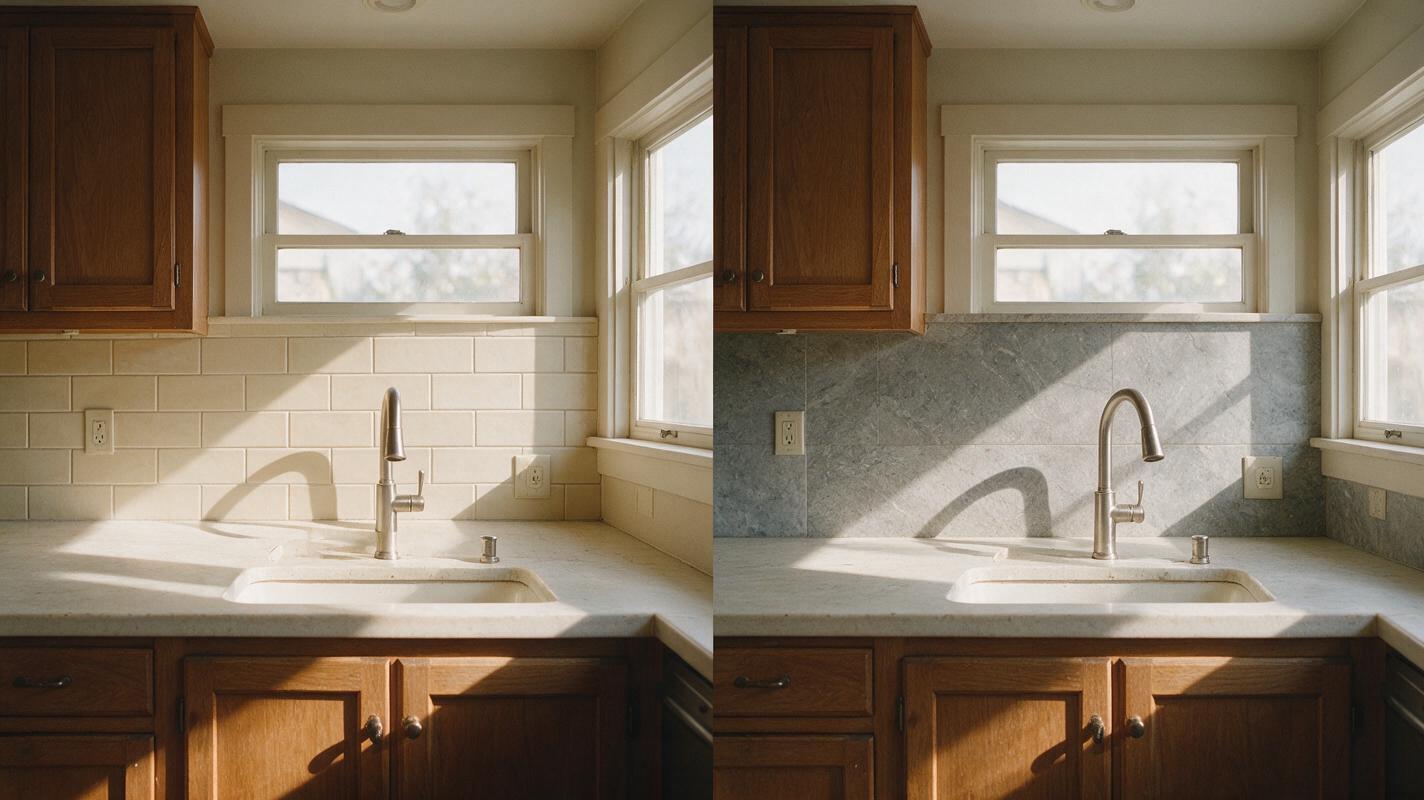
Table of contents
Preview a new backsplash without redesigning the kitchen
A backsplash can change the character of a kitchen, but an AI edit is hard to compare if it also changes the cabinets, countertop, or camera angle. Use Seedream 4.5 with an existing kitchen photo to test tile concepts inside the backsplash area only. The goal is a clear design comparison—not a promise that the pictured tile, grout, and installation details are build-ready.
Start with a photo that shows the full backsplash run and its edges. Then make separate edits from that same original image, using one finish per output. This keeps the client’s choice focused on the surface you intend to change.
Lock the room before changing the backsplash
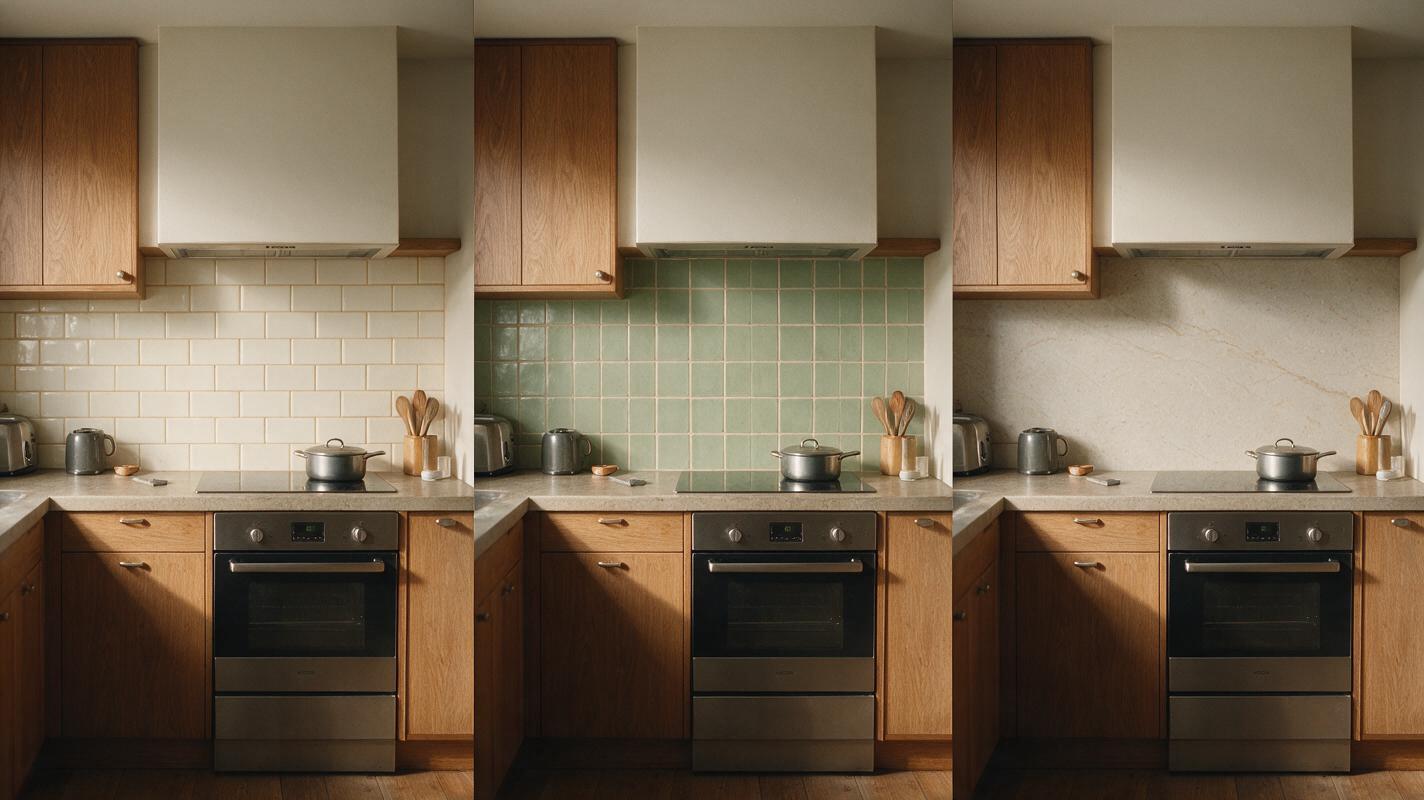
Choose a sharp, straight-on or modestly angled photograph. Avoid a wide-angle view that heavily stretches the tile area near the frame edges. If you have an image editor with a selection tool, select the backsplash between the countertop and upper cabinets, including only the wall surfaces intended for tile. Keep outlets, windows, shelves, and cabinet edges outside the selection where practical.
In the ai image generator, upload the original photo as the reference. Describe both the change and everything that must stay fixed:
Edit the supplied kitchen photo. Change only the existing backsplash wall surfaces between the countertop and upper cabinets to [TILE DESCRIPTION]. Preserve the original camera position, perspective, cabinet faces and hardware, countertop material and edge, appliances, windows, outlets, under-cabinet fixtures, floor, and lighting. Keep all existing object positions. Fit the tile around visible outlets and cabinet edges. Do not add shelves, decor, or new architectural features. Produce a realistic design preview of this same kitchen.Replace the bracketed phrase with a specific tile, size, layout, grout, and finish. For example: off-white handmade-look ceramic subway tile, approximately 3 × 12 inches, horizontal running bond, narrow warm-gray grout, satin finish. Approximate dimensions are useful visual guidance, but the generated image is not a measured drawing.
Keep a clean original. Generate each variation from the unedited source photo. Editing a previous AI result can carry an accidental cabinet, outlet, or countertop change into every later option.
Compare tile finishes without moving the kitchen
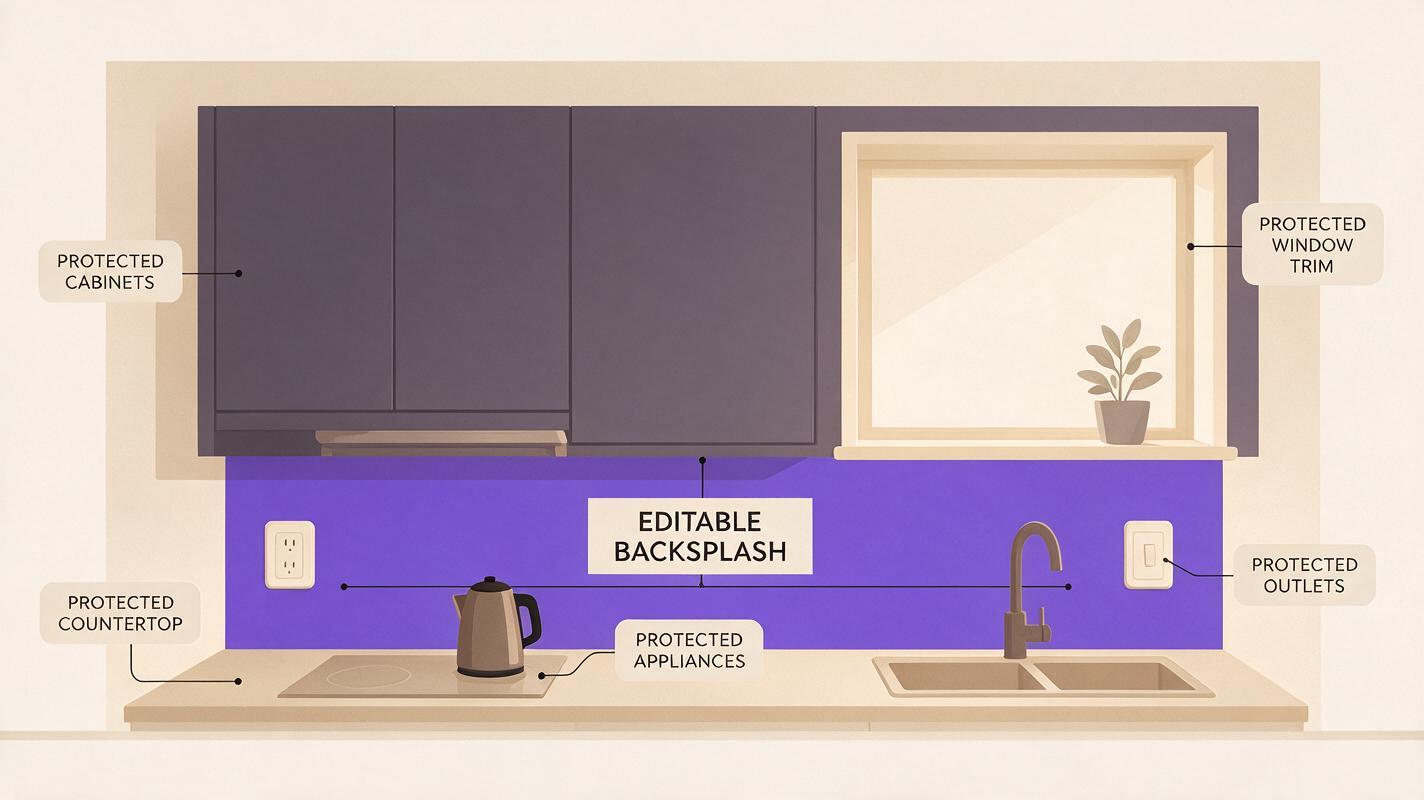
For a useful client comparison, change one design decision at a time. Keep the crop and source image identical, and ask for the same view and ambient light in every output. Three options usually reveal more than a large set of loosely related images.
| Concept | Insert into the tile description | What to evaluate |
|---|---|---|
| Quiet ceramic | Warm-white satin ceramic subway tile, 3 × 12 inches, horizontal running bond, narrow warm-gray grout | Whether the grout lines feel calm beside the cabinet doors |
| Textured square | Soft sage square ceramic tile, approximately 4 × 4 inches, subtle surface variation, straight stack, matching grout | Whether the color and texture compete with the countertop |
| Slab look | Single pale stone-look backsplash surface with restrained veining and minimal visible seams | Whether the larger uninterrupted field suits the room |
For an especially fair comparison, add this instruction to each prompt: Use the exact framing, exposure, cabinet color, countertop, and appliance placement of the supplied photo; alter only the backsplash finish. If a variation looks more appealing mainly because the model warmed the entire scene or cleared the counters, regenerate it rather than presenting an uneven comparison.
Test this prompt yourself with one kitchen photo and two contrasting finishes. Put the results beside the original at the same display size; it is easier to spot drift than when viewing each image alone.
Give tricky edges their own instructions
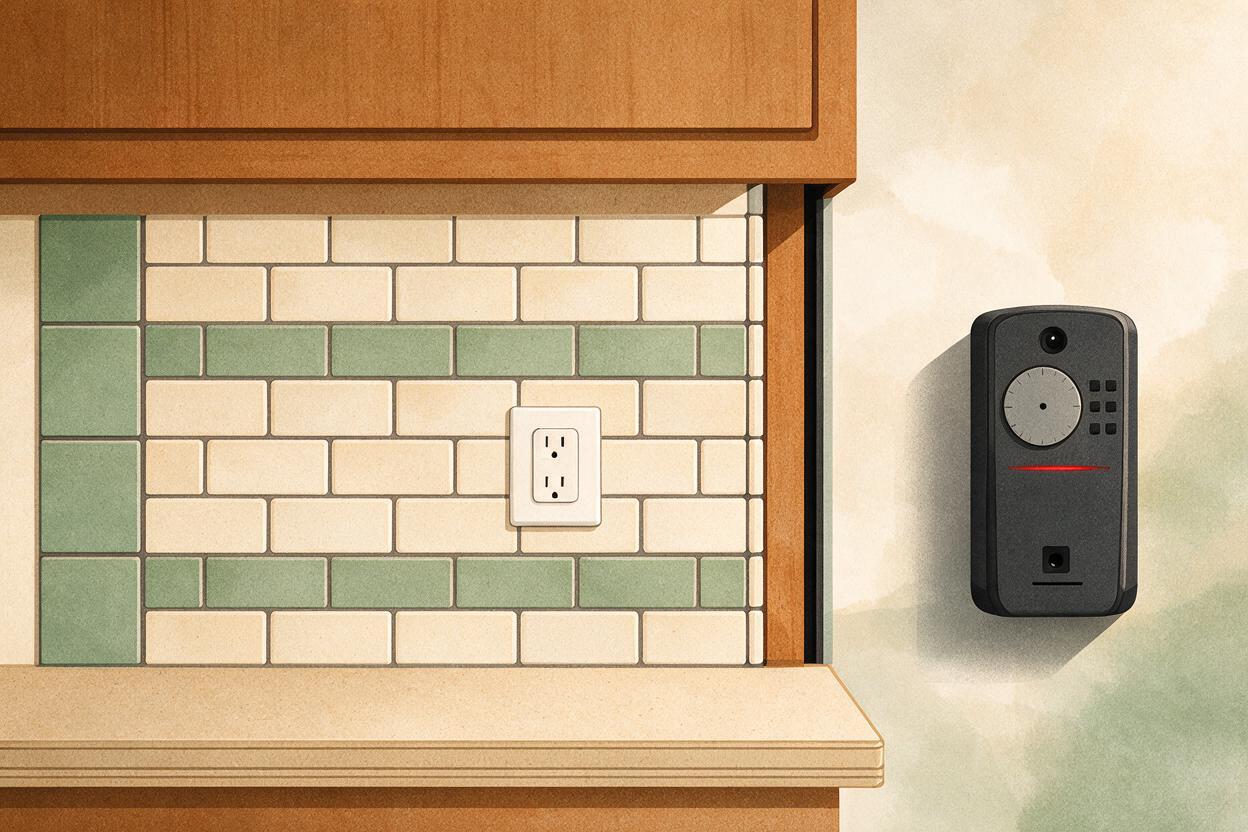
Most unconvincing backsplash edits fail at boundaries, not in the middle of the wall. Inspect where tile meets the countertop, the underside of the upper cabinets, the range hood, window trim, and any exposed end of the backsplash run.
- Outlets and switches: Ask the model to retain their number and location. Check that faceplates have not disappeared or changed size.
- Open shelving: Keep shelf position and brackets fixed; tile should appear behind them, not replace them.
- Range area: State whether the tile continues behind the hood or stops at an existing boundary visible in the photo.
- Exposed ends: Identify where the tiled surface should terminate rather than letting the pattern spread across adjoining painted walls.
When an edit repeatedly changes a specific object, tighten the selected area if your tool permits it and name the object in the preservation instruction. You can also ask for a single correction to the best result:
Keep this image identical except for the backsplash edge beside the window. End the new tile at the original wall boundary. Restore the window trim, outlet positions, countertop edge, and cabinet geometry exactly as shown in the source photo.Compare that correction with the original photo, not just with the preceding AI image. A convincing local fix can still introduce a subtle change elsewhere.
Check tile scale and installation reality
An attractive preview can hide implausible tile dimensions. Use known features in the photograph—such as a standard-size outlet cover or a cabinet door—as visual scale references, while remembering that perspective and unknown real-world measurements limit accuracy. Count a few repeated tiles across a visible run. If a nominally small tile appears wider than an outlet cover, the pattern may need another pass.
Do not treat generated grout lines as a tile takeoff. Before specifying materials, confirm actual tile dimensions, joint width, corner treatment, trim, outlet accommodation, substrate conditions, and the proposed layout with measured drawings and physical samples. Gloss, handmade variation, and stone veining can also look different under the kitchen’s real daylight and task lighting.
Label client-facing images as concept visualizations. Keep the source photo available so the client can see what changed, and pair a favored concept with a sample or manufacturer reference before making a purchase decision.
Final checklist
- Use the same original kitchen photo for every variation.
- Specify tile material, approximate size, layout, grout, and finish.
- Preserve cabinets, counters, fixtures, openings, and camera framing.
- Inspect outlets, shelf brackets, window trim, and tile termination points.
- Verify dimensions and installation details outside the AI preview.
Keywords
seedream 4.5, kitchen backsplash visualization, backsplash makeover prompts, kitchen photo editing, tile finish comparison, interior design concepts