Seedream 4.5 Prompts for Clear Plant Life Cycle Diagrams
Create plant life cycle diagrams in which every stage is visually distinct, scientifically defensible, and easy for learners to compare. This guide provides a reusable Seedream 4.5 prompt structure, targeted correction prompts, and a practical accuracy checklist.
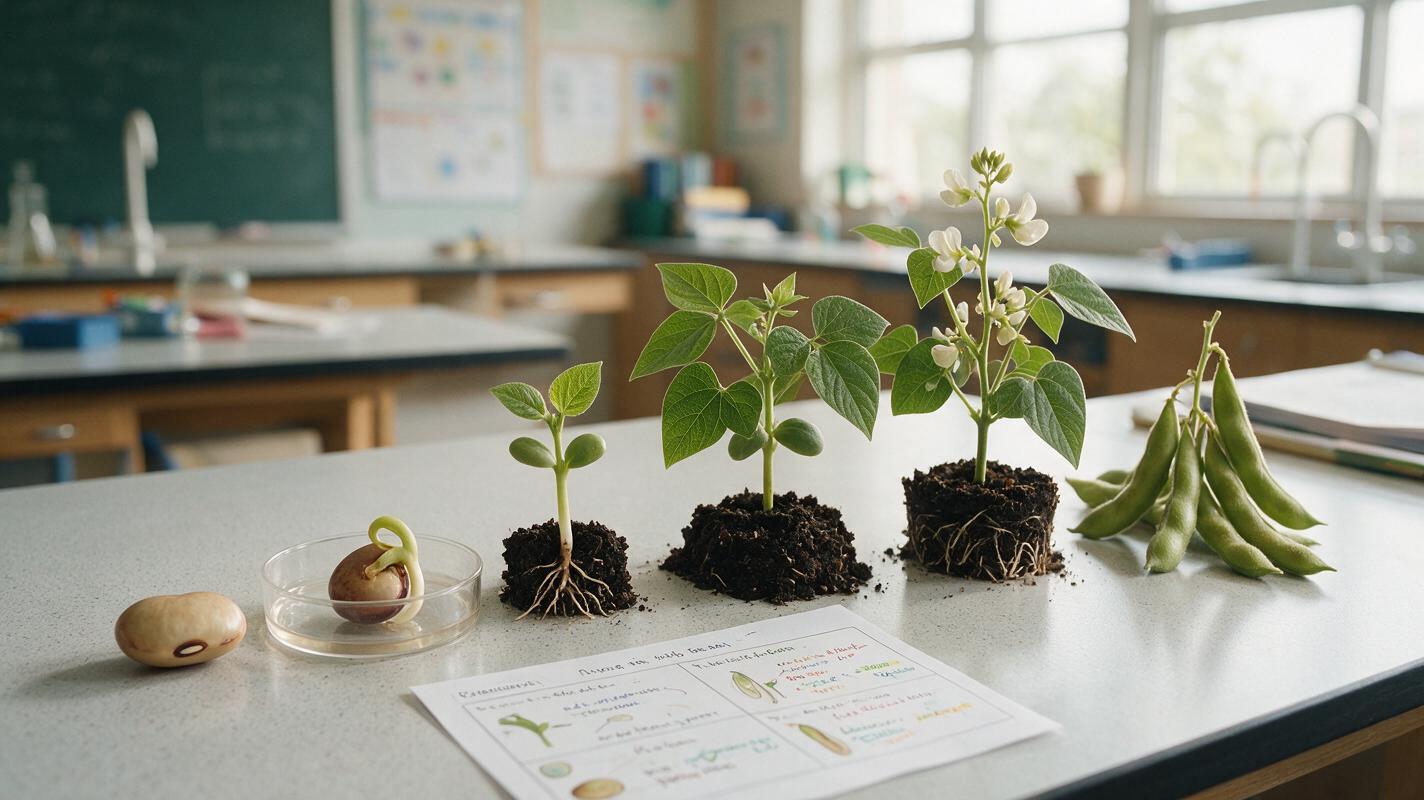
Table of contents
Plant life cycle diagrams need more than attractive artwork
A useful plant life cycle diagram must show distinct developmental stages without mixing mature leaves, flowers, fruit, and seedlings into the wrong panels. That is difficult for image models because the stages share many visual features. A prompt that simply requests “the life cycle of a bean plant” may produce a beautiful poster with duplicated phases, inconsistent specimens, or biologically confusing transitions.
The solution is to define the sequence before generating the artwork, constrain what belongs in each panel, and correct individual stages rather than repeatedly regenerating the entire diagram. This workflow uses seedream 4.5 for controlled educational illustration and editing.
Teaching principle: learners should be able to identify each stage from the visual evidence, even before reading its label.
Build a stage map before prompting
Start with the learning objective, not the image style. Decide exactly what students must notice. A primary science lesson may need a short sequence, while a secondary biology resource may need germination details, reproductive structures, or seed dispersal.
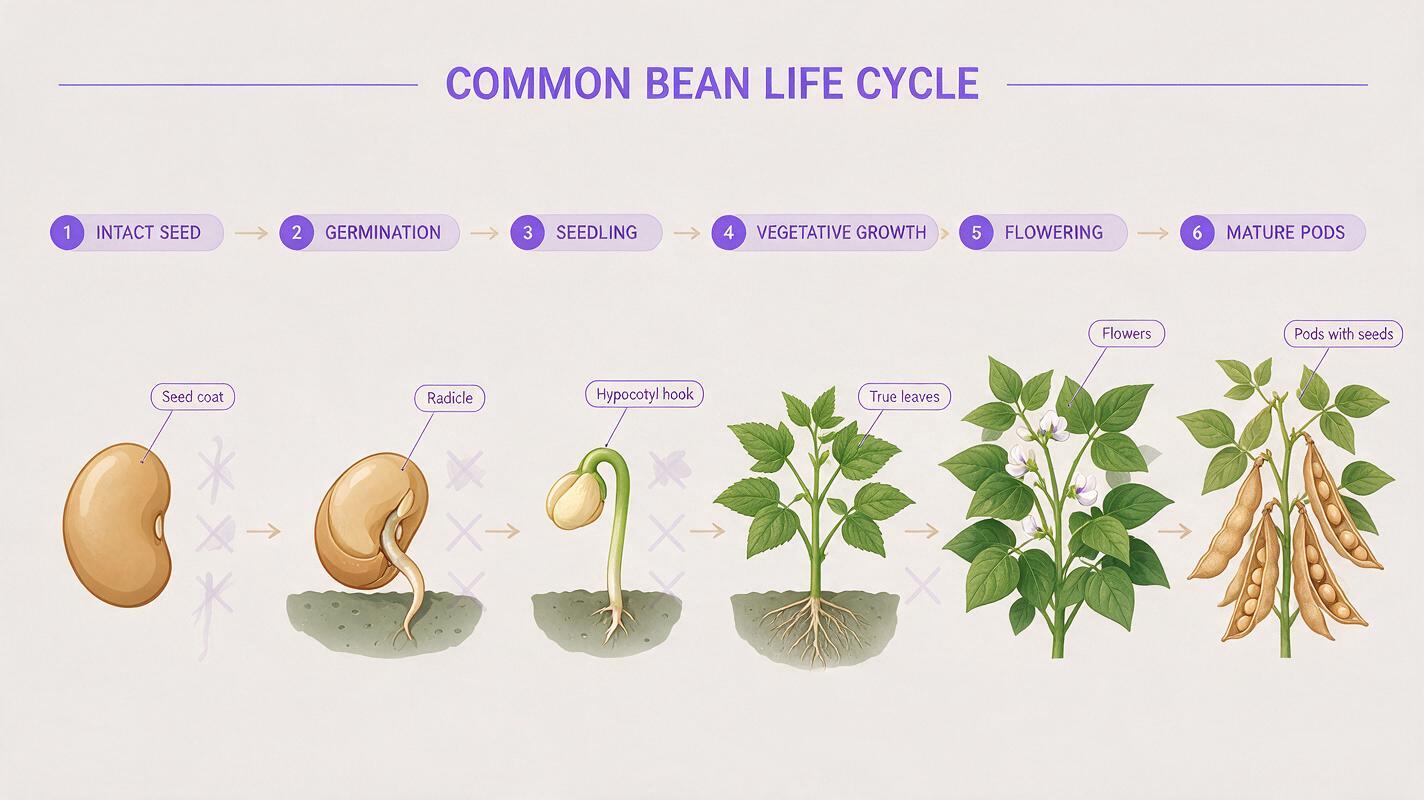
For a simple flowering bean plant diagram, a defensible stage map might contain:
- Seed: an intact bean seed with no visible root.
- Germination: the seed coat has opened and the first root is emerging.
- Seedling: a short stem with cotyledons and the first true leaves.
- Vegetative plant: a larger leafy plant without flowers or pods.
- Flowering plant: visible flowers, but no mature pods.
- Fruit and seed formation: pods containing new seeds.
This map prevents a common instructional failure: distinguishing panels only through size. Size can support the sequence, but each stage should also contain a unique biological indicator.
| Stage | Required evidence | Exclude |
|---|---|---|
| Seed | Intact seed coat | Roots, stems, leaves |
| Germination | Emerging primary root | Flowers, fruit |
| Seedling | Cotyledons and first true leaves | Flowers, pods |
| Vegetative plant | Established stems and leaves | Flowers, pods |
| Flowering plant | Clearly visible flowers | Mature pods |
| Fruit formation | Pods containing seeds | Unrelated fruit types |
Write one prompt that protects the sequence
A strong prompt separates four kinds of information: the educational purpose, the panel structure, the biological constraints, and the visual treatment. Put the stage-specific requirements before decorative details.
Create a six-panel educational illustration showing the life cycle of one common bean plant.

The same plant species must appear throughout all panels.

Panel A: one intact bean seed, no root or stem.
Panel B: germinating seed with one emerging primary root, no leaves.
Panel C: young seedling with cotyledons and the first small true leaves, no flowers.
Panel D: established leafy vegetative plant, no flowers and no pods.
Panel E: mature plant with clearly visible bean flowers, no mature pods.
Panel F: plant with mature bean pods, one pod opened to reveal seeds.

Use a consistent side-view scientific illustration style, plain warm-white background, even scale progression, clear separation between specimens, natural green and brown colors, and uncluttered composition. Leave blank space below every panel for labels. Do not render words, arrows, numbers, borders, or decorative objects.
The exclusions matter because they make the boundaries between stages explicit. “No flowers” is more useful than assuming the model understands that a vegetative plant should not flower. Likewise, requesting blank label space is safer than asking the model to create final instructional text inside the image.
Generate the stages as a controlled set
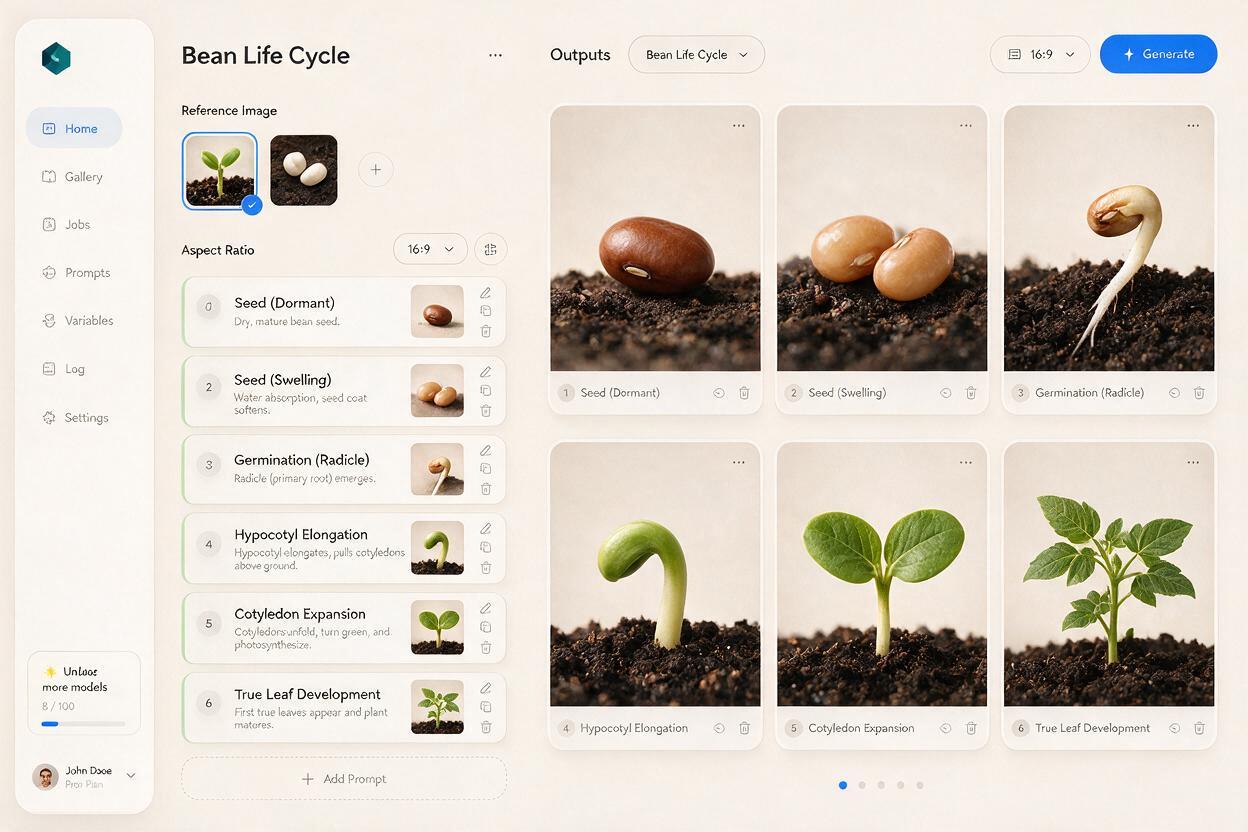
Generate the complete sequence first so you can judge composition and continuity. Look for a shared illustration style, the same plant species, and enough empty space to add verified labels later.
If one weak panel causes the entire set to fail, switch to a modular approach. Generate each specimen separately against the same plain background, keeping the viewing angle, lighting, color palette, and botanical style unchanged. Assemble the approved specimens in a slide editor, design application, or learning-authoring tool.
Use this compact template for separate panels:
Educational botanical illustration of the same common bean plant used in a six-stage life cycle set.
Show only the [STAGE NAME] stage.
Required evidence: [VISIBLE INDICATOR].
Exclude: [FEATURES FROM EARLIER OR LATER STAGES].
Consistent side view, warm-white background, centered specimen, soft natural shading, no text, no arrows, no border.
Keep a successful seedling or mature plant image as a visual reference when editing later panels. The goal is not pixel-perfect identity; it is a coherent species, medium, perspective, and classroom-ready visual language.
Fix mixed stages without rebuilding the set
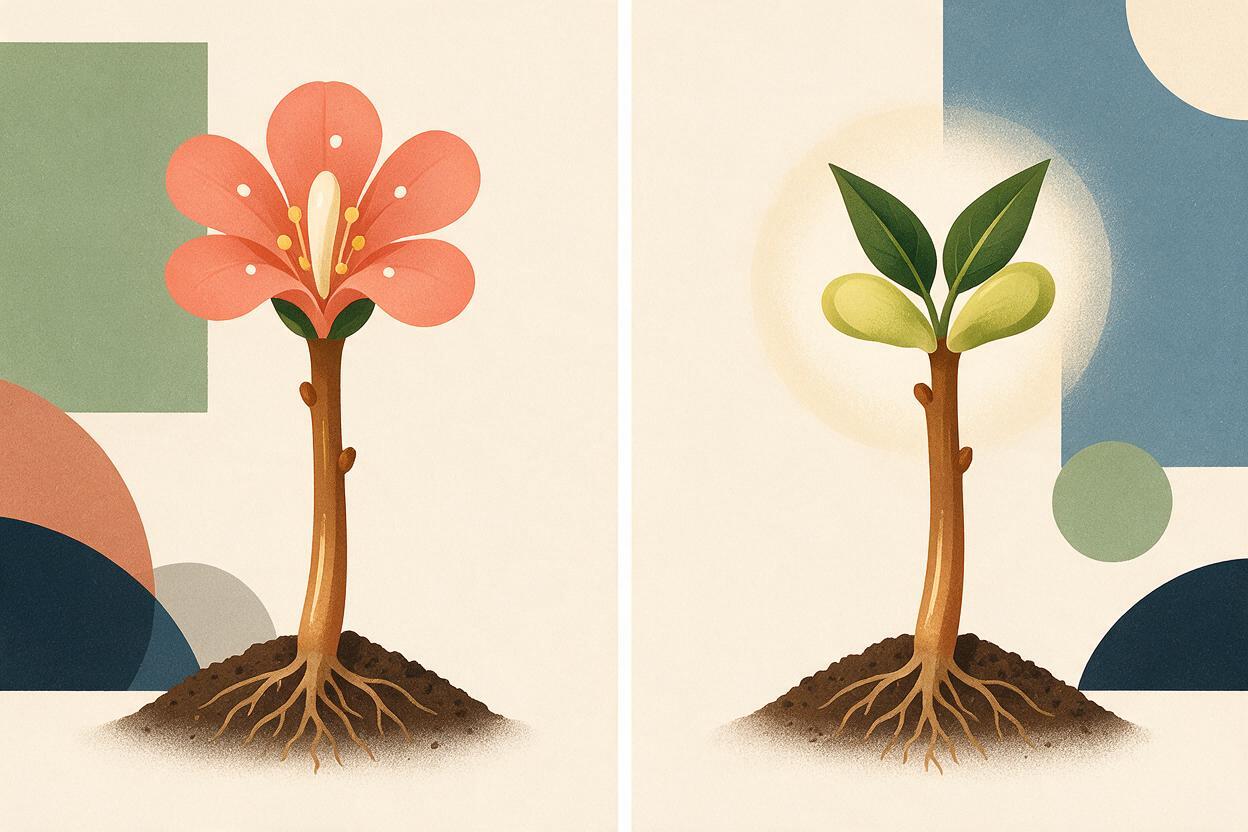
When a panel contains the wrong structure, describe the smallest necessary correction. Avoid broad requests such as “make it more accurate,” which do not identify what must change.
| Problem | Targeted correction |
|---|---|
| The seedling has flowers | Remove every flower and bud; preserve the stem, cotyledons, first true leaves, composition, and background. |
| The germination panel resembles a mature root system | Replace the roots with one short emerging primary root; keep the seed coat visible and remove all leaves. |
| The vegetative plant has pods | Remove all pods and flowers while preserving the established stems and leaves. |
| The final panel shows the wrong fruit | Replace the fruit with botanically recognizable bean pods attached to the same plant. |
| Different panels look like different species | Match leaf shape, stem structure, flower form, pod form, palette, and illustration medium to the approved reference. |
A useful correction prompt protects everything that is already working:
Edit only the flowering-stage panel. Preserve the plant's leaf shape, stem structure, side-view angle, illustration medium, lighting, scale, spacing, and background. Add several botanically plausible bean flowers at stem nodes. Do not add pods, fruit, extra roots, labels, arrows, insects, or decorative scenery.Correct one biological variable at a time. Changing the species, composition, stage, and style in one edit makes it harder to see whether the scientific error was actually resolved.
Add labels outside the generated artwork
Once the specimens are approved, add labels, arrows, and accessibility information in an ordinary layout tool. This keeps spelling, terminology, reading order, and typography editable.
Use direct labels such as “seed,” “germination,” and “seedling.” If the lesson requires more detail, pair each stage name with one short observation:
- Germination: the first root emerges.
- Seedling: the first true leaves unfold.
- Flowering: flowers support reproduction.
- Fruit formation: new seeds develop inside pods.
Arrows should communicate sequence, not imply that every individual plant develops at an identical speed. If environmental conditions are part of the lesson, explain in accompanying text that light, water, temperature, health, and species influence development.
For younger learners, use one dominant reading path and short labels. For older learners, add carefully verified callouts for structures such as the seed coat, cotyledons, primary root, flowers, pods, and seeds.
Review the diagram as a teaching tool
Do not approve the image only because it looks polished. Compare it with your curriculum materials or a reliable botanical reference, especially when the diagram names specific structures.
Run three separate reviews:
- Sequence review: Can a learner place the stages in order without relying solely on the arrows?
- Evidence review: Does every stage contain its required biological indicator and exclude features that belong elsewhere?
- Design review: Are specimens large enough, labels readable, colors distinguishable, and arrows unambiguous?
Also test the resource at its real delivery size. Fine roots that look clear on a large monitor may disappear on a worksheet or phone. Flower details may be too small for projection in a classroom. Increase the relevant feature rather than filling the panel with unnecessary decoration.
Finally, include concise alternative text in the learning platform. Describe the sequence and the meaningful changes instead of listing every color or decorative detail.
Adapt the prompt to other life cycles
The same method works for butterflies, frogs, ferns, fungi, and other organisms, but the stages and exclusions must come from an appropriate subject reference. Do not reuse bean-specific assumptions for another species.
Replace the panel map with observable evidence for the new subject, then preserve the same prompt logic:
Subject and educational level
Exact ordered stages
One required visual indicator per stage
Features excluded from each stage
Consistent species and viewing angle
Simple background and reserved label space
No generated text or decorative distractions
When your stage map and exclusions are ready, create your own version and inspect the result for teaching accuracy before adding it to a lesson.
Final checklist
- Define the learning objective and developmental stages before generating images.
- Give every stage one unmistakable visual indicator.
- State which later or earlier features must be excluded.
- Keep species, perspective, medium, and background consistent.
- Correct individual panels instead of regenerating a nearly successful set.
- Add labels and arrows in an editable layout tool.
- Verify biological details against suitable reference material.
- Test readability at the final worksheet, slide, or mobile size.
- Add alternative text that explains the meaningful sequence.
Keywords
seedream 4.5, plant life cycle diagram, science lesson visuals, educational illustrations, AI image prompts, scientific visualization, biology teaching