Extend a Vertical Portrait Into a Wide Banner With Seedream 4.5
A vertical portrait can become a wide website banner without stretching the person or sacrificing headline space. This guide shows photographers how to prepare the canvas, generate only the missing surroundings with Seedream 4.5, and reject edits that alter the original photograph.
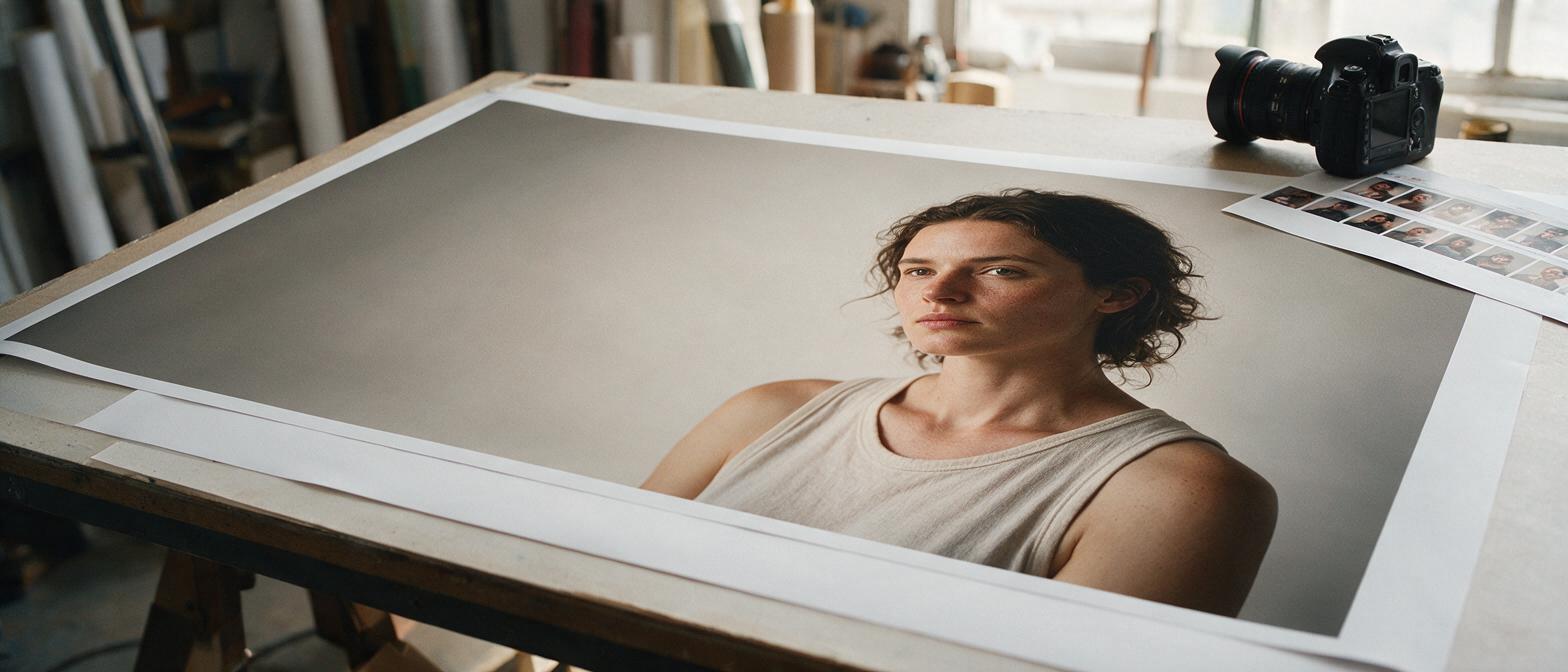
Table of contents
A wide banner from a vertical portrait
Need a wide website banner, but the best portrait is vertical? Stretching it distorts the subject, while a tight landscape crop can cut off their face or shoulders. A better approach is to keep the photographed person intact and create space around them. Seedream 4.5 can help generate the missing surroundings; the safest final image, however, is a composite that retains the original portrait wherever it already contains real pixels.
This method suits editorial portraits, photographer portfolio headers, and commercial pages that need room for a headline. It is less suitable when the new canvas would have to invent important parts of a person, garment, or location that the camera never captured.
Choose a frame that can expand cleanly
Start with the highest-resolution original, ideally an uncropped export from your RAW edit. A portrait showing complete shoulders against a simple backdrop is easier to extend than one cut tightly through an arm, patterned jacket, or distinctive doorway. If another frame from the shoot already has a wider composition, use that before generating anything.
Decide where the headline will sit before editing. For a banner with text on the left, position the subject toward the right and reserve the left side for relatively quiet background. Do not ask the model to add the headline itself; place real, editable type after the image is finished.
- Good candidates: seamless studio backdrops, softly focused interiors, foliage without recognizable landmarks, and portraits with clean edges around the subject.
- Risky candidates: cropped hands, intricate lace extending out of frame, mirrors, repeating architectural lines, and locations whose exact appearance matters.
A 4:5 portrait expanded to 16:9 at the same height needs a canvas more than twice as wide as the original. That is a substantial amount of invented scene. If the result feels implausible, choose a less extreme ratio or build a banner from a wider source photograph instead.
Prepare the canvas and protect the original pixels
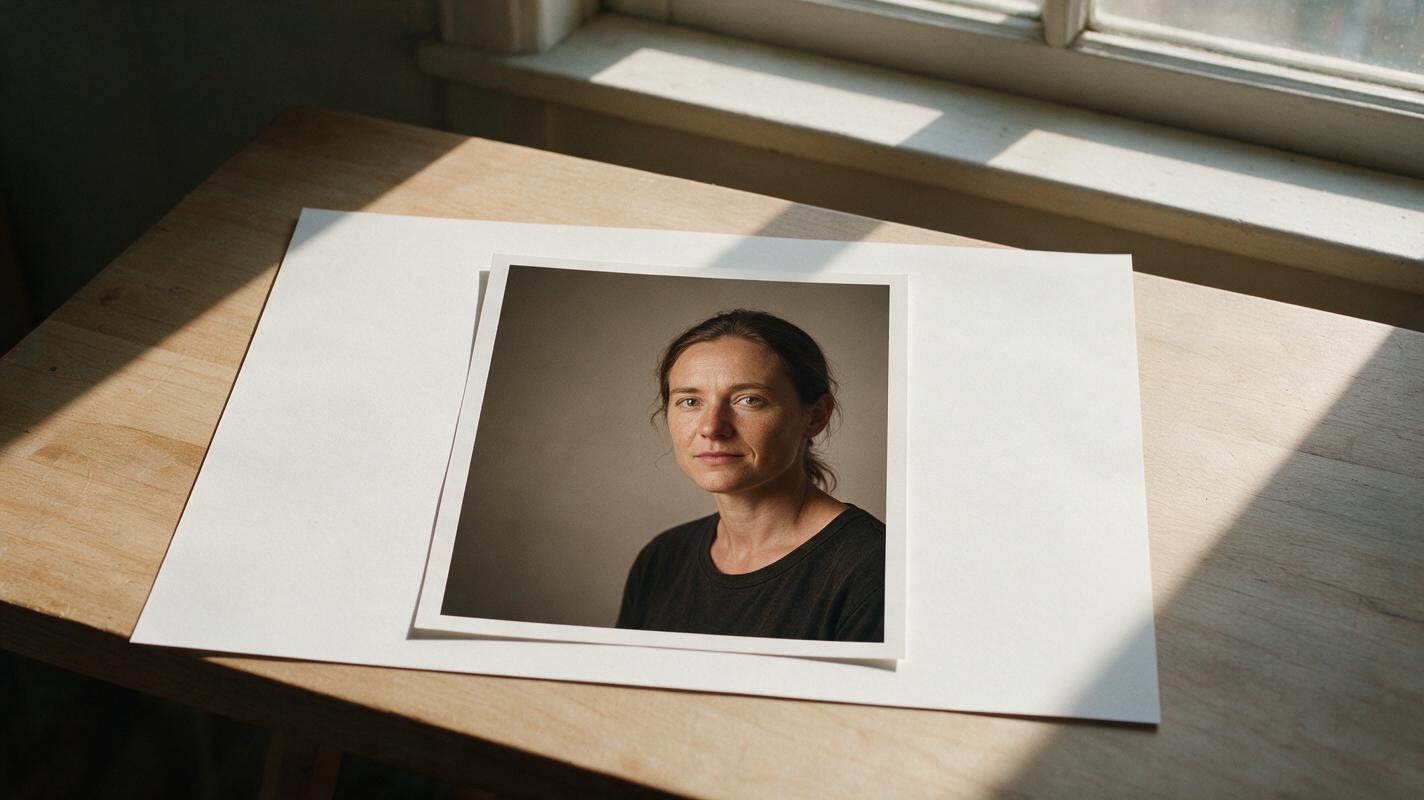
Create a 16:9 canvas in your photo editor and place the portrait at its intended final size. Leave the new area transparent or in a separate layer. Keep an untouched copy of the portrait above any generated result so you can restore the real face, hair, clothing, and visible background later.
For the missing area, open ai image generator, select Seedream 4.5, and use a reference-image editing option if one is available in your interface. Supply the portrait and an expanded canvas or masked target area when supported. Controls differ between interfaces; if yours cannot restrict the edit to empty space, treat the generated image as background material rather than as a replacement for the whole photograph.
Give the model an achievable brief: continue the existing wall, light falloff, floor, or soft-focus setting. Avoid asking it to reconstruct a missing elbow or invent branded objects. The prompt below assumes a subject placed on the right with empty space needed on the left; reverse those directions for the opposite layout.
Extend the background of this photographed portrait into the empty area on the left for a wide 16:9 website banner. Continue the existing backdrop color, texture, perspective, and direction of light. Keep the left third visually quiet for a headline. Do not add people, props, writing, logos, or new light sources. Preserve the photographed subject, pose, face, hair, clothing, and all existing image content; generate only the missing surroundings.If the backdrop is specific, replace “existing backdrop” with an observable description such as “warm gray studio paper with a soft shadow falling to the lower left.” Describing what is already visible usually gives the extension a clearer target than a style label such as “cinematic.”
Extend the setting, not the person
Generate a small set of alternatives and judge them by how well they join the original—not by how dramatic the newly created area looks. A believable continuation may be less eye-catching than an elaborate one, which is exactly why it works behind a headline.
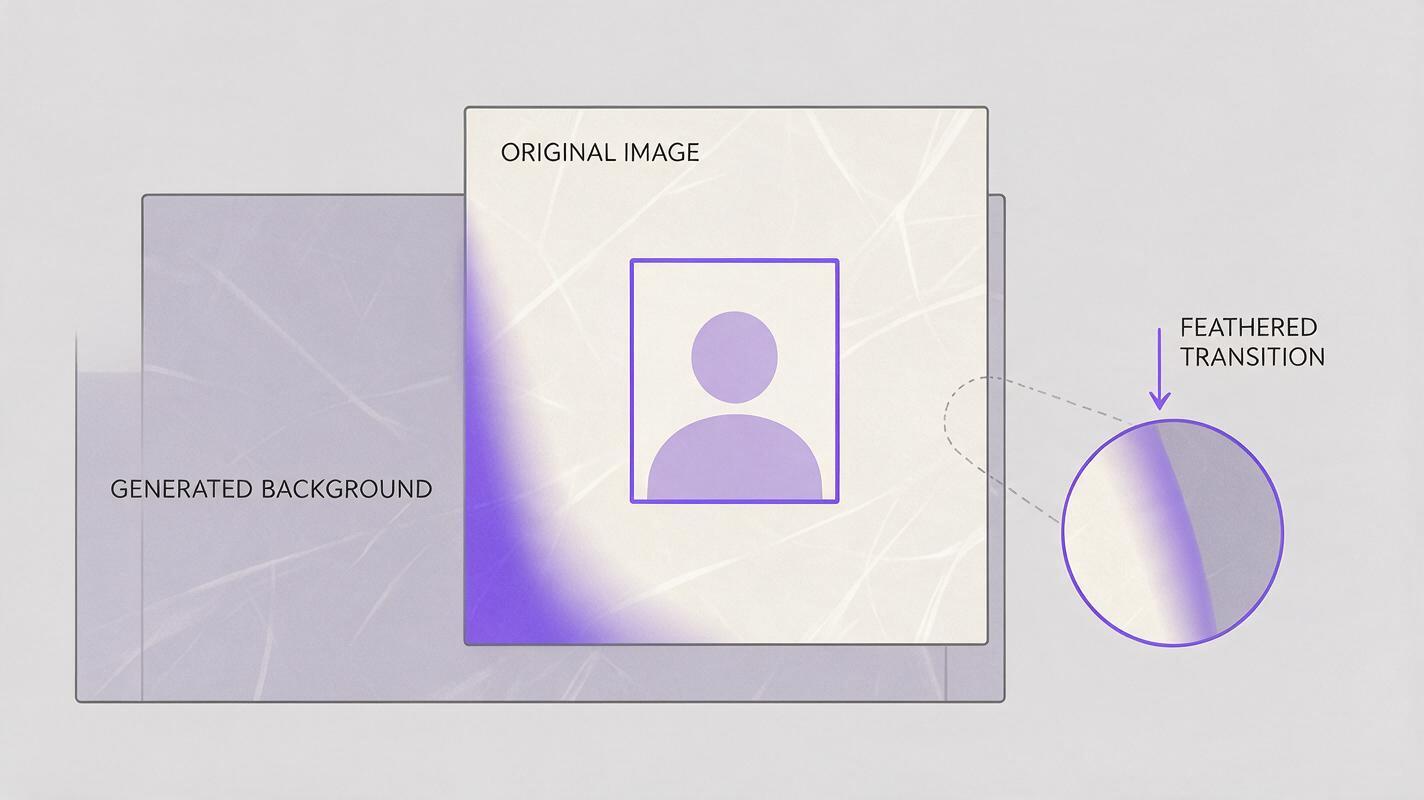
Bring the preferred result into your photo editor beneath the untouched portrait. Mask the upper original layer so its real pixels cover the generated version of the subject. Blend only along the background boundary, using a broad transition where texture is soft and a more careful edge around hair or clothing. If a seam remains, repair the seam locally rather than regenerating the face.
Keep the provenance clear: expanding a studio backdrop for an editorial layout is different from presenting invented venue details as a documentary record. For wedding or news-related images, follow the client’s and publication’s disclosure requirements.
When the original frame cuts through a shoulder or hand, a background-only extension will expose that cut. Do not hide the problem by accepting a newly invented limb without inspection. Try a different placement, a smaller expansion, or another frame from the shoot.
Inspect the output at full size
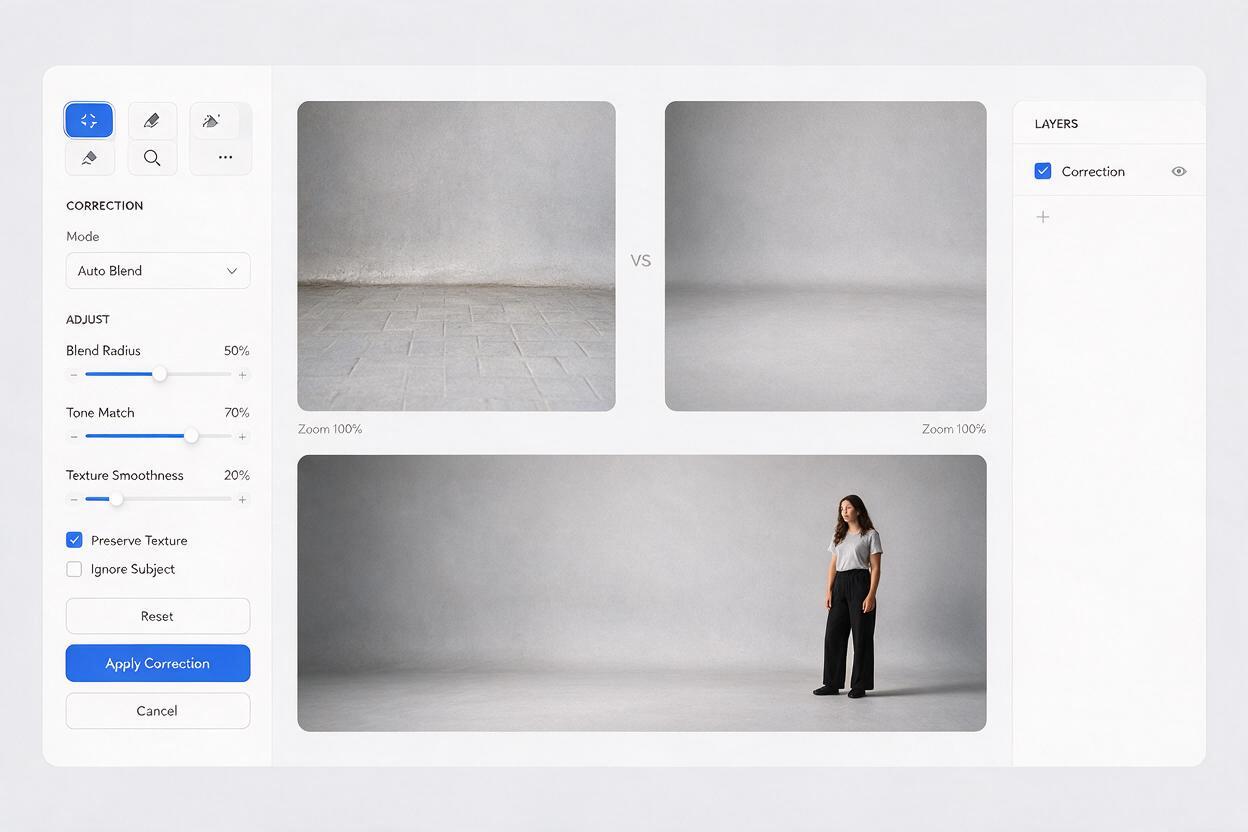
Check the composite both at banner size and at 100% zoom. At normal size, look for balanced headline space and a subject that still feels connected to the setting. At full size, trace the boundary where original and generated pixels meet. Repeating patterns, bent wall lines, doubled hair, and abrupt grain changes are easier to catch there.
| What looks wrong | Likely cause | Practical fix |
|---|---|---|
| Face or clothing changed | The generated frame replaced original pixels | Restore the untouched portrait above the extension and tighten the background mask. |
| Visible edge around the original frame | Texture, exposure, or grain differs across the join | Blend the background boundary, then match tone and grain locally. |
| Background lines bend or repeat | The model invented inconsistent perspective | Choose a quieter variation or constrain the request to fewer structural details. |
| Headline area looks busy | The prompt invited props or high-contrast detail | Regenerate for a plain continuation with lower visual detail. |
Finally, test the actual responsive crops. A desktop 16:9 banner may become a much narrower mobile image. Keep the face inside the site’s likely safe area, and check that text never lands on a high-contrast edge. Export the image without baked-in lettering so the website can position accessible, responsive type over it.
Final checklist
- Use the widest authentic source frame available before attempting an extension.
- Set the banner crop and headline side before generating new background.
- Keep the original portrait pixels over the generated result.
- Reject invented anatomy, inconsistent perspective, and visible seams.
- Inspect desktop and mobile crops before delivery.
If the source frame has a clean backdrop and enough of the subject is visible, test this prompt yourself with a modest canvas extension first. Increase the width only when the smaller version holds up under inspection.
Keywords
seedream 4.5, portrait outpainting, wide website banner, extend portrait background, ai photo editing, editorial photography