Seedream 4.5 Prompts to Remove Furniture From a Room Photo
An empty-room image can help a client see a redesign without the existing furniture getting in the way. These Seedream 4.5 prompts focus on removing objects while preserving visible architecture—and on identifying surfaces the model had to invent.
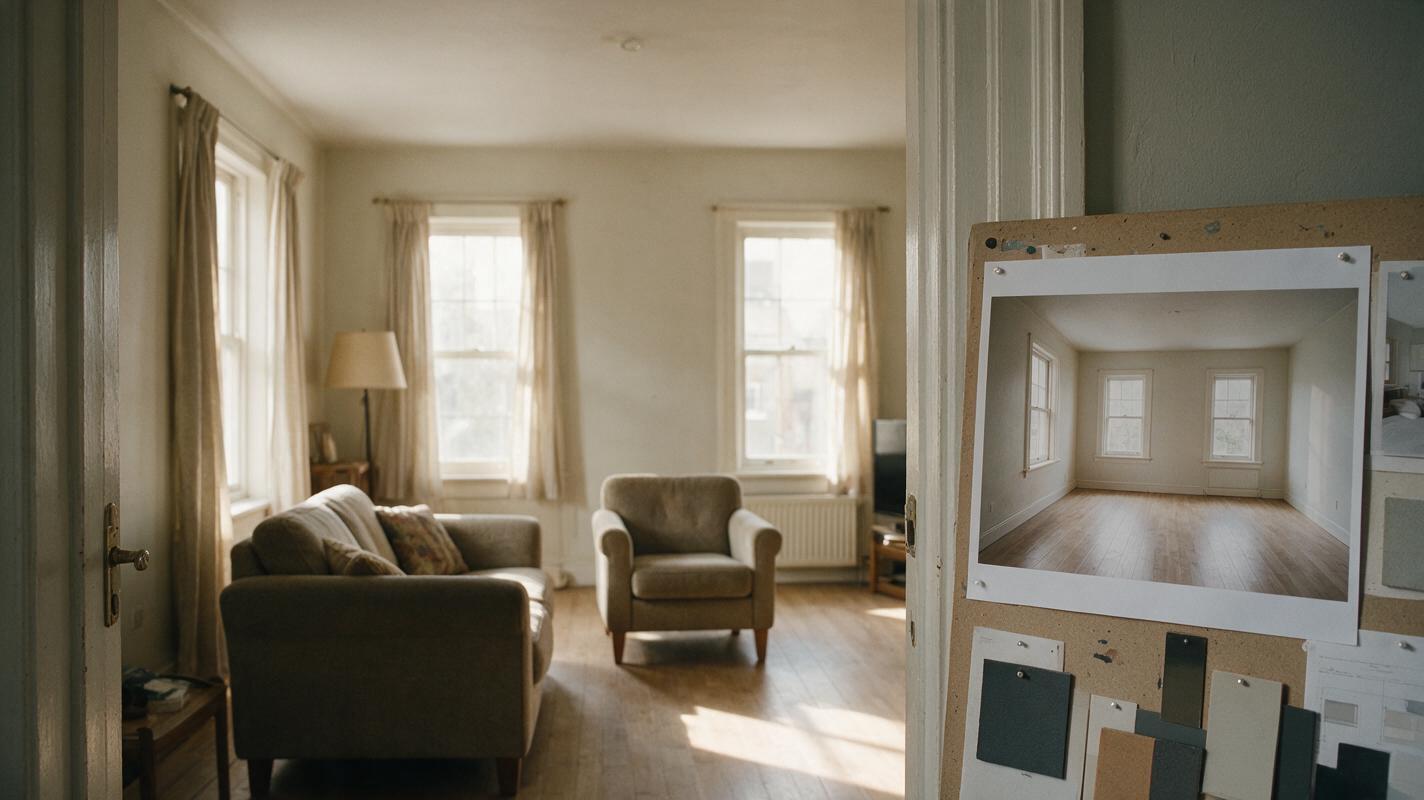
Table of contents
See the room without the furniture
A client’s room photo may contain a sofa, shelves, lamps and everyday clutter that obscure the space you need to redesign. Seedream 4.5 can help create a cleared concept image from that photo, giving you a more useful starting point for discussing layout and finishes. The crucial distinction: an AI-generated empty room is a visualization, not proof of what is hidden behind the furniture.
The prompts below are designed for interior and spatial designers who need a credible blank-room view while keeping visible walls, openings, flooring and camera perspective as stable as possible.
Prepare a reference photo that gives the model fewer guesses
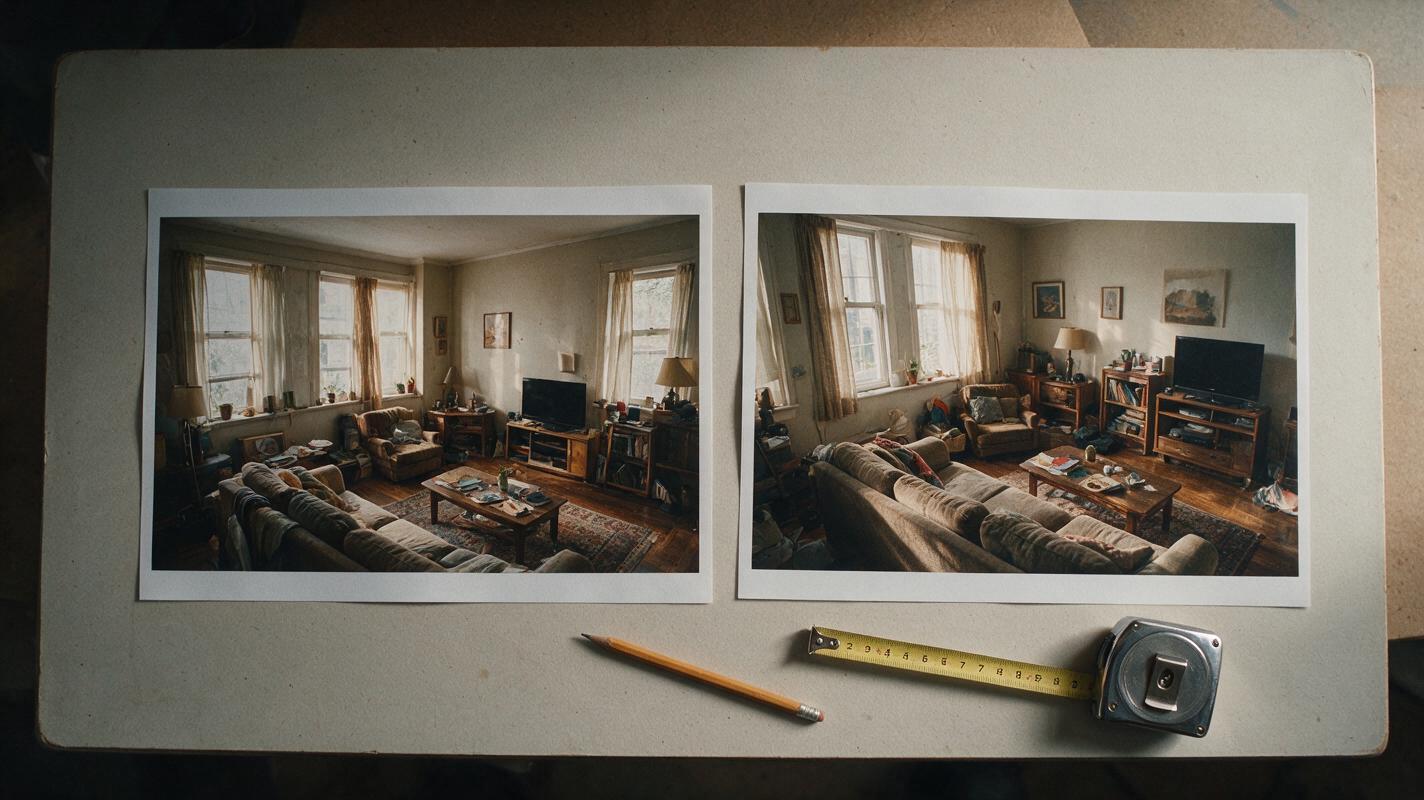
Use the clearest photo available, preferably one taken from a room corner with most floor-to-wall junctions visible. A wide view helps establish the room’s proportions; a second angle can help you check surfaces concealed by large pieces. Avoid heavily filtered images, extreme wide-angle distortion and photographs in which furniture covers nearly every architectural edge.
Before editing, note what the photograph actually shows: window count, door position, ceiling line, baseboards, flooring direction and any fixed joinery. Keep the original beside every generated result. If you use an ai image generator that accepts reference photos for editing, upload the room photo rather than generating an empty room from text alone. The reference is what gives the result a chance to retain the real space.
Seedream 4.5 prompts for three kinds of room cleanup
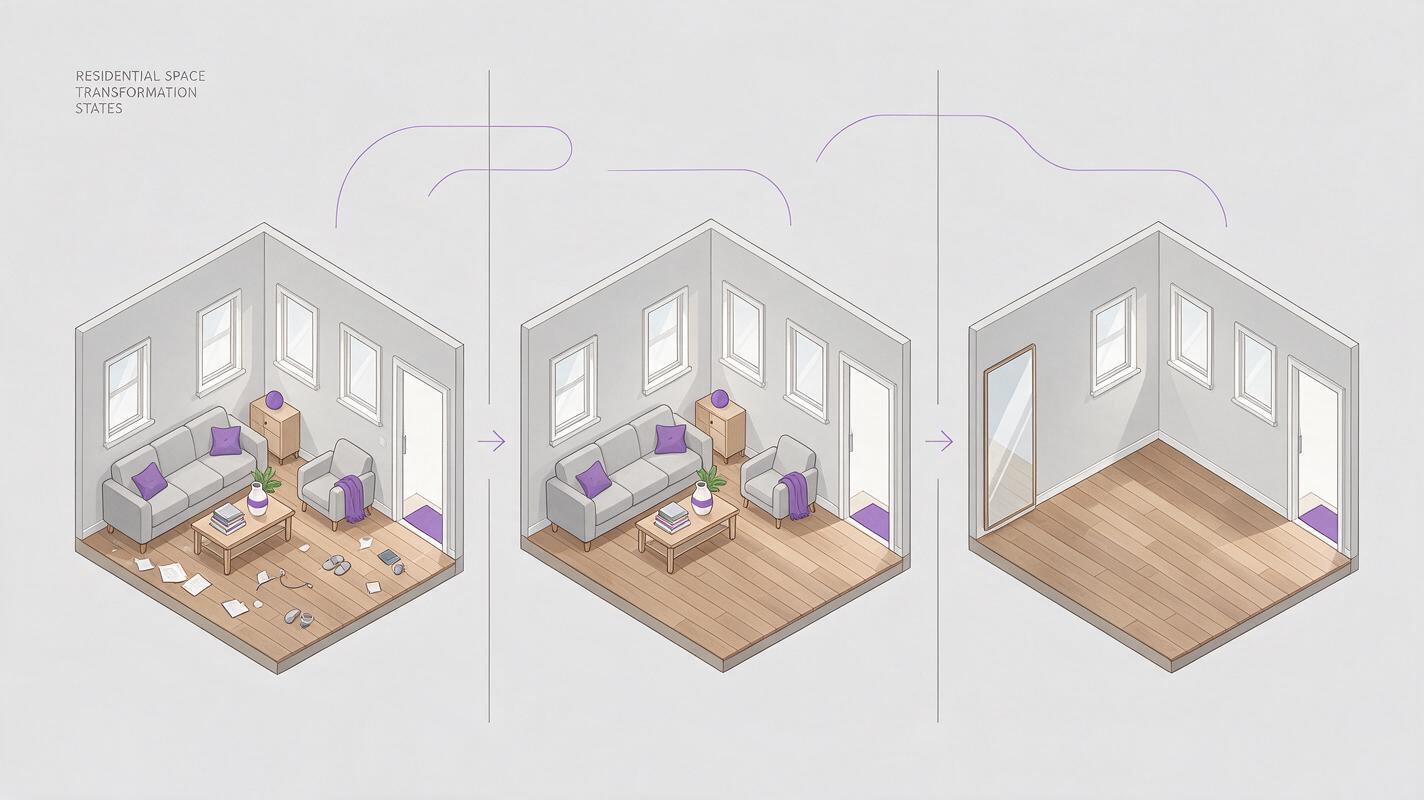
Begin with the narrowest edit that solves your problem. Removing a few loose items is easier to evaluate than asking the model to reconstruct half a room in one pass.
Clear everyday clutter without redesigning the room
Use this when you need the existing furniture to remain but want a calmer image for a client conversation:
Edit the uploaded room photo. Remove only loose clutter: papers, cables, bags, dishes and small items on surfaces. Keep all furniture, built-in elements, doors, windows, wall colors, flooring, lighting conditions and camera viewpoint unchanged. Reconstruct visible surfaces naturally. Do not add new decor or change the room layout.Remove movable furniture for a blank-room concept
This is the more demanding version. It works best when enough surrounding floor and wall are visible to guide reconstruction:
Using the uploaded photo as the reference, create a visualization of this same room with movable furniture and freestanding decor removed. Preserve the visible architecture: wall positions, door and window openings, ceiling height, baseboards, fixed cabinetry, floor material and plank direction. Maintain the original camera angle and daylight. Extend the visible floor and wall finishes into newly exposed areas without inventing new architectural features. Leave the room empty; do not stage it.Clear one zone while keeping an important reference object
Sometimes the fireplace, kitchen island or existing dining table needs to stay. Name the object explicitly instead of relying on the model to infer what is fixed:
Edit the uploaded living-room photo. Remove the sofa, two armchairs, coffee table, floor lamp and loose accessories. Keep the fireplace, mantel, built-in shelves and all architectural features exactly where they appear. Preserve the existing floor pattern, wall finish, window view, perspective and natural shadows. Do not replace the removed items with new furniture.Swap the object list for what is actually in your photo. Test this prompt yourself on a small removal first; if the room remains recognizable, expand the edit to larger pieces.
Keep architectural edges from drifting
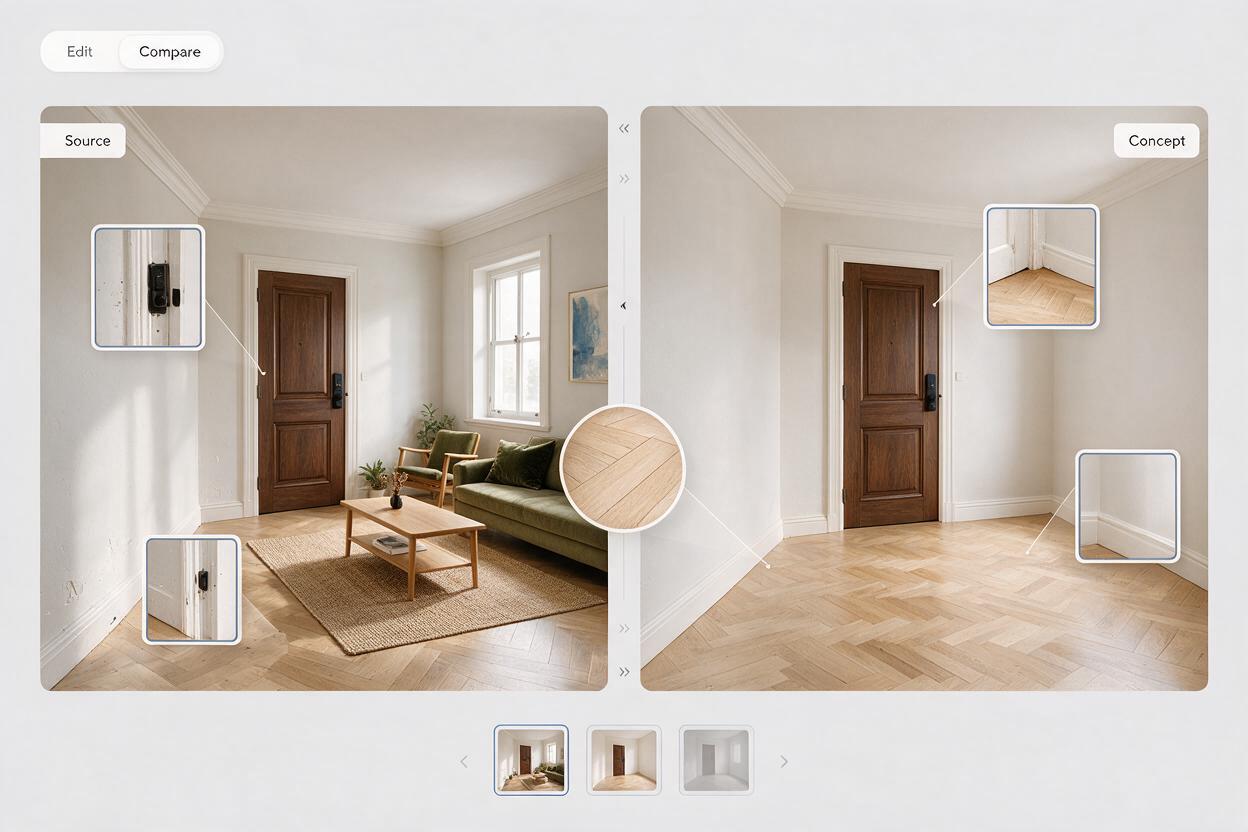
A convincing cleared room can still be unusable if a doorway shifts, a window widens or floorboards change direction. Compare each result with the source photo at the same size, concentrating on straight edges and junctions rather than overall mood.
| What to inspect | Common failure | Useful correction |
|---|---|---|
| Doors and windows | Opening changes size or position | Name the opening and ask for its edges to remain fixed. |
| Flooring | Planks rotate or repeat unnaturally | Specify the visible material and direction; check a second photo if available. |
| Baseboards and corners | Lines bend behind removed furniture | Ask for continuous, straight junctions matching visible sections. |
| Built-in elements | Shelves or cabinetry disappear | List fixed elements that must remain. |
If your editing interface offers a selection or mask, limit it to the objects being removed and a small surrounding area needed for reconstruction. If it does not, make the written edit request specific and reject results that alter unrelated parts of the room. Repeating a broad prompt is rarely as useful as identifying the exact edge that drifted.
Be honest about what was hidden
Removing a bookcase may reveal a wall the camera never saw. Removing a rug may require the model to invent the floor beneath it. No prompt can recover those concealed surfaces reliably from one photograph.
Treat every newly exposed area as an estimate until it is checked against another photo, a site visit or measured drawings.
Mark large uncertain areas in your working files, especially behind wardrobes, across flooring covered by rugs and beneath furniture that hides outlets or radiators. If a design decision depends on one of those details, do not use the generated pixels as evidence. Request another reference photograph or verify the condition on site.
Use the cleared image as a design base
Once the empty-room visualization passes the architecture check, save it alongside the original rather than replacing the source file. It can support early furniture-placement sketches, finish conversations or alternative styling concepts. Keep later proposals clearly labeled as concepts so the client can distinguish photographed conditions from generated possibilities.
For the strongest presentation, show the original photo next to the cleared version. That pairing explains both the opportunity and the limits of the edit: the design team can see the room without its current contents, while the source remains available for checking what was actually there.
Final checklist
- Start with a clear room photo and keep the original untouched.
- Remove only the objects needed for the design conversation.
- Specify which architectural features and fixed elements must remain.
- Compare doors, windows, corners and flooring against the source.
- Label reconstructed hidden surfaces as estimates, not measured facts.
- Present the cleared room as a concept image beside the original.
Keywords
remove furniture from room photo, Seedream 4.5 prompts, empty room visualization, virtual room decluttering, interior photo editing, room redesign concepts