Seedream 4.5 Prompts for Sheer vs Blackout Curtain Previews
Compare sheer, layered, and blackout curtains in the same room photo without changing the furniture or window. These Seedream 4.5 prompts help interior designers make clearer visual options while keeping daylight and privacy claims realistic.
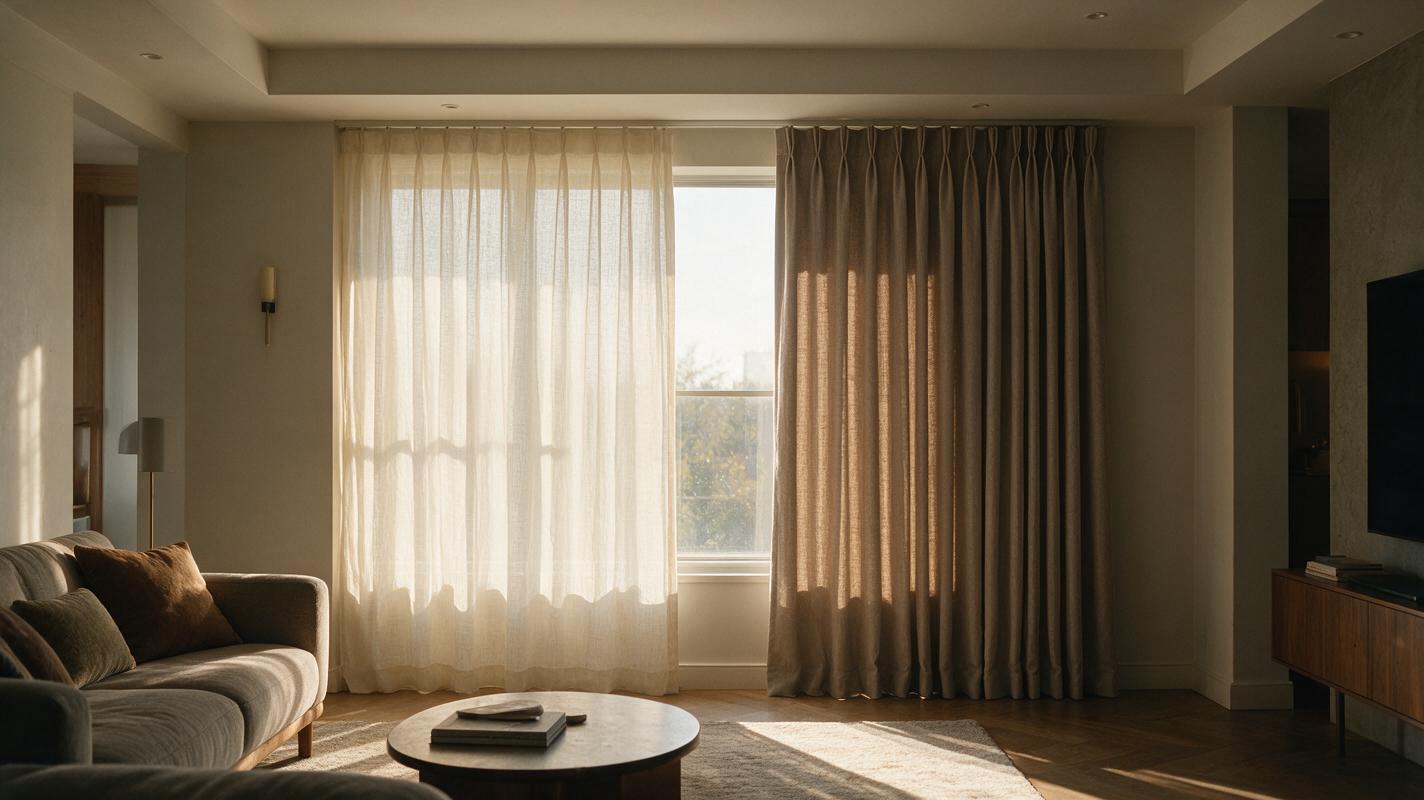
Table of contents
See the curtains—not a different room
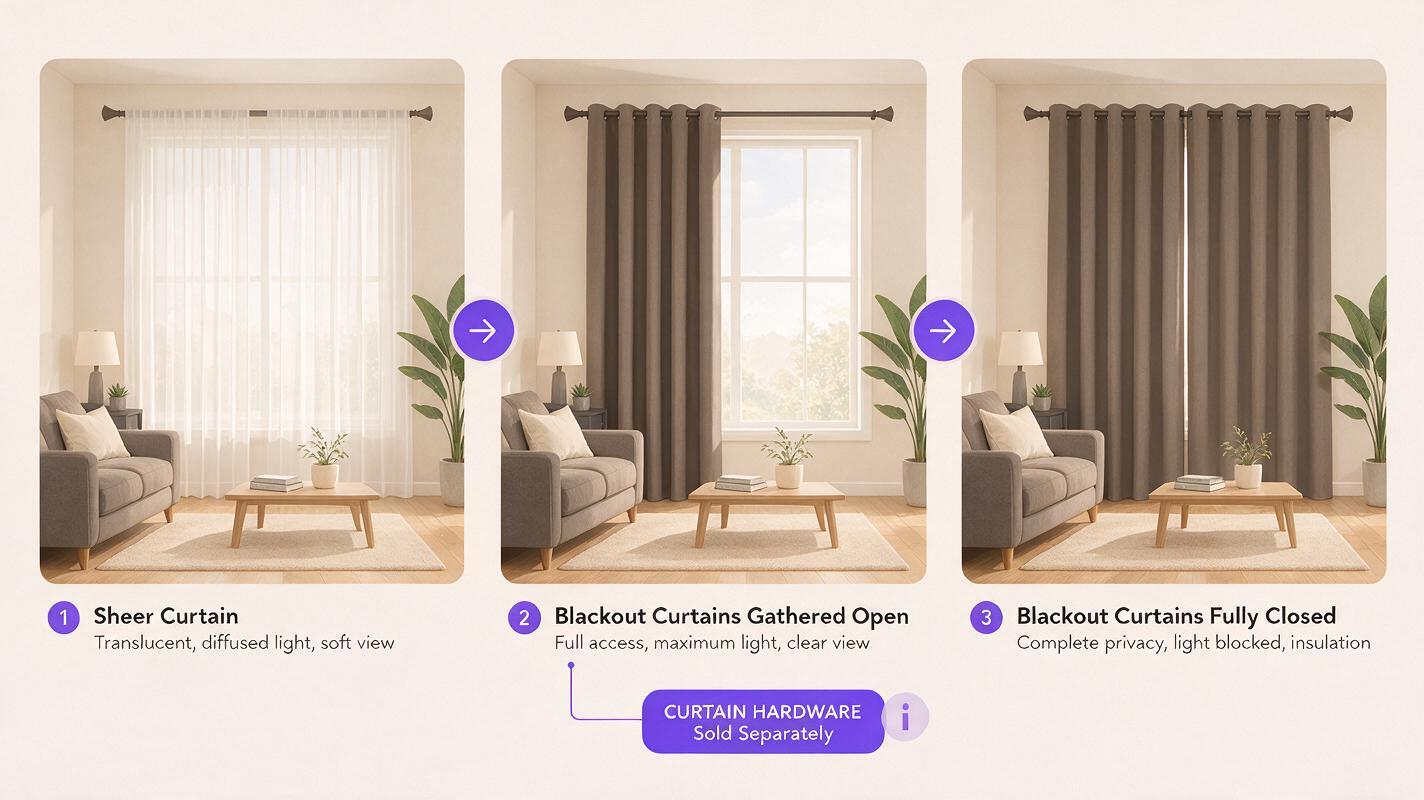
A curtain preview is useful only if the client can compare treatments on the same window. If the generated image moves the window, changes the sofa, or makes a sheer curtain look opaque, the comparison becomes misleading. Use one room photo and a fixed set of instructions to preview three distinct conditions: a sheer curtain, open blackout panels, and closed blackout panels.
Seedream 4.5 is a fit for this reference-led image-editing task. The prompts below prioritize the existing room over a dramatic redesign. They are concept visuals, not predictions of a fabric’s measured light transmission or installed fit.
Hold the room and window steady
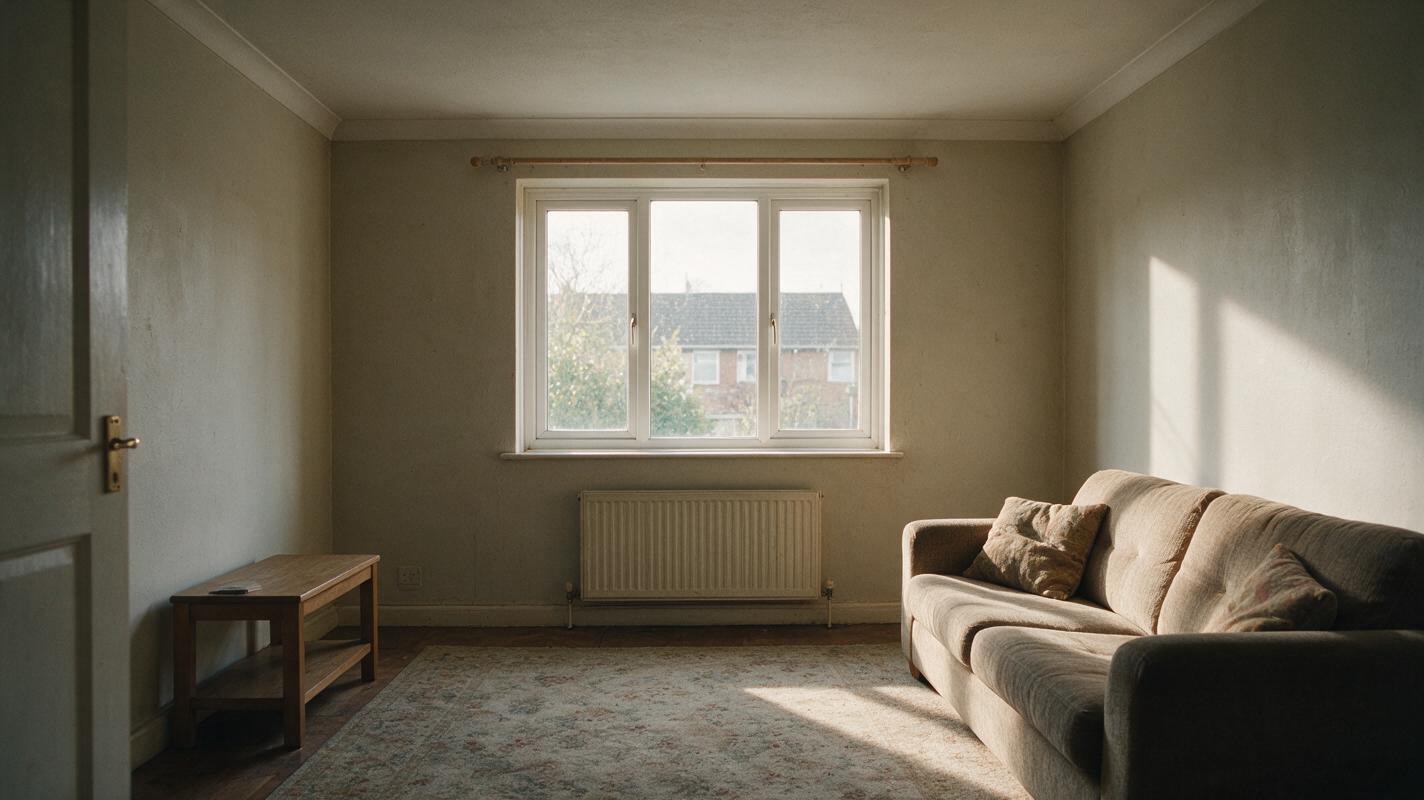
Choose a clear, reasonably straight-on photo that shows the full window, nearby wall, floor, and at least one fixed visual reference such as a radiator or built-in cabinet. Avoid an image in which furniture hides most of the curtain drop. Record the window width, intended rod position, and approximate finished length separately; a photograph alone cannot establish those measurements reliably.
Use Seedream 4.5’s image-editing or reference-input workflow if it is available in your interface. Start every variation from the original photograph, not from a previous generated result. That prevents one invented detail from carrying into the next option. An ai image generator that accepts the room photo as an input is more useful here than generating an unrelated room from a description.
Keep this shared instruction at the beginning of each prompt:
Edit the supplied room photograph to preview a window treatment. Preserve the camera angle, window opening and frame, wall positions, ceiling height, floor, furniture, artwork, and existing finishes. Change only the curtain, its visible hardware, and the light or shadow effects that would reasonably follow from that curtain position. Keep the result photorealistic. Do not add a new window, move furniture, or change the time of day.If you have a fabric swatch image, include it as a reference and describe its weave, color, and opacity in words as well. A swatch can guide appearance, but the preview should not be treated as a guarantee that the installed fabric will drape identically.
Compare sheer, layered, and closed blackout options
Make a separate output for each condition below. Use the same source photo, crop, and shared instruction each time. Name the files by the visible curtain state, not merely by the fabric, so a client does not mistake open blackout panels for a privacy or darkening preview.
Sheer curtain: keep daylight soft, not blocked
This option helps compare the window’s appearance when the curtain is drawn but daylight still enters. Ask for visible translucency rather than a uniformly white panel.
Add a ceiling-mounted, off-white sheer curtain across the existing window. Show it fully drawn, with gentle vertical folds and a floor-skimming hem. Preserve a softened but recognizable suggestion of the window frame behind the fabric. Diffuse the existing daylight slightly; do not turn the room dark or make the fabric look opaque. Keep all other elements as photographed.Inspect the frame behind the sheer. If it disappears completely, request a more translucent weave and restore the original window geometry.
Open blackout panels: show the parked fabric
Open panels are useful for judging color, fullness, and how much wall or glass the fabric covers while stacked at the sides. They do not demonstrate nighttime privacy or room darkening.
Add warm taupe blackout curtain panels on a slim ceiling-mounted track above the existing window. Show both panels fully open and gathered at the outer sides. Keep the central glass unobstructed and preserve the original daylight level. Show plausible fabric thickness, vertical folds, and a hem that just touches the floor. Do not widen the window or hide nearby fixtures.If the proposed track must extend beyond the window, specify its intended position using your site measurements. Otherwise, label its apparent position as a concept to verify before specifying hardware.
Closed blackout panels: preview the covered window
This is the condition for discussing visual enclosure. A closed-curtain image can suggest a darker room, but it cannot establish a precise blackout rating or account for every light leak at the edges.
Using the original room photograph, add the same warm taupe blackout curtain panels, now fully closed across the existing window. Keep the window opening and room layout unchanged. Remove the direct view through the glass, reduce incoming daylight plausibly, and retain only the ambient light sources already visible in the photo. Show natural folds and slight edge gaps rather than a perfectly sealed wall of fabric. Do not add lamps or brighten the room to compensate.For a fair client comparison, place the open and closed versions side by side with the same crop. Test this prompt yourself on the original photo before refining color or fabric texture.
Check privacy and daylight claims
A persuasive render can overstate performance. Separate what the image shows from what a product specification or site visit must confirm:
| Question | What the preview can show | What to verify separately |
|---|---|---|
| Will the sheer feel private? | The proposed look of a drawn translucent layer in this photographed scene. | Privacy under different indoor and outdoor lighting conditions. |
| Will blackout fabric darken the room? | A plausible visual difference between open and closed panels. | Fabric performance, edge gaps, track details, and reflected light. |
| Will the curtains fit? | Approximate stack, drop, and relationship to nearby furniture. | Site dimensions, fullness, clearances, and hardware installation. |
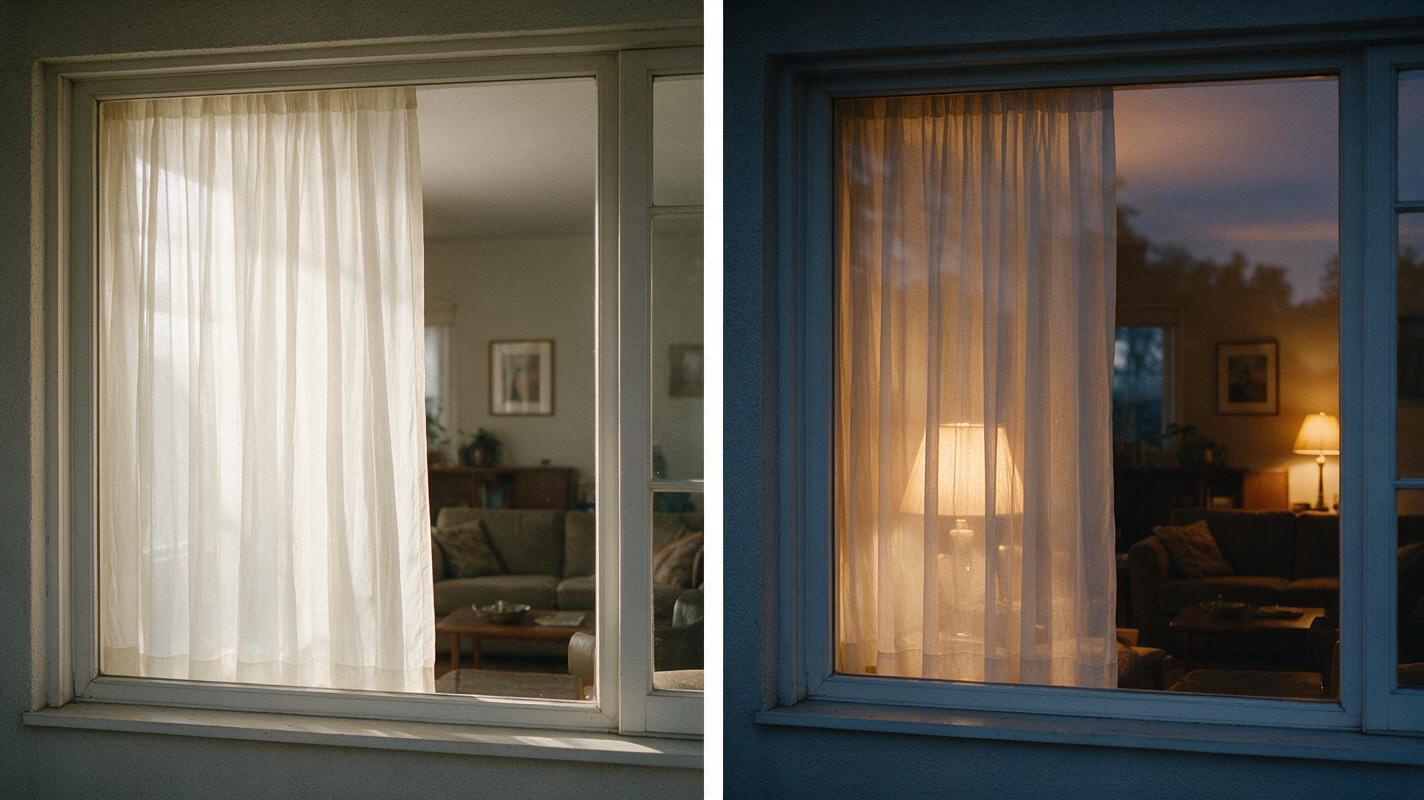
Pay particular attention to a sheer curtain at night: a daylight preview cannot demonstrate how it behaves when the room is lit from inside. Do not present a generated daytime image as evidence of evening privacy.
Fix the changes that spoil a comparison
- The window changes size: Return to the original photograph and explicitly preserve the frame’s position, number of panes, and visible wall on each side.
- The curtain hangs in front of furniture: Specify the intended track location and ask the model to preserve the furniture’s position. Check the real clearance before promising that arrangement.
- Sheers look like blackout fabric: Request visible translucency, softer shadows, and a recognizable window frame behind the weave.
- Closed panels look unnaturally bright: Ask for reduced window daylight while retaining only light sources already present in the scene.
- Each version has a different color balance: Restart from the same source photo and keep the wall, floor, and furniture colors unchanged in every prompt.
Reject a version if the architectural changes are more noticeable than the curtains. One corrected comparison is more useful than a larger set of attractive but inconsistent images.
Final checklist
- All options begin with the same original room photo and crop.
- Window dimensions, furniture, and fixed finishes appear unchanged.
- Each image clearly identifies whether its panels are open or closed.
- Daylight changes match the visible curtain position.
- Fabric performance, privacy, measurements, and installation remain marked for verification.