Seedream 4.5 Prompts for Spot-the-Difference Lesson Images
Create spot-the-difference image pairs that test one learning objective instead of accidental AI inconsistencies. This guide provides Seedream 4.5 prompts, controlled-editing methods, difficulty settings, and a classroom-ready quality check.
Table of contents
Create image pairs that assess the intended skill
Effective spot-the-difference lesson images change only the details learners are supposed to find.
AI can produce two attractive classroom scenes quickly, but independently generated pictures often differ in dozens of unintended ways. A chair changes shape, shadows move, objects disappear, and characters acquire different clothes. Learners then hunt for generation errors rather than applying observation, vocabulary, safety, or subject knowledge.
The reliable method is to create one master scene and edit controlled details while locking everything else. This guide uses seedream 4.5 for that reference-based image workflow. The same method can support visual discrimination exercises, language lessons, safety checks, retrieval practice, and printable worksheets.
Define what each difference should measure
Begin with the learning objective, not the scenery. Every planned difference should require learners to notice or recall something relevant to the lesson.
| Learning goal | Useful differences | Avoid |
|---|---|---|
| Vocabulary | Object added, removed, replaced, or moved | Decorative color changes unrelated to target words |
| Prepositions | Book under or on a desk; bag beside or behind a chair | Objects whose positions are visually ambiguous |
| Lab safety | Goggles missing, bottle uncapped, bag blocking an aisle | Dangerous procedures shown without instructional context |
| Historical observation | Evidence-based differences in tools, clothing, or materials | Invented details presented as historical facts |
| Science classification | Leaf shape, number of legs, material, or component placement | Changes that make the specimen scientifically impossible |
For a first activity, plan three to five differences. Record them in an answer key before generating anything. This prevents the visual design from deciding the assessment content by accident.
Learning objective: identify safe laboratory behavior
Planned differences:
1. Safety goggles present versus absent
2. Chemical bottle capped versus uncapped
3. Backpack stored under bench versus blocking aisle
4. Long hair tied back versus loose
Unchanged elements: room, people, equipment, poses, lighting, camera
Build a master scene with stable visual anchors
The master image needs clear spatial organization and enough empty space around every target. Use a front-facing or slightly elevated view rather than a dramatic camera angle. Keep characters separated, avoid overlapping hands, and request simple lighting so that shadows do not hide the differences.
A strong prompt specifies the instructional setting, visual hierarchy, composition, age suitability, and exclusions. Generate the scene in the final aspect ratio whenever possible: landscape for projected slides, portrait for worksheets, or square for digital cards.
Create a clear educational illustration of a middle-school science laboratory during a simple observation activity. Slightly elevated front view, four students at two benches, each person fully visible, uncluttered room, large recognizable safety equipment, clean shapes, restrained color palette, even soft lighting, generous spacing between objects. Show all students wearing safety goggles, every bottle capped, backpacks stored beneath the benches, and long hair tied back. No text, no labels, no logos, no dramatic perspective, no cropped objects.Inspect the master before making a pair. Reject it if anatomy is distracting, important objects merge into the background, or a safety practice is unclear. Fixing the master is cheaper than repairing every later variation.
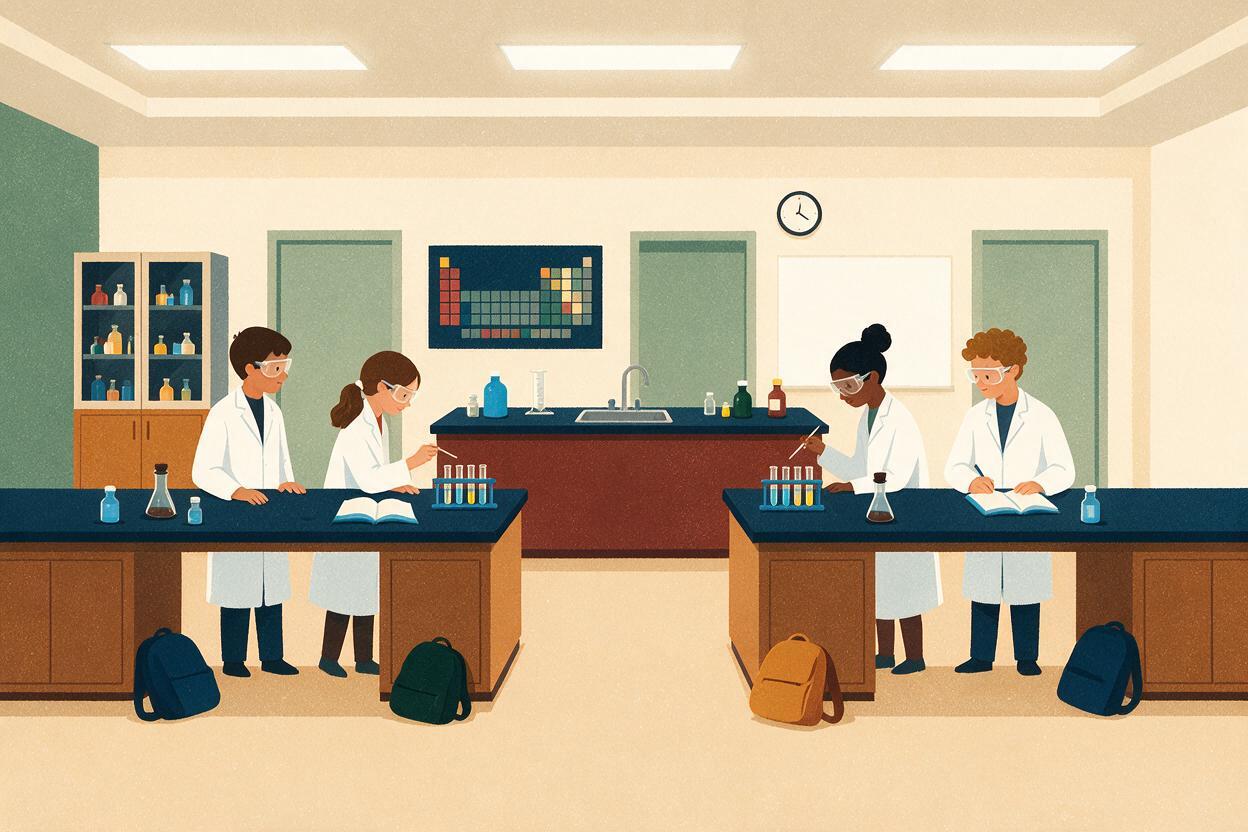
Change one controlled detail at a time
Use the approved master as the reference image. Ask for a local change and explicitly lock composition, camera, lighting, characters, object count, and illustration style. This is more dependable than asking an ai image generator to recreate the whole scene from a similar written prompt.
Edit only the student at the front-left bench: remove the safety goggles from that student's face and place the same goggles on the bench directly in front of them. Preserve the student's identity, expression, pose, hands, clothing, hair, and body proportions. Keep every other person, object, color, shadow, camera angle, and background detail exactly unchanged. Do not add or remove anything else.Save the result after each successful edit. Then use that result for the next controlled change. Sequential editing makes it easier to identify which instruction introduced drift.
Editing rule: If the model changes two unplanned details while making one requested edit, return to the last clean version instead of correcting the damaged image repeatedly.
Some differences require more precise language than “move the object.” Define both the original and destination relationships:
Move the blue backpack from fully beneath the rear bench to the center of the aisle behind that bench. Keep its size, design, orientation, and color unchanged. The backpack must visibly obstruct the walking path. Preserve all other scene details exactly.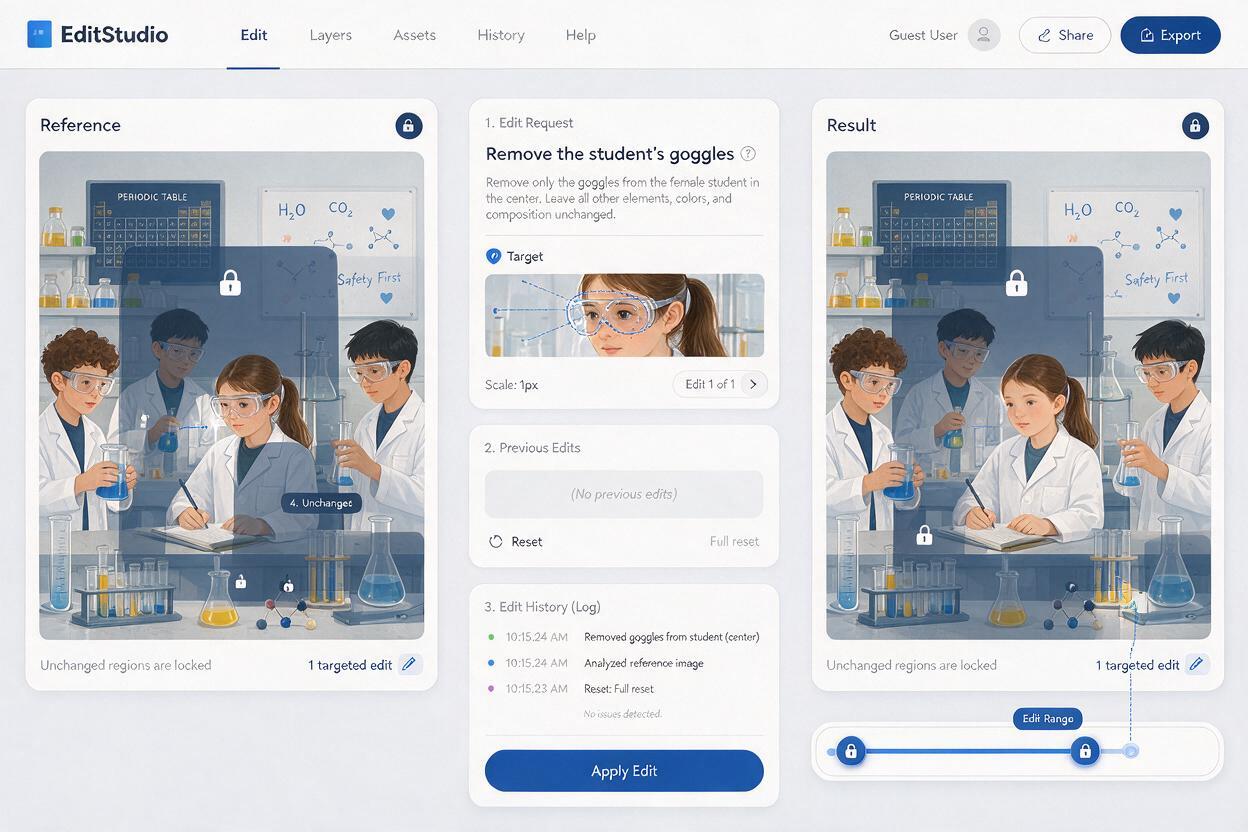
Match visual difficulty to the learner
Difficulty should come from the thinking task, not from poor visibility. Tiny details, low contrast, and clutter can disadvantage learners with visual-processing, attention, or printing constraints without improving the lesson.
| Level | Difference design | Suggested use |
|---|---|---|
| Introductory | Three large differences in separate areas | Young learners, new vocabulary, group modeling |
| Intermediate | Four or five differences involving position and object state | Independent practice and retrieval |
| Advanced | Five to seven conceptually meaningful differences | Safety audits, technical observation, discussion |
For vocabulary practice, differences should map directly to words learners know or are learning. For safety training, ask learners not only to locate each change but also to explain the risk and propose a correction. That turns a visual puzzle into an evidence-based discussion.
Remove accidental differences before publishing
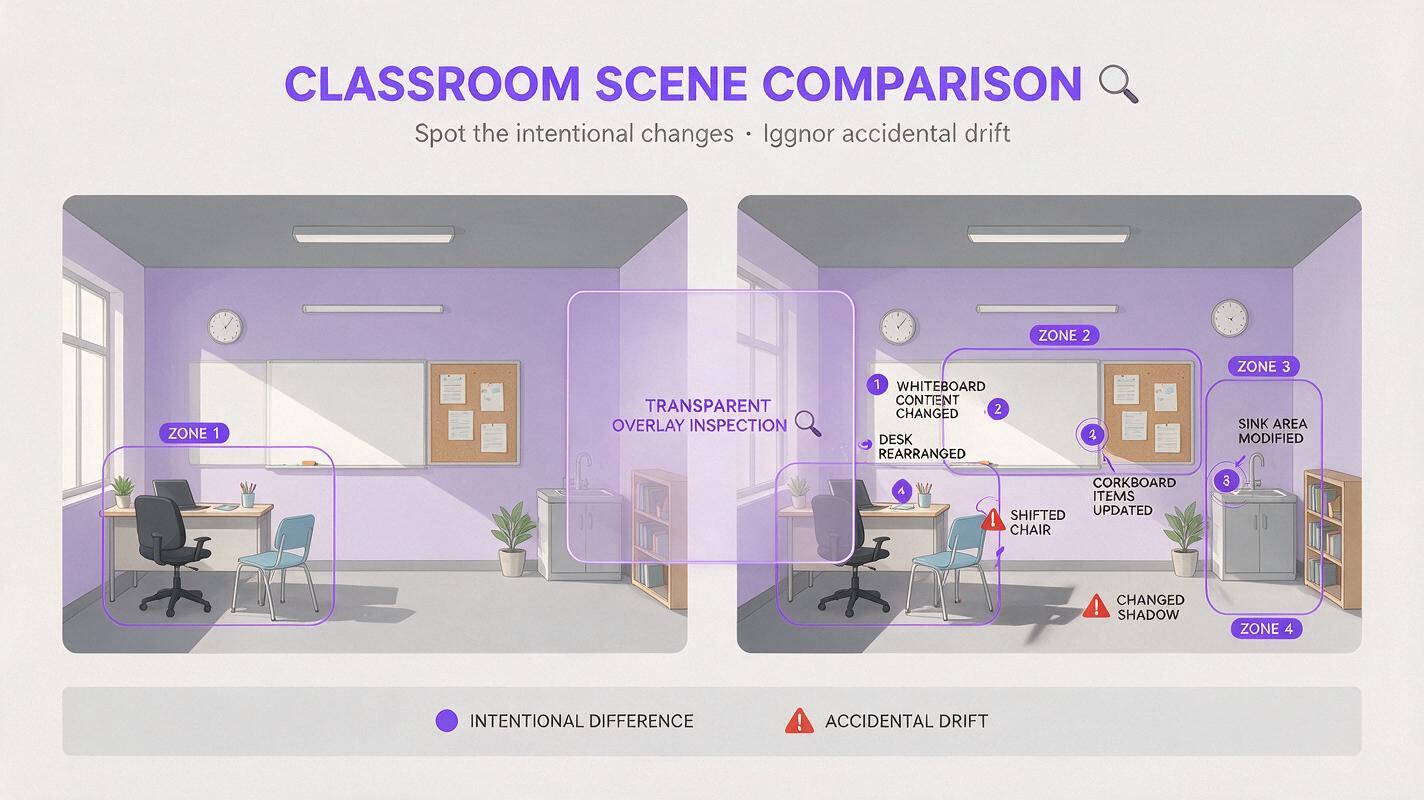
Place both images side by side and compare them systematically. Do not rely on a quick glance; AI-generated drift often appears in peripheral details.
- Scan by zones: Compare the top-left, top-right, bottom-left, and bottom-right areas in sequence.
- Check people closely: Look at fingers, facial features, clothing edges, accessories, and hair.
- Count repeated objects: Verify chairs, containers, windows, tools, and table legs.
- Compare light and color: A changed shadow or wall tone may become an unintended answer.
- Overlay the pair: Lower the opacity of one image in an editor to reveal shifted outlines.
- Print a test copy: Confirm that intended differences survive grayscale or classroom printing.
If the background continues to drift, simplify the master scene or edit each difference separately from the original master. You can then select the cleanest version rather than accumulating changes in one long edit chain.
Turn the pair into a complete learning activity
The image pair is only the stimulus. Add a response format that makes the learning visible. Depending on the objective, learners can circle differences, name changed objects, write comparison sentences, classify safe and unsafe behavior, or justify which version is scientifically accurate.
Language-learning response
Find four differences.
For each one, write a complete sentence using:
In Picture A, ________.
In Picture B, however, ________.
Target words: beneath, beside, open, missing
Safety-training response
Identify each unsafe change in Picture B.
For every change, record:
- What changed?
- What risk could it create?
- What action would correct it?
Keep the answer key separate from the learner version. List both the location and the intended interpretation of every difference. If a learner can reasonably identify an unplanned change, revise the pair before using it for assessment.
Keep classroom use accessible and transparent
Use differences that remain visible without relying only on red-versus-green color contrast. Provide concise alt text when the activity appears in a learning management system, followed by an equivalent text-based task if revealing every visual difference would spoil the exercise.
Generated scenes should not be presented as documentary evidence, authentic scientific records, or historical photographs. Label them as illustrations when the context could cause confusion. Review all disciplinary content yourself, especially safety behavior, scientific structures, and culturally specific settings.
Once your objective and answer key are ready, try these models for free and create the master scene before introducing any controlled differences.
Final checklist
- The activity measures a specific learning objective.
- Every intended difference appears in the answer key.
- Both images share the same composition, characters, lighting, and style.
- No accidental object, anatomy, color, or shadow changes remain.
- Differences are visible at the final display or print size.
- Learners must explain, classify, or apply what they notice.
- Safety, scientific, and historical details have been reviewed by a qualified person.
- An accessible alternative is available where needed.
Keywords
seedream 4.5 prompts, spot the difference images, lesson visuals, educational illustrations, visual discrimination activities, ai image editing, classroom worksheets