How to Turn a Short Story Into an AI Short Film (Complete Workflow)
Learn how to turn a finished short story into a polished AI short film with this step-by-step workflow, covering prose-to-script adaptation, continuity-first storyboarding, clip rendering, and final editing. Get copyable prompts for each stage to save time and ensure consistent character and style across your film.
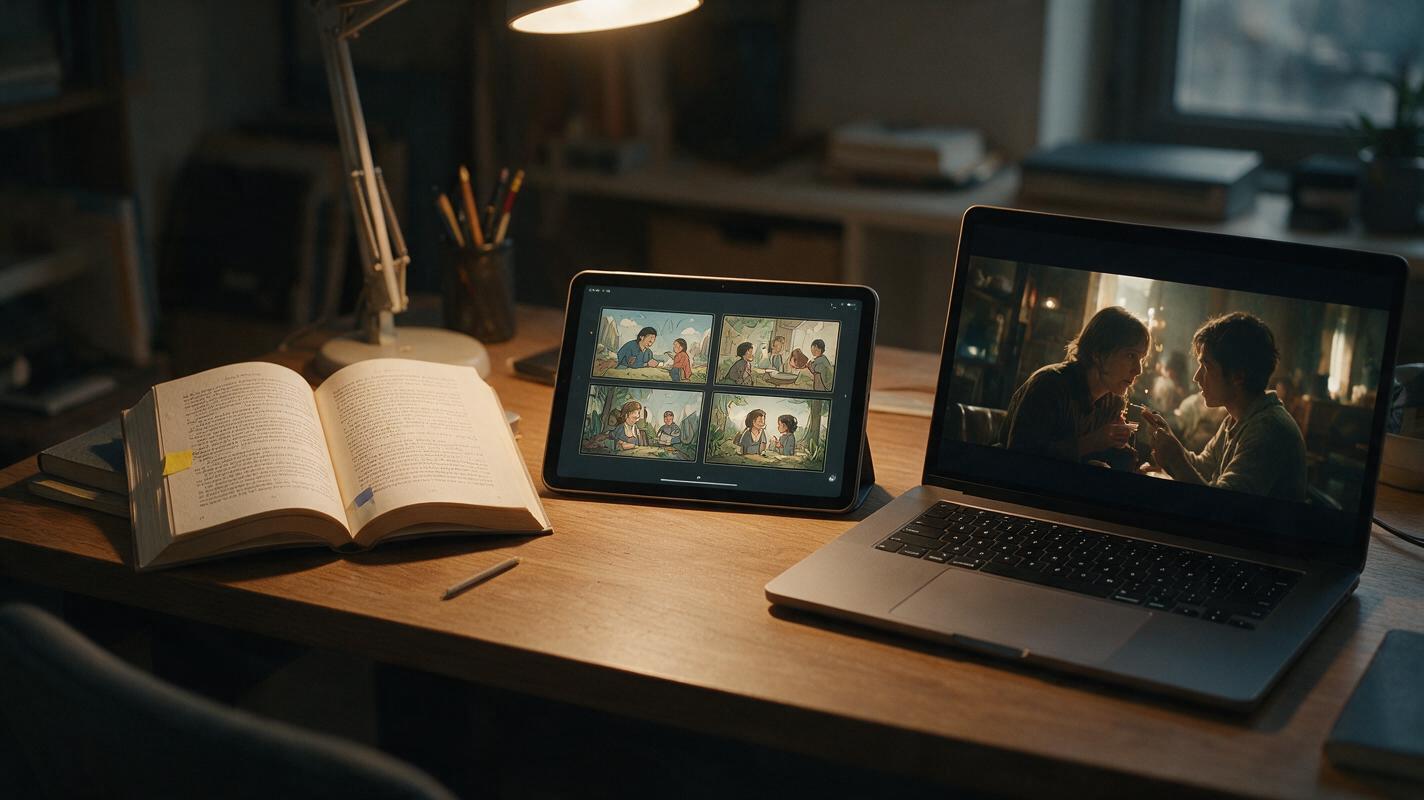
Table of contents
Turn Your Short Story Into a Polished AI Short Film
If you’ve written a short story and always wondered what it would look like on screen, you don’t need a film crew or a Hollywood budget to make it happen. Modern AI tools let you adapt prose into a complete, watchable short film in a few hours — as long as you follow a structured workflow that accounts for the differences between written fiction and visual storytelling.
This guide walks you through every stage, from adapting your short story into an AI-friendly script to locking character consistency, generating a storyboard, rendering clips, and assembling the final film. All prompts are copyable, and every step is designed to avoid common AI video pitfalls like style drift and inconsistent characters.
You can use an ai script generator to speed up the adaptation phase, and build your entire film in a single platform to skip switching between tools. try magicboat free to follow along with the workflow.
Step 1 — Adapt your short story into an AI-optimized script
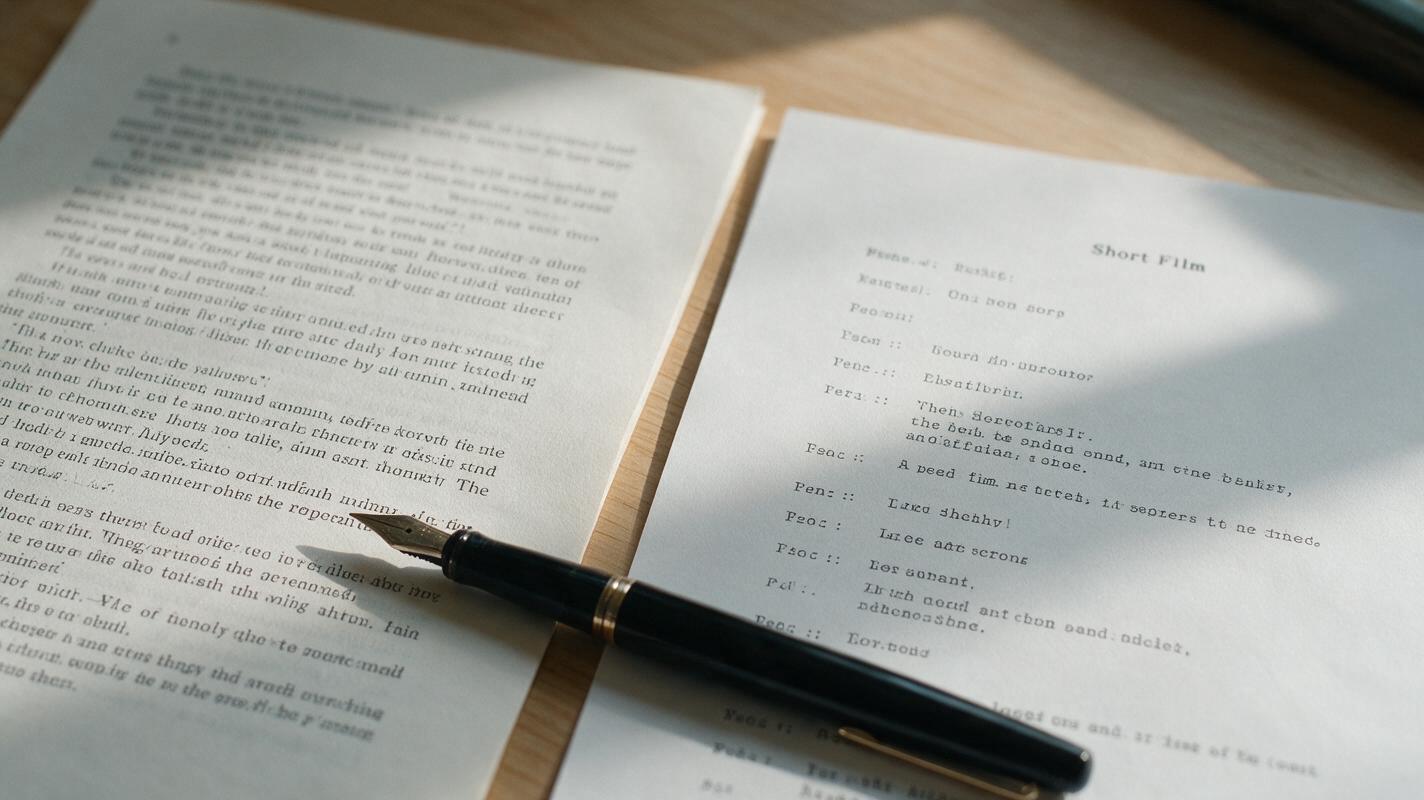
Short stories rely on internal monologue, descriptive prose, and narrative summary to convey emotion and plot — none of which translate directly to AI video. Your first job is to rewrite the story into a screenplay format that tells the entire story through what the viewer can see and hear.
Start by identifying the core narrative spine: one main character, one central conflict, and one clear resolution. For a 2–3 minute AI short film, limit yourself to 3–5 scenes total — any more and you’ll rush the story or struggle with continuity.
Follow these rules when adapting:
- Cut internal monologue: Convert key thoughts to voiceover only if they can’t be shown through a character’s actions, facial expressions, or environment.
- Condense description: Turn long prose passages about setting into 1–2 establishing shot action lines that specify location, lighting, and time of day.
- Keep only essential dialogue: Cut lines that don’t advance the plot or reveal character; AI video works best with tight, purposeful speech.
- Write visual action lines: Every action line should describe something you can see — include character movement, prop interactions, and camera framing to give the AI clear instructions.
Use this copyable prompt with an ai script generator to speed up the first draft:
Adapt the following short story excerpt into a 2-minute AI short film script.
- Use standard screenplay format: scene headings, action lines, dialogue, parentheticals.
- Cut internal monologue; convert key thoughts to voiceover only if they can't be shown through action.
- Keep 3-4 scenes maximum, with clear visual beats for each scene.
- Make every action line specific enough to generate as an AI video clip (include location, character appearance, lighting, and movement).
- End with a clear, emotional payoff.

Short story excerpt:
[PASTE YOUR EXCERPT HERE]
After generating the first draft, read it aloud and cut any lines that don’t add to the story. Tighter scripts produce better, more consistent AI video.
Step 2 — Build a continuity bible and generate your AI storyboard
Once you have a polished script, don’t jump straight to video generation. Locking character, location, and style in the storyboard phase will save you hours of re-rendering later.
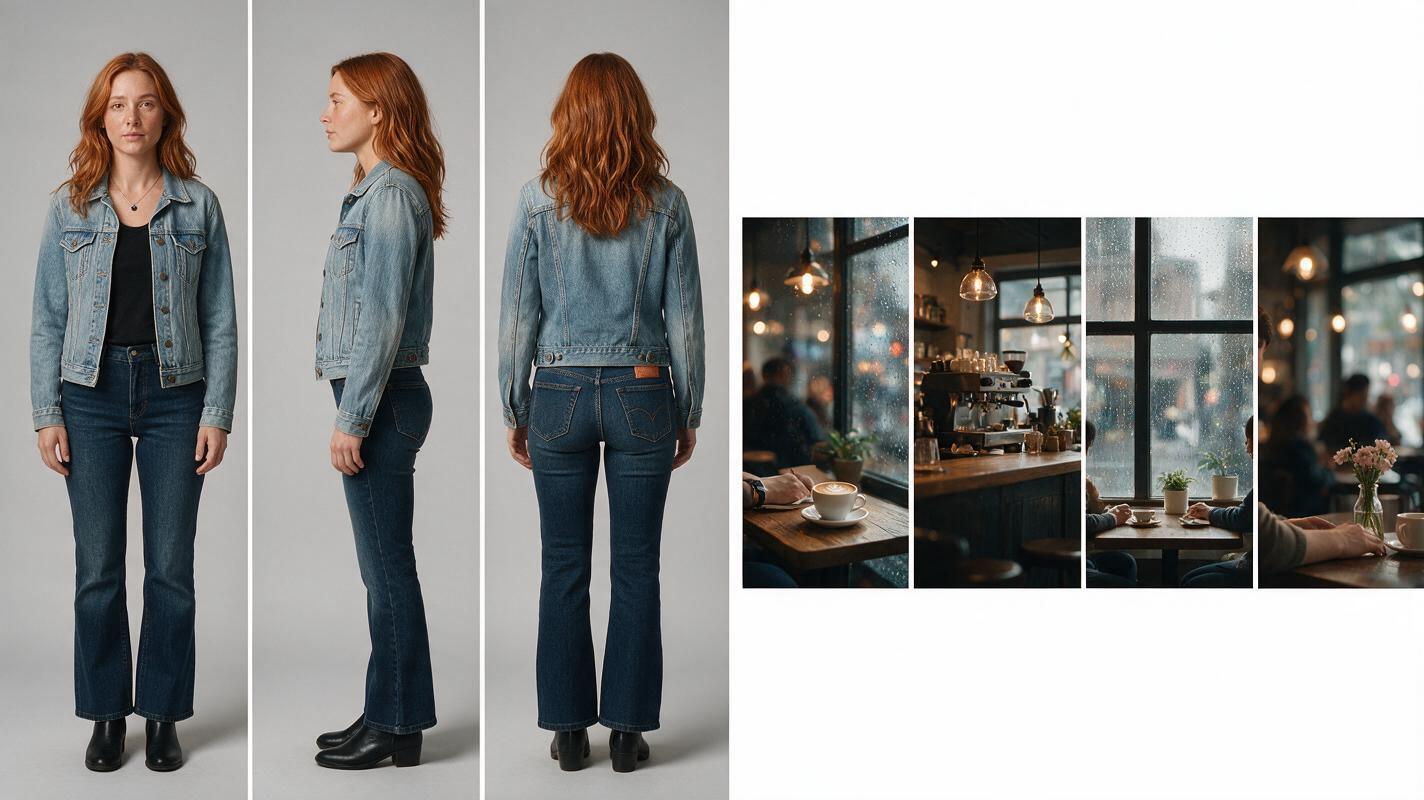
First, create a simple continuity bible with:
- A detailed character reference for every main character (age, hair color and style, clothing, distinguishing features like a scar or glasses)
- A location description for each scene (interior/exterior, time of day, lighting style, key props)
- A single art style direction (e.g., photorealistic cinematic, 2D animation, gritty indie film) that applies to every scene
Next, use an ai storyboard tool to turn each scene’s script beats into static visual frames. Aim for 1–3 frames per scene, covering establishing shots, key actions, and emotional close-ups. Review every frame for consistency: does the character look the same in every frame? Does the location match the description? Fix issues now, before you generate motion.
Use this copyable prompt for your character reference sheet:
Photorealistic three-panel character reference sheet for [CHARACTER NAME], [AGE]-year-old [GENDER] with [HAIR DESCRIPTION], wearing [CLOTHING DESCRIPTION]. Show front view, side view, and back view against a seamless light gray background. Neutral expression, even studio lighting, 16:9 landscape format. MANDATORY CAMERA: eye level, centered framing for each panel.Add your character reference sheet as an image input when generating storyboard frames to lock in their appearance across every scene.
Step 3 — Render individual clips with consistent character motion
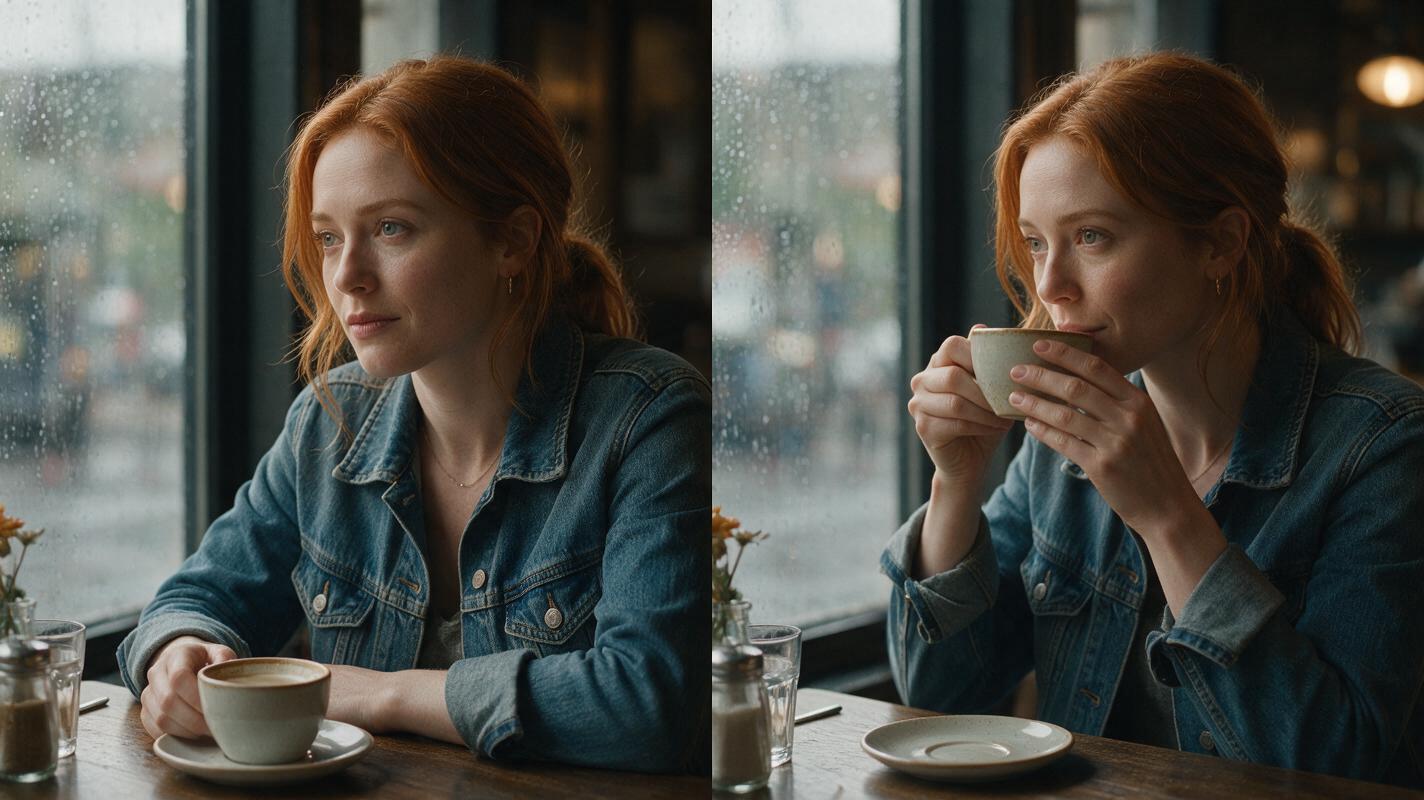
With a locked storyboard, you’re ready to turn each static frame into a short video clip. For the most consistent results, use each storyboard frame as a start frame reference for your clip generation — this ensures the character, location, and style match exactly from frame to motion.
Each clip should be 5–15 seconds long, with a clear purpose: establishing a location, showing a character’s action, or capturing an emotional reaction. Avoid long, unbroken clips — AI video quality drops the longer the clip, and short clips are easier to edit together seamlessly.
For specific, realistic movement (like a character walking across a room or picking up an object), use motion transfer ai video to map a reference video’s movement onto your character. This produces far more natural motion than text-only prompts.
Use this copyable prompt for clip generation:
Animate the following storyboard frame into a 8-second video clip. Keep the character, location, and lighting identical to the reference image. The character [SPECIFIC ACTION, e.g., slowly lifts a coffee cup to their lips and takes a small sip]. Cinematic photorealistic style, smooth motion, no distortion. MANDATORY CAMERA: medium shot, three-quarter view, static camera.Render one clip at a time, and check each for consistency before moving to the next. If a character’s face changes or the location shifts, re-render using the original storyboard frame as a stronger reference.
Step 4 — Edit, add audio, and finalize your short film
Once you have all your clips rendered, assemble them in your video editor of choice. Arrange them in script order, and use simple cuts or dissolves between clips — avoid flashy transitions that draw attention away from the story.
Audio makes up half the impact of a short film. Add these layers in order:
- Voiceover: Use a natural-sounding AI voice to narrate any remaining internal monologue or story setup.
- Sound effects: Add subtle ambient sounds (rain, café chatter, wind) and action sounds (a cup being set down, a door opening) to make the world feel real.
- Background music: Choose a track that matches the tone of your story, and lower the volume so it doesn’t overpower dialogue or voiceover.
Finally, add a title card at the start and end credits if you’d like, then export your film in 1080p or 4K. For social media, export a vertical 9:16 version with text captions for silent viewing.
Final checklist
- Adapted your short story into a 3–5 scene AI-optimized script with visual action lines
- Created character and location reference sheets to lock continuity
- Generated a full AI storyboard and fixed all consistency issues before rendering
- Rendered each storyboard beat as a 5–15 second clip with matching character and style
- Edited clips together with voiceover, sound effects, and background music
- Exported your final film in the right format for your platform
Keywords
ai short film, script to video, ai storyboard, ai script generator, story to video, ai movie maker