Sketch to Product Render Without Losing Your Design Details
A polished AI render is useful only if it still shows the product you sketched. This guide shows industrial designers how to prepare a reference, write a constraint-led Nano Banana Pro prompt, and check the result for design drift before presenting it.
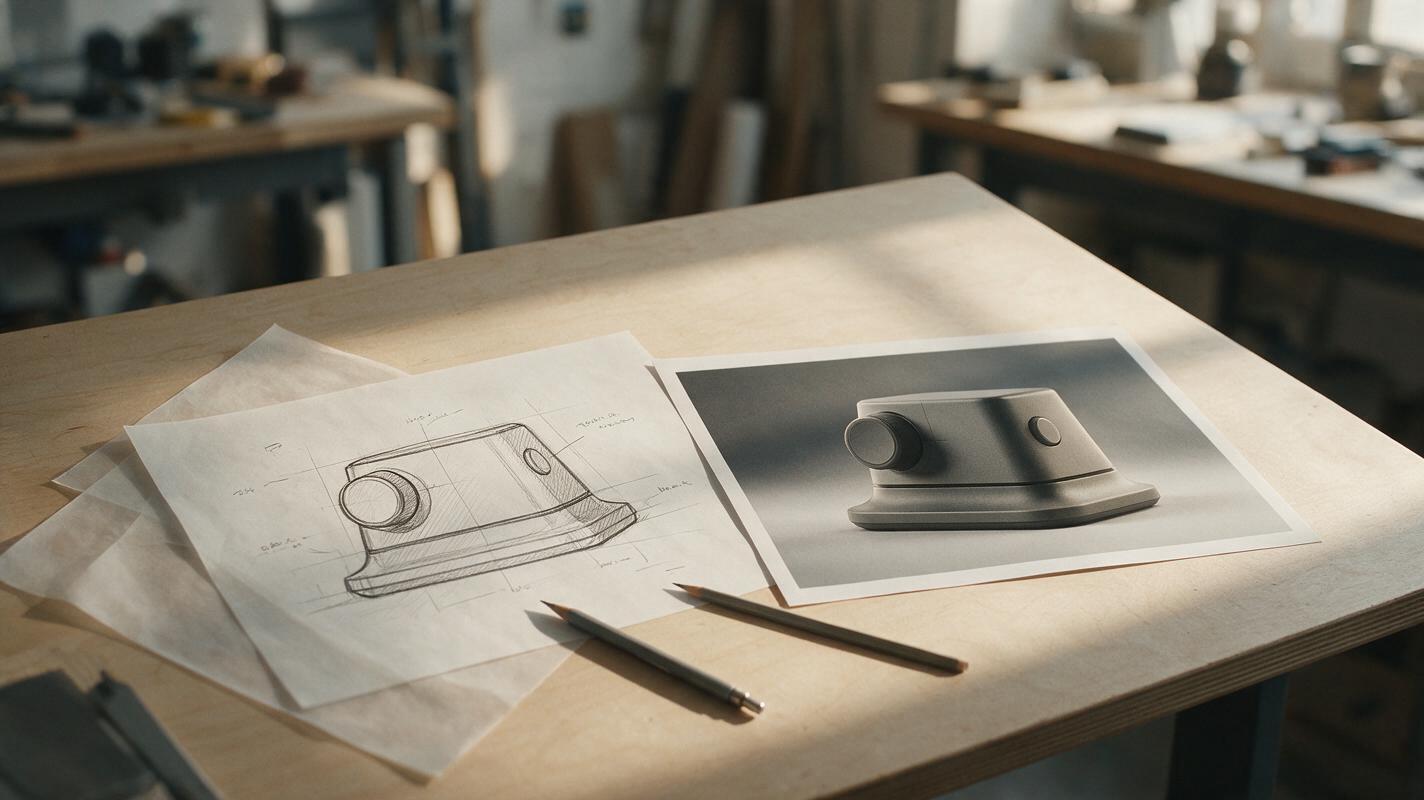
Table of contents
Turn a sketch into a render without redesigning the product
Your sketch has an offset button, a shallow seam, and a deliberately broad base. The AI render looks polished—but the button has moved, the seam has disappeared, and the base is narrower. That is not a finished visualization of your concept; it is a different concept.
The most reliable sketch-to-render workflow treats the drawing as a design constraint, not a loose style reference. Use the sketch to establish what must survive, allow the model to interpret only what the drawing leaves open, and review the output against the original before it goes into a presentation.
Separate design decisions from visual interpretation
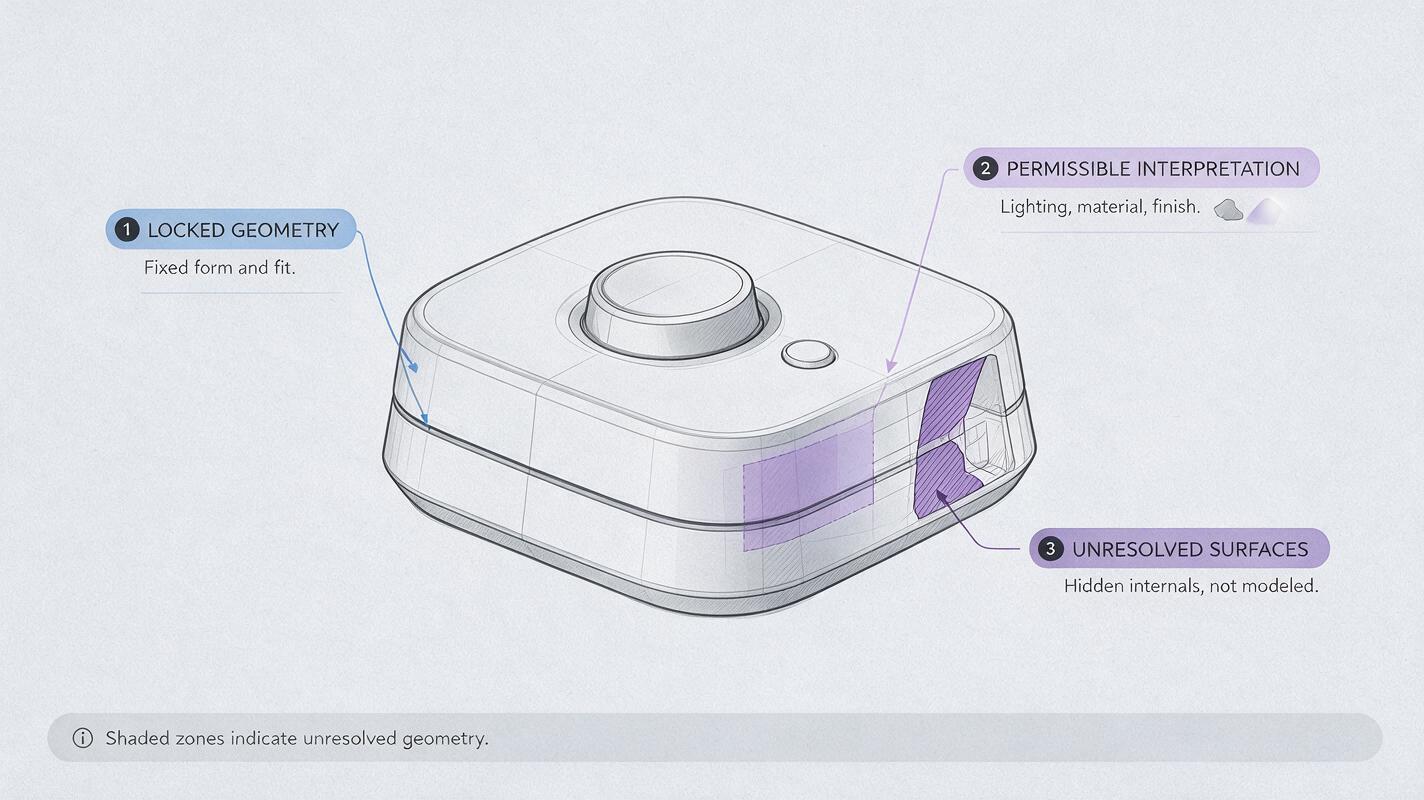
Before generating, mark up one sketch or reference sheet with three kinds of information:
- Locked features: silhouette, proportions, button location, seam paths, openings, feet, and any asymmetry that identifies the design.
- Interpretive choices: lighting, background, surface texture, and subtle edge highlights that make the form readable.
- Unresolved areas: surfaces or components the sketch does not define. Do not ask the model to reveal their construction.
Consider a compact desktop controller drawn in a three-quarter view. Its single dial sits left of center; a small button is to the dial’s right; a horizontal seam divides the upper shell from the base. If those details matter, spell them out. A request for “a sleek desktop controller” gives the model too much room to replace them with a symmetrical layout.
Keep the reference simple. Use a clean export with the product large in frame, remove unrelated doodles, and place short annotations outside the silhouette. If you have a second view, include it only when it clarifies a feature; contradictory views can make the task harder. A drawing cannot establish a hidden rear connector or an internal assembly, so leave those unclaimed.
Give Nano Banana Pro a constraint-led prompt
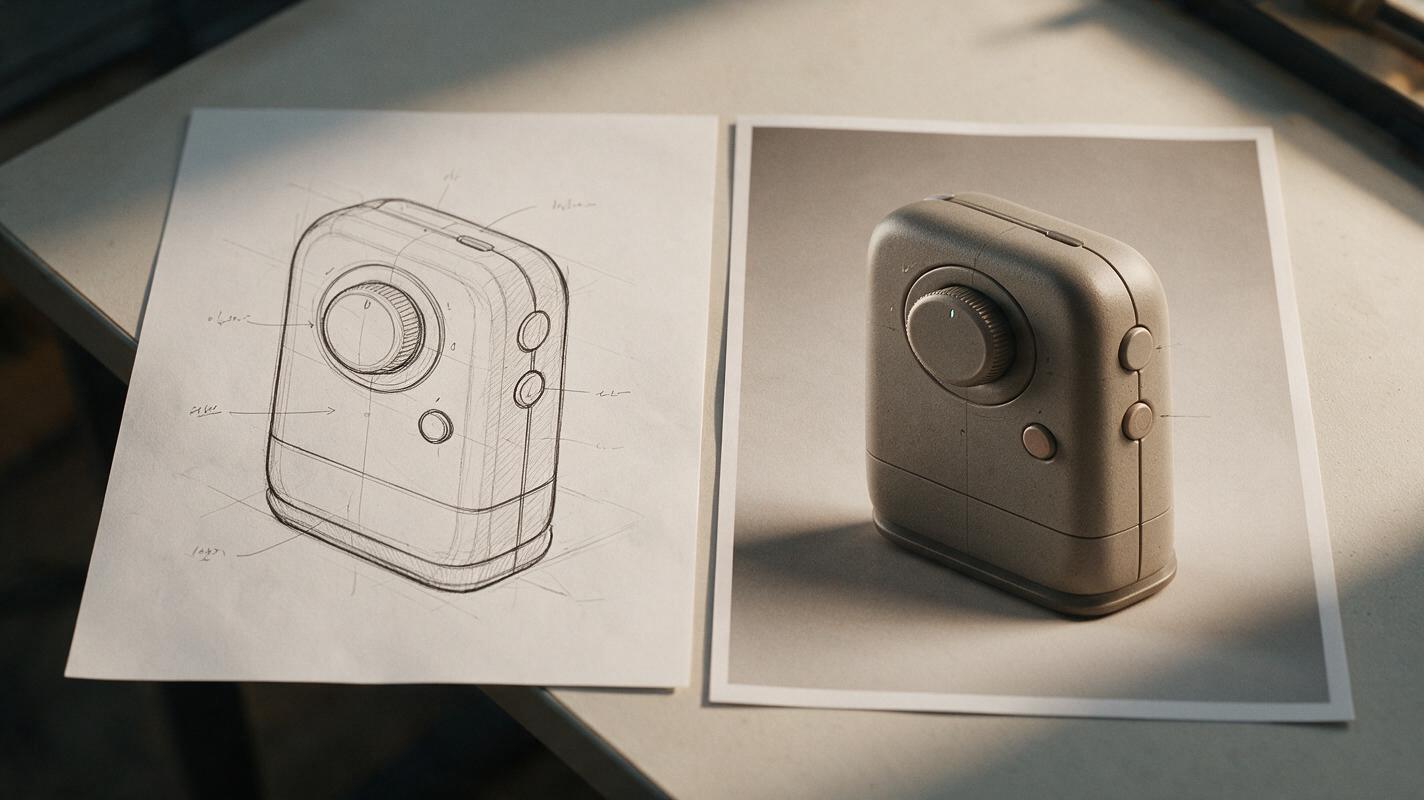
Use Nano Banana Pro with the sketch supplied as a reference in an ai image generator. Ask for a presentation render of that reference, rather than a new product inspired by it. Describe the camera and finish, then name the features that must not move.
Using the attached industrial-design sketch as the primary reference, create a photorealistic studio concept render of the same compact desktop controller. Preserve the drawn outer silhouette and broad base. Keep the single dial left of center, the small button to its right, and the horizontal upper-shell seam in the locations shown. Maintain the sketch's three-quarter viewing direction. Interpret the enclosure as matte warm-gray polymer with restrained, realistic highlights on a neutral light background. Do not add controls, ports, vents, logos, displays, or visible internal parts. Do not make the design symmetrical. If an area is unclear in the sketch, keep it visually simple rather than inventing a feature.This prompt distinguishes design from presentation. “Warm-gray polymer” specifies a visual treatment; it does not assert a production material. Likewise, the result is a concept image, not evidence that the button, dial, or enclosure has been engineered.
Useful test: Cover the materials and background in your mind. If the rendered object would still read as the same sketch, the visualization is doing its job.
Compare the render against the drawing, not against your memory
Place the sketch and candidate render side by side at similar product heights. Check the silhouette first: overall width-to-height relationship, shoulder shape, base thickness, and the angle of visible faces. Then inspect landmark positions, including the dial center, button center, and seam endpoints. Finally, check whether the model introduced an appealing but unauthorized feature.
| What changed | Why it matters | Best response |
|---|---|---|
| Offset dial became centered | The interface layout is a different design. | Regenerate with an explicit left-of-center constraint and a clearer annotated reference. |
| Seam vanished under lighting | The shell division can no longer be evaluated. | Request a subtle, visible seam while keeping the same surface finish. |
| Extra port appeared | The image implies an unapproved function. | Remove the port through a localized edit or reject the candidate. |
| Base became slimmer | The product’s stance and proportions changed. | Return to the sketch and restate the broad-base silhouette. |
A pleasing image is not necessarily a faithful one. Pick the candidate that preserves the most important design decisions, even if another has more dramatic lighting.
Fix a local error without reopening the whole design
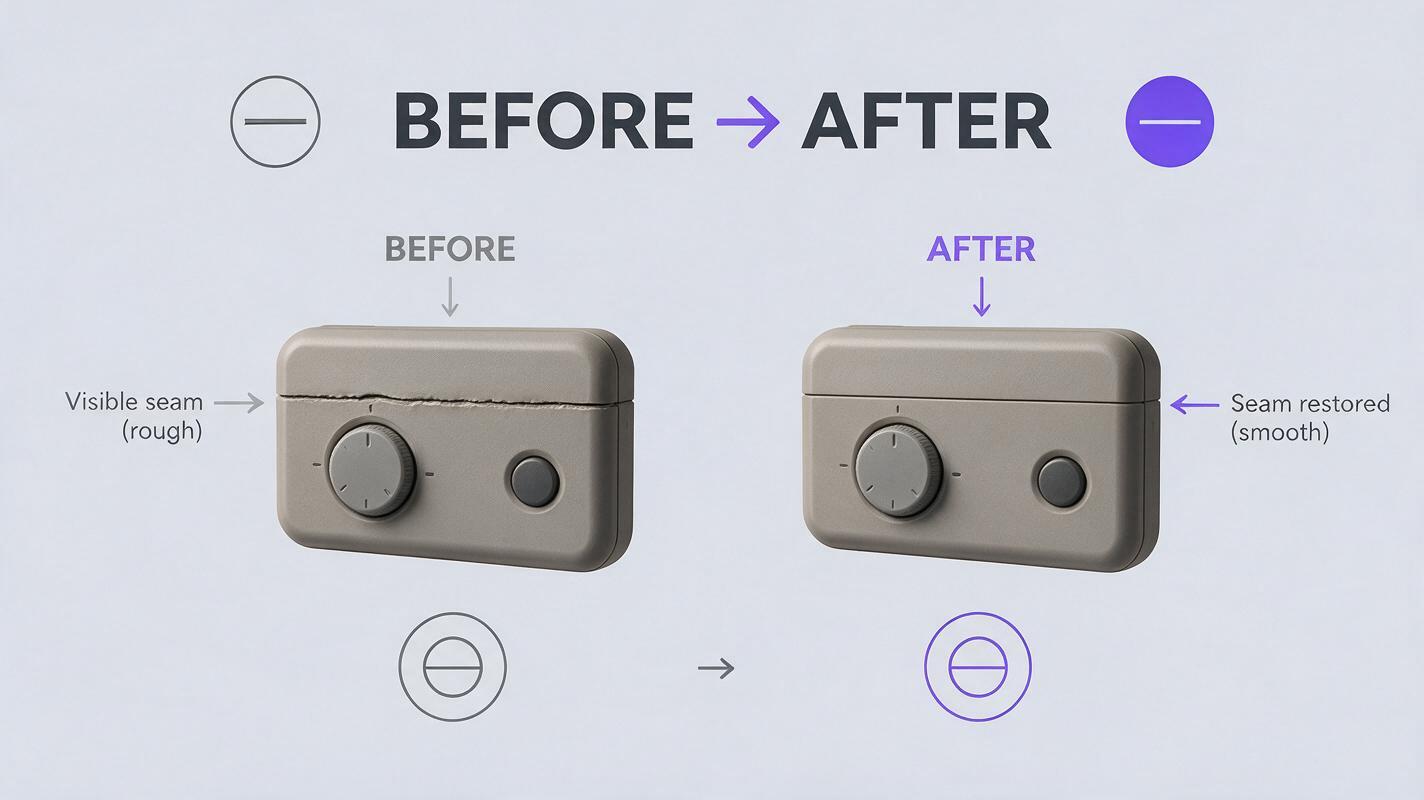
When a candidate is largely correct, describe the smallest necessary edit. Rewriting the entire prompt can cause the model to reinterpret the housing again. For a missing seam, for example, ask for the seam only and protect the rest of the image:
Edit the supplied concept render only around the upper-shell boundary. Restore the shallow horizontal seam shown in the attached sketch. Keep the existing silhouette, dial and button positions, materials, camera angle, lighting, and background unchanged. Do not add any other product features.Inspect the full image after the edit. A local correction can still shift nearby edges or change a control’s shape. If that happens repeatedly, return to the clearest sketch and regenerate rather than accumulating fixes on an unstable result.
For a feature whose exact shape matters—such as a printed icon or approved interface graphic—consider placing approved artwork in the final layout instead of asking the model to approximate it. This keeps the render useful without treating generated detail as a specification.
Present the result as a concept, not a validated product
Deliver the selected image alongside the source sketch or a small reference thumbnail. Label it “concept visualization” and note any interpreted material or unresolved surface. This gives reviewers a quick way to distinguish the decisions already made from the visual assumptions used to communicate them.
If you need a second camera angle, do not assume the model can infer unseen geometry from one drawing. Supply another sketch, a CAD view, or a clear written decision for the newly exposed area. Otherwise, keep the presentation to the view the reference actually supports.
Have an annotated sketch ready? test this prompt yourself, then compare the generated landmarks with your drawing before using the render in a review.
Final checklist
- The rendered silhouette and major proportions match the sketch.
- Asymmetric controls remain on the intended sides and in the intended order.
- Important seams and openings are present, with no added features.
- Lighting improves legibility without hiding design decisions.
- Unresolved or hidden construction is not presented as fact.
- The final image is identified as a concept visualization.
Keywords
sketch to product render, ai product design, industrial design ai, product rendering ai, nano banana pro, product design prompts, concept visualization