How to Create a Smooth AI Camera Orbit with Image to Video
Create a convincing AI camera orbit by starting from an orbit-ready reference image, limiting how much unseen geometry the model must invent, and testing the same controlled motion prompt in Seedance and Kling. For wider moves, generate several overlapping arcs instead of asking one clip to complete a risky 360-degree rotation.
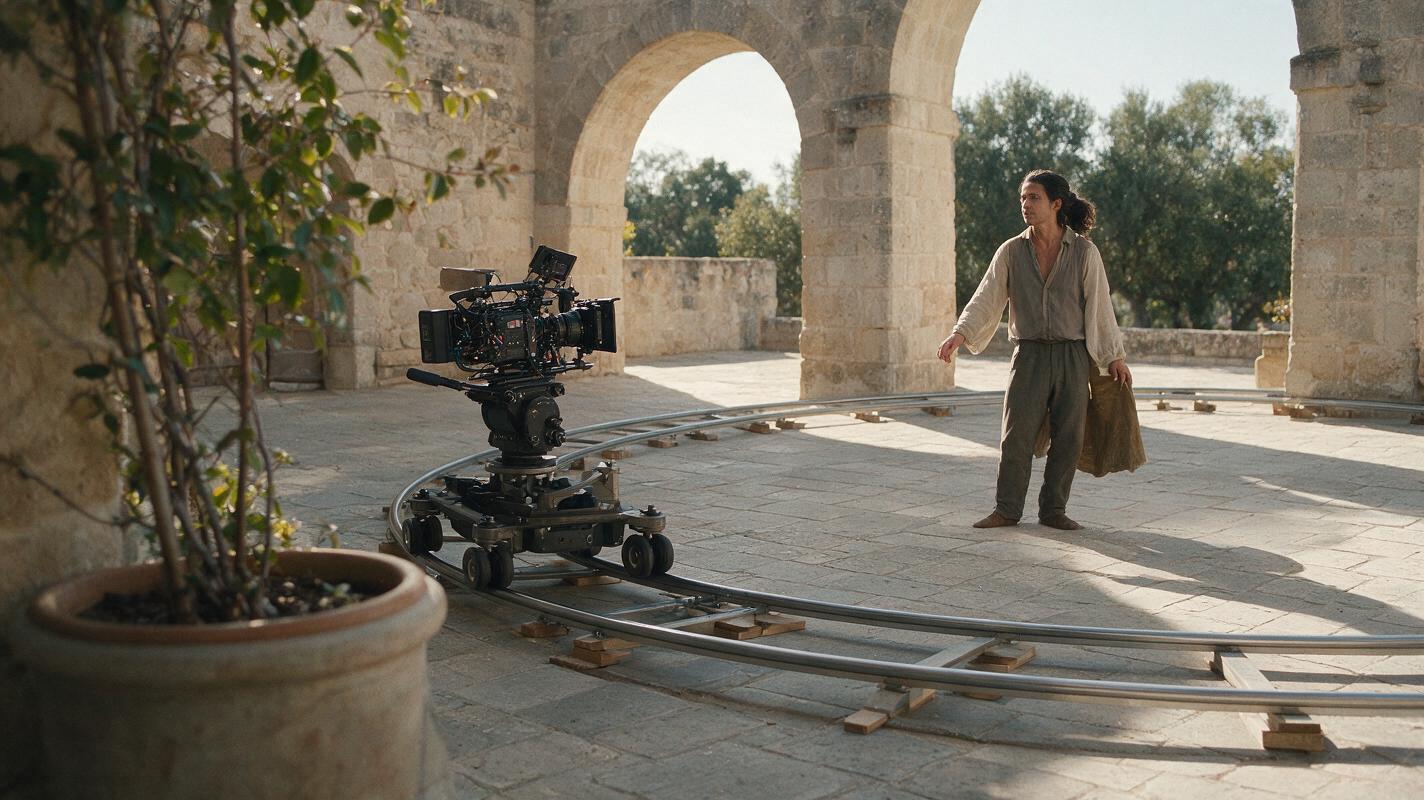
Table of contents
TL;DR: Build the orbit in controlled arcs
A smooth AI camera orbit begins with a clean reference frame, a stationary subject, and a prompt that describes one bounded camera path. The fastest reliable workflow is to use image to video, test the same anchor image and prompt in Seedance and Kling, and keep the best clip rather than rewriting everything after one failed generation.
Avoid requesting a complete 360-degree orbit in a single clip unless the subject is visually simple. Generative video models do not possess a verified three-dimensional copy of the scene, so every newly revealed angle can introduce different clothing, facial features, props, architecture, or lighting.
Why AI camera orbits warp the subject
An orbit looks simple because the subject can remain still while the camera moves. In practice, it is one of the clearest tests of whether a video model can preserve spatial structure across time.
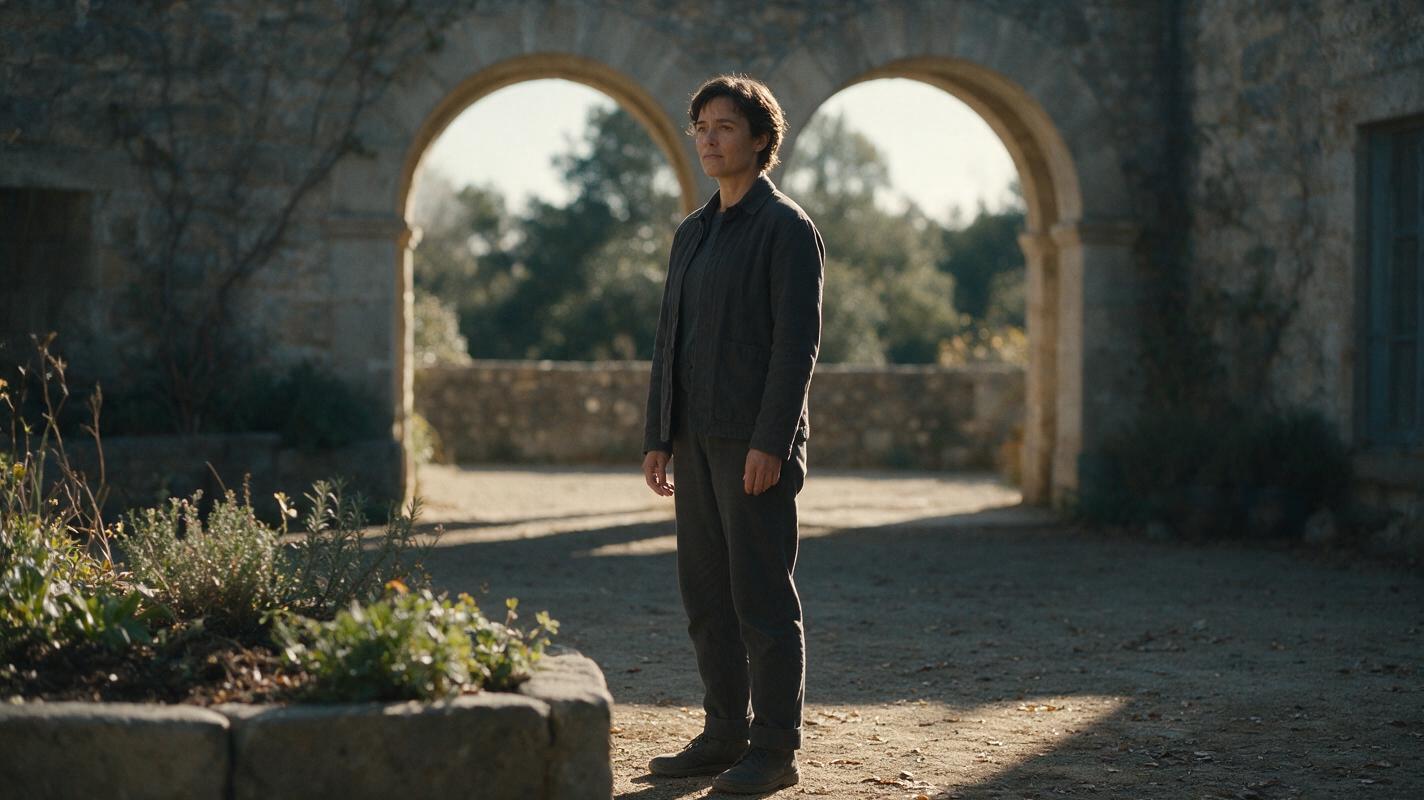
During an orbit, the model must reveal surfaces that were not visible in the input image. If the reference shows only the front of a jacket, the video model must infer its sides and back. It must also infer the hidden side of the face, the depth between foreground and background objects, and how every edge changes under perspective.
Common failure symptoms include:
- Identity drift: the nose, jaw, hairstyle, or apparent age changes as the face turns away from the starting angle.
- Wardrobe mutation: seams, pockets, patterns, straps, and accessories appear or disappear.
- Background rotation: the environment behaves like a flat painted layer instead of a stable three-dimensional space.
- False subject motion: the model rotates the person while leaving the camera almost static.
- Sliding feet: the subject pivots or glides even though the prompt asks for a locked pose.
- Orbit reversal: the camera begins moving left, hesitates, and then travels in the opposite direction.
- Late-clip collapse: the first part looks coherent, but distortion accumulates as more hidden geometry is exposed.
The central rule: ask the model to reveal less unseen information per clip. A clean 60-degree arc is usually more useful than an unstable full revolution.
Three ways to create an AI camera orbit
- Single controlled arc: generate one short left-to-right or right-to-left orbit around a mostly stationary subject. This is the best starting point.
- Overlapping multi-arc orbit: create two or more partial moves and join them around compatible frames. Use this when the final edit needs a wider apparent rotation.
- Still-assisted orbit: prepare several reference images showing planned angles, then animate each view separately. This requires more setup but gives tighter control over clothing, props, and the environment.
The following workflow starts with the single-arc method and then expands it into an editable multi-clip sequence.
How MagicBoat handles a reference-first camera orbit
MagicBoat provides one account for trying multiple image and video models inside the same broader ai video workflow. That is useful for camera orbits because a difficult result should be tested across models with identical source material before the concept is abandoned.
| Workflow task | Useful model family | What to evaluate |
|---|---|---|
| Create or refine an anchor still | Seedream, Flux, or GPT Image | Identity, clothing structure, subject separation, and environmental depth |
| Animate the reference | Seedance or Kling | Camera-path accuracy, geometry retention, and temporal stability |
| Repair residual identity drift | Face swap | Whether the motion is already good enough to preserve |
| Transfer a specific performance | Motion transfer | Body action and timing rather than camera geometry |
The model names are less important than maintaining a fair comparison. Keep the input image, prompt, framing, aspect ratio, and intended direction unchanged when testing alternatives.
Step 1 — Define the orbit before writing the prompt
Decide exactly what the camera should do in physical terms. Do not begin with a vague instruction such as “make this cinematic.” Record four decisions:
- Direction: camera travels clockwise or counterclockwise around the subject.
- Arc: subtle, quarter orbit, or another limited move.
- Distance: constant radius, slow push-in, or slow pullback.
- Subject behavior: motionless pose, natural breathing, or one small action.
For the first test, use a constant-radius quarter orbit with a stationary subject. This separates camera-path problems from performance problems.
Camera travels smoothly from the subject's front-left toward the side,
following a controlled quarter-circle orbit at a constant distance.
The subject remains still with feet planted and posture unchanged.
The environment stays fixed with consistent perspective and lighting.
Natural parallax, smooth continuous motion, no cuts.
Expected result: the camera moves consistently in one direction while the subject remains anchored to the ground.
Step 2 — Build an orbit-ready anchor image
A strong anchor image should make depth easy to read. Place the subject away from walls, avoid tangencies where limbs merge with furniture, and include background features at several distances. Foreground objects, a midground subject, and a recognizable background give the model useful parallax cues.
Use a three-quarter starting angle rather than a perfectly frontal portrait. A three-quarter view already exposes part of the side plane of the face, torso, and clothing, reducing the amount of geometry the model must invent immediately.
Keep these details simple during early tests:
- Choose solid or broadly textured clothing instead of tiny repeating patterns.
- Avoid dangling jewelry, loose straps, transparent fabric, and complicated hand poses.
- Keep both feet visible if the shot includes the full body.
- Use directional but soft lighting so the face remains readable during the move.
- Leave visual space on the side toward which the camera will travel.
If you need to generate the anchor image, use a prompt that describes the composition as a still photograph rather than mentioning video motion:
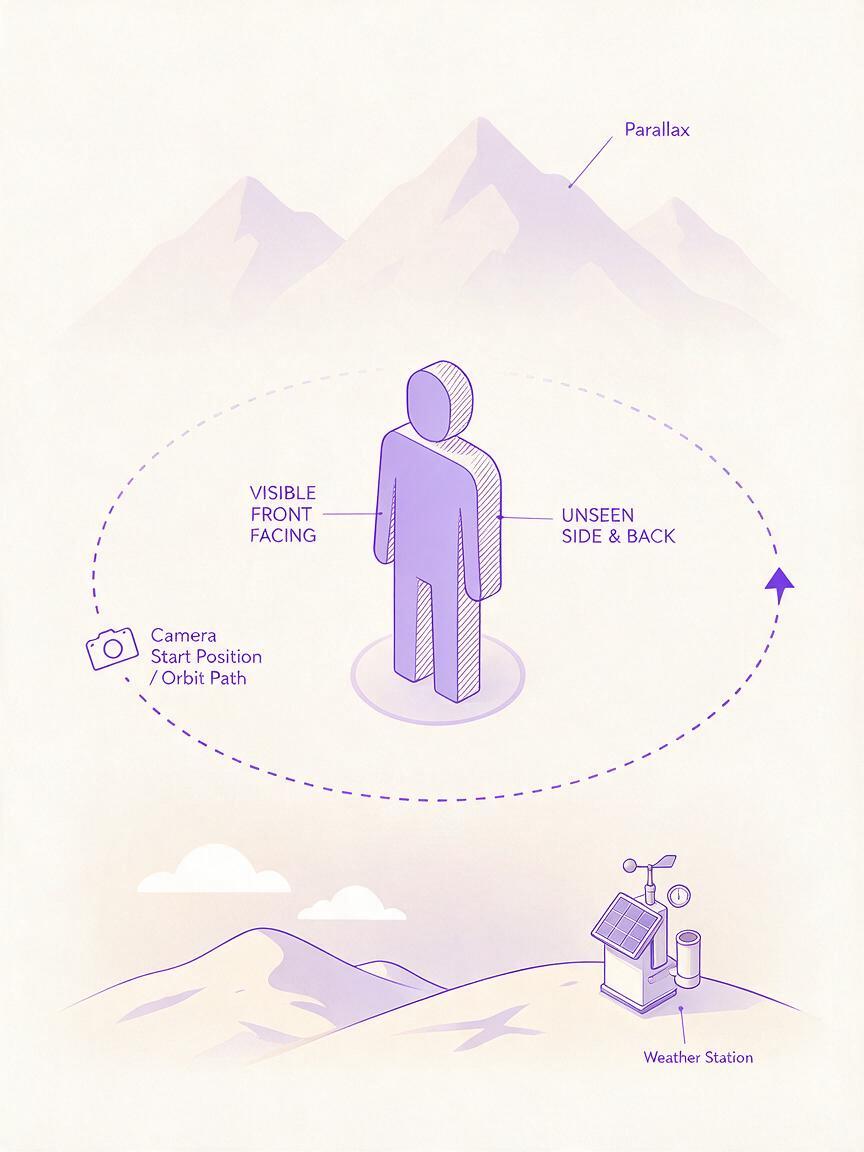
Full-body editorial photograph of an adult performer standing still in a quiet stone courtyard,
three-quarter front-left view, feet clearly visible and planted, simple charcoal jacket and trousers,
clean garment seams, hands relaxed at the sides, several meters of separation from the background,
foreground planter at frame edge, stone arches in the midground, trees in the far background,
soft directional daylight, realistic lens perspective, natural skin texture, uncluttered composition.
Expected result: a clean source frame with readable silhouette, stable clothing, and obvious foreground-to-background depth.
Step 3 — Write the prompt in order of importance
Place camera motion first, subject constraints second, and environmental behavior third. Long adjective lists can dilute the physical instruction, so include only visual qualities that affect the shot.
Slow counterclockwise camera orbit around the stationary performer,
approximately a quarter-circle arc, constant camera-to-subject distance,
smooth stabilized movement with natural foreground and background parallax.
The performer keeps the same pose, facial identity, hairstyle, charcoal clothing,
and planted foot position throughout the shot.
The courtyard architecture remains rigid and unchanged.
Soft daylight and exposure remain consistent. One continuous shot, no cut.
If the selected model accepts negative instructions, keep them concrete:
No subject rotation, no walking, no sliding feet, no changing clothes,
no duplicated limbs, no camera reversal, no background bending, no cut.
Negative wording cannot guarantee compliance. The positive prompt should still explain the intended physical behavior rather than relying on a list of prohibitions.
Expected result: a testable prompt in which camera motion is clearly separated from subject motion.
Step 4 — Reduce competing motion
Do not combine the first orbit test with turning, walking, speaking, gesturing, wind-blown fabric, moving vehicles, and a changing light source. Every added action creates another continuity problem.
For a portrait orbit, “natural breathing and one blink” is enough. For a product or sculpture, request no subject motion at all. Once the camera path works, add a single performance beat and test again.
| Riskier request | Controlled replacement |
|---|---|
| Orbit as the actor turns and walks away | Orbit around a stationary actor, then generate the walk as a separate shot |
| Fast 360-degree spin | Slow quarter orbit with a constant radius |
| Hair and coat blowing dramatically | Minimal fabric movement and stable silhouette |
| Orbit plus crash zoom | Orbit first; add a gentle push-in only after the path is stable |
Expected result: fewer ambiguous movements and a clearer diagnosis when a generation fails.
Step 5 — Generate the shortest useful test
Use a short duration for the first attempt rather than stretching one move over a long clip. Longer generations expose more hidden geometry and give small errors time to accumulate.
Upload the anchor image, preserve its aspect ratio, and use the same prompt for each model comparison. If generation controls such as seed or guidance are available for the selected model, record them so successful tests can be repeated; availability varies by model.
Generate a small comparison set before changing the prompt. Variation between outputs means one failure does not prove the instruction is wrong. Conversely, if every result rotates the subject instead of the camera, revise the physical wording or simplify the anchor frame.
Expected result: several short clips that answer one question: can the model execute this particular camera arc without damaging the subject?
Step 6 — Compare models with the same inputs
Run the same source image and motion description through Seedance and Kling. Do not “improve” the second prompt during the comparison because that makes it impossible to tell whether the model or wording caused the difference.
Score each clip on five practical criteria:
- Direction: does the camera travel the requested way from beginning to end?
- Radius: does the subject stay approximately the same size unless a push was requested?
- Identity: do the face, hair, body proportions, and clothing remain recognizable?
- Geometry: do architecture and objects retain rigid edges and consistent depth?
- Editability: are there clean sections that can be trimmed even if the whole clip is imperfect?
Orbit comparison scorecard
Direction:   /5
Radius:      /5
Identity:    /5
Geometry:    /5
Editability: /5
Notes: first visible failure and its approximate position
Choose the model that protects the most important feature of the shot. A slightly less dramatic orbit with stable identity is often more usable than a sweeping move that changes the performer halfway through.
Expected result: a model choice based on shot-specific evidence rather than habit.
Step 7 — Inspect the clip frame by frame
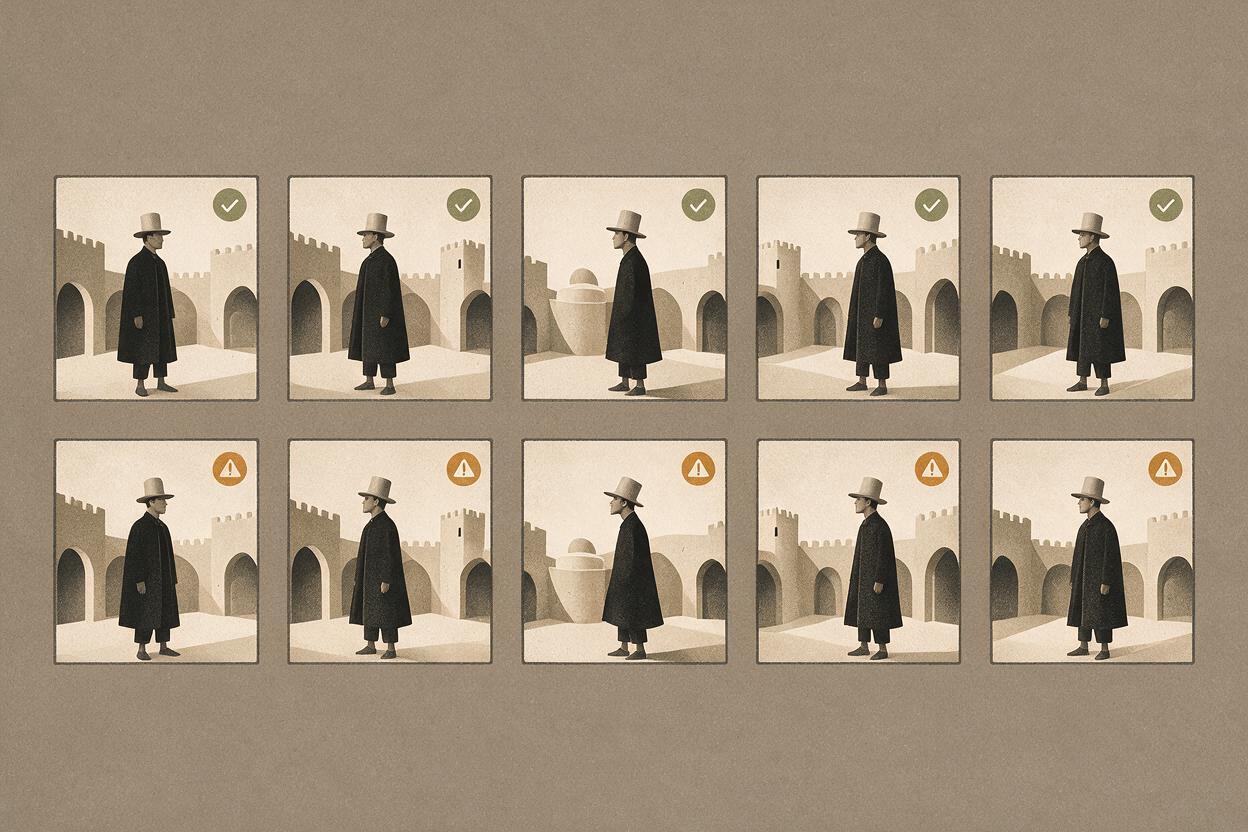
Watch the output once at normal speed for overall motion, once without sound for visual distractions, and once frame by frame around the first visible error. Check the face, hands, feet, garment edges, straight architectural lines, and high-contrast background boundaries.
Identify whether the problem is temporary or cumulative. A one-frame artifact may be removable in an edit. A jawline that changes gradually throughout the clip indicates deeper identity drift and is less likely to disappear through trimming.
Do not judge an orbit only by its final frame. The most useful section may be the first half, before geometry begins to drift.
Trim the clip to its strongest continuous range. A polished two-second camera move is better than retaining several unstable seconds merely because they were generated.
Expected result: a clean usable arc and a precise description of any remaining failure.
Step 8 — Extend the orbit with overlapping arcs
When the edit needs a wider move, build it from sections. Export a clean frame near the end of the first arc and use it as the visual starting point for the next generation. Ask the second clip to continue in the same direction at a similar apparent speed and radius.
Include overlap: the first clip should remain stable slightly beyond the intended cut, and the second should begin with a brief settling period before its strongest motion. This gives the editor several candidate transition frames.
Continue the established counterclockwise camera orbit from this angle.
Maintain the same constant distance, camera height, lens perspective,
performer identity, fixed pose, charcoal clothing, courtyard geometry,
and soft daylight. Smooth continuous movement with no reversal or cut.
Avoid claiming that separate generations form a geometrically exact 3D orbit. The goal is perceptual continuity: similar direction, scale, speed, lighting, and subject structure at the cut.
Expected result: two shorter, more stable arcs that can suggest a wider camera move after editing.
Keep the same orbit language across projects
Save a compact camera-motion block separately from the subject and location descriptions. This makes it easier to reuse a successful movement without copying irrelevant wardrobe or setting details.
ORBIT BLOCK
Slow [direction] camera orbit around the subject,
[arc size], constant camera-to-subject distance,
fixed camera height, stabilized movement,
natural parallax, continuous direction, no cut.

SUBJECT LOCK
Subject remains [stationary action], with unchanged identity,
pose, proportions, wardrobe structure, and ground contact.

WORLD LOCK
Environment remains rigid, spatially consistent, and unchanged;
stable lighting, exposure, and perspective.
Change one variable at a time. If you alter the model, anchor frame, camera direction, arc size, subject action, and prompt simultaneously, you lose the ability to identify what improved the result.
Alternative: use motion transfer for a precise performance
Motion transfer is useful when the performer must execute a specific gesture or body rhythm during the shot. It is not a direct cure for orbit geometry. A source performance can stabilize the action, but the model must still infer newly visible surfaces as the viewpoint changes.
For the safest workflow, create the performance-oriented shot separately and cut between it and the orbit. If both must occur together, keep the orbit subtle and record the source performer with an unobstructed silhouette, stable framing, and movements compatible with the target character.
Alternative: replace residual facial drift with face swap
If the generated clip has excellent camera motion but the face changes slightly, face swap can be more efficient than discarding the entire result. Use only a reference identity you own or have permission to use.
Face replacement works best when the original head remains visible, proportionate, and free from severe deformation. It will not reliably repair a missing profile, an implausibly rotating skull, hair that changes shape, or clothing and background errors. Treat it as a finishing pass, not a substitute for a stable orbit.
Alternative: prototype the idea with text to video
A text-led generation can help test whether a location, composition, and camera direction are visually promising before you commit to a specific character reference. It is less suitable when exact identity, clothing, or product geometry is essential.
Use the same orbit block but describe a simple subject. If the movement reads well, recreate the strongest starting composition as a controlled still and switch to the reference-first workflow.
Where the workflow falls short
- Hidden surfaces are still inferred. A single front-facing image cannot provide verified information about the back of a person, object, or room.
- Fine patterns remain fragile. Logos, stripes, jewelry, buttons, and repeating textures may change as their perspective shifts.
- Full rotations compound errors. Multi-arc construction improves control but does not create a true 3D scan.
- Reflective and transparent materials are difficult. Mirrors, glass, chrome, and glossy surfaces require viewpoint-dependent changes that can become inconsistent.
- Edits may hide rather than solve discontinuities. A well-chosen cut can preserve the illusion, but close inspection may still reveal spatial differences between clips.
- Face repair has limits. It cannot restore incorrect body proportions, lighting, hair, or environmental structure.
FAQ
Can image to video make a complete 360-degree camera orbit?
It can attempt one, but a single reference image does not show the subject's hidden sides. For identity-critical work, use partial arcs, multiple designed views, or a genuine 3D workflow when exact geometry is required.
Should the prompt say that the camera moves or that the subject rotates?
Say that the camera moves around a stationary subject. Explicitly lock the subject's pose, feet, and orientation. Product-turntable rotation is a different effect and should be prompted as object rotation with a static camera.
Which starting angle is best?
A three-quarter view is usually safer than a perfectly frontal view because it already reveals some side geometry. The best angle also keeps the silhouette clear and avoids hands, props, or furniture crossing important body edges.
How do I stop the background from bending?
Use an anchor image with clear depth layers and rigid architectural cues, then request a fixed environment with natural parallax. Reduce the orbit arc if straight lines still flex or rotate like a flat backdrop.
Can I add dialogue during the orbit?
Yes, but test the camera move without speech first. Mouth movement, head motion, facial identity, and camera rotation compete for temporal consistency. Add dialogue only after the basic orbit is stable, or cut to a separate speaking shot.
Why does the character slide even when the prompt says “stand still”?
The model may interpret changing perspective as a body pivot. Reinforce planted feet, unchanged pose, constant orientation, and camera-only motion. A full-body anchor with visible ground contact also provides stronger evidence than a cropped portrait.
Final checklist
- Start from a three-quarter anchor image with clear depth and subject separation.
- Request a limited arc before attempting a wider orbit.
- Put camera path first, subject lock second, and environment lock third.
- Keep the first test free from dialogue, walking, and complex gestures.
- Compare Seedance and Kling using identical inputs.
- Inspect the first frame where identity or geometry begins to drift.
- Trim to the strongest continuous section instead of preserving the full output.
- Use overlapping partial arcs when the edit needs a wider move.
- Reserve face swap for authorized identity repair after the motion succeeds.
Keywords
image to video, AI camera orbit, camera movement prompts, Seedance prompts, Kling prompts, AI video workflow, prompt engineering
Ready to test the orbit prompt? Create your first image to video camera move free with MagicBoat.