How to Turn a Storyboard into AI Video with Image to Video
Turn a storyboard into a coherent AI video by treating every panel as a composition guide, rebuilding it as a clean anchor frame, and animating one controlled action per shot. This workflow uses image generation, image-to-video models, and consistent shot briefs to preserve framing while adding believable motion.
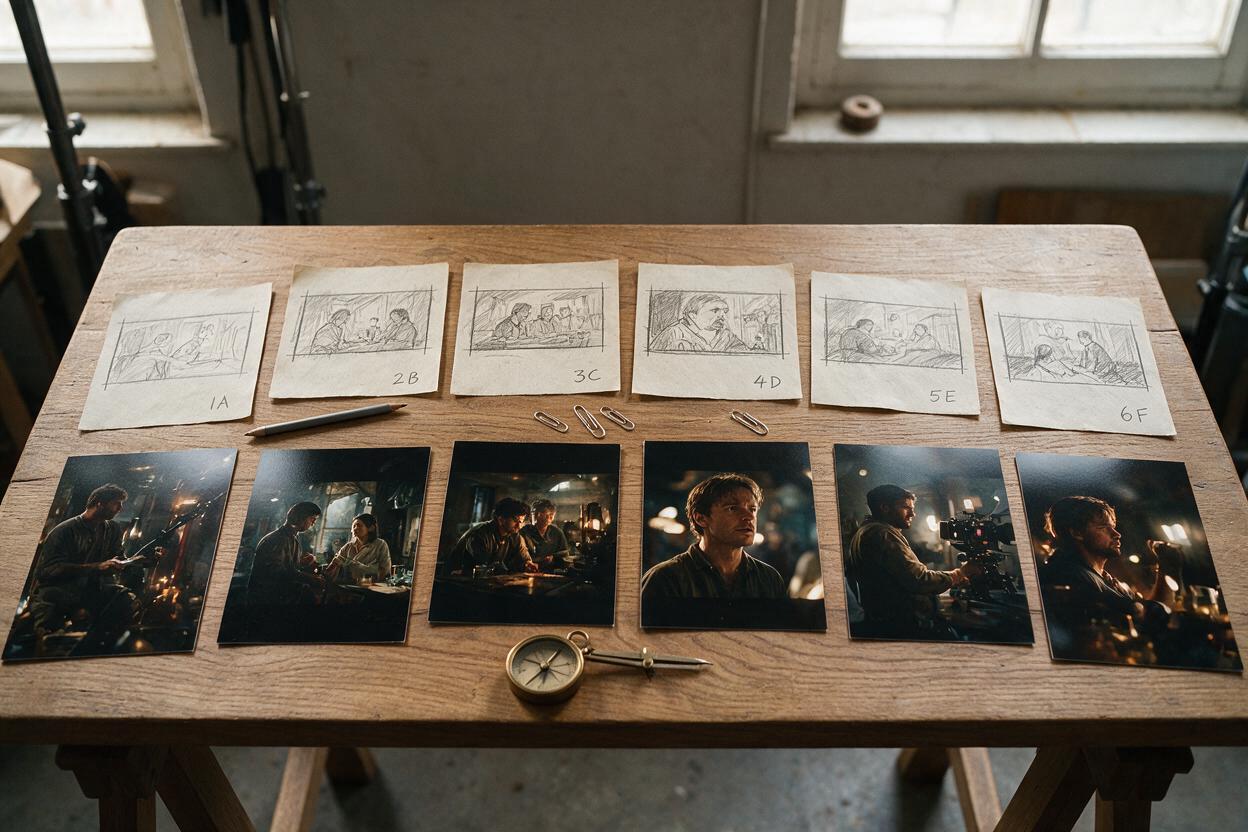
Table of contents
TL;DR: Use the storyboard as a shot map, not a finished input
The fastest way to turn a storyboard into an AI video is to rebuild each panel as a clean anchor image, then animate that image with one subject action and one camera instruction. A strong image to video workflow preserves the panel’s composition while giving Seedance or Kling enough visual information to generate controlled movement.
Do not ask one generation to interpret an entire storyboard page. Separate the sequence into individual shots, keep recurring visual details in a reusable continuity sheet, and compare models with the same inputs before editing the best clips together.
Why storyboards often fail in AI video
A storyboard communicates intention to a human crew, but it may be too incomplete or ambiguous for a video model. Loose sketches omit textures, facial details, lighting direction, depth, and exact relationships between objects. If a rough panel is animated directly, the model must invent all of those details while also calculating motion.
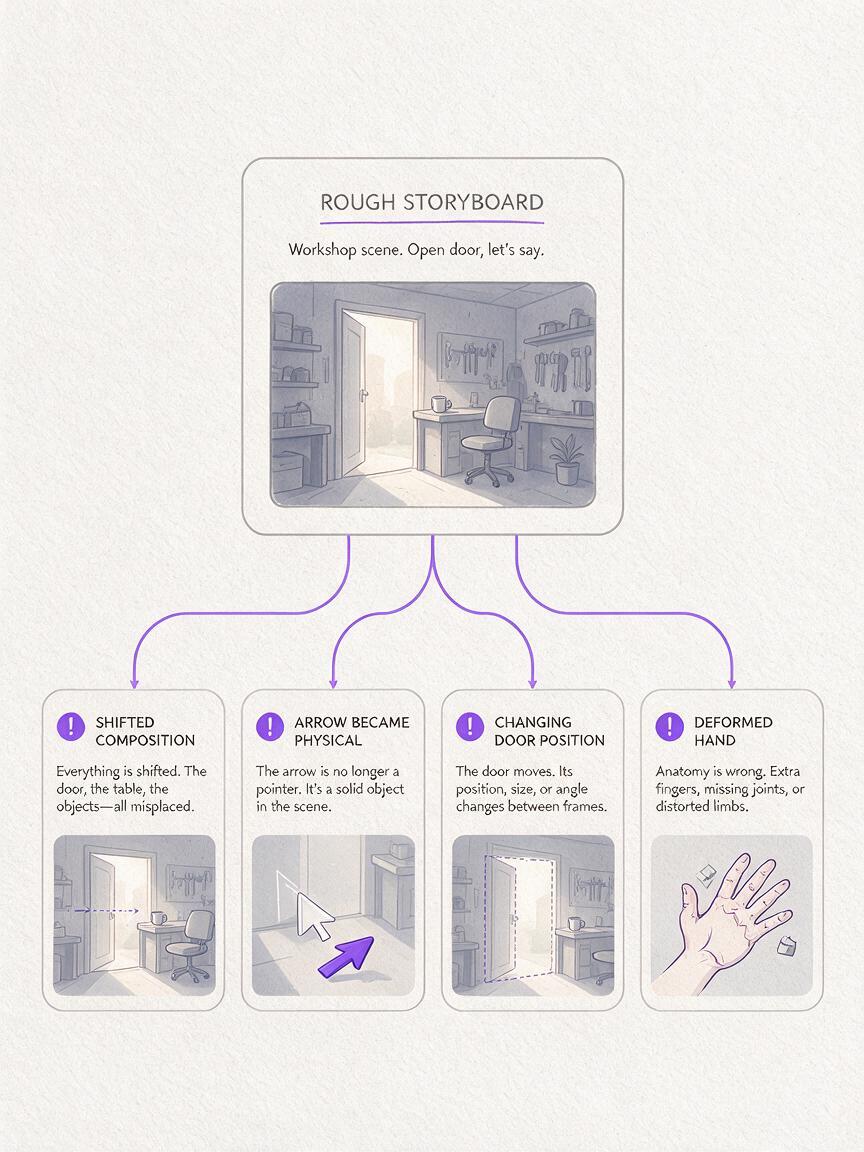
That combination creates recognizable failure modes:
- Composition drift: the subject begins in the right position but slides toward the center as the clip progresses.
- Unwanted interpretation: arrows, notes, panel borders, and shot labels become physical objects in the scene.
- Motion overload: the character moves, the camera circles, the background changes, and props deform in the same short shot.
- Continuity breaks: a room changes layout between panels, or a recurring jacket, vehicle, product, or prop changes color.
- Coverage gaps: the generated shots look attractive individually but do not provide a usable entrance, reaction, insert, or exit for the edit.
A storyboard panel should define where a shot starts. The motion prompt should define what changes after that starting frame.
The practical solution is to split composition design from motion generation. First establish a polished still that represents the panel accurately. Only then ask a video model to animate it.
Three ways to turn a storyboard into AI video
- Direct panel animation: crop and clean a detailed storyboard panel, then use it as the opening frame. This is fastest when the artwork already contains clear lighting, depth, and finished subjects.
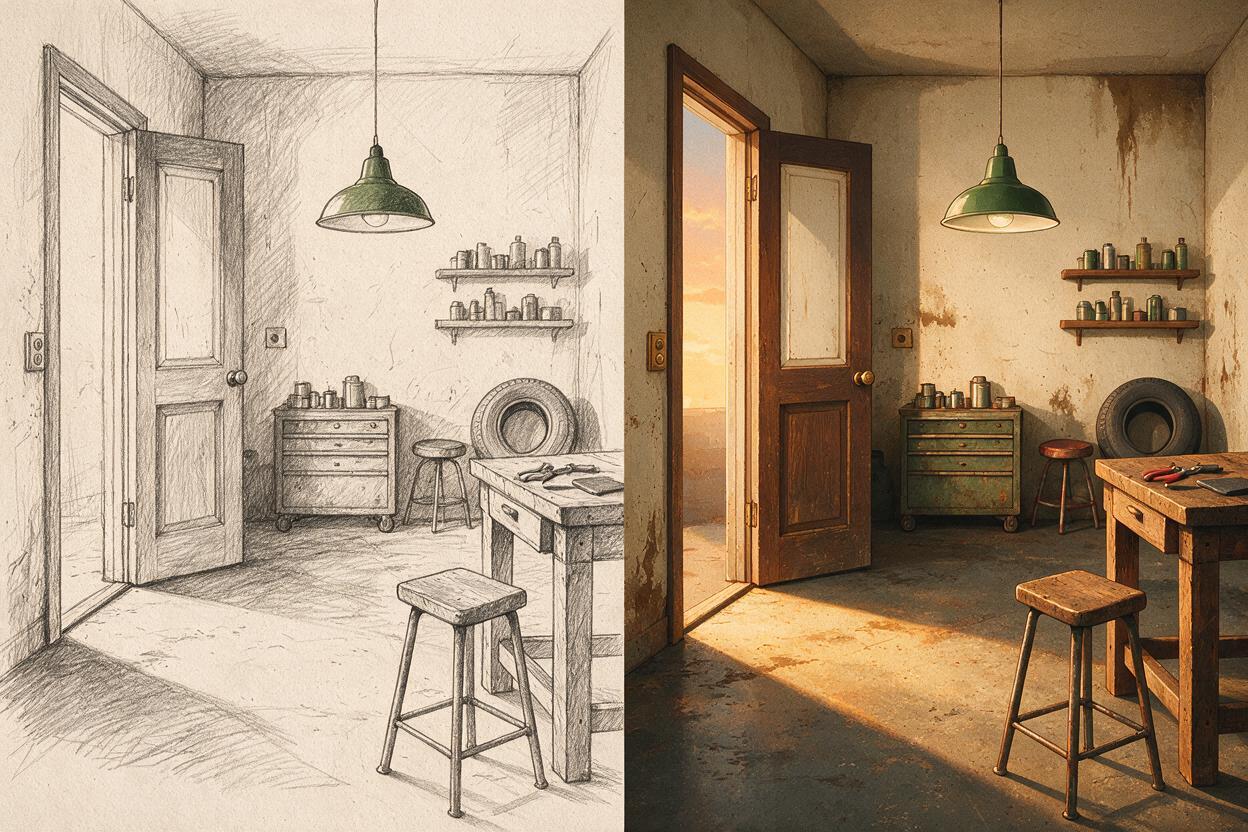
- Anchor-frame reconstruction: recreate the panel with an image model while preserving its staging. This is the most reliable approach for rough sketches, animatics, and stick-figure boards.
- Text-led reconstruction: translate the panel into a structured text prompt and generate the shot without using the sketch. This offers more visual freedom but can move away from the original framing.
The rest of this tutorial focuses on anchor-frame reconstruction because it separates layout decisions from motion decisions without discarding the storyboard artist’s intent.
How MagicBoat handles a storyboard-to-video workflow
MagicBoat brings image and video generation into one multi-model workflow. With one free account, you can use image models such as Seedream, Flux, or GPT Image to develop anchor frames, then test those frames with integrated video models such as Seedance and Kling.
This matters because storyboard adaptation is rarely solved by a single generation. One image model may follow the panel’s layout more closely, while another may render the intended materials or environment more convincingly. Likewise, the best video model can vary with the shot: restrained camera movement, character action, atmospheric motion, and object handling do not always behave identically.
MagicBoat’s ai video workflow lets you keep the creative brief constant while comparing outputs. The goal is not to declare one model universally better. It is to choose the cleanest result for each type of shot while maintaining a shared visual plan.
What you need before generating
- A storyboard exported as separate image panels
- A short description of the project’s visual style
- Reference images for recurring characters, locations, products, or props
- A shot list with approximate order and purpose
- An editor capable of trimming clips and assembling them on a timeline
You do not need finished concept art for every panel. However, recurring elements should have at least one clear reference. If the protagonist’s coat is important, for example, establish its cut, material, and color before generating ten separate shots.
Step 1 — Convert the storyboard into a generation shot list
Export or crop every panel into its own file. Remove surrounding panels so the model sees only one composition at a time. Then give each shot a functional label rather than relying only on numbers.
| Shot | Function | Starting composition | Required change |
|---|---|---|---|
| 01 | Establish location | Wide view of empty workshop | Hanging lamp sways gently |
| 02 | Introduce character | Medium rear view at doorway | Character enters and pauses |
| 03 | Reveal clue | Close-up of dusty workbench | Hand brushes dust from compass |
| 04 | Reaction | Tight three-quarter portrait | Eyes lower toward the object |
For every row, identify one visible change. “A mysterious cinematic scene” is not a usable motion instruction. “The hanging lamp sways once while dust floats through the light” is observable and bounded.
Also mark panels that may not need animation. A static insert can sometimes work better as a still with a subtle editorial push-in than as a fully generated clip.
Step 2 — Turn each panel into a clean anchor frame
Use the cropped panel as a composition reference where supported, or describe its layout explicitly. Your image prompt should separate fixed composition from visual treatment.
COMPOSITION:
Wide interior shot from waist height. A wooden workbench fills the lower-right foreground. A single doorway sits in the left third. An old hanging lamp is centered above the bench. Clear empty floor space separates the doorway from the table.

SUBJECT AND SET:
Small 1970s repair workshop, worn plaster walls, wooden shelves, brass tools, no people, no text or signage.

LIGHTING AND STYLE:
Late-afternoon sunlight entering from the left, warm practical lamp, realistic materials, restrained cinematic color, natural lens perspective.

PRESERVE:
Asymmetrical framing, doorway position, workbench scale, open path through the room.
If the panel contains arrows, dialogue, frame numbers, or handwritten instructions, remove them before using it as a reference. These marks are production language, not scene content.
Expected result: a finished still that remains recognizably faithful to the panel’s blocking but contains enough texture, lighting, and depth for video generation.
Generate the establishing frames first. Once the workshop, street, bedroom, or vehicle interior is defined, use those approved images as visual references when developing closer shots. This reduces the chance that every angle invents a different location.
Step 3 — Build a continuity sheet for recurring details
Create a short list of details that must remain fixed across the sequence. Keep it separate from shot-specific action so you can paste the same continuity block into every relevant prompt.
CONTINUITY BLOCK:
Same narrow repair workshop with faded cream plaster walls.
Same dark walnut workbench with one brass drawer handle.
Same circular green metal lamp hanging above the bench.
Same female mechanic, early 30s, short black wavy hair, charcoal coveralls, rust-red undershirt.
Same small brass compass with a cracked white enamel face.
Naturalistic late-afternoon lighting from camera left.
Only include details the camera can reasonably see. A close-up of a hand and compass does not need a full description of the doorway. Excess information can compete with the actual subject of the shot.
For characters, use one approved portrait or turnaround as the identity reference rather than generating a new interpretation from prose for every frame. For locations, retain stable architectural landmarks such as window placement, major furniture, wall colors, and practical lights.
Expected result: separate anchor images that feel as though they belong to the same physical production, even though each was generated independently.
Step 4 — Write one-action motion prompts
Attach a motion brief to each approved anchor frame. A reliable brief contains four parts: subject action, camera behavior, environmental motion, and constraints.
The mechanic enters through the doorway, takes two slow steps toward the workbench, and stops. The camera makes a subtle forward dolly while keeping the workbench in the right foreground. The hanging lamp sways slightly and fine dust moves through the sunlight. Preserve the room layout, clothing, facial appearance, and realistic body proportions. No camera orbit, no scene transition, no new objects.Keep the action compatible with the frame. If the character’s feet are outside the image, do not request complex full-body walking. If a hand is hidden behind a prop, avoid asking it to perform a precise manipulation unless you first create an anchor frame that clearly shows the hand-object relationship.
Use restrained camera language:
- Locked camera: best for object interaction and precise blocking
- Slow push-in: useful for reveals and reactions
- Gentle lateral track: useful when foreground depth is already established
- Handheld micro-movement: useful for documentary energy, but easier to overdo
Avoid stacking a crane, orbit, zoom, and pan in one prompt. If the storyboard requires a complicated camera path, divide it into separate shots or create more intermediate visual guidance.
Expected result: a short clip that begins close to the approved frame and introduces one readable development without redesigning the scene.
Step 5 — Compare Seedance and Kling with the same shot brief
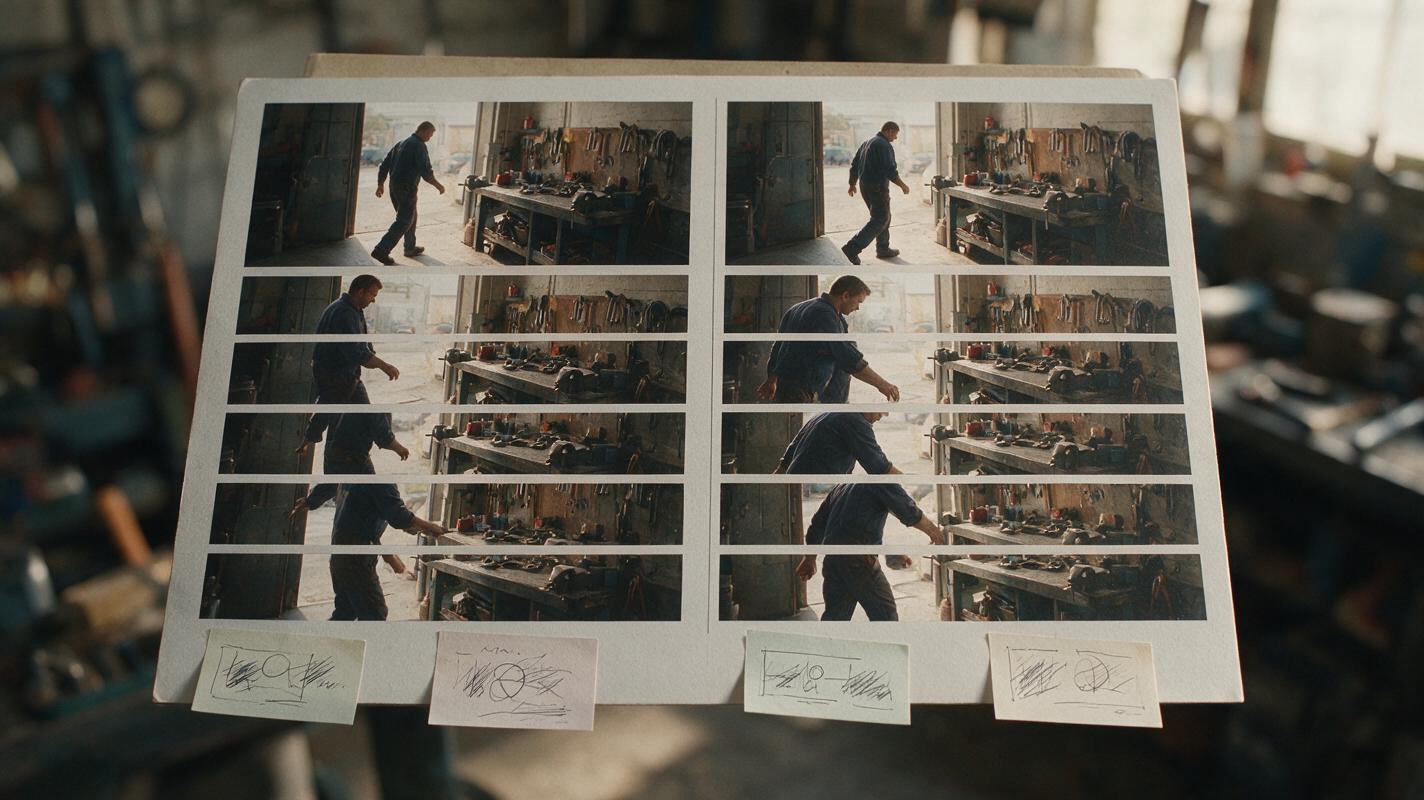
Test important shots with the same anchor frame and the same motion prompt in Seedance and Kling. Keep the wording unchanged for the first comparison. If you rewrite the prompt and change the model simultaneously, you will not know which change improved the result.
| Review area | What to inspect | Reason to reject |
|---|---|---|
| Opening frame | Similarity to the anchor image | Composition changes immediately |
| Subject motion | Direction, timing, body mechanics | Action reverses or limbs deform |
| Camera | Requested path and intensity | Unrequested orbit, zoom, or shake |
| Continuity | Face, clothing, props, architecture | Identity or major set details change |
| Exit frame | Usability for the next edit | Severe distortion at the end |
Choose the output that best performs the shot’s editorial function, not necessarily the one with the most movement. A quiet reaction shot that preserves the face and eye line is more valuable than a dramatic clip that cannot cut against the preceding angle.
If both versions fail in the same way, revise the anchor frame or simplify the action. Repeated failures across models often indicate that the starting composition does not clearly support the requested movement.
Step 6 — Generate handles for cleaner editing
Plan for the usable action to occur away from the very first and last moments of the generated clip. Editors need short visual handles before and after the main event.
Instead of prompting “the mechanic instantly grabs the compass,” use:
The shot begins with the mechanic's hand resting beside the compass. After a brief pause, her fingers close around it and lift it slightly from the dusty workbench. She holds the compass still at the end. Locked camera, shallow depth of field, preserve the compass design and natural fingers.The opening pause provides an entry point; the final hold provides an exit point. These stable moments make it easier to cut on action, insert a reaction, or shorten the shot without hiding a malformed transition.
For dialogue-free sequences, vary the rhythm deliberately. An establishing shot may breathe longer, while an object insert can be brief. Do not make every generated clip the same duration simply because the model allows it.
Expected result: footage with a readable beginning, action, and ending rather than continuous motion that is difficult to trim.
Step 7 — Assemble the sequence and repair only the weak shots
Place the clips in storyboard order and watch the entire sequence without sound. Check whether viewers can understand where the character is, what they notice, and why the next shot appears.
Use these repair priorities:
- Replace shots with broken anatomy or major continuity errors.
- Correct mismatched screen direction and eye lines.
- Trim unstable opening and ending frames.
- Shorten decorative motion that delays the story beat.
- Add sound only after the visual sequence reads clearly.
Do not regenerate the whole sequence because one insert failed. Return to the individual panel, revise that anchor frame, and test a simpler motion brief. The panel-based workflow makes local repair possible without disturbing successful footage.
Keep the same visual language across projects
Save a compact project bible containing the approved continuity block, recurring references, aspect ratio, lighting logic, and prompt vocabulary. Also record which descriptions produced the approved environment and character.
A useful style block might read:
PROJECT STYLE:
Grounded live-action realism, modest production design, natural lens perspective, warm practical lights balanced with cool daylight, restrained contrast, realistic skin and fabric, no fantasy glow, no extreme shallow focus, no added text.
Reuse this block rather than improvising a new aesthetic description for every shot. Consistency comes from preserving decisions, not merely repeating broad words such as “cinematic.”
Alternative: use motion transfer for performance-led shots
If a panel requires specific body timing—a dance phrase, physical comedy, a distinctive turn, or coordinated hand movement—record a simple guide performance and use motion transfer instead of relying entirely on prose.
Match the guide clip to the storyboard’s camera angle and keep the performer fully visible when limb motion matters. Motion transfer is especially useful when timing is more important than preserving every pixel of the original panel. Use image-to-video for environmental shots and restrained reactions, then reserve performance transfer for movement that must follow a precise rhythm.
Alternative: use text to video for transitional coverage
Not every connecting shot needs a storyboard-derived anchor frame. Atmospheric inserts such as rain on a workshop window, dust in a sunbeam, or an exterior cloud transition can be generated from text when exact composition is unimportant.
Keep these inserts tied to the sequence with repeated lighting, weather, location details, and color. They should provide editorial breathing room without introducing a new visual world.
Where this workflow falls short
- Complex contact remains difficult: hands using small tools, characters exchanging objects, and layered physical interactions may deform.
- Sketch interpretation is not exact: reconstructing a rough panel can change lens perspective, spacing, or proportions even when the prompt describes them carefully.
- Long continuity chains accumulate drift: a location or character may gradually change after many independently generated shots.
- Precise camera choreography needs more control: a written instruction does not guarantee an exact measured dolly, crane, or focus pull.
- Generated dialogue needs separate planning: visible speech, voice performance, and lip synchronization add constraints beyond storyboard animation.
For demanding interactions, split the action into setup, contact, and reaction shots. A close-up that clearly establishes the object before it is touched can be easier to generate and edit than one wide shot containing the entire interaction.
FAQ
Can I animate a hand-drawn storyboard directly?
Yes, but direct animation works best when the drawing is clean, detailed, and free of arrows or production notes. Rough boards usually benefit from being reconstructed as finished anchor images first.
Should every storyboard panel become a video clip?
No. Some panels are planning beats rather than necessary edits. Combine redundant angles, keep useful inserts static when appropriate, and generate only the coverage needed to communicate the sequence.
How much motion should I request in one shot?
Start with one primary subject action and one restrained camera instruction. Add environmental movement only when it supports the scene. Multiple simultaneous actions increase the risk of composition and anatomy errors.
What should I do if the model ignores the storyboard framing?
Strengthen the anchor image rather than adding more adjectives to the motion prompt. Make spatial relationships visible, crop to the intended aspect ratio, and remove elements that compete with the subject.
Can I mix Seedance and Kling clips in the same sequence?
Yes. Shared anchor frames, continuity references, lighting descriptions, and color treatment matter more than using one model for every shot. Compare both models on critical clips and choose according to continuity and editability.
How do I stop props from changing between shots?
Create a clear reference image for the prop, repeat its few defining traits, and show it at a usable scale in each anchor frame. When exact object interaction matters, use close coverage and simpler movement.
Final checklist
- Crop the storyboard into individual panels.
- Give every shot a function and one visible change.
- Remove arrows, labels, dialogue, and panel borders from visual inputs.
- Rebuild rough panels as polished anchor frames.
- Reuse a compact continuity block for recurring elements.
- Prompt one subject action and one camera behavior per clip.
- Compare models with identical inputs before rewriting prompts.
- Generate a pause or hold around the main action for editing.
- Repair failed shots individually instead of restarting the sequence.
Keywords
ai video tutorial, image to video, storyboard to video, ai video workflow, seedance prompts, kling prompts, prompt engineering
Ready to animate your boards? Create your first AI video free and test the same anchor frame across multiple models.