Storyboard References for Consistent Character Outfits Across Scenes
Keep one character’s outfit and recognizable details coherent when a multi-shot AI video moves between locations or jumps forward in time. This tutorial uses a character sheet, an approved reference image, and a scene-change ledger to distinguish continuity errors from intentional costume changes.
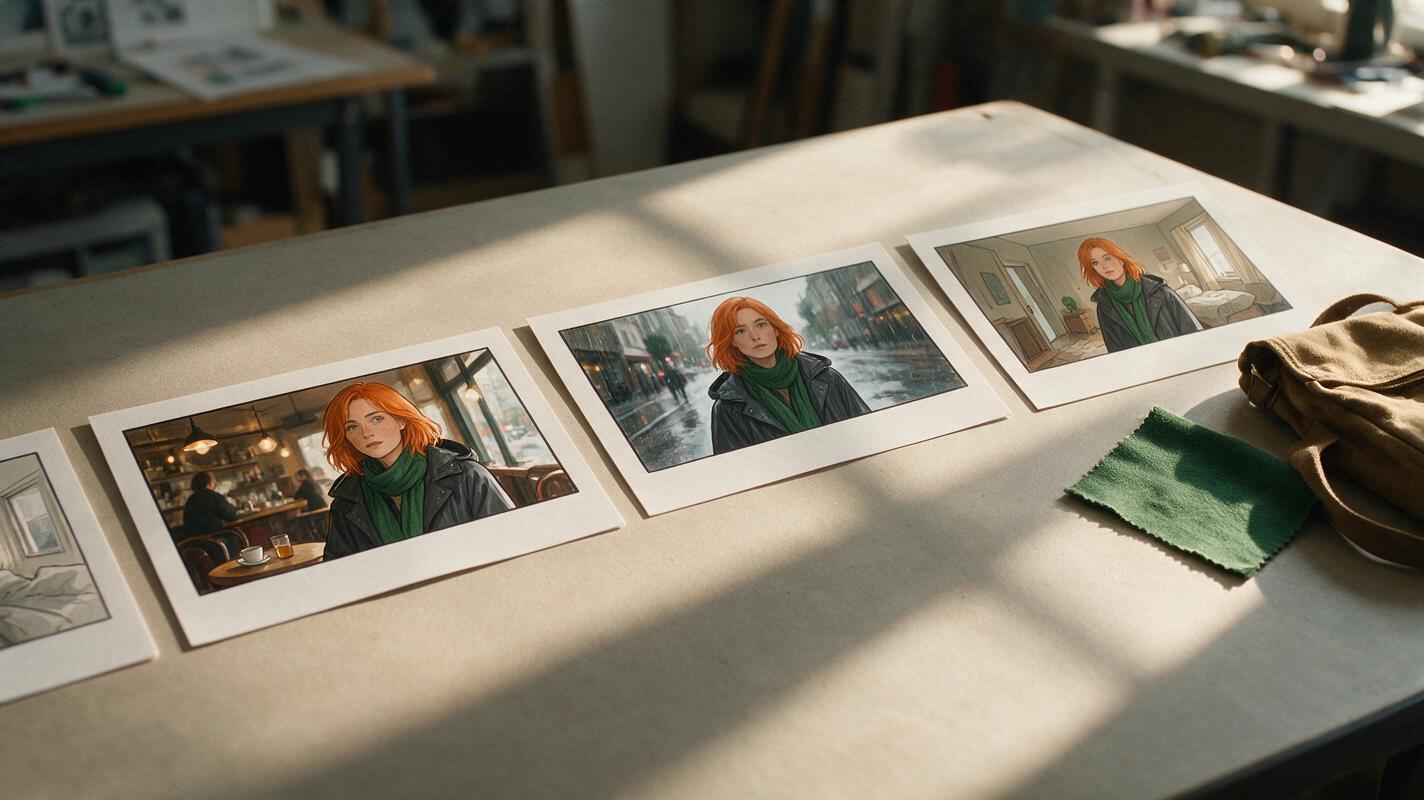
Table of contents
Keep the character; change only what the story changes
A storyboard reference should tell each shot two things: which details identify the character, and which details are allowed to change in this scene.
That distinction matters when a character walks from a café into the rain, removes a jacket, or appears the next morning. Without a record of the intended transition, a changed coat might be a story beat—or an unnoticed continuity error. This tutorial builds a compact reference system for one recurring character’s wardrobe, hair, and carried objects across a multi-shot video. It focuses on scene transitions rather than matching a face across camera angles.
Step 1 — Define the character and the first approved look
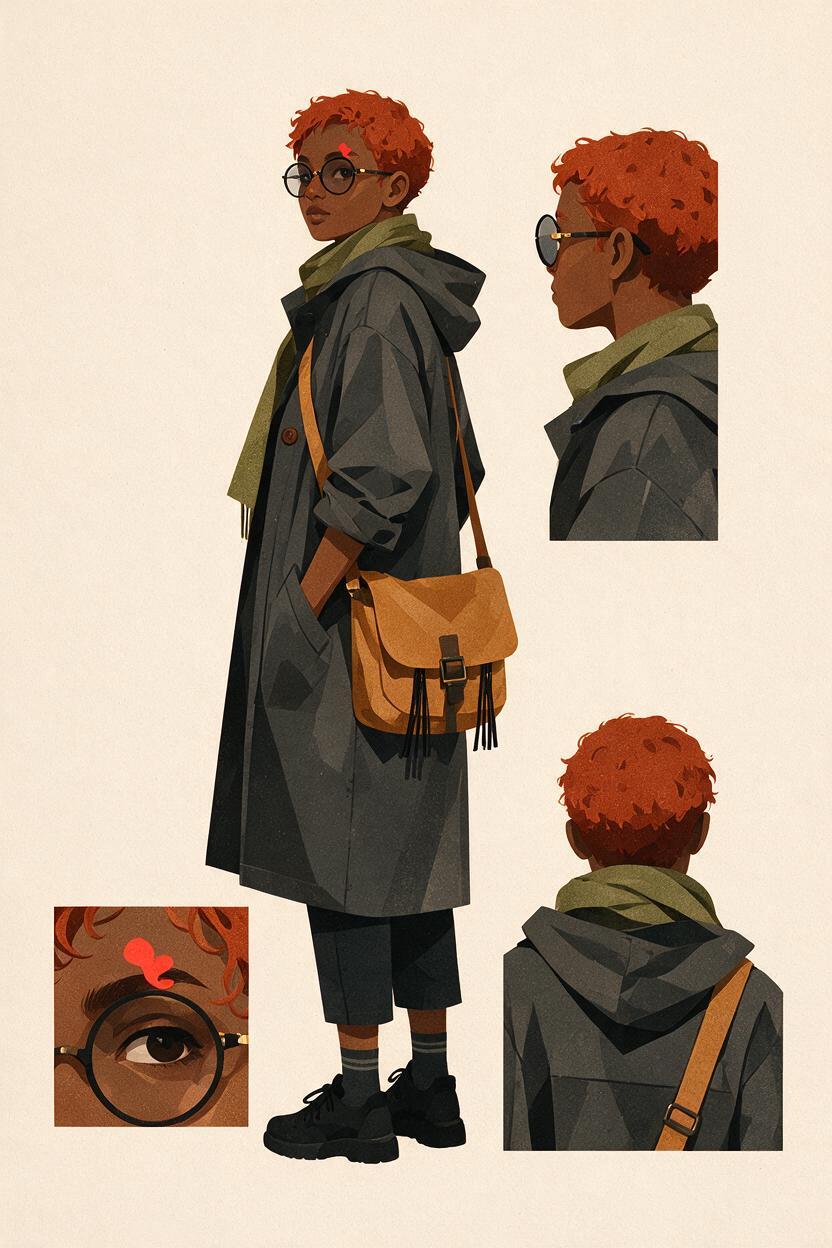
Begin with a character sheet that separates stable identity from scene-dependent appearance. Keep the description concrete enough to check in an image. “Distinctive style” is hard to verify; “short copper curls, round dark frames, and a narrow green scarf” is not.
Copy and fill in this template before making any storyboard frames:
CHARACTER SHEET
Character name: Mara
Stable identity: adult; short copper curls; round dark glasses;
  small crescent-shaped mark above the left eyebrow
Baseline outfit: charcoal raincoat; cream shirt; dark trousers;
  narrow green scarf
Recurring object: tan canvas messenger bag, carried on the right
Color anchors: charcoal coat; green scarf; tan bag
Details never to change without a story reason: hair shape,
  glasses shape, eyebrow mark, bag material
Approved baseline image: [attach your selected reference image]
Story-approved changes: [leave blank until mapped by scene]
Create or choose one clear baseline image showing the full outfit and bag. Use a simple pose and lighting that let you inspect the listed details. If the image has the wrong scarf, bag, or hair, correct or replace it before using it as a reference; an attractive mistake can spread through every later shot.
Working rule: An approved reference records what to preserve. A storyboard records when an approved change happens.
Step 2 — Mark every permitted change on the storyboard
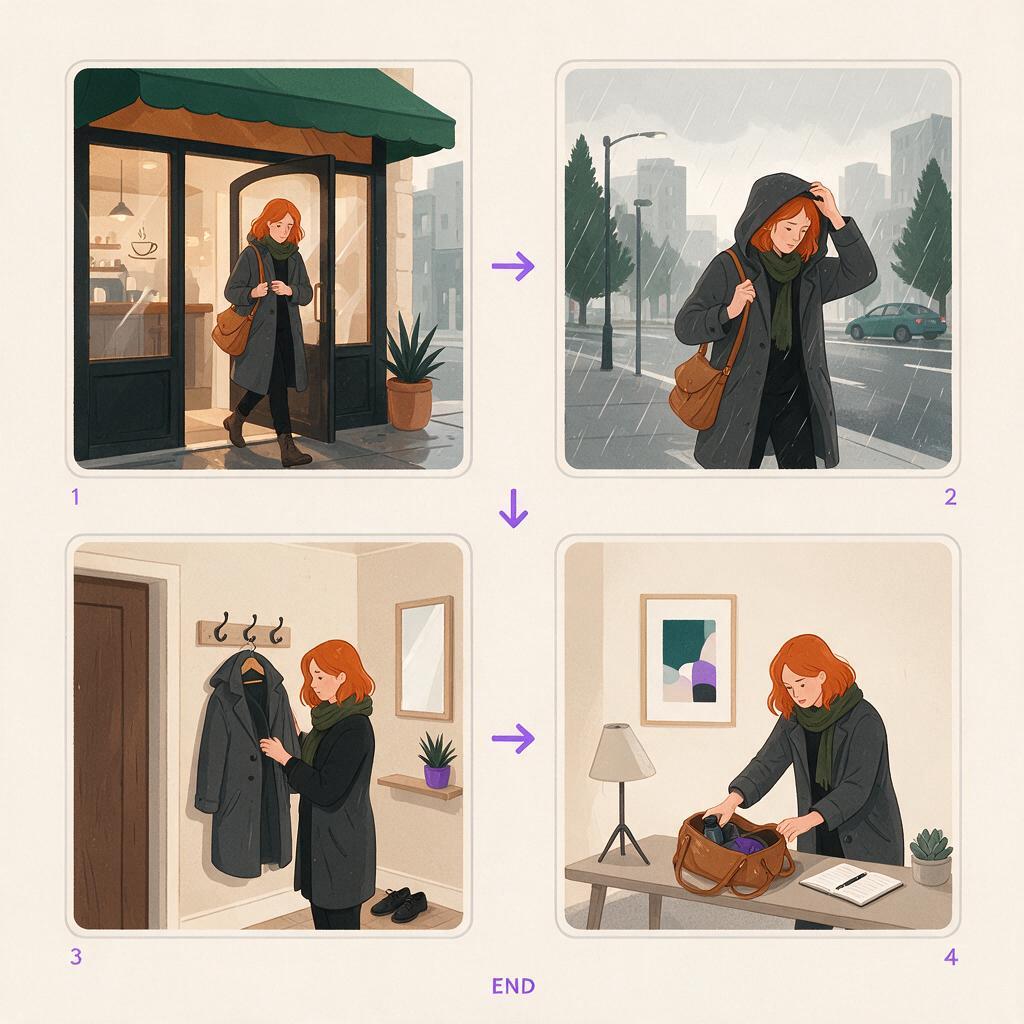
Write the scene sequence before generating the individual shots. For each transition, state what happens to the coat, scarf, bag, and hair. A brief ledger prevents a model prompt—or a human editor—from treating an intentional change as an instruction to redesign the character.
| Scene | Story action | Required visible state | Transition check |
|---|---|---|---|
| Café exit | Mara leaves with her bag | Coat on; scarf visible; bag on right shoulder | Establish the baseline look |
| Rainy street | She pulls up her hood | Same coat, scarf, and bag; hood covers some hair | Do not mistake covered hair for a new hairstyle |
| Apartment entry | She hangs up the coat | Coat in hand, then on a hook; cream shirt visible | Show where the coat goes |
| At the desk | She sets down the bag | No coat worn; scarf and glasses retained; bag on desk | Do not let the bag disappear between cuts |
Give each meaningful change an on-screen action or an explicit time jump. If the scarf vanishes between adjacent shots, either add the moment she removes it or restore it in the later shot. This is a story decision, not a prompt-engineering trick.
Step 3 — Build references for the states the story actually uses
Keep the baseline image as the character reference, then prepare a small set of approved state images: coat and scarf outdoors; hood up in rain; cream shirt indoors; bag resting on the desk. A state image should differ from the baseline only where the storyboard permits. It is not an invitation to invent a new outfit.
Place the relevant state image beside each storyboard frame when you plan that shot. Also retain the baseline within your working materials so you can compare identity details across the sequence. If your chosen generation tool accepts image references, supply the relevant approved image in the manner that tool supports. If it does not, use the images as visual targets during prompt writing and review. Do not assume that any tool will preserve every listed detail automatically.
For the rainy-street shot, a copyable prompt might be:
Create a shot of Mara walking along a rainy street.
Use the attached approved outdoor reference for her character
and wardrobe. Preserve her round dark glasses, charcoal
raincoat, narrow green scarf, and tan canvas messenger bag.
Her hood is now up; that is the only wardrobe-state change.
The bag remains on her right shoulder. Show a medium-wide view
as she approaches the apartment entrance. Do not add accessories.
For the apartment transition, name both the incoming and outgoing states:
Create the next shot of the same Mara inside her apartment.
Begin with the charcoal raincoat still in her hand, then show
her hanging it on a wall hook. Keep the cream shirt, green scarf,
round dark glasses, short copper curls, and tan canvas bag
consistent with the approved references. End with the coat
visible on the hook and the bag still on her right shoulder.
These prompts describe a planned result; they are not a guarantee that a generation will satisfy it. Review what appears in the frames.
Step 4 — Check the cut, not just the individual image
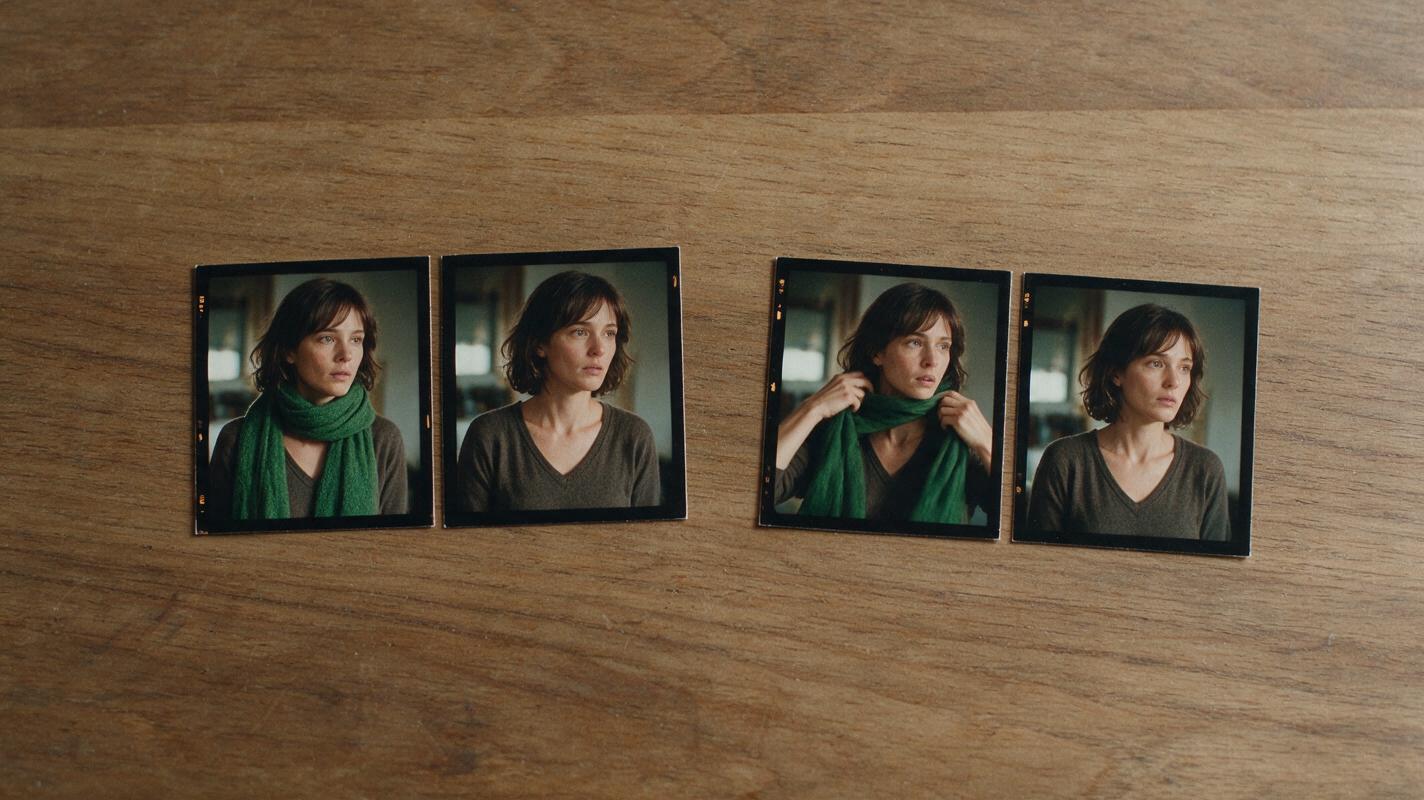
Inspect the last clear frame of one shot beside the first clear frame of the next. A shot can look convincing alone while breaking the sequence at the edit. Check the character sheet and the scene ledger together:
- Identity: Are the stable hair shape, glasses, and other identifying details still recognizable where visible?
- Wardrobe state: Is the coat or scarf in the state specified for this moment?
- Object location: Is the bag on Mara, being set down, or already on the desk as the action requires?
- Change evidence: Does the viewer see the change, or is there an unmistakable time or location break?
If a detail fails, revise the affected shot against its approved state reference. Avoid “fixing” a missing scarf by quietly removing it from earlier shots unless that change also serves the story.
Common failures and the smallest useful fixes
| What you see | Likely cause | Fix |
|---|---|---|
| The scarf changes color outdoors | The outdoor state was described without its color anchor | Use the approved outdoor image and restate “narrow green scarf” |
| The coat disappears at the apartment cut | No transition action was planned | Add a coat-removal shot or show it immediately on the hook |
| The bag switches shoulders without an action | Its position was left unspecified | Restore the right-shoulder position or show the handoff |
| The indoor look becomes a new outfit | The prompt asks broadly for “casual indoor clothes” | Name the existing cream shirt and list only the coat as removed |
| Covered hair is treated as changed hair | The hood-up state lacks an identity check | Compare a visible portion of hair, then check again after the hood comes down |
When the sequence is ready, assemble your approved references and scene prompts into a video draft, then review every transition against the ledger rather than judging shots in isolation.
Final checklist
- One approved baseline image establishes the character’s stable details.
- The character sheet separates identity, baseline wardrobe, and permitted changes.
- Each scene has a specific outfit and object state.
- State references change only what the storyboard authorizes.
- Adjacent shots are checked as a pair, especially when an item moves or disappears.
- Any remaining change has a visible action or a clear story reason.
FAQ
How many reference images does one character need?
Start with one approved baseline image. Add another image when the story introduces a visually important state—such as a hood up or a coat removed—that later shots must repeat. You do not need a separate image for every camera position.
Should the character sheet include background and lighting?
Keep those in shot notes unless they affect a continuity decision. The character sheet is most useful when it records the details you expect to remain recognizable across different scenes.
What if a costume change happens off-screen?
Make the time jump or scene break clear, and record the new approved state before creating subsequent shots. For directly adjacent actions, showing the change is usually easier to follow.
Sources
None — practical guide based on the workflow described.
Keywords
storyboard reference, character consistency, consistent character across scenes, character reference, multi-shot continuity, character sheet, consistent character video
Decision: PUBLISH — A distinct, actionable workflow for wardrobe and object continuity across scene transitions.