Straighten a Beach Wedding Photo Without Cropping the Couple
A tilted ocean horizon can make a beach wedding portrait feel wrong, but rotating the frame may cut into the couple. This guide shows how to straighten the original photograph, extend only the empty corners with Seedream 4.5, and check that the finished shoreline still looks believable.
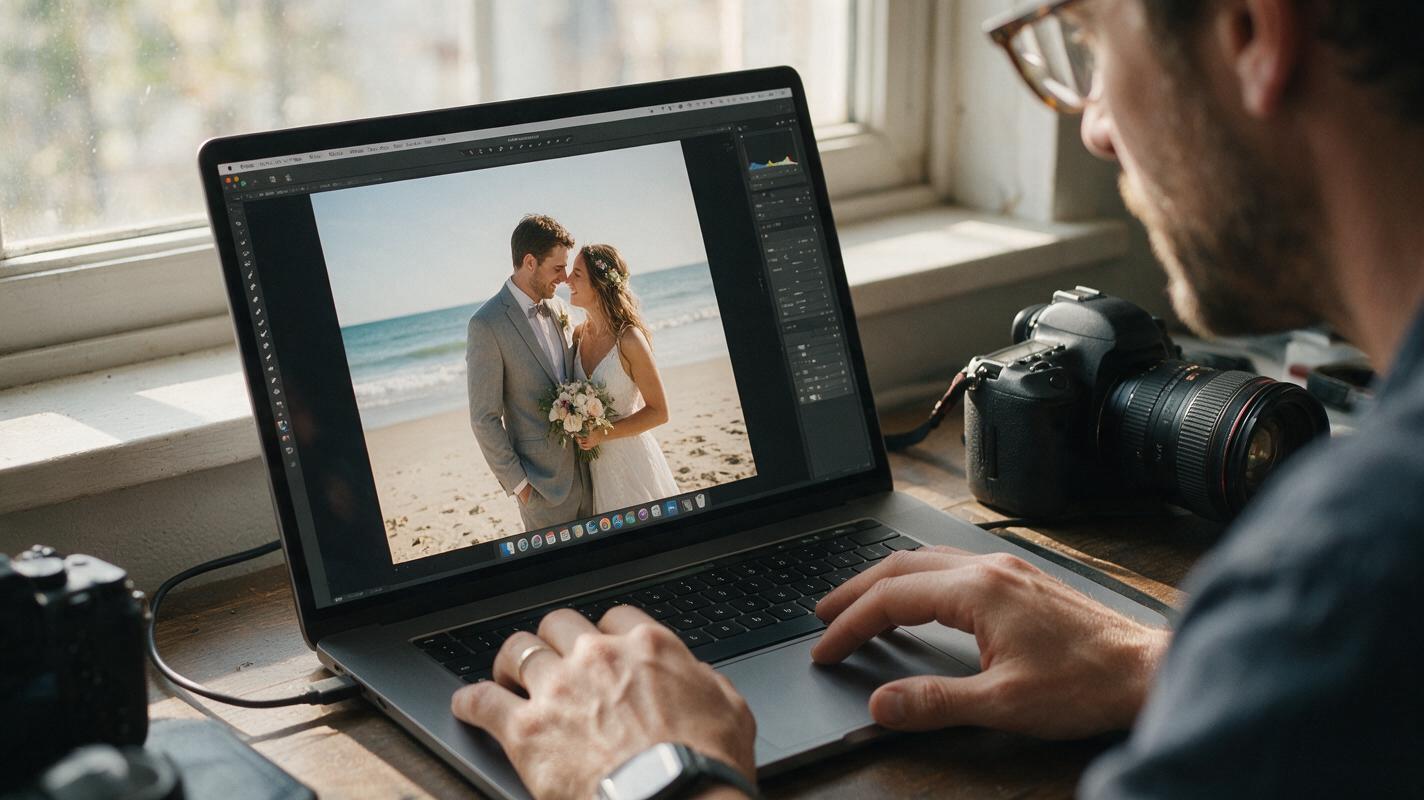
Table of contents
Straighten the horizon without losing the portrait
A crooked ocean horizon is easy to spot in a beach wedding photo. The harder part is fixing it when the couple stands close to the frame edge: rotate the image, and a dress, veil, or arm gets cropped. The safer approach is to straighten the photographed scene first, keep the couple untouched, and generate only the small pieces of beach or sky needed to complete the corners.
Seedream 4.5 is useful for those missing edges, not for recreating the entire portrait. The original photograph remains the source of truth for faces, clothing, light, and the visible shoreline.
Why straightening leaves empty corners
When you rotate a rectangular photograph, its original edges no longer fill the rectangular canvas. Small blank wedges appear, usually at opposite corners. Automatic crop tools hide those gaps by trimming the image inward. That works when the subjects have plenty of breathing room, but it can sacrifice important details in a tightly composed wedding portrait.
Before editing, check what is actually tilted. If the sea horizon slopes while upright buildings or people appear natural, a modest rotation may solve the problem. If the horizon curves because of a wide-angle lens, correct lens distortion first; filling corners will not straighten a curved line. And if a distant shoreline changes height naturally, do not force it to behave like an open-water horizon.
Keep the task narrow: straighten the photographed frame, then fill blank canvas. Do not ask a model to redraw the couple or invent a different beach.
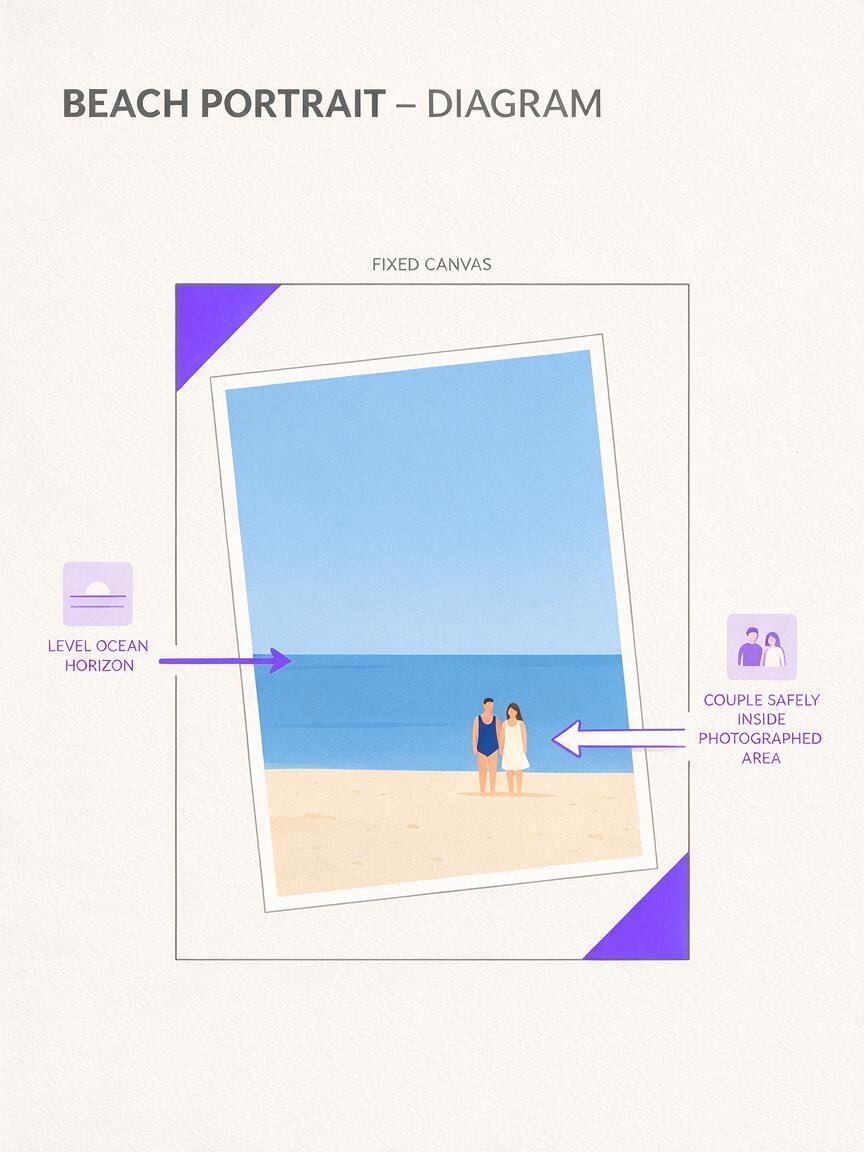
Rotate the original and protect the couple
Make a copy of the full-resolution file and work in an editor that supports rotation, layers, and a canvas larger than the image. Draw a guide along a clearly visible stretch of open-water horizon, avoiding waves that rise and fall. Rotate until that distant line looks level. Judge the result at both screen-fit and close-up views: an apparently perfect guide can still make people feel tilted if you chose the wrong line.
Keep the expanded canvas rather than accepting an automatic crop. If your editor offers a transparent background after rotation, leave it transparent for now. Identify which empty wedges contain simple sky, which touch water, and which might intersect a complex feature such as a pier, railing, or nearby guest.
- Protect the subjects: keep the original pixels of faces, hair, hands, dress, suit, and veil in the final composite.
- Protect recognizable details: do not generate replacements for a venue sign, landmark, or object that matters to the memory of the event.
- Keep a crop option: a slight crop is often cleaner than generating a large or complicated corner.
For a wedding gallery, save the unaltered original alongside the edited version. A client may prefer the wider, tilted moment to an image with reconstructed scenery.
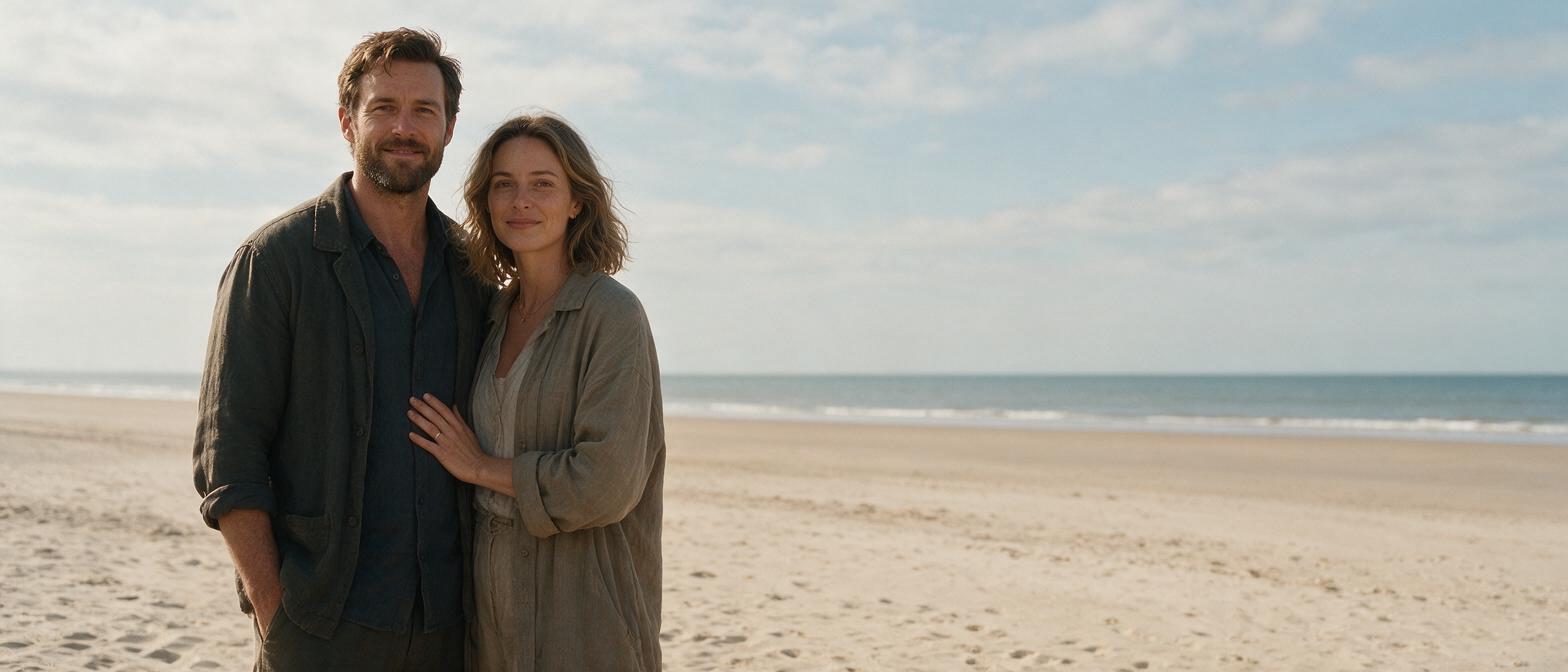
Fill only the missing shoreline
Start with the easiest wedge, usually a piece of unobstructed sky or sand. Give Seedream 4.5 the rotated photograph as its visual reference. If the editing interface supports a mask, select only the transparent corner and a narrow strip of adjacent background so the new pixels have something to match. Keep the selection away from the couple. If masking is unavailable, generate an extended background separately and composite the original rotated photograph over it.
Reserve ai image generation for the missing canvas, not the parts of the wedding that the camera already captured. Work on one visually distinct corner at a time so you can reject a bad shoreline without losing an otherwise good sky.
Use this prompt as a starting point for a corner containing sky and distant water:
Extend only the blank corner of the supplied rotated beach photograph. Continue the existing sky color, cloud softness, distant ocean horizon, and natural grain from the adjacent photographed pixels. Keep the distant horizon level and continuous. Match the original camera perspective and time-of-day lighting. Do not change any existing pixels of the couple, their clothing, guests, or visible beach. Add no boats, people, buildings, text, or dramatic waves.For a sand-only corner, replace the sky and ocean instructions with the sand texture, shadow direction, and depth visible beside the gap. A short, specific prompt generally gives you more to evaluate than a request for a “beautiful cinematic beach.” Test this prompt yourself on a copy of a suitable photograph, then compare each result with the original before using it in a gallery.
If a blank wedge crosses the horizon itself, generate carefully and expect to retouch the join manually. A one-pixel change in the distant line can become conspicuous across a wide image. When the model adds a second horizon, changes the color of the sea, or invents a wave pattern that points the wrong way, reject that result rather than trying to disguise every error with a heavy blur.
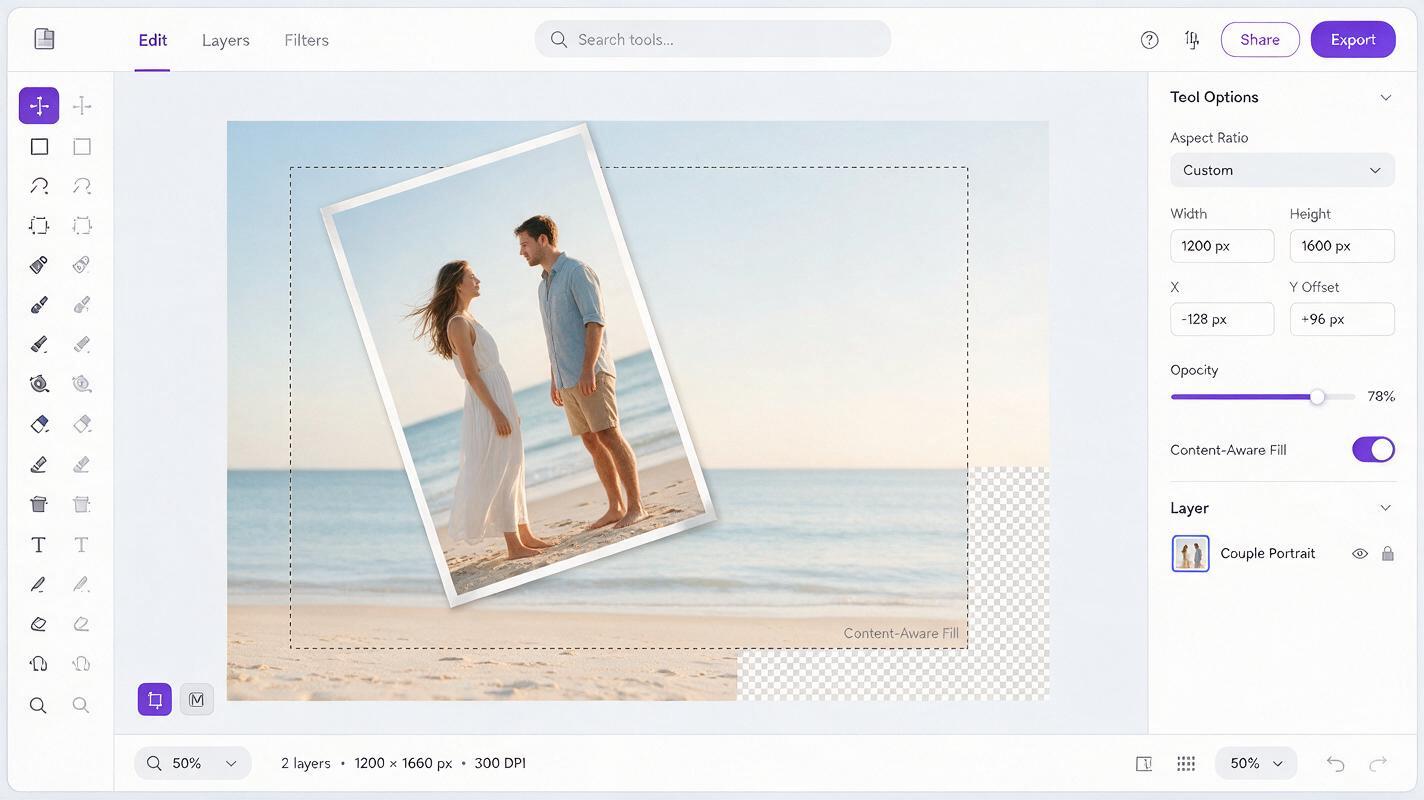
Check whether the horizon still looks photographed
Place the best extension beneath the rotated original. This preserves the photographed center and lets you refine only the transition into the new corners. At 100% view, inspect the seam for repeated clouds, sudden changes in grain, doubled wave crests, and sand that switches scale. Check the full frame again afterward: a technically smooth corner can still draw attention if it is brighter or more detailed than the rest of the beach.
Pay particular attention to the point where sky meets water. The line should meet the original horizon without a kink or sudden change in haze. Sample nearby color when needed, and add subtle grain to the generated patch if it looks unnaturally smooth. Avoid blurring across the horizon; that usually hides one problem by creating another.
Now compare the finished version with the untouched file side by side. Ask whether the rotation improves the photograph enough to justify the reconstructed edges. If you had to synthesize a large area, cover a landmark, or change meaningful wedding details, choose a gentler crop or deliver the original instead. For documentary moments, be transparent about substantive alterations when they matter to the client or the intended use.
Final checklist
- The distant horizon is level, without forcing a naturally uneven shoreline into a straight line.
- The couple and meaningful details still come from the original photograph.
- Generated pixels occupy only the missing edges and blend with nearby light, perspective, and grain.
- No new people, objects, or conspicuous wave patterns have appeared.
- The edited image looks better than both a modest crop and the untouched original.
Keywords
straighten beach wedding photo, fix crooked horizon, Seedream 4.5, wedding photo editing, generative fill, extend photo edges