How to Add a Talking Agent Head to Listing Videos With AI Lipsync
Personalized agent talking heads build trust and boost engagement for listing videos, but filming on-location intros for every property is time-consuming. This tutorial shows real estate marketers how to use AI lipsync to turn a single agent headshot and script into a synchronized talking head overlay, paired with animated listing photos, for professional personalized tour videos in minutes. It includes headshot prep tips, sample scripts, animation prompts, and troubleshooting for common glitches.
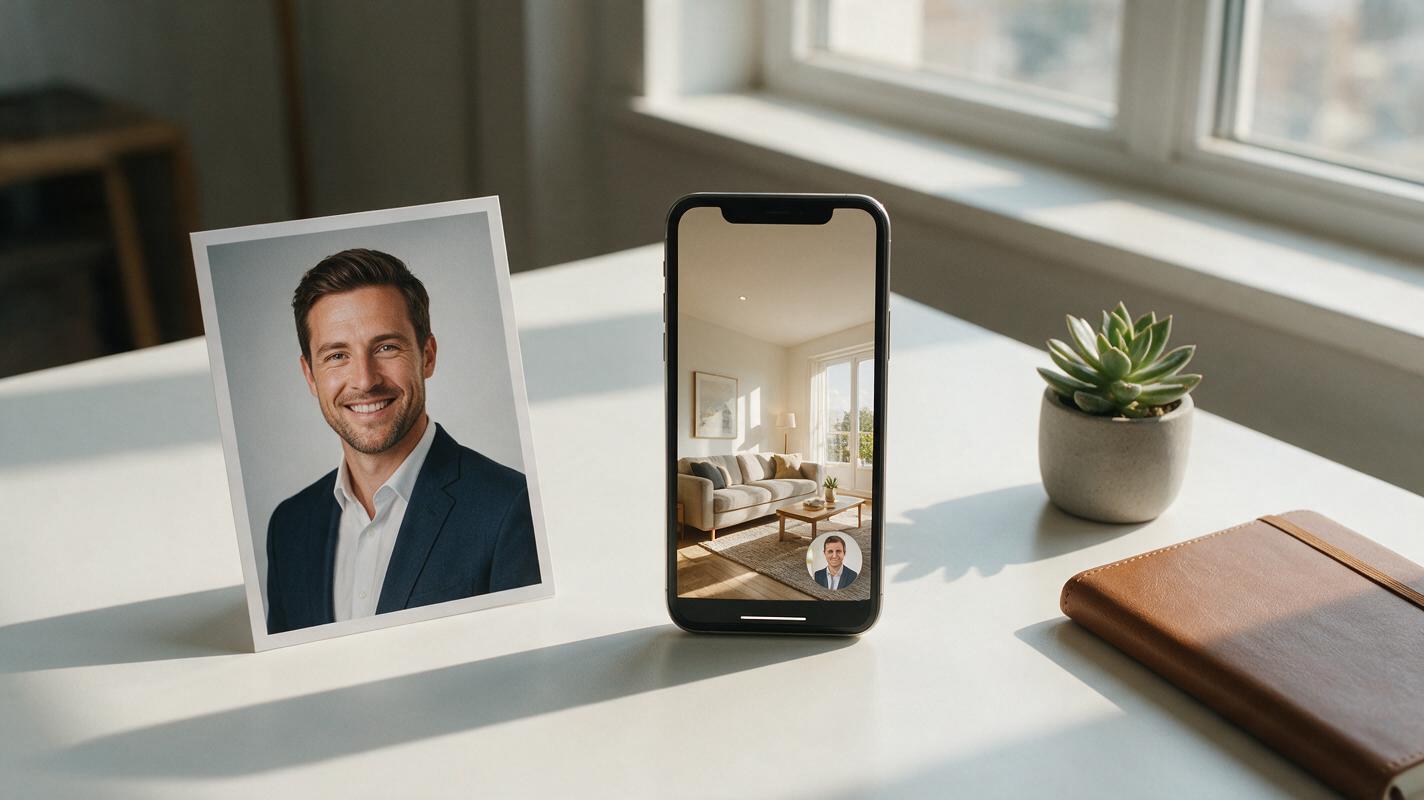
Table of contents
Why add a talking agent head to listing videos?
Silent, music-only listing reels blend into every social feed. A friendly, familiar agent face walking viewers through key property details builds instant trust, boosts click-through rates on property pages, and leads to more qualified inquiry calls — without the need to film on-location intro clips for every new listing.
AI lipsync turns a single professional headshot and a written or recorded script into a perfectly synchronized talking head clip you can overlay on any listing tour footage. For busy real estate teams, this cuts hours of filming and editing per week while keeping every video feeling personal and on-brand.
What you need to get started
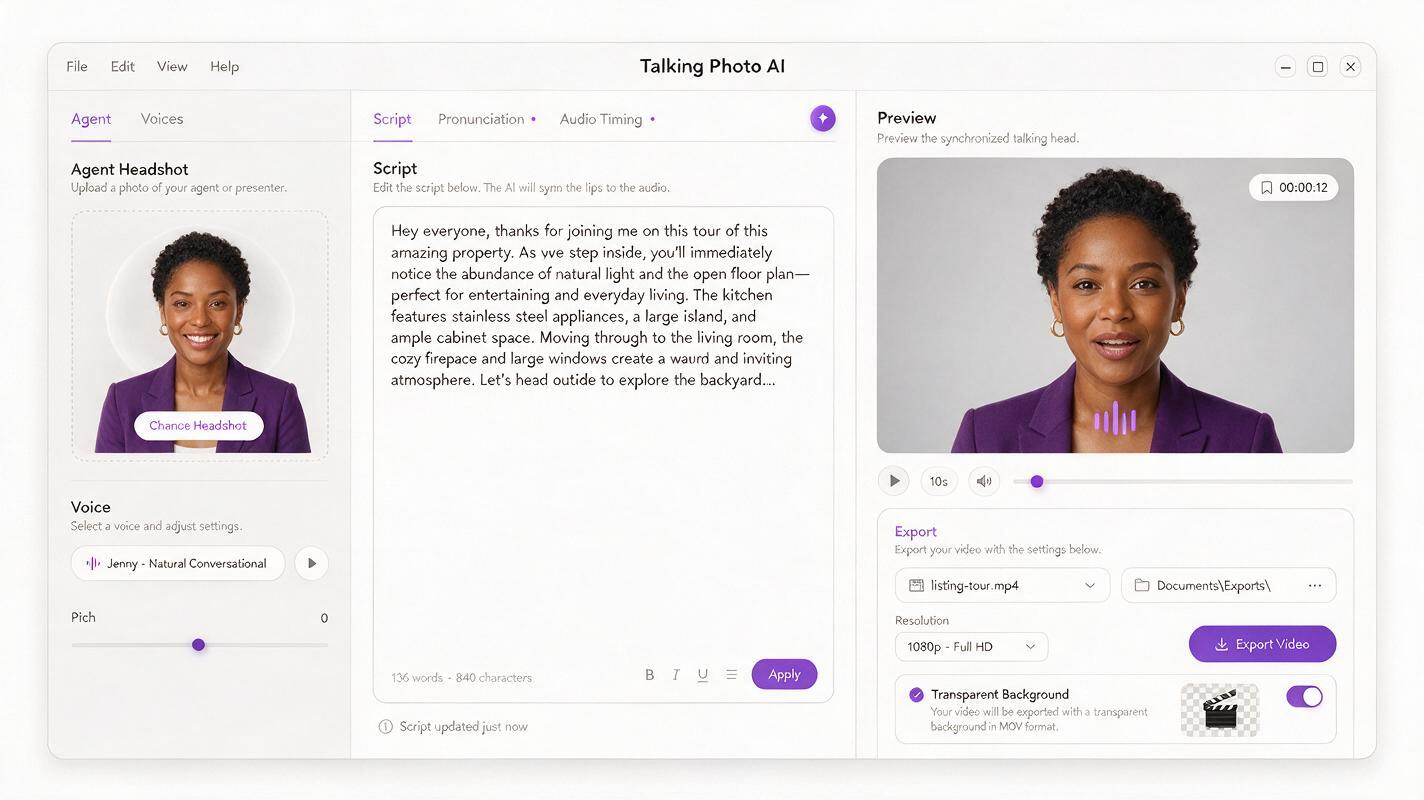
You don’t need a full video studio to pull this off. Gather these three core assets first:
- High-resolution agent headshot: Chest-up, front-facing, with a neutral to gentle smile, even lighting, and no obstructions covering the mouth (no face masks, tinted glasses, or hand near the face). A plain or softly blurred background works best.
- 30–90 second tour script: Focus on 2–3 key selling points of the property, plus a warm opening and clear call to action. Match the tone to your audience (e.g., energetic for first-time buyers, polished for luxury listings).
- 3–5 key listing photos: Pick the hero shots that align with your script’s highlights — for example, the living room, kitchen, primary bedroom, and backyard. These will become the animated background footage for your tour.
You’ll also need access to talking photo ai for the lipsync clip and an image to video tool to add subtle motion to your listing photos.
Prep your headshot for natural, glitch-free lipsync
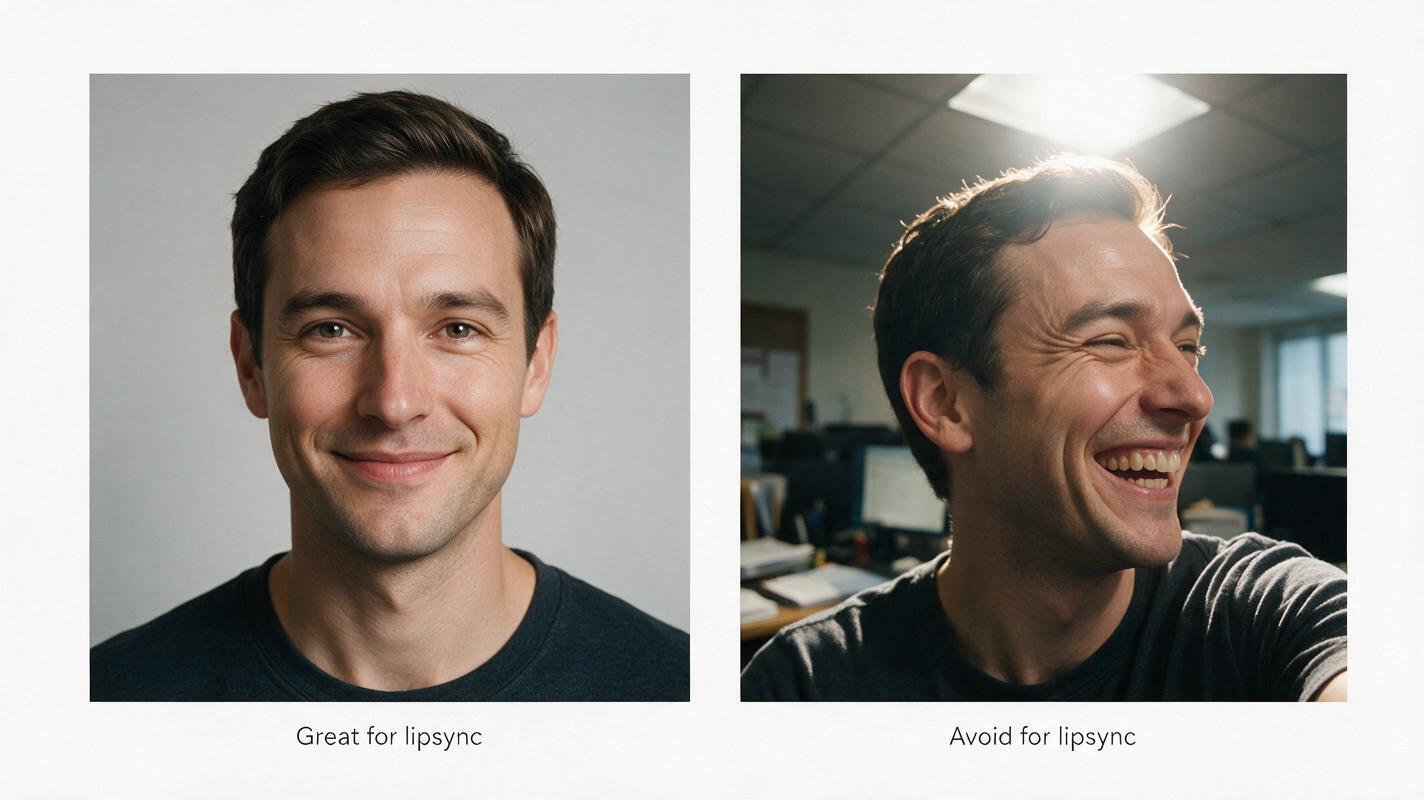
The quality of your source headshot makes or breaks the final result. Skip selfies taken in harsh overhead light — a professional headshot will give you the cleanest output. Follow these rules to avoid common glitches like misaligned jaws or warped facial features:
- Crop the image to chest-up, with the face centered and taking up 60–70% of the frame. This gives the model clear data to work with.
- Use a photo with a closed-lip or very slightly open neutral expression. Wide grins or exaggerated expressions can cause inconsistent lip movement.
- Make sure the lighting is even on both sides of the face, with no harsh shadows covering the mouth or chin.
- Remove any large earrings, scarves, or collars that block the jawline — these can confuse the lipsync model about where the face ends.
Pro tip: If you only have a headshot with a busy office background, use a simple background removal tool first to isolate the face. This will make it easier to export a transparent talking head clip later.
Generate your synchronized talking head clip
Once your headshot is prepped, upload it to your chosen talking photo ai tool. Most tools let you either type a script and select a synthetic voice, or upload a pre-recorded voice clip of the agent. For the most authentic result, use a short recording of the agent’s real voice if available — the lipsync will align more naturally with their unique speaking pace.
When writing your script, keep sentences short and conversational. Avoid jargon, and pace the script to match 150–160 words per minute, which is the natural speaking rate for most people. Here’s a sample 30-second intro script for a suburban family home:
Hi there, I’m Jamie from Brookside Realty.
Today I’m walking you through this stunning 3-bedroom, 2-bath ranch in Maplewood —
just steps from the top-rated elementary school and downtown shops.
Let’s start with the sunlit living room, perfect for cozy family nights.
Before exporting, set the output to a transparent background (PNG sequence or WEBM with alpha channel) if the option is available. This lets you place the talking head anywhere over your listing footage without an awkward box around it. If transparent export isn’t available, use a solid green background and key it out later in your video editor.
If you notice glitches in your first pass:
- Misaligned lips: Try slowing down the voiceover speed by 5–10%, or use a clearer audio file with no background noise.
- Warped facial features: Use a higher-resolution source photo, or pick one with a more neutral expression.
- Unnatural eye movement: Choose a tool that lets you lock eye direction, or use a headshot where the agent is looking directly at the camera.
Animate your listing photos for background footage
Static photos behind a talking head feel flat. Use Vidu’s image to video tools to add subtle, cinematic motion to each of your key listing photos, timed to match the sections of your script. For example, when your script talks about the living room, use a slow pan across the living room photo; when it mentions the backyard, use a gentle zoom out to show the full space.
Stick to slow, smooth motion — fast zooms or pans will feel distracting and take focus away from the agent’s message. Here’s a reusable prompt for animating interior listing photos:
Slow, smooth pan from left to right across a bright, modern living room with hardwood floors and a fireplace.
Photorealistic, no distortion, architectural details preserved, 12 seconds long, cinematic lighting.
For exterior shots, use a slight zoom out to showcase the full home and yard. Keep each clip 10–15 seconds long to match the pace of your script, so the footage changes right as the agent moves to the next feature.
Combine and brand your final tour video
Once you have your talking head clip and your animated listing clips, bring them together in a simple video editor (or use a built-in composition tool if your AI platform offers it). Follow these layout rules for a professional, uncluttered look:
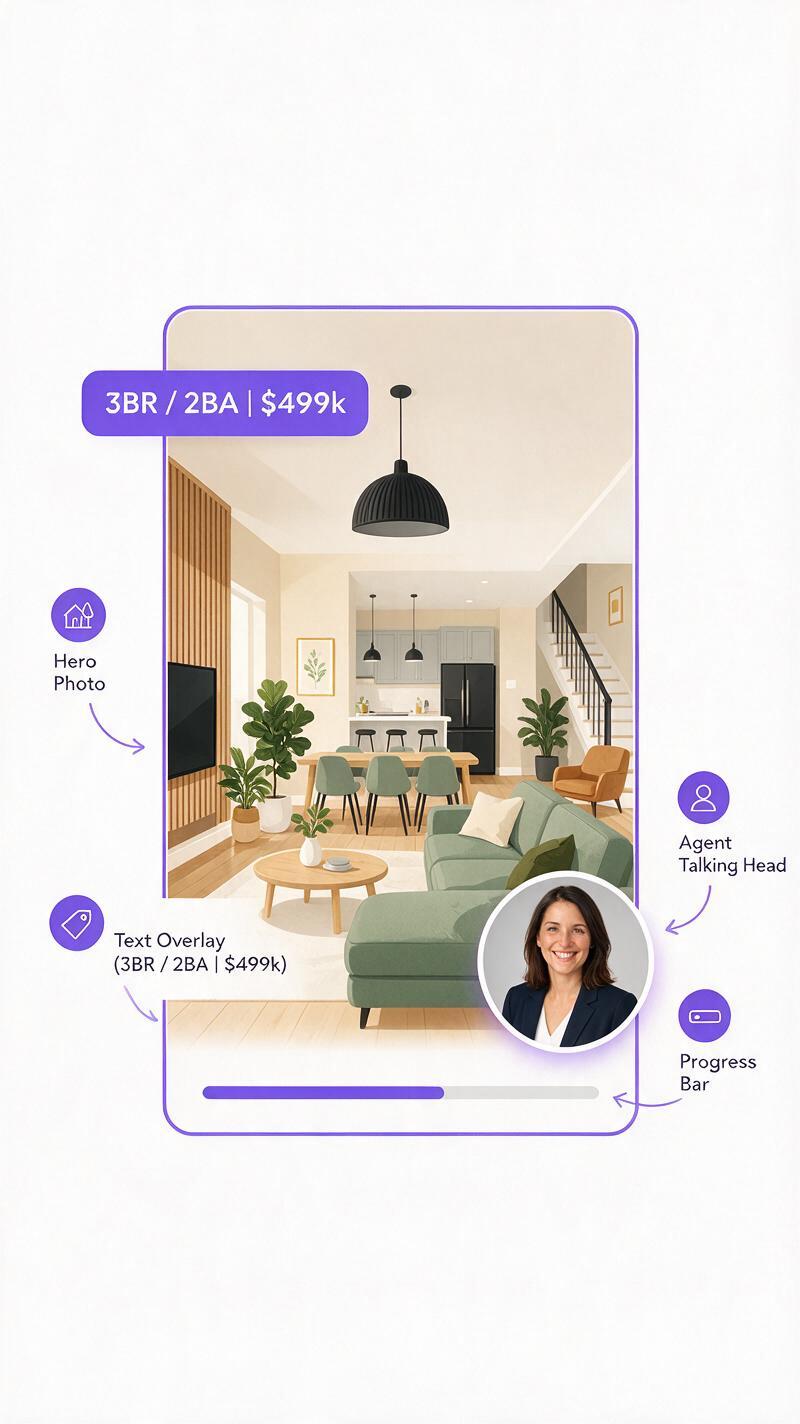
- Position the talking head in the bottom-right corner of the screen, sized to 15–20% of the total width. This keeps it visible without blocking key property features like countertops or windows.
- Add a thin white border or subtle drop shadow around the talking head to make it pop against both light and dark listing footage.
- Layer soft, instrumental background music under the agent’s voice, set to 15–20% volume so it doesn’t overpower the narration.
- Add text overlays for key details (price, square footage, bedroom/bath count) in the top-left corner, using a clean, readable font that matches your brand.
- End with a 3-second call-to-action card with the agent’s name, contact info, and brokerage logo.
Ethical note: Always get explicit permission from the agent to use their likeness for AI-generated lipsync content. If you’re using a synthetic voice instead of the agent’s real voice, disclose this clearly in the video description or on-screen text to maintain transparency with viewers.
Key takeaways
- AI lipsync turns a single agent headshot and script into a personalized talking head overlay for listing videos, cutting down on filming time.
- Start with a high-quality, front-facing headshot with even lighting and a neutral expression to avoid glitches.
- Pair the talking head with slow, smooth animated listing photos to keep focus on the property’s key features.
- Position the talking head in the bottom-right corner, sized small enough to not block important property details.
- Always get agent consent and disclose synthetic voice use to maintain trust with viewers.
Ready to build your first personalized listing tour? test this prompt yourself with your own agent headshot and a favorite listing photo.
Keywords
ai lipsync, talking agent head, listing videos, real estate marketing, personalized property tours, photo lipsync, talking photo ai