How to Make Cinematic Luxury Property Tours With Text to Video AI
Learn how to create cinematic luxury property tour videos from scratch using text-to-video AI, ideal for pre-construction, off-market, or coming-soon luxury listings with no existing visual assets. This guide compares top AI video models for real estate, includes reusable prompt templates, and shares fixes for common rendering issues like warped walls and unrealistic finishes. You’ll walk away with a step-by-step workflow to produce professional-quality tours in hours instead of weeks.
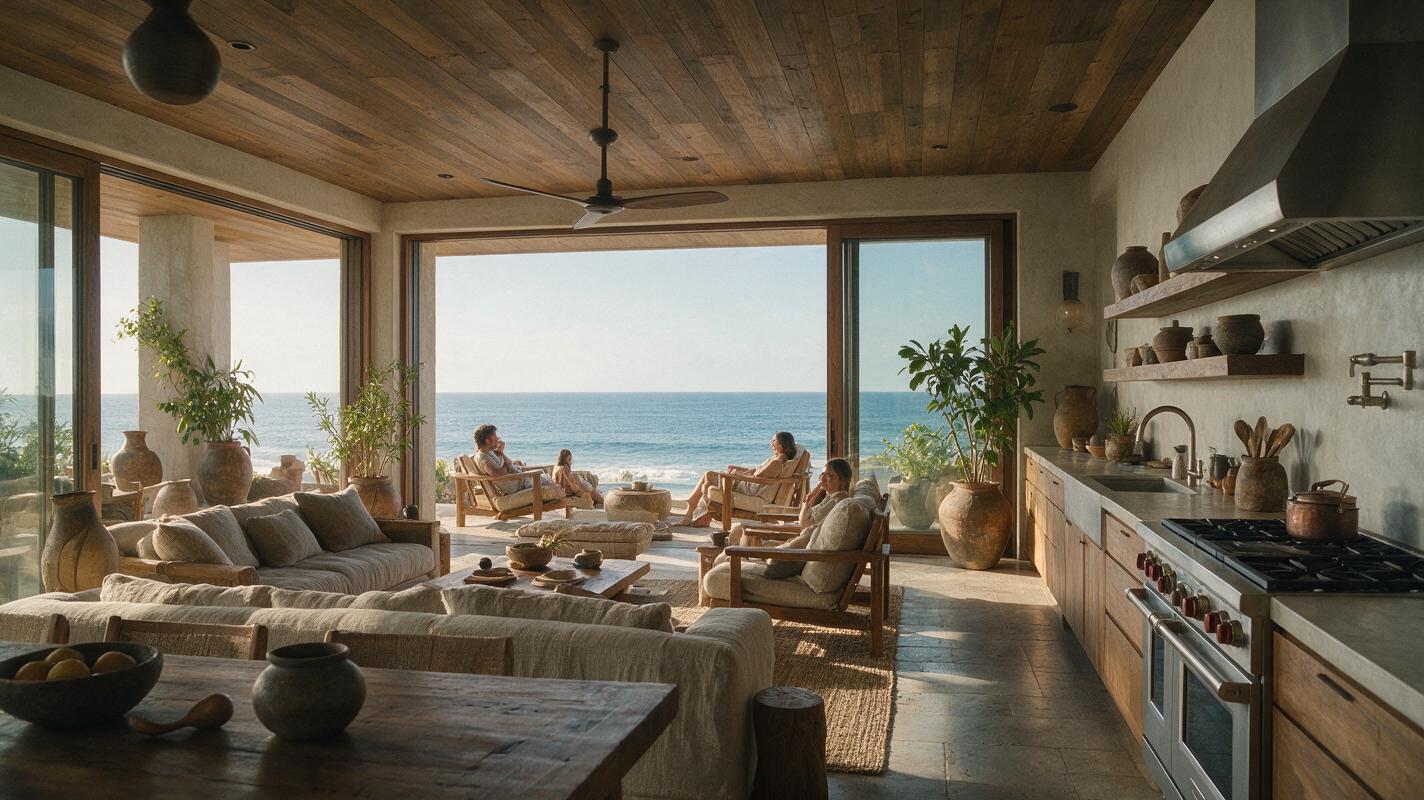
Table of contents
Why text-to-video AI is a game-changer for luxury property marketing
If you’ve ever struggled to build hype for a pre-construction luxury home or off-market listing with no professional photos or video footage, text-to-video AI lets you create a cinematic property tour in hours instead of waiting weeks for a build or private shoot.
Luxury real estate marketers rely on high-end, immersive visuals to qualify high-net-worth buyers early and justify premium pricing. But for pre-construction properties, coming-soon listings, or off-market estates, you often have zero existing visual assets to work with. Traditional 3D renderings can cost thousands of dollars and take 2–4 weeks to produce, and they rarely capture the dynamic, lived-in feel of a real video tour.
With text to video AI, you can generate full, cinematic property tour videos from a simple written description, complete with realistic finishes, smooth camera movement, and accurate architectural details. This guide walks you through a step-by-step workflow to build luxury tours that look like they were shot by a professional videographer, plus a breakdown of top AI models, reusable prompts, and fixes for the most common rendering mistakes.
Step 1 — Map out your luxury property tour storyline first
The biggest mistake new users make is typing a generic prompt like “luxury home tour” and expecting a cohesive, high-quality result. Just like a professional in-person tour, your AI tour needs a clear, logical flow that highlights the property’s most valuable features first.
Start by drafting a 5–8 scene storyline that follows the same path a buyer would take during a private showing. A standard luxury tour structure includes:
- Opening exterior drone shot: Establishes the property’s location, curb appeal, and setting (e.g., oceanfront, mountain view, gated community)
- Grand foyer entry: Shows scale, first impression details like high ceilings or a statement staircase
- Main living area: Highlights open floor plans, high-end finishes, and access to outdoor space
- Chef’s kitchen: Focuses on premium appliances, stone countertops, and custom cabinetry
- Primary suite: Showcases bedroom size, closet space, and luxury bathroom details
- Outdoor living area: Features pools, outdoor kitchens, landscaping, and views
- Closing sunset exterior shot: Leaves a memorable final impression of the property
For each scene, note 3–5 key details: architectural style, specific finishes, camera movement, lighting, and any unique selling points (e.g., “wine cellar”, “home theater”, “infinity pool”). The more specific you are at this stage, the less time you’ll spend fixing bad renders later.
Step 2 — Pick the right text-to-video AI model for your luxury tour
Not all AI video generators are built equally for real estate. Some excel at architectural accuracy, while others produce more realistic material finishes or smoother camera movement. The table below compares four top models for luxury property tours, based on real-world testing with residential real estate prompts:
| Model | Architectural Accuracy | Finish Realism | Camera Control | Max Clip Length | Best For |
|---|---|---|---|---|---|
| Seedance | Excellent | Very Good | Precise | 10 minutes | Long-form full property tours, sequential walkthroughs |
| Kling 1.6 | Very Good | Excellent | Good | 2 minutes | Close-ups of high-end finishes, cinematic b-roll |
| Runway Gen-3 | Good | Good | Very Good | 1 minute | Short social cuts, quick concept tests |
| Veo | Very Good | Very Good | Excellent | 5 minutes | Drone exterior shots, smooth flythroughs |
As a starting point: use Seedance if you need a full 5+ minute walkthrough tour, Kling for hyper-realistic finish close-ups, and Veo for all exterior drone scenes. You can mix clips from multiple models to get the best of every feature.
Step 3 — Write prompts that produce realistic luxury property footage
The quality of your AI tour depends almost entirely on the quality of your prompts. A good real estate text-to-video prompt follows this consistent structure:
[Scene type] + [Architectural style + core property details] + [Specific finishes/materials] + [Camera movement] + [Lighting + time of day] + [Quality + error-prevention modifiers]
Adding error-prevention modifiers (like “no warped walls” or “no people”) cuts down on the number of bad renders you’ll get by 30–40% in most tools.
Here are two reusable, tested prompts you can adapt for your own listings:
Exterior drone shot prompt
Cinematic drone flythrough of a modern Mediterranean luxury estate in Malibu, white stucco exterior with terracotta tile roof, floor-to-ceiling glass walls, infinity pool overlooking the Pacific Ocean, palm trees lining the circular driveway, slow smooth drone pullback starting at the front door and rising to show the full property and ocean view, golden hour light, warm soft glow, 4K, cinematic color grading, no people, photorealistic, no warped walls, no distorted architecture
Main living room prompt
Slow dolly forward through a grand double-height living room in a modern mountain luxury home, wide-plank white oak hardwood floors, floor-to-ceiling sliding glass doors opening to a backyard hot tub and mountain views, Calacatta marble fireplace, neutral linen sofas, floor-to-ceiling built-in oak bookshelves, soft natural morning light streaming through south-facing windows, 4K, cinematic, photorealistic, no people, smooth gimbal movement, no floating furniture, no warped walls
Test this prompt yourself with your own property details to see how quickly you can generate a realistic luxury scene. For best results, keep individual clips to 15–30 seconds long — shorter clips have far fewer structural and consistency errors than long, unbroken shots.
Step 4 — Fix common text-to-video real estate rendering issues
Even with great prompts, you’ll likely run into a few common rendering issues with AI video tools. Use these troubleshooting fixes to get polished, professional results:
- Distorted architecture, warped walls, or uneven floors: Add specific structural details to your prompt, such as “standard 9-foot ceilings, rectangular rooms, straight door frames, level hardwood floors”. Use Seedance or Veo for scenes where structural accuracy is critical, as both models have stronger architectural understanding than most alternatives. For long scenes, split them into multiple 15-second clips and stitch them together later.
- Unrealistic, plastic-looking finishes: Name specific, high-end material grades instead of generic terms (e.g., “Calacatta Viola marble with natural grey veining” instead of “marble countertops”, “rift-cut white oak with matte oil finish” instead of “wood floors”). Kling produces the most realistic material textures of the models listed, so use it for close-up shots of kitchens, bathrooms, and detail features.
- Jerky or unnatural camera movement: Be extremely specific about camera speed and type (e.g., “slow linear dolly forward at walking pace, smooth gimbal, no shaking”). Avoid asking for multiple camera moves in a single clip (e.g., “pan left then dolly forward”) — this almost always results in jittery movement. Veo and Runway have the most reliable camera controls for smooth, cinematic motion.
- Inconsistent design across clips: Create a 1-page master property spec sheet with all core details (exterior color, floor material, cabinet color, countertop type, window style) and copy the exact same details into every scene prompt. If your chosen model supports reference-based generation, use your first high-quality clip as a visual reference for all subsequent clips to lock in the design.
Step 5 — Stitch clips into a polished luxury property tour
Once you have all your individual scene clips, assemble them into a cohesive tour using a simple video editor like CapCut, Adobe Premiere Pro, or even the built-in editor in your AI video tool. Follow these luxury tour best practices for a professional finish:
- Arrange clips in the order of your pre-planned storyline, starting with the exterior and moving inside room by room
- Use slow crossfade transitions (1–2 seconds) between scenes — hard cuts feel jarring for luxury content
- Add a low-volume, ambient cinematic instrumental track (avoid lyrics, which distract from the property)
- Overlay subtle text callouts for key features (e.g., “6-Bedroom Estate | 12,000 Sq Ft | Oceanfront”) and your brokerage logo
- For an extra premium touch, add a warm, professional AI voiceover to guide viewers through each space
The final result will be a 3–7 minute cinematic luxury tour that looks indistinguishable from a professionally shot video, at a fraction of the cost and turnaround time.
Final checklist
- Draft a logical 5–8 scene storyline following a natural buyer tour flow
- Choose the right AI model for each scene based on strength (architecture, finishes, camera movement)
- Use the structured prompt formula with specific details and error-prevention modifiers
- Troubleshoot common issues (warped walls, fake finishes, jerky movement) with targeted prompt tweaks
- Stitch clips together with slow transitions, ambient music, and subtle branding for a polished finish
Keywords
text to video, luxury property video, property tours, real estate marketing, ai video generator, listing concepts, prompt templates