Transparent Product Render Backgrounds Without Losing Glass or Shadows
Removing a product render’s background is straightforward until the design includes a clear lens, frosted housing, or contact shadow. This guide shows how to prepare a separable backdrop, build a careful cutout, and test the result without mistaking a presentation image for a technically accurate material render.
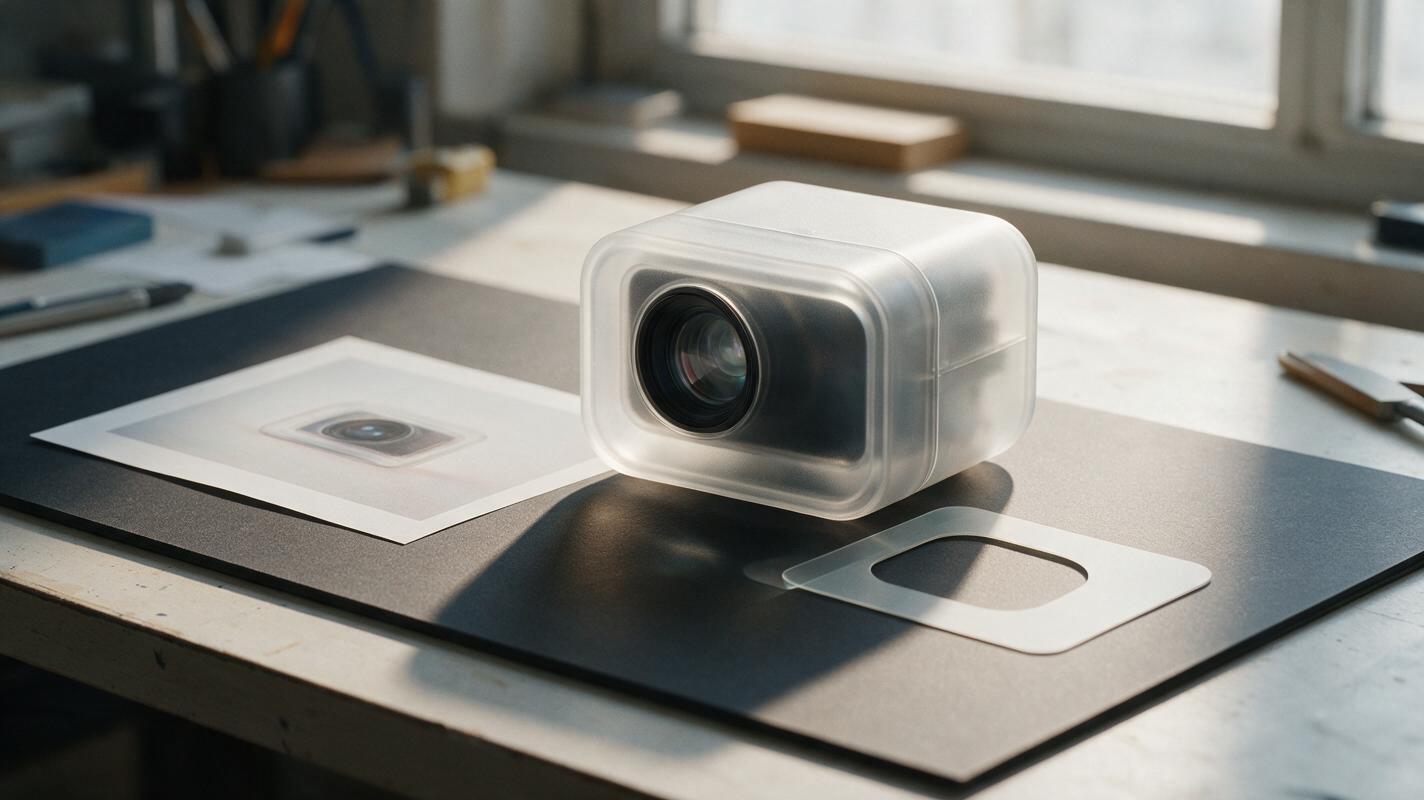
Table of contents
A transparent background is not just a white background
A cutout can look convincing on white and fall apart the moment a product team places it on a dark presentation slide. Clear lenses turn opaque, frosted plastic loses its edge, and a soft contact shadow becomes a gray rectangle. The goal is not simply to erase the backdrop: it is to preserve the approved design while making its visible material and shadow behavior usable in new layouts.
For product concepts with glass, translucent plastic, or polished edges, treat the source render, product mask, and shadow as separate assets. An AI-assisted background edit can make separation easier, but the final transparent file still needs inspection in an image editor.
Audit the pixels before removing the backdrop
Start with the highest-resolution approved render available. Check whether the product is sharp, whether its entire silhouette is visible, and whether a hand, prop, or reflection crosses its edge. A cutout cannot reliably recover a boundary that was never visible.
Identify three regions before making a selection:
- Opaque body: solid housing, buttons, feet, and other surfaces that should remain fully visible.
- Translucent details: lenses, light pipes, frosted covers, and transparent windows whose appearance depends partly on what sits behind them.
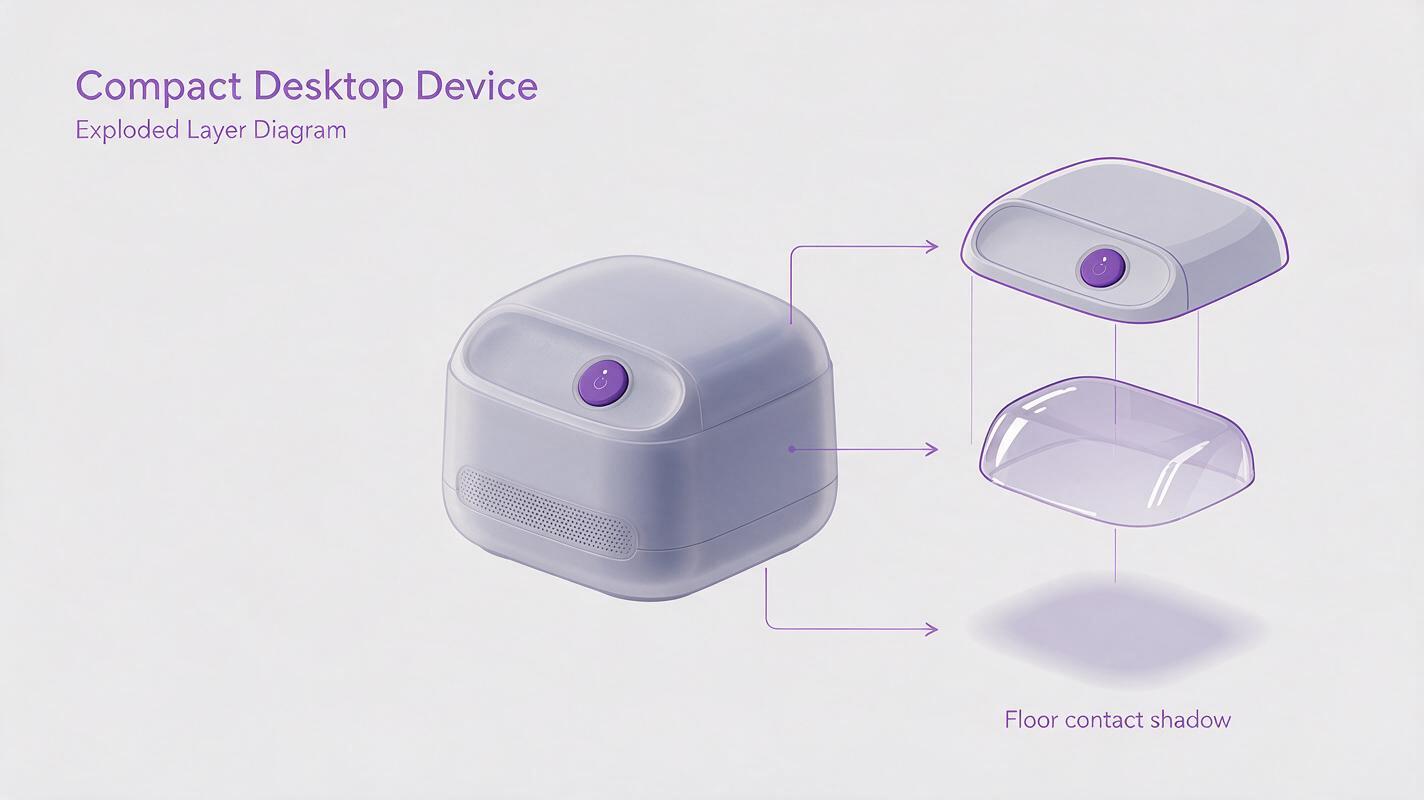
- Environmental effects: cast shadow, contact darkening, and backdrop reflections that may belong on separate presentation layers rather than inside the product cutout.
A black rubber foot against a dark floor may have no clean boundary. A clear lens photographed against a white set may contain white reflections that remain visible even after the white backdrop is removed. Flag those areas rather than assuming a single background-removal command will resolve them.
Use a neutral reference edit when separation is poor
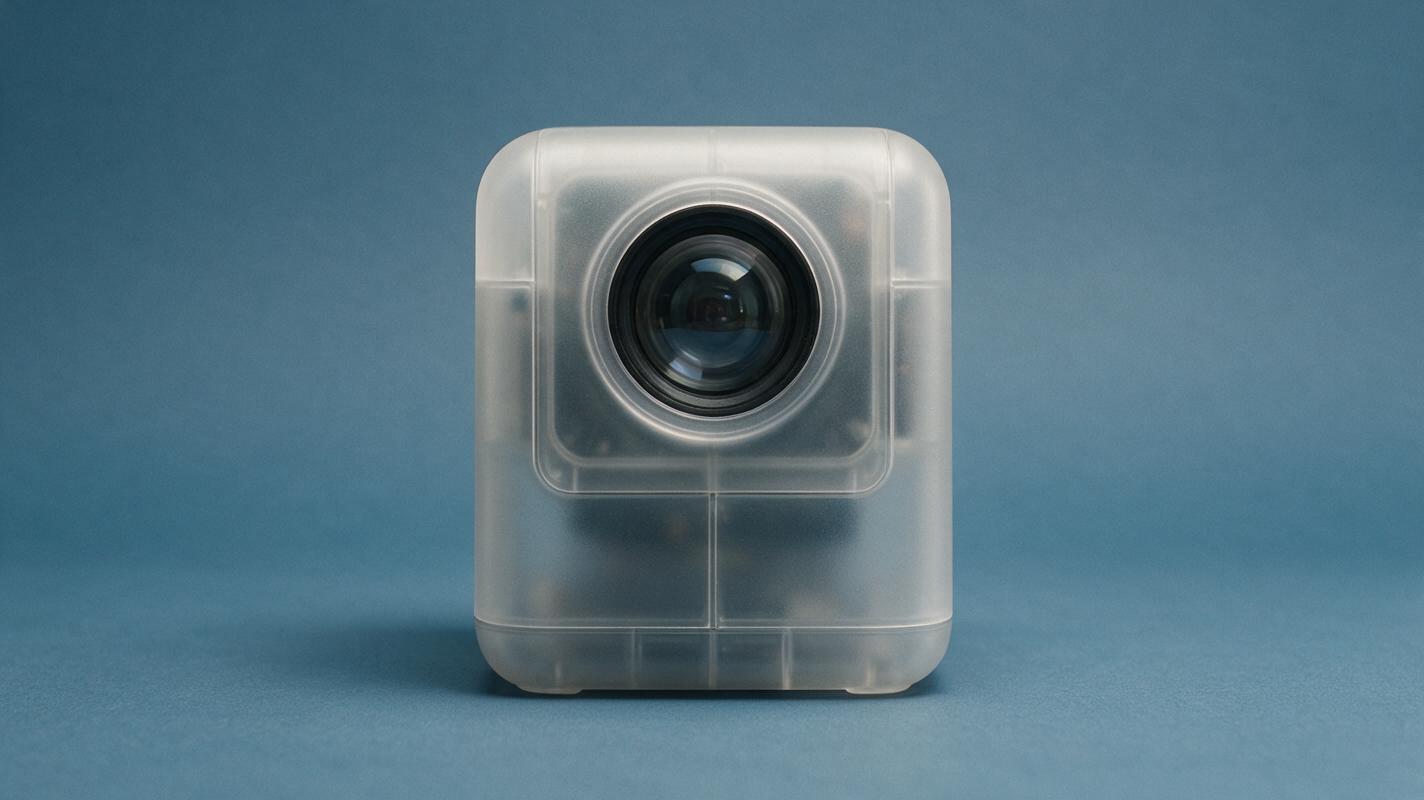
If the approved image has low contrast around its edges, create a working copy with the product against a plain, contrasting backdrop. Reference-guided editing with Nano Banana Pro can help produce a cleaner image for masking. It should not replace the approved render automatically: compare the result against the source for changes to seams, controls, lens shape, and proportions.
In an ai image generator, upload the approved render as the reference and ask for a backdrop-only change. Choose a matte background color that differs from both the opaque housing and the transparent details. Avoid a checkerboard in the prompt; a drawn checkerboard is still an opaque image, not an alpha channel.
Use the uploaded product render as the exact design reference. Preserve the product silhouette, lens geometry, buttons, seams, colors, material finishes, camera angle, and crop. Replace only the setting with an evenly lit, matte muted-blue background with no props, gradients, reflections, text, or added shadow. Keep the complete product visible. Do not redesign or reconstruct any product detail.That prompt produces a masking aid, not a verified transparent export. If the edited image alters a design feature, use it only to help locate the boundary—or discard it—and retain the original product pixels for the final composition.
Separate the product mask from the contact shadow
In an image editor, select the solid product first and refine its mask at full viewing size. Keep an unedited copy beneath it so you can compare corners, button gaps, and fine seams. Hard manufactured edges should look crisp; soft translucent boundaries may need partial opacity rather than a hard white-or-black mask.
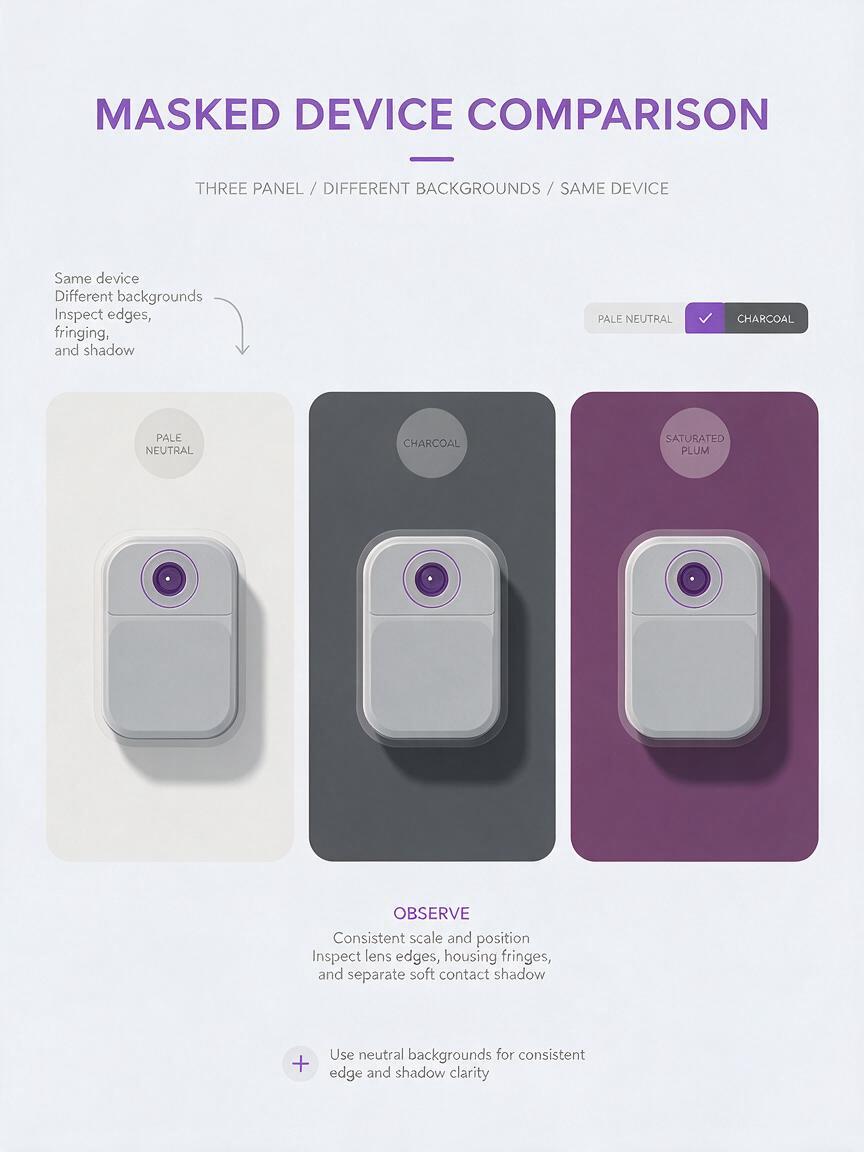
Inspect the mask on both a pale background and a saturated dark one. A light fringe usually means background-colored pixels remain along the edge. An unnaturally dark outline can mean the selection has cut too far into the product. Correct the local mask instead of shrinking the entire selection and damaging delicate details elsewhere.
Put the shadow on its own layer where possible. A contact shadow is useful when the product sits on a surface, but it may be wrong for a floating specification layout. If the original shadow is fused into a complex backdrop, make a new, restrained shadow for the destination composition rather than preserving an obvious rectangular patch.
Glass needs special treatment: a clear lens is not an empty hole. Retain its highlights, tint, frame, and visible surface cues. Use partial transparency only where the source and intended presentation support it; a flat concept render cannot reveal the lens’s true behavior against every future background.
Test the cutout on contrasting destinations
Place the masked product over three temporary backgrounds: light neutral, dark neutral, and one saturated brand color. These reveal different failures. White halos stand out on dark slides; missing dark seams become apparent on pale ones; color contamination shows up against saturated backgrounds.
| What you see | Likely cause | Practical correction |
|---|---|---|
| Pale outline around the shell | Backdrop pixels remain in the edge | Refine that mask edge and remove the local color fringe. |
| Lens looks like a solid sticker | Transparent area was selected as fully opaque | Adjust its mask separately while keeping reflections and frame details. |
| Gray box beneath the product | Original floor was included with the shadow | Separate or replace the shadow; inspect it on a dark background. |
| Buttons or seams changed shape | Reference edit reconstructed the product | Return to the approved source pixels and rebuild the mask. |
Export a lossless file with transparency, such as PNG, and open the exported file again over a contrasting color. A transparency grid shown inside an editor does not prove that the saved file contains usable alpha. Keep the layered working file so the product edge and shadow can be revised independently.
Decide when a new render is the honest answer
A cutout is appropriate for decks, concept boards, and early product hero compositions when its limitations are visible and manageable. It is less dependable when a large clear surface must accurately refract a new environment, when the product contains complex internal glass, or when precise material approval depends on the result. In those cases, render the product in the destination scene from the underlying 3D asset if one exists.
If you only have a flat source image, label AI-assisted versions as concept presentation artwork rather than evidence of final optical performance. The strongest result is often a carefully masked approved render with a separately controlled shadow—not a fully regenerated product.
Final checklist
- The approved silhouette, controls, seams, and lens geometry still match the source.
- Opaque edges are clean; translucent areas retain plausible highlights and tint.
- No backdrop-colored fringe appears on light, dark, or saturated slides.
- The contact shadow can be adjusted or removed independently.
- The exported file has been reopened and checked for actual transparency.
Have a difficult source render? test this prompt yourself on a working copy, then compare every edited edge with the approved design before using the cutout in a presentation.
Keywords
transparent product render, product background removal, product rendering AI, glass product cutout, frosted plastic rendering, product presentation, Nano Banana Pro