Turn Static Interior Renders into Walkthrough Videos with Kling
Learn how to transform single 3D interior renders into cinematic, moving walkthroughs. This workflow uses Kling and Runway to add realistic camera motion and lighting shifts to static room concepts.
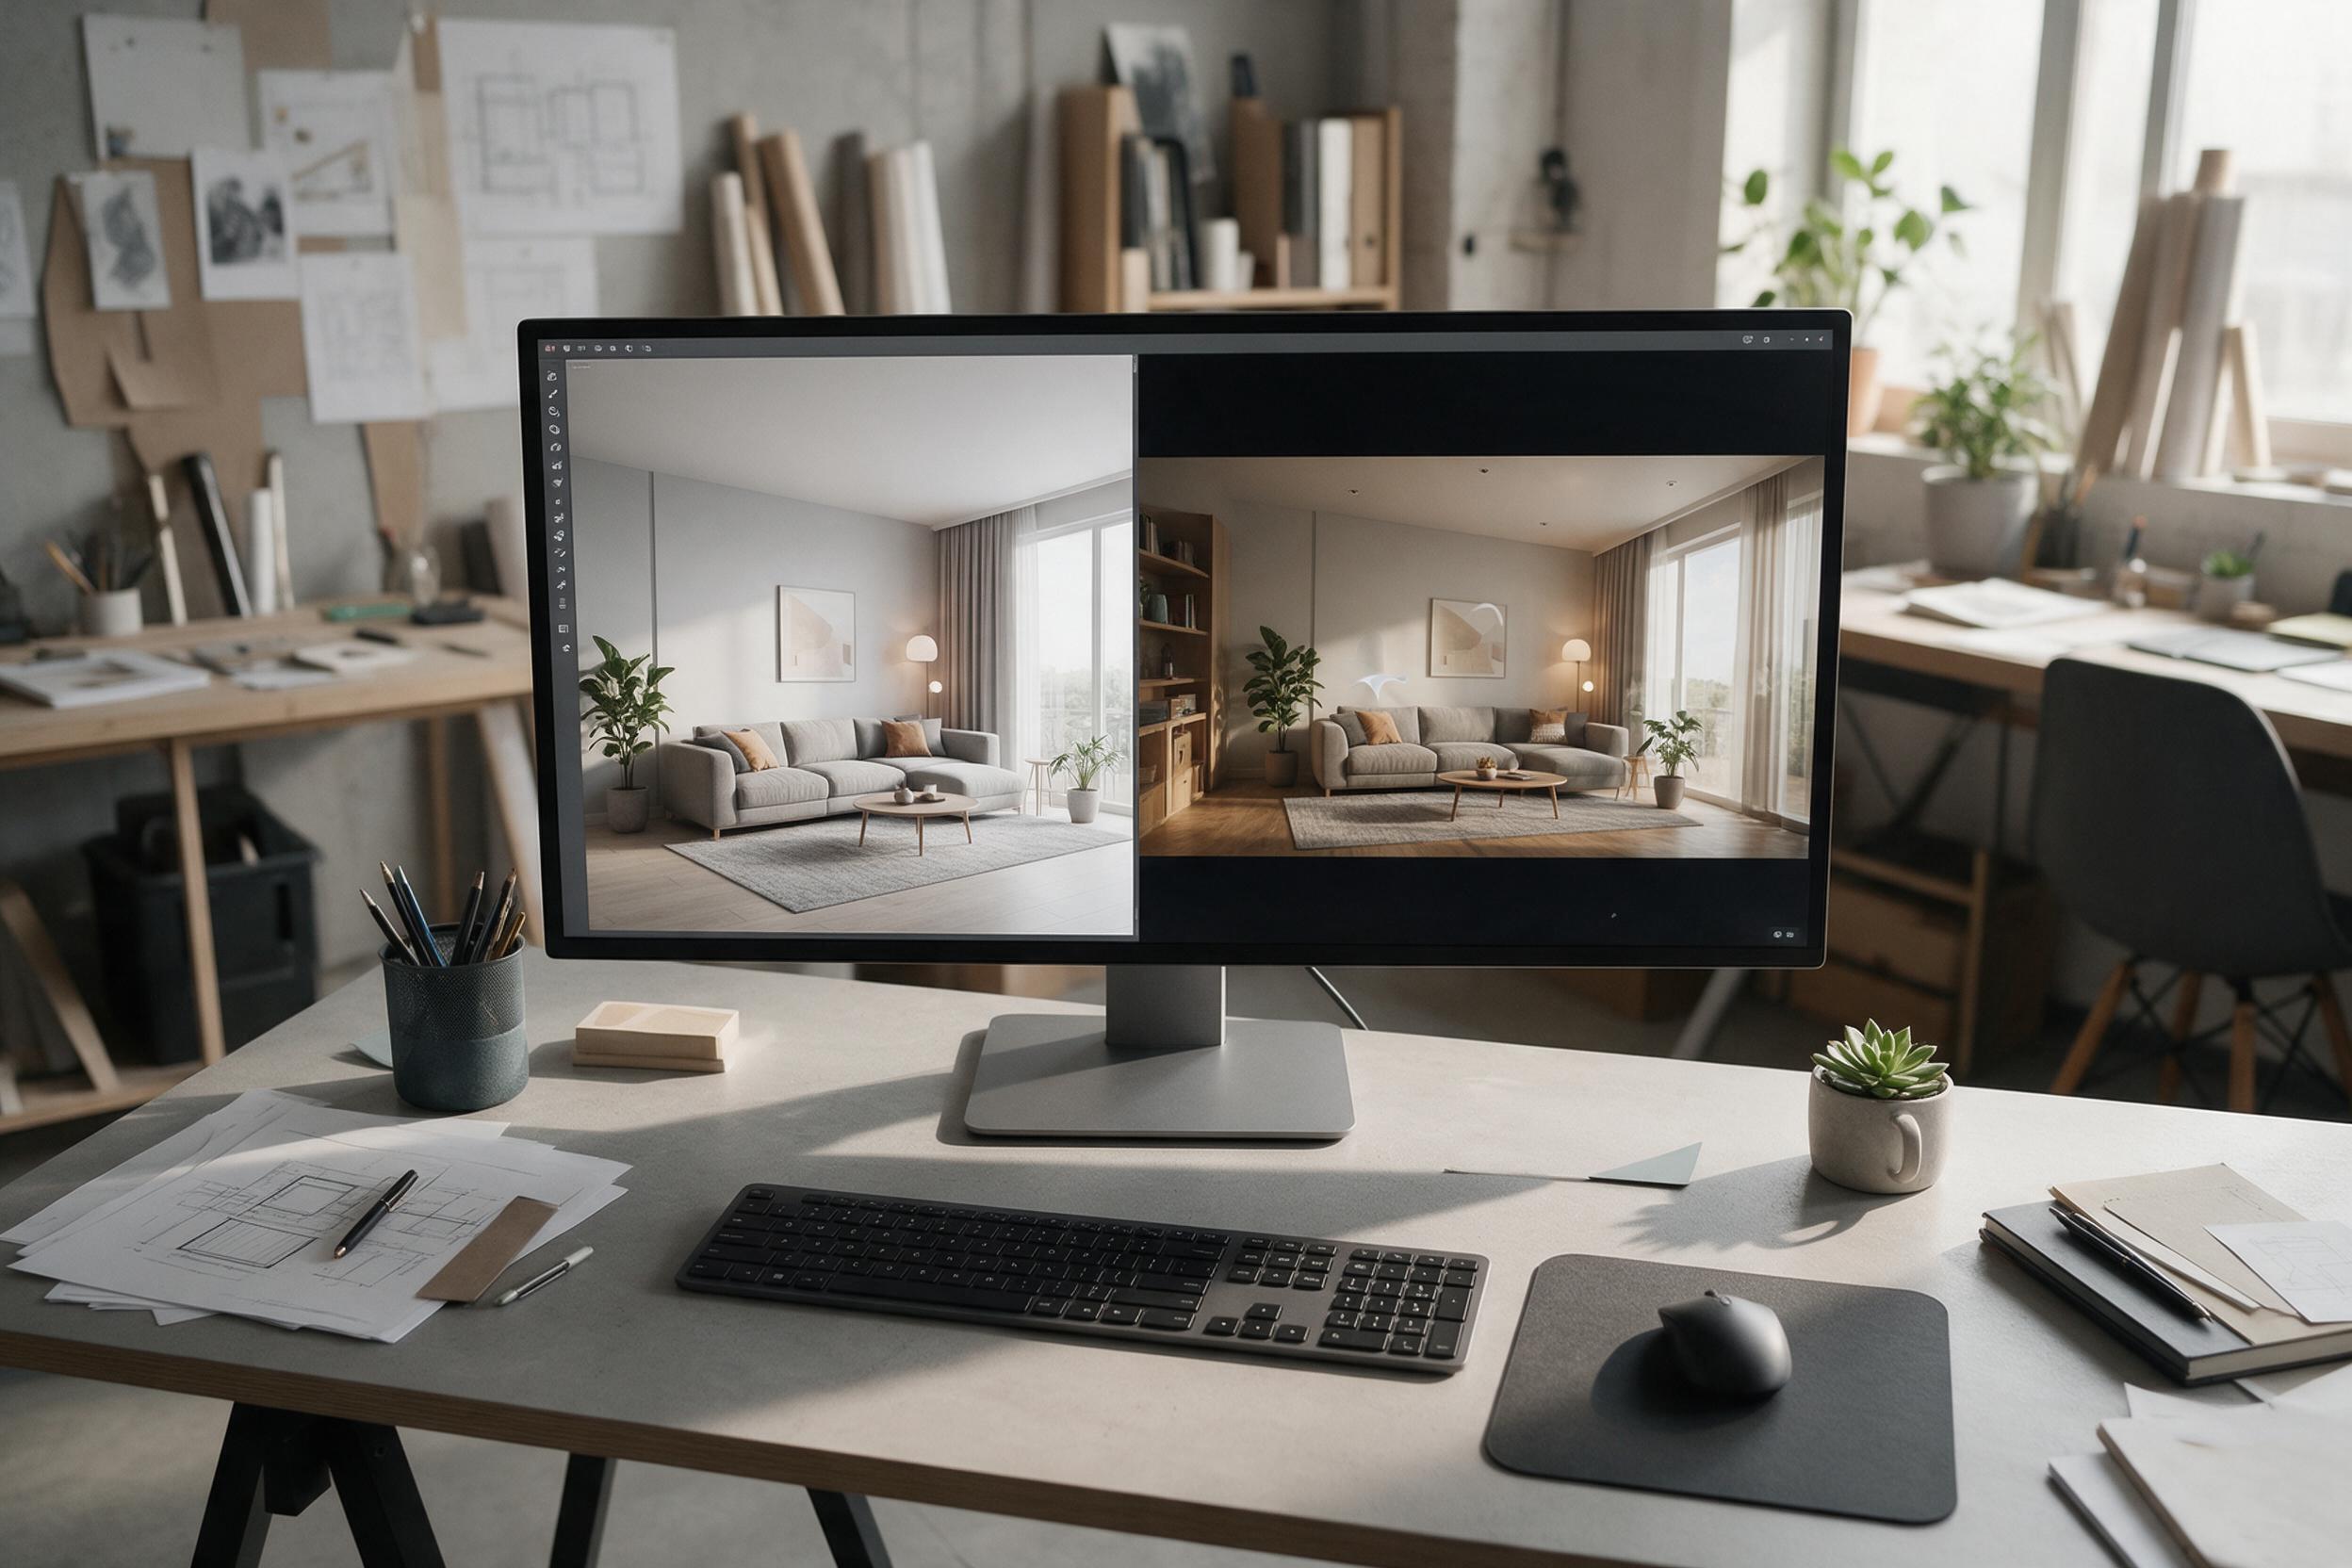
Table of contents
The Problem with Static Room Concepts
Clients struggle to feel the scale, flow, and atmosphere of a room from a single static image. While traditional 3D engines like V-Ray, Corona, or Enscape can produce stunning fly-throughs, rendering a 10-second animation can tie up your workstation for hours or even days. If a client requests a minor layout change, you have to render the entire sequence again.
Generative AI has introduced a massive shortcut. By using a single high-quality render as a starting point, you can generate smooth, cinematic camera movements in minutes. This allows spatial designers to present dynamic interior walkthroughs without the immense hardware and time costs of traditional 3D animation.
Step 1 — Prepare Your Base Render
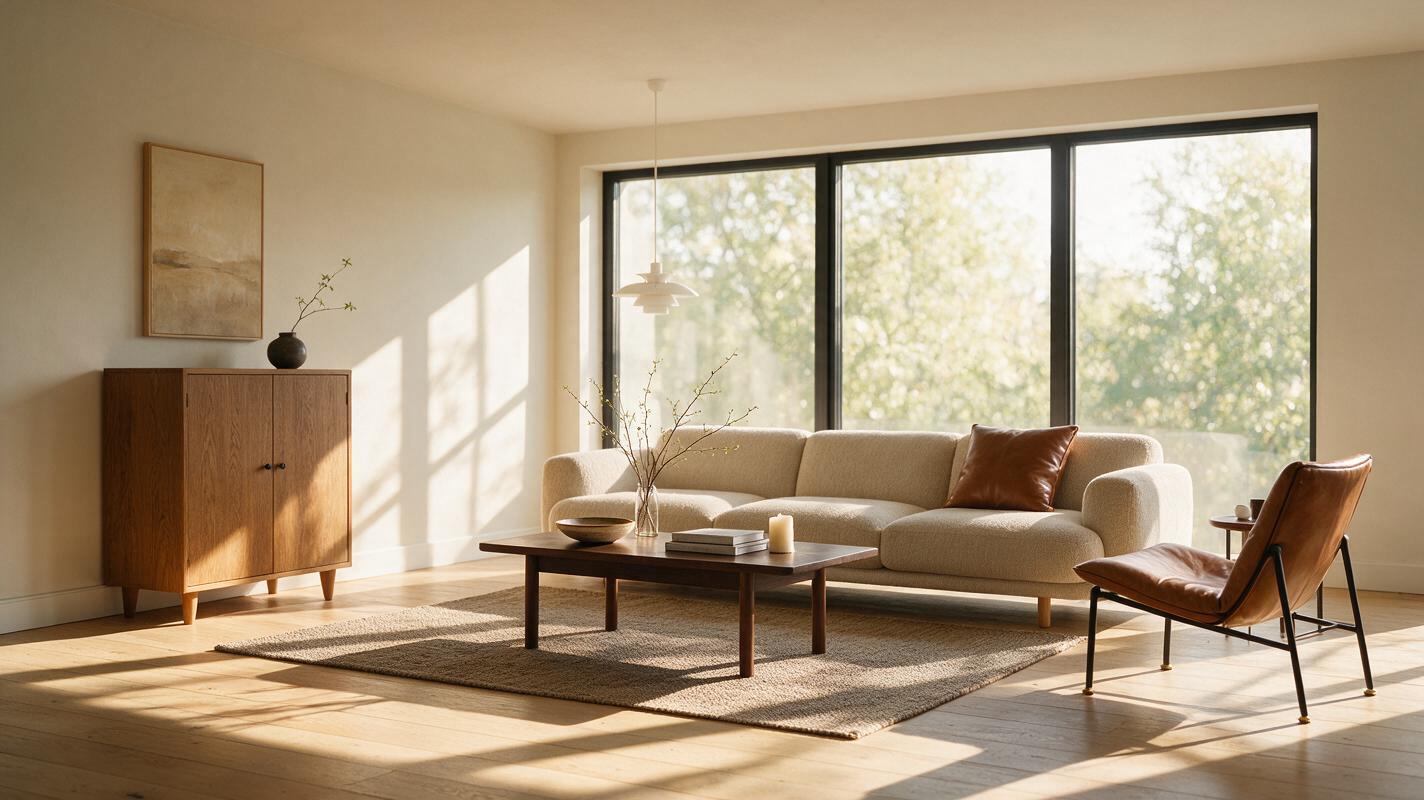
The AI needs a strong foundation to understand the depth and geometry of your room. Generating a video from a messy or flat image will result in warped furniture and muddy textures.
- Maximize Depth: Render your base image with a wide-angle lens (e.g., 24mm or 35mm) to give the AI enough spatial context to move the camera through.
- Establish Clear Lighting: Ensure distinct light sources, shadows, and reflections are visible. The AI uses these cues to maintain consistency as the perspective shifts.
- Export in 16:9: Most video models perform best with standard widescreen aspect ratios. Export your base render at 1920x1080 minimum.
Step 2 — Use Image to Video for Camera Movement
To bring the space to life, we will use an image to video workflow. Models like Kling and Runway Gen-3 Alpha excel at understanding architectural geometry and maintaining spatial consistency during camera moves.
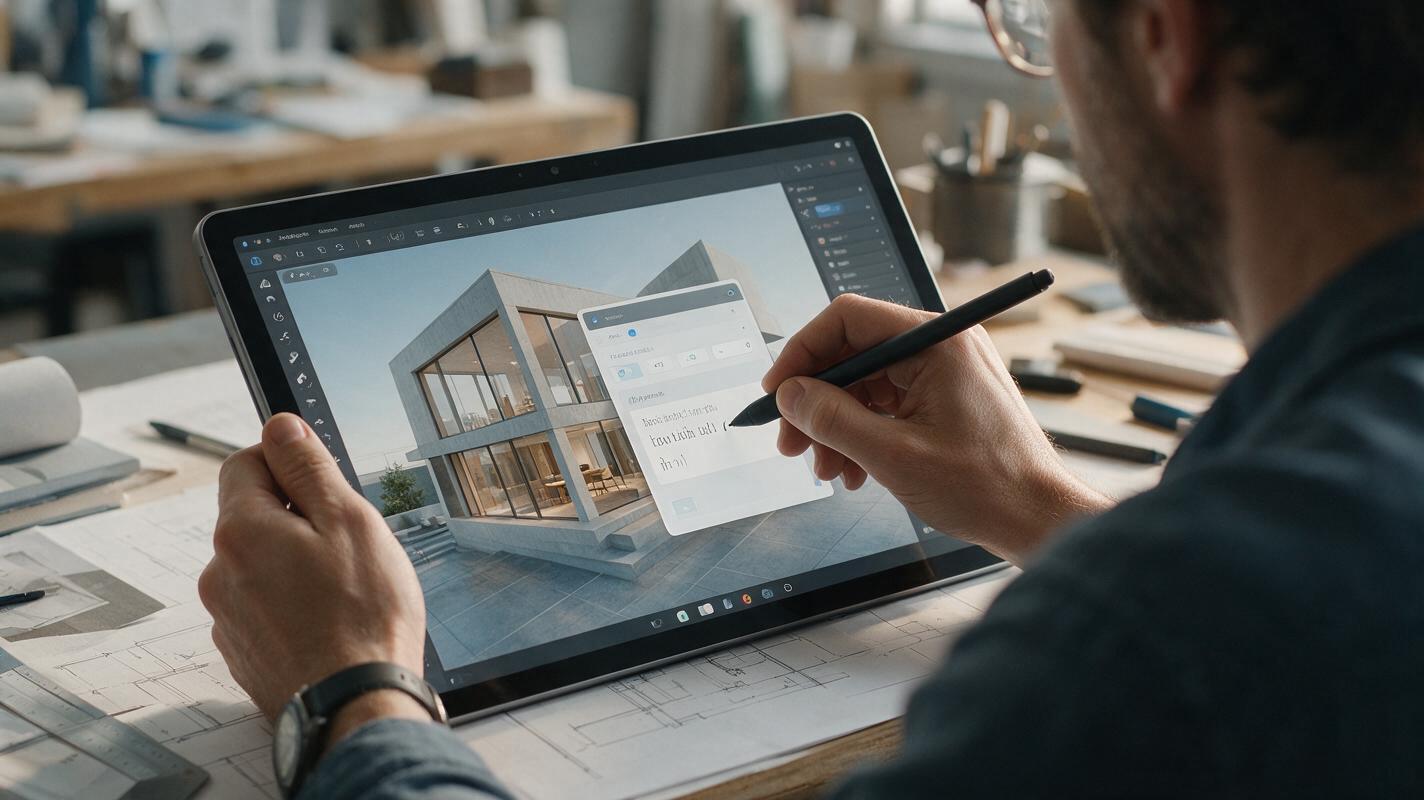
Upload your finished static render into the interface. Instead of relying solely on the AI's default motion, you must explicitly direct the virtual camera using text prompts.
Effective Walkthrough Prompts:
Cinematic slow push-in, moving steadily forward through the living room toward the floor-to-ceiling windows, hyper-realistic, stable geometry, architectural photography.Slow horizontal pan from left to right, revealing the open-plan kitchen and dining area, soft morning sunlight casting moving shadows across the hardwood floor.Pro Tip: Always include keywords like "stable geometry" and "architectural photography" to prevent the AI from melting or morphing your furniture designs.
Step 3 — Control Lighting and Atmosphere
A major advantage of using an ai video generator is the ability to simulate environmental changes that would be tedious to keyframe manually. You can prompt the model to alter the time of day as the camera moves.
For example, if your base image is a daytime shot, try adding this to your motion prompt:
...as the camera moves forward, the sunlight fades into golden hour, warm orange light sweeping across the interior walls.This technique is perfect for lighting visualization, allowing clients to see how natural light interacts with their chosen materials throughout the day.
Step 4 — Fix Common Distortions
AI video models are prone to occasional hallucinations, especially with complex repeating patterns like slatted wood walls, tiled backsplashes, or complex seating arrangements. If your video output looks warped:
- Reduce Motion Intensity: If you push the camera too far or too fast, the AI has to invent space that wasn't in your original image. Stick to subtle, slow movements (panning, slight push-ins).
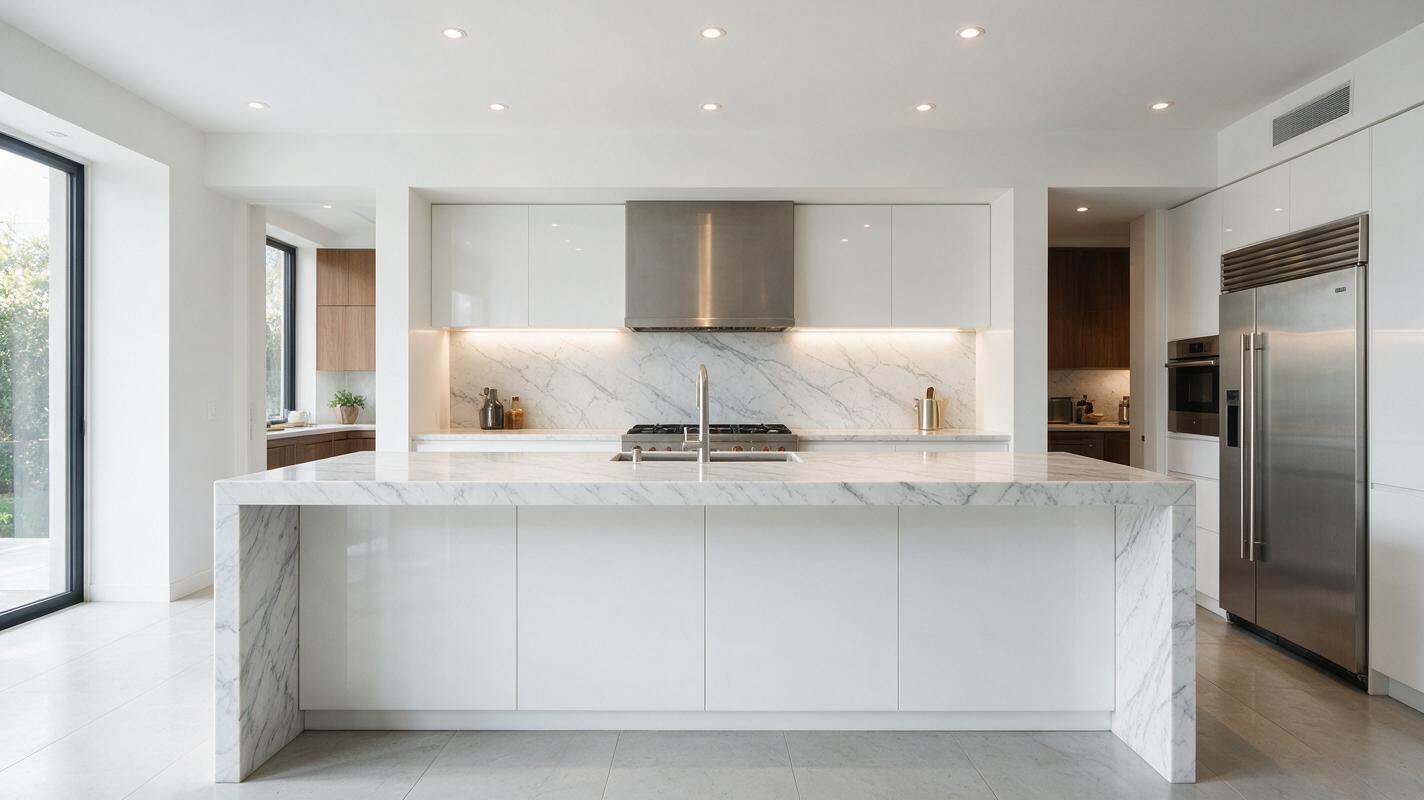
- Simplify the Base Image: Temporarily hide complex foreground objects (like intricate chandeliers or dense indoor plants) in your 3D software before exporting the base image. Let the AI focus on the room's structural shell.
- Generate Multiple Variations: AI generation is iterative. Run the exact same prompt and image 3 to 4 times. One output will inevitably feature better structural consistency than the others.
Ready to test this workflow yourself? Take your best 3D render and turn your image into a video to experience how dynamic motion can elevate your client presentations.
Key Takeaways
- Static renders can be converted into cinematic walkthroughs in minutes, bypassing long 3D rendering times.
- Always start with a high-contrast, wide-angle 16:9 base image to give the AI proper spatial context.
- Use specific camera direction (e.g., "slow push-in", "horizontal pan") in your prompts to control the viewer's journey through the space.
- Keep camera movements subtle to prevent furniture and structural geometry from warping.
Keywords
interior walkthroughs, room visualization, kling, runway gen-3, text to video, lighting visualization, renovation concepts