How to Turn Outdoor Listing Photos Into Luxury Property Tours With Veo
Luxury real estate marketers often struggle to create flowing, spatially consistent outdoor property tour videos from static listing photos, with choppy transitions and mismatched lighting failing to impress high-end buyers. This guide teaches how to use Veo AI to build cohesive 90-second outdoor living tour videos that showcase pools, outdoor kitchens, patios, and gardens with cinematic golden-hour pacing. It includes reusable prompt templates, motion settings, and troubleshooting for common outdoor rendering errors.
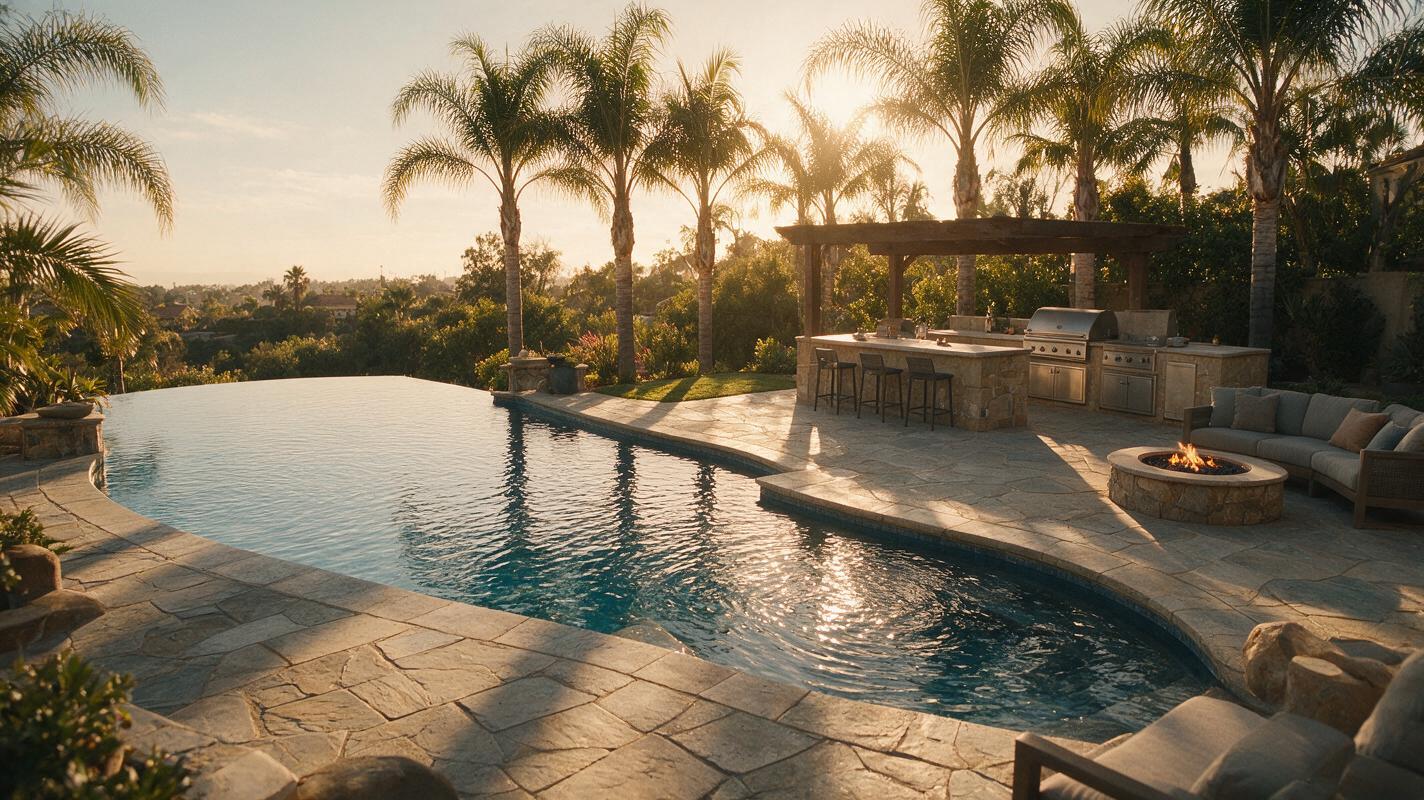
Table of contents
Why outdoor property tour videos underperform for luxury listings
For luxury real estate, outdoor living spaces are often the deciding factor for high-net-worth buyers—yet most listing teams only post static gallery photos of pools, outdoor kitchens, and garden terraces. When they do create video, the result is usually a choppy slideshow of stills with background music, or short clips that jump between spaces without any sense of flow. These fail to communicate the full experience of moving through a property’s outdoor amenities, leaving buyers feeling underwhelmed.
Using image to video AI to stitch static outdoor listing photos into a cohesive tour eliminates the need for on-location videography, which can cost thousands of dollars for luxury properties and require perfect weather conditions. Veo, Google’s generative video model, is particularly well-suited for this use case because it maintains strong spatial consistency across longer clips, preserves architectural details, and renders natural outdoor lighting far more reliably than many competing tools.
Prepare your listing photo set for spatial consistency
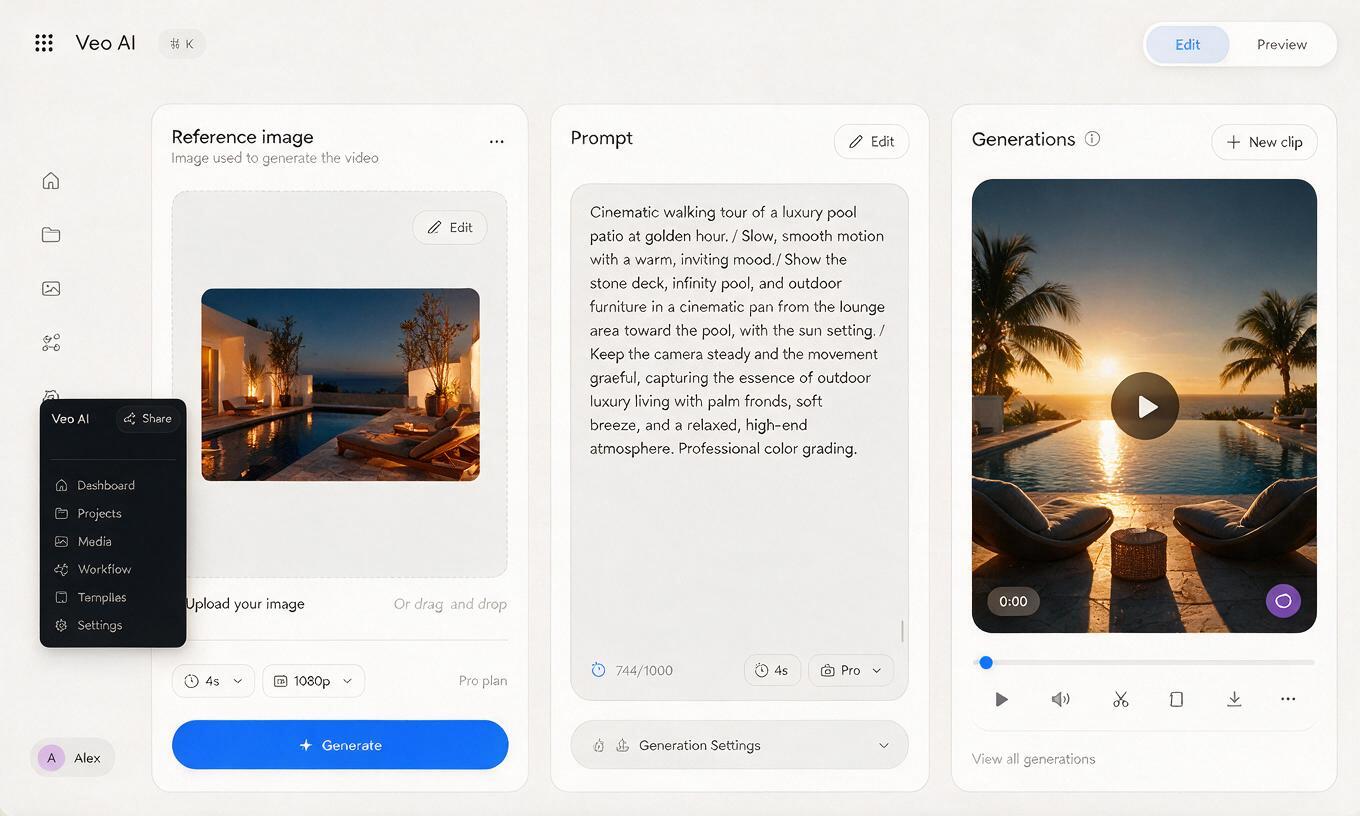
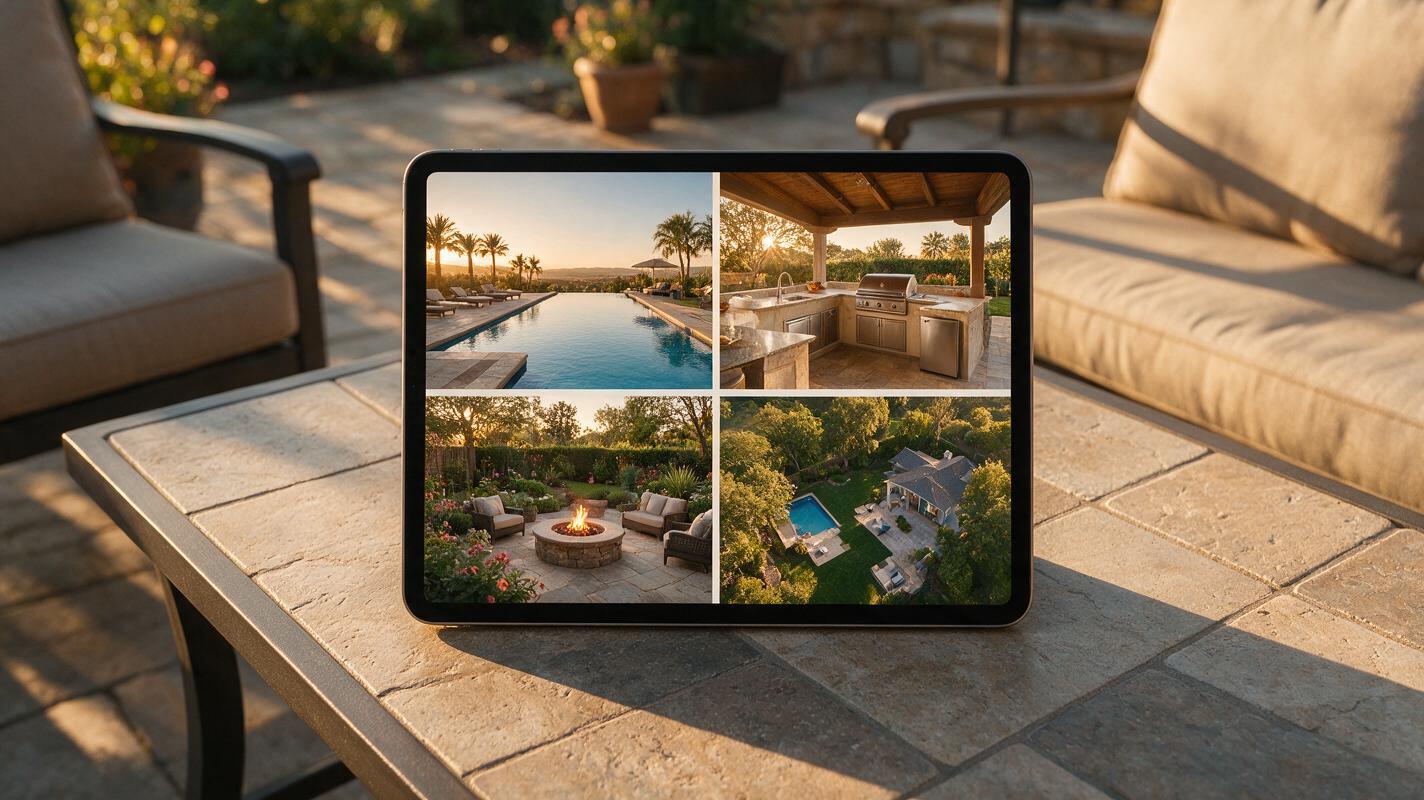
Veo’s ability to create a flowing tour depends entirely on the quality and arrangement of your source photos. Start by selecting 4-6 high-resolution outdoor listing photos that cover the key amenities of the property: a wide shot of the pool and patio, a close-up of the outdoor kitchen, a view of the garden or fire pit area, and a wide aerial or elevated shot of the full outdoor space. Avoid photos with harsh midday shadows, overexposed skies, or random objects like pool toys or garden tools that can cause rendering glitches.
For best results, make sure all photos are shot from roughly the same eye level (5-6 feet high) and share a consistent lighting direction. If you have photos from different times of day, prioritize golden-hour shots—Veo will have an easier time matching lighting across clips, and the warm glow feels more luxurious for high-end marketing. Crop all photos to a 9:16 aspect ratio for Reels and Shorts, or 16:9 for listing page videos, before uploading to avoid awkward framing in the final output.
Plan the tour sequence for natural flow
A good luxury outdoor tour feels like a walk a real estate agent would give a buyer, not a random montage of features. Start with a wide establishing shot that shows the full outdoor layout, then move into closer details of each amenity in the order a visitor would encounter them. For example: start at the back patio sliding doors, move across the pool deck to the outdoor kitchen, then down a path to the fire pit and garden, before pulling back to a wide sunset shot of the entire space.
You will generate each segment of the tour as a separate 15-20 second clip in Veo, then stitch them together with simple crossfades in any free video editor. This modular approach avoids the spatial drift that often happens with long single-prompt videos, and lets you adjust individual segments without redoing the entire tour. Aim for a total runtime of 90 seconds—long enough to showcase every feature, short enough to hold social media viewers’ attention.
Veo prompt templates for each outdoor tour segment
Each clip in your tour uses a source photo as a reference, with a prompt that guides Veo to add subtle, natural motion and a smooth camera move. Be specific about lighting, camera speed, and what should stay the same—this prevents Veo from altering architectural details or adding unrealistic elements.
Here are reusable prompt templates matched to common outdoor tour segments, designed for use with Veo’s image-to-video mode:
- Establishing wide pool/patio shot: Slow forward dolly shot across a luxury stone patio and infinity pool at golden hour. Warm sunlight filters through palm trees, soft ripples move across the pool surface, patio furniture stays perfectly still. No people, no added objects, preserve all original architectural details exactly. 20 seconds, cinematic 4K, shallow depth of field.
- Outdoor kitchen segment: Slow pan left across a high-end outdoor kitchen with marble countertops, built-in grill, and bar stools. Warm string lights glow softly, a light breeze moves potted herb leaves. Preserve all original cabinetry and fixture details exactly. No people, no added items. 15 seconds, cinematic 4K, natural lighting.
- Garden/fire pit segment: Slow tracking shot along a stone path leading to a stone fire pit surrounded by Adirondack chairs. Soft wind sways ornamental grasses, fire pit has a small, steady flame. Preserve all original landscaping and hardscaping details exactly. No people. 15 seconds, golden hour, cinematic 4K.
- Closing sunset wide shot: Slow crane shot pulling back from a luxury backyard pool and patio to show the full property and surrounding landscape at sunset. Warm orange and pink sky, pool water reflects the sunset, all architectural details stay consistent. No people, no added objects. 20 seconds, cinematic 4K, wide angle.
Test this prompt yourself with a single outdoor listing photo first to calibrate motion strength before generating the full set of clips.
Calibrate motion and pacing for luxury viewing feel
Luxury buyers respond to slow, deliberate pacing—fast camera moves or jarring motion make a property feel cheap, even if it’s worth millions. In Veo’s settings, set motion strength to 30-40% for most clips. This is enough to add subtle movement (rippling water, swaying leaves, slow camera moves) without making the video feel hyperactive or unrealistic.
For camera movement, stick to slow dolly, pan, or crane moves—avoid zooming, which can distort architectural lines. If you want a transition between two spaces (like from the patio to the garden), use a prompt that describes the camera moving through a natural threshold, like a stone arch or a gap in hedges, rather than cutting abruptly. This creates a seamless, immersive feel that makes buyers feel like they’re actually walking through the space.
When stitching clips together, use 1-second crossfades between segments to smooth any minor lighting or color differences. Add a soft, instrumental background track at 20% volume to set the mood without distracting from the property itself.
Fix common Veo outdoor rendering issues
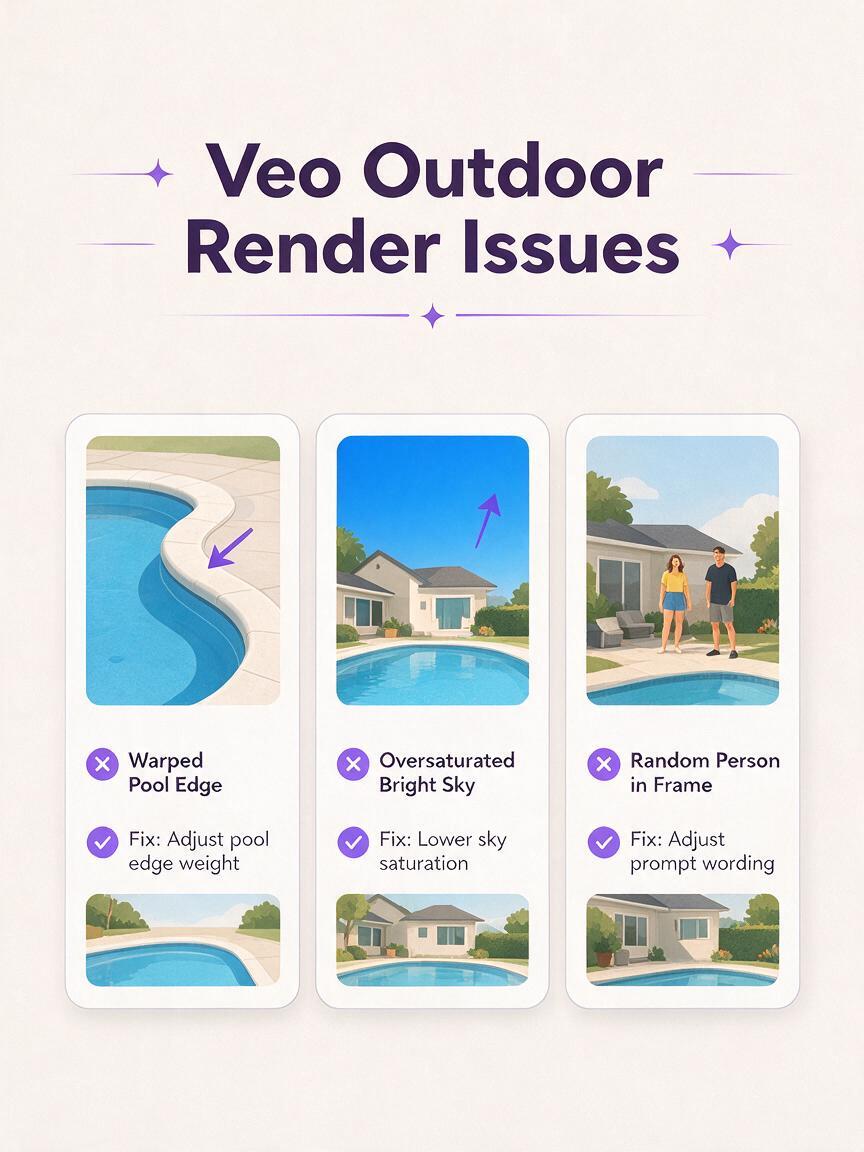
Even with well-prepared source photos, you may run into small rendering glitches. Here are the most common issues for outdoor luxury tours and how to fix them:
- Warped pool edges or distorted stonework: Add the phrase "preserve all hardscaping and architectural details exactly" to your prompt, and lower motion strength by 10%. If the issue persists, use a source photo with a clearer, more straight-on view of the feature.
- Unrealistic sky colors or overexposed clouds: Add "natural golden hour sky, no oversaturated colors" to your prompt, and use a source photo that already has a visible sky (rather than a cropped shot) to give Veo a reference.
- Random people or objects appearing in the frame: Add "no people, no animals, no added objects" explicitly to your prompt. Veo tends to add generic figures to outdoor spaces if not instructed otherwise, so this line is non-negotiable for accurate listing content.
- Choppy or inconsistent camera movement: Reduce motion strength, and specify the exact camera move (e.g., "slow linear dolly forward, no shaking") in your prompt. Avoid combining multiple camera moves (like a pan + zoom) in a single clip, as this often causes instability.
Ethical note: Never use Veo to add features that don’t exist on the property, like a pool or outdoor kitchen that isn’t there. All generated videos should accurately reflect the actual property, with any virtual enhancements clearly disclosed to buyers.
Key takeaways
- Curate 4-6 consistent, golden-hour outdoor listing photos to use as source material for your tour.
- Plan a natural walking sequence for the tour, starting with a wide establishing shot and moving through amenities in order.
- Generate 15-20 second clips in Veo using the provided prompt templates, with motion strength set to 30-40%.
- Stitch clips together with short crossfades and soft background music for a polished luxury feel.
- Always ensure generated videos accurately reflect the actual property, with no misleading added features.
Keywords
veo ai, luxury property tours, outdoor listing photos, image to video, real estate marketing, property tour videos, cinematic real estate