Veo Prompts for Process Training Videos That Show Every Critical Action
Process training videos often fail when AI compresses several actions into one visually plausible but incomplete scene. This guide shows educators and training teams how to structure Veo prompts around observable actions, continuity, and verification so learners can see every critical part of a procedure.
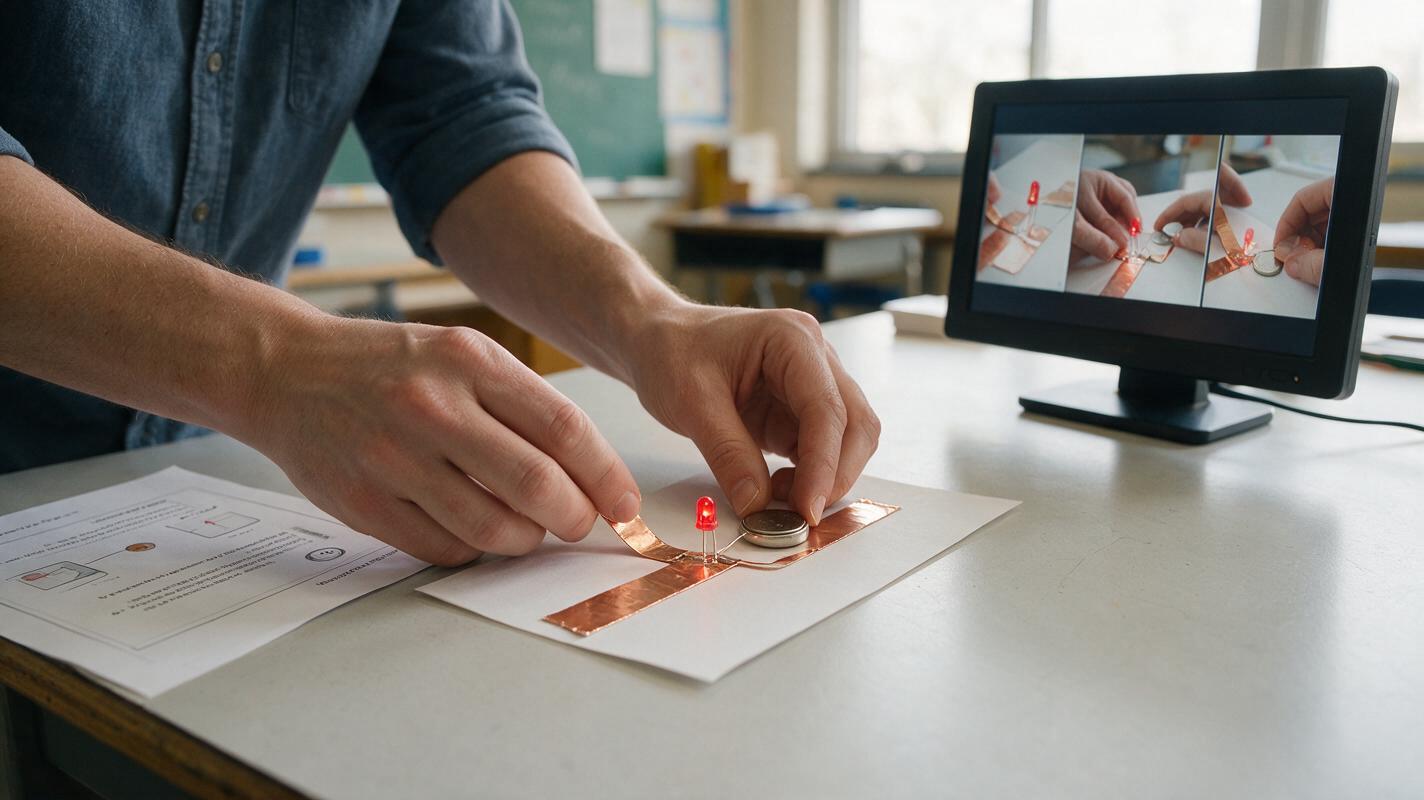
Table of contents
Show every critical action instead of implying the process
A process video is only useful when learners can see what changes, what causes the change, and what happens next. Yet a long Veo prompt can produce an attractive clip that skips a hand movement, changes an object between shots, or jumps directly to the finished result. The most reliable fix is to treat each clip as one observable teaching event rather than asking the model to perform an entire procedure at once.
This approach works well for short course demonstrations, equipment orientation, craft lessons, classroom experiments, and workplace microlearning. It also makes generated footage easier to review before it reaches learners.
Use generated process footage as a visual draft, not as evidence that a procedure is correct. A qualified reviewer should check the action, sequence, equipment, and outcome against the approved source material.
Why process prompts lose important actions
Veo can interpret written scene direction, but a prompt containing many actions still leaves the model to decide which moments deserve screen time. That decision may conflict with the learning objective.
Common failures include:
- Temporal compression: preparation, action, and result appear almost simultaneously.
- Invisible causality: the outcome appears without showing the action that produced it.
- Object substitution: a tool, component, or material changes shape between moments.
- Hand occlusion: fingers cover the exact contact point learners need to inspect.
- Cinematic distraction: camera movement competes with the demonstration.
- False completion: the clip ends with a plausible result even though an essential action was omitted.
A text to video workflow becomes more dependable when the script is divided according to visible state changes. Generate those short units separately, then assemble them in the correct instructional order.
Convert the procedure into observable teaching beats
Begin with the approved procedure, lesson plan, or subject-matter expert demonstration. Mark every point at which the learner must notice a new state.
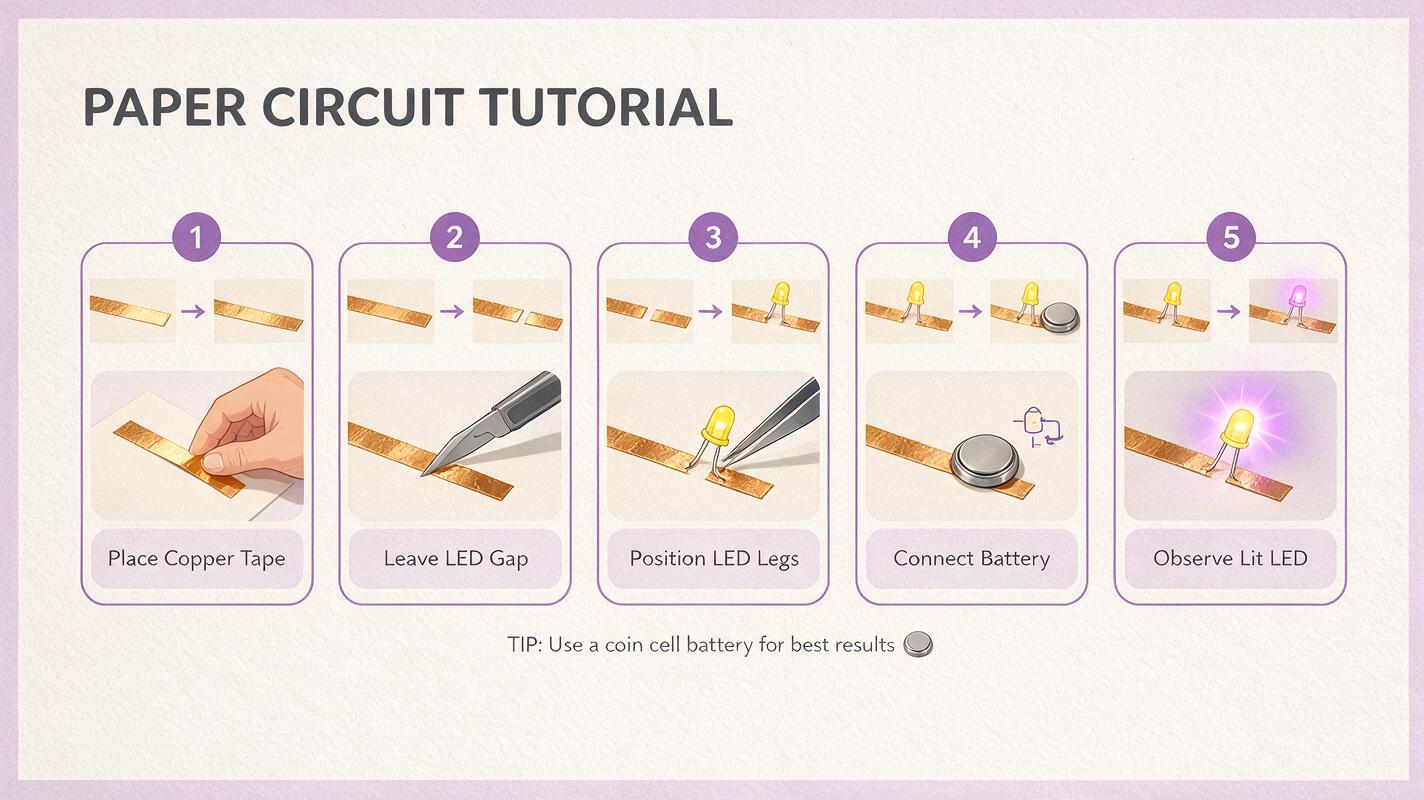
For a simple paper-circuit lesson, the beats might be:
- The copper tape is placed along the printed path.
- A deliberate gap remains where the LED will sit.
- The LED legs are positioned on the correct tape sections.
- The coin-cell battery touches both circuit paths.
- The LED illuminates, confirming a closed circuit.
Each beat contains one principal action and one visible result. If a sentence uses several action verbs, it probably contains too much for one clip.
| Weak planning unit | Better teaching beat | Visible evidence |
|---|---|---|
| Build the paper circuit | Press one copper-tape strip onto the printed path | Tape follows the line without lifting |
| Add the LED correctly | Place each LED leg on a separate copper path | Legs do not touch each other |
| Finish and test it | Touch the battery to both paths and hold | LED changes from off to illuminated |
Write prompts around action, evidence, and restraint
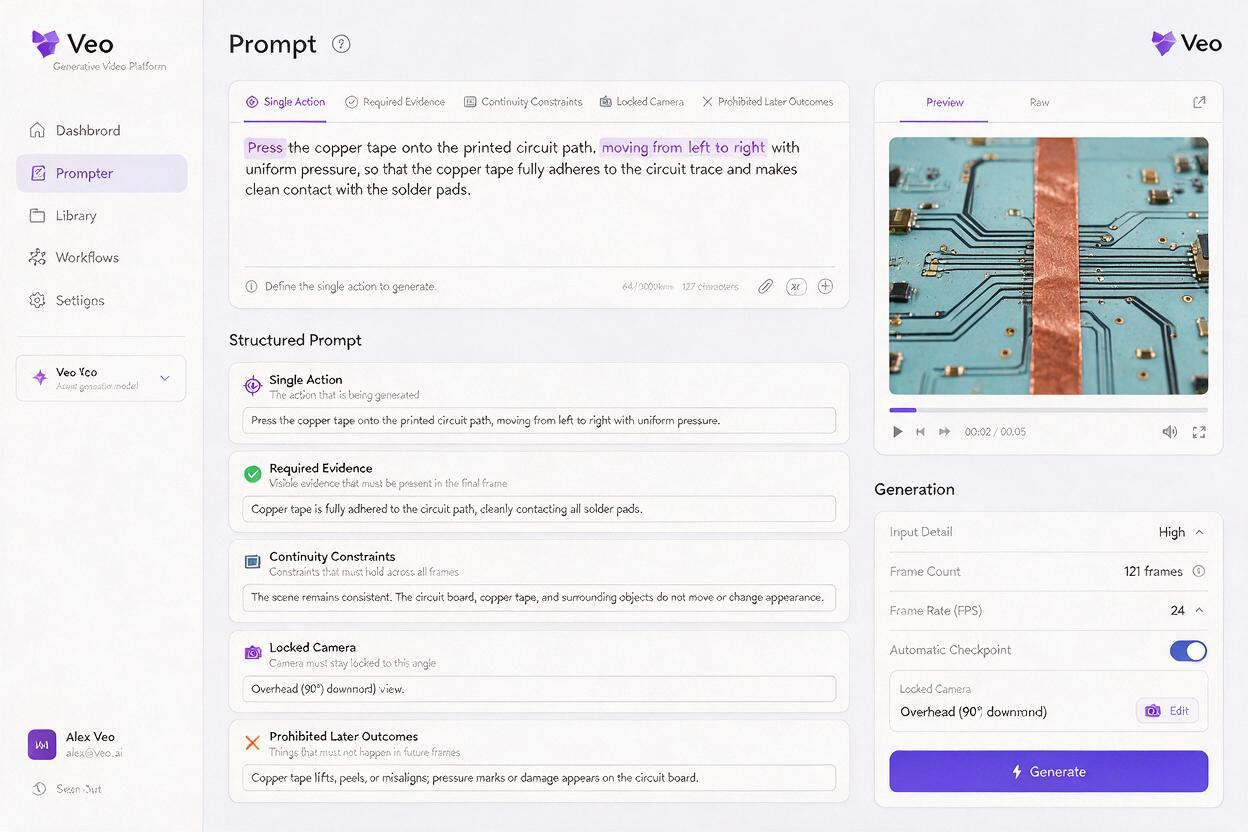
A useful process prompt identifies the instructional subject, the single action, the evidence learners must see, and the camera behavior. It should also say what must remain unchanged.
Instructional close-up of a paper circuit on a clean white desk.
Only one action occurs: an adult hand presses a straight strip of copper tape
onto the printed circuit path from left to right.
Keep the paper, tape width, hand, lighting, and camera position unchanged.
The contact edge between the copper tape and printed line remains fully visible.
Locked overhead camera, even classroom lighting, realistic motion, no cuts,
no captions, no extra tools, no completed circuit, no illuminated LED.
The negative constraints prevent the model from anticipating later parts of the lesson. “No completed circuit” matters because a generative model may otherwise treat completion as the most likely ending.
A reusable template is:
[Shot type] of [stable subject and setting].
Only one action occurs: [actor] [precise action] [object].
The learner must clearly see [contact point, movement, or state change].
Keep [continuity elements] unchanged throughout.
[Camera behavior], [lighting], [motion quality].
No [later actions], no [unwanted objects], no text, no cuts.
Use physical verbs instead of broad goals
Words such as “prepare,” “install,” “demonstrate,” and “complete” describe goals, not visible movements. Replace them with verbs such as align, rotate, press, lift, insert, fold, connect, compare, or release.
“Install the LED” leaves several physical decisions unstated. “Lower the two LED legs onto separate copper strips while keeping the gap visible” gives Veo a specific movement and gives the reviewer a concrete success criterion.
Keep the camera subordinate to the lesson
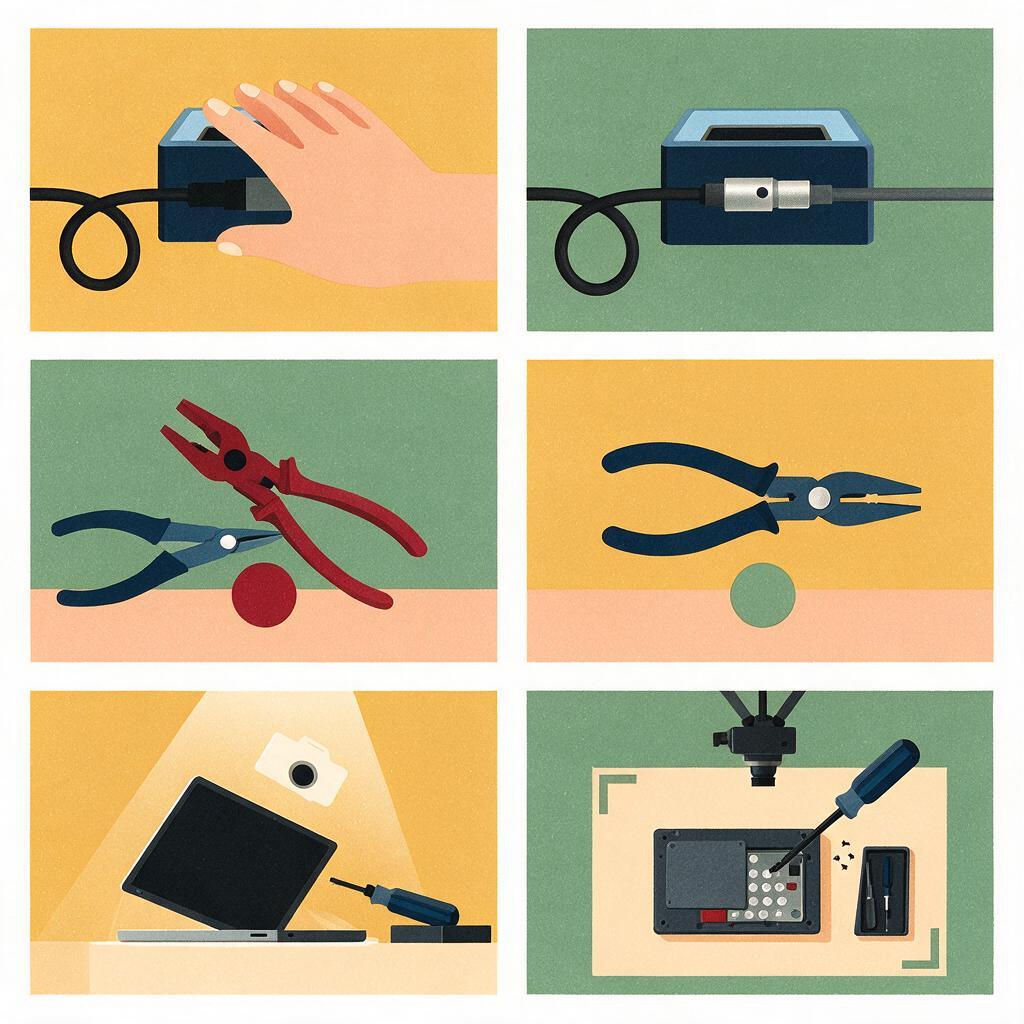
Process footage rarely benefits from dramatic orbiting shots, rapid push-ins, shallow focus, or frequent angle changes. The camera should reveal the action rather than advertise the production.
Match framing to the evidence:
- Overhead view: layouts, placement, folding, sorting, writing, and assembly.
- Close side view: depth, insertion, alignment, or contact between components.
- Medium fixed view: posture, tool handling, or coordinated body movement.
- Extreme close-up: tiny switches, measurement marks, connectors, or material changes.
Ask for a locked camera when spatial continuity matters. If movement is necessary, request one restrained motion and explain its instructional purpose, such as “slowly move closer while keeping the connector and alignment mark in frame.”
Preserve continuity across separately generated clips
Generating one teaching beat per clip improves clarity but introduces a continuity challenge. The desk, hands, materials, and partially completed work can drift between outputs.
Create a continuity description and repeat it without paraphrasing:
Continuity reference: white rectangular work mat, pale wood desk,
blue paper circuit template, copper tape 5 mm wide, small red LED,
right-handed adult demonstrator wearing a plain charcoal long-sleeve shirt,
soft neutral light from the upper left, locked overhead camera.
Also describe the starting state of each new clip as the exact ending state of the previous one. Avoid vague phrases such as “continue the process.” State what is already present, where each object sits, and what has not happened yet.
If object identity is more important than visual variety, keep the environment deliberately plain. Every decorative item creates another continuity variable.
Diagnose a failed clip before rewriting everything
When a generation fails, change the smallest prompt element connected to the error. Rewriting the entire prompt can fix one issue while introducing several new ones.
| Failure | Likely cause | Targeted correction |
|---|---|---|
| The action is skipped | Too many events or an outcome-led prompt | Retain one verb and prohibit the later result |
| The hand hides the contact point | Visibility was not defined | Specify hand approach direction and visible contact edge |
| The object changes | Continuity details are too broad | Repeat dimensions, color, material, and position |
| The clip cuts to another angle | Camera behavior is underspecified | Add “single continuous shot, locked camera, no cuts” |
| The result appears too early | The model anticipates completion | Name the unfinished ending state explicitly |
| Motion is too fast to teach | Timing lacks an instructional cue | Request deliberate motion with a brief hold on the result |
Generate only a few candidates, review them against the same criteria, and record which wording changed the result. Large unreviewed batches can multiply subtle instructional errors.
Add narration and labels after the visual action is stable
Do not depend on generated in-scene text for component names, measurements, warnings, or assessment cues. Add verified labels, captions, arrows, and narration during editing, where spelling and timing remain under your control.
Narration should explain what learners are watching without racing ahead:
Visual action: The LED legs are lowered onto separate copper paths.
Narration: Place one LED leg on each copper strip. Keep the two legs separated.
On-screen label: One leg per copper path
Review question: What could happen if both legs touch the same strip?
Let the relevant movement begin before the explanatory phrase finishes. Then hold the final state long enough for learners to inspect it. Captions should remain readable without covering hands, tools, or contact points.
Review the result as instruction, not entertainment
A visually polished clip can still teach the wrong procedure. Review without narration first so that the image must communicate the intended action on its own.
Ask:
- Can a new learner identify the one action being demonstrated?
- Is the critical contact point visible for the entire action?
- Does the starting state match the preceding clip?
- Does every object remain physically plausible and consistent?
- Does the clip stop before the next teaching beat begins?
- Could the motion imply an unsafe or incorrect shortcut?
- Do narration, captions, and visuals describe the same event?
For technical, scientific, medical, or safety-related material, obtain subject-matter approval before publication. When real demonstration footage is available, compare the generated clip against it frame by frame rather than relying on visual plausibility.
Final checklist
- Base the video on an approved procedure or expert demonstration.
- Give each clip one principal action and one visible result.
- Use concrete physical verbs instead of broad process goals.
- Keep the camera fixed unless movement improves understanding.
- Repeat the same continuity description across related prompts.
- Prevent the model from showing later actions prematurely.
- Add verified text, narration, and assessment cues during editing.
- Have a qualified reviewer approve accuracy before learners see it.
When your teaching beats and continuity notes are ready, try these models for free and compare outputs using the same instructional checklist.
Keywords
veo prompts, process training videos, ai training video, text to video, microlearning video, instructional video, course creation