Video Reframe Guide: Turn Landscape Clips Vertical Without Bad Crops
Learn a practical video reframe workflow for turning a 16:9 presentation, interview, or product demo into a clean 9:16 social clip. The guide covers subject tracking, safe composition, caption placement, shot-change corrections, and an honest before-and-after review.
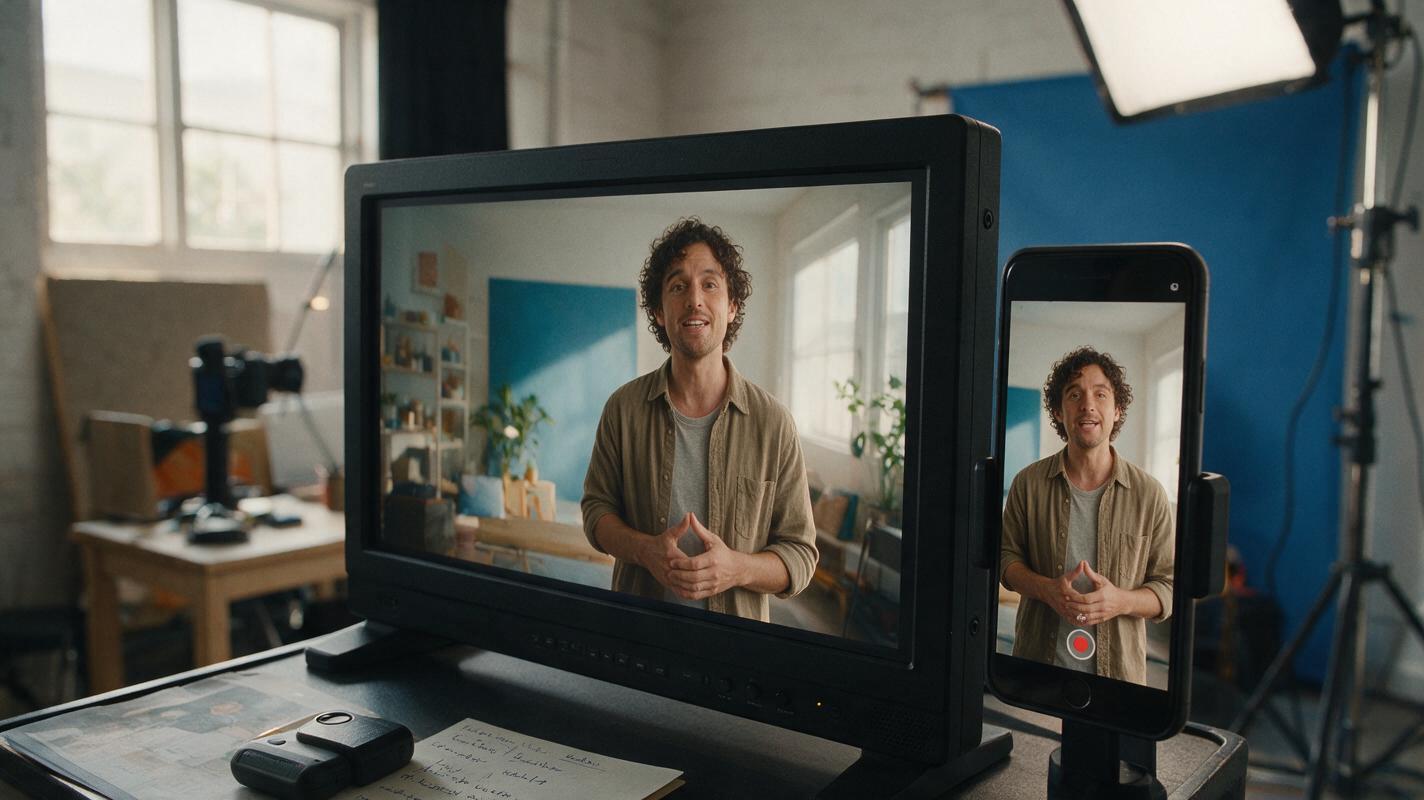
Table of contents
Turn one landscape recording into a usable vertical cut
A successful video reframe does more than crop the sides: it keeps the important subject, product, gestures, and captions visible as the scene changes.
Consider a common production task: a marketing team has a 16:9 recording of a presenter demonstrating a product on a table. The presenter occasionally leans toward the product, and several slides contain text near the edges. The team needs a 9:16 version for a short-form social post without reshooting the presentation.
Automatic reframing in modern AI video tools can provide a useful first pass by tracking a face or another visual target. It still needs editorial review. A tracker cannot always know whether the speaker, the object being demonstrated, or the slide text carries the meaning of a particular shot.
Tool note: This tutorial is editor-agnostic because the supplied material does not verify a specific MagicBoat automatic-reframing feature. Use the workflow in any editor that supports custom canvas sizes, position controls, and preferably tracking or keyframes.
Step 1 — Audit the landscape source
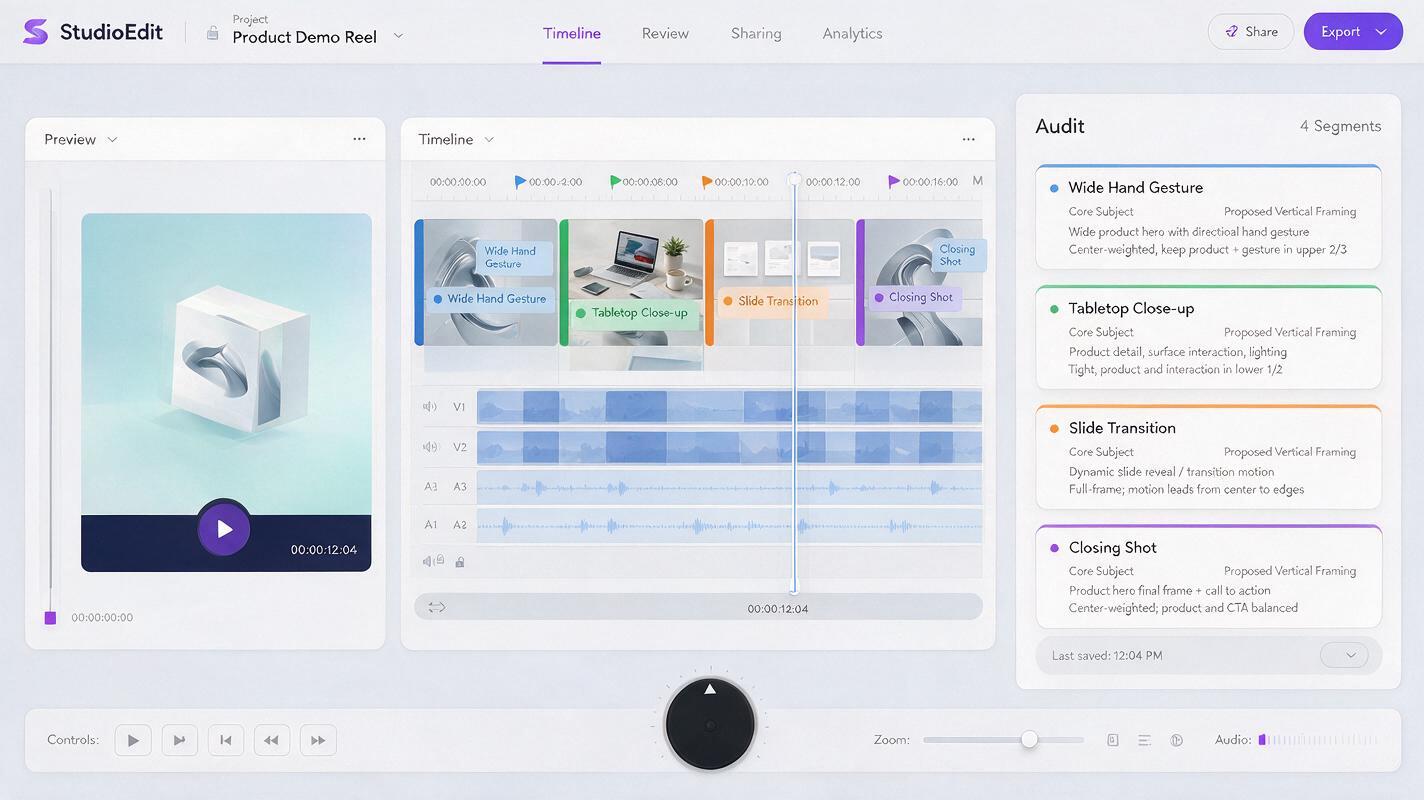
Watch the source once before changing its aspect ratio. Mark every moment where the viewer's attention moves. In the product-demo scenario, those moments may include the presenter lifting an item, pointing to a control, stepping sideways, or switching to a slide.
Create a short shot audit with four questions:
- What must remain visible? Identify the speaker, product, hands, screen content, or other essential element.
- What can be removed? Empty wall space and decorative set elements are often expendable.
- Does attention move? Note the time whenever the important subject crosses the future vertical frame.
- Is text baked into the footage? Text near either side of a landscape frame may be cut off and could require a different layout.
A simple audit can look like this:
| Time range | Essential content | Likely reframe action |
|---|---|---|
| Opening | Presenter's face and title | Centered crop with title rebuilt |
| Demonstration | Hands and product | Lower and widen the composition |
| Slide | Chart labels | Use a designed vertical layout |
| Closing | Presenter and callout | Return to a stable centered crop |
This audit prevents a common mistake: applying one tracking target to the entire video even though the story's subject changes.
Step 2 — Create the vertical sequence before tracking
Duplicate the original edit, then create a sequence with a 9:16 canvas. A commonly used full-HD vertical frame is 1080 by 1920 pixels, but the correct export specification depends on the publishing destination and production requirements.
Place the landscape clip inside the vertical sequence and scale it only enough to create the intended composition. Do not use an AI video upscaler merely because the canvas is vertical. Reframing and upscaling solve different problems:
| Operation | What it changes | When it is relevant |
|---|---|---|
| Reframe | Visible area and subject position | The aspect ratio or composition changes |
| Upscale | Output pixel dimensions | The source lacks enough resolution for the required export |
| Denoise | Visible temporal or spatial noise | The crop exposes distracting noise in low-light footage |
| Enhance | Tool-dependent image attributes | A specific, visible defect has been identified |
Keep an untouched duplicate of the landscape sequence. It will serve as the reference when you review missing gestures, text, and products later.
Step 3 — Build a safe vertical composition
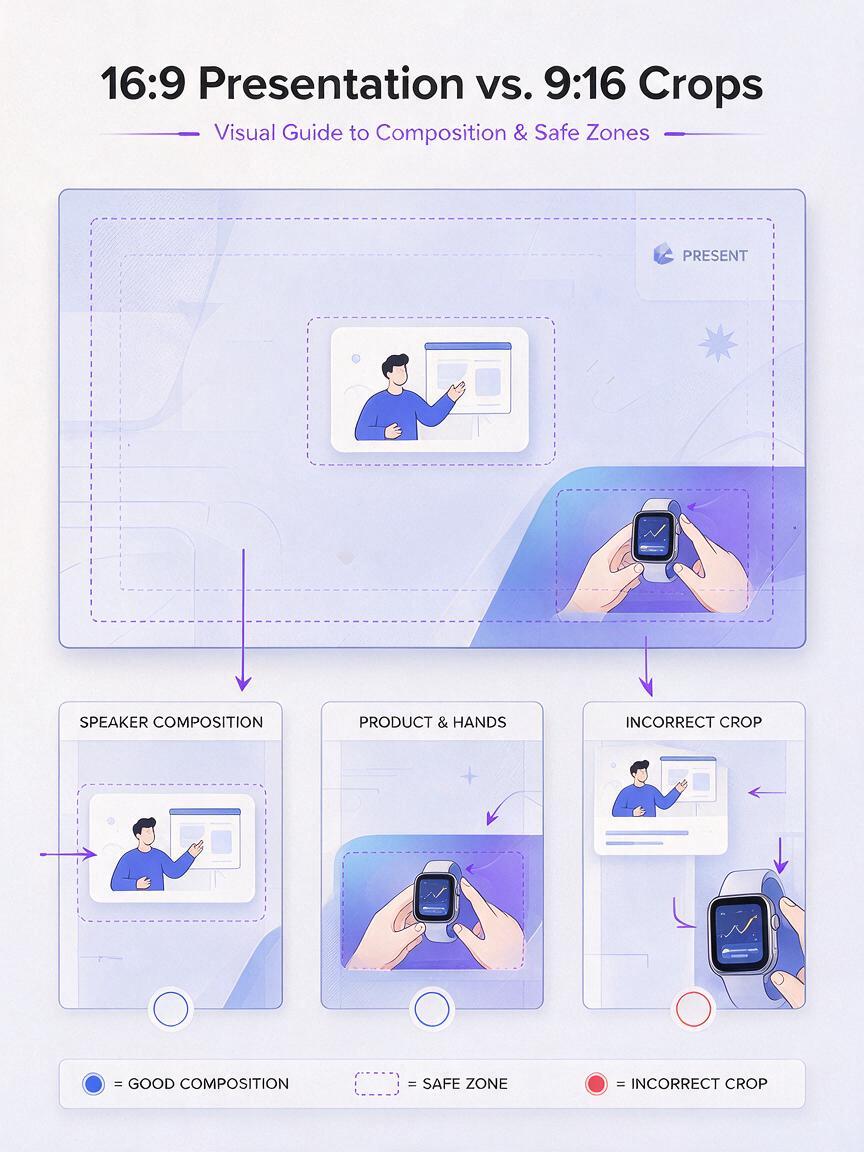
Choose the target that carries meaning, not simply the largest face. During an introduction, the presenter's eyes may be the correct anchor. During a hands-on demonstration, the center of interest may shift to the product and both hands.
If your editor accepts natural-language instructions for a video to video AI operation, adapt this prompt:
Reframe this landscape product demonstration for a 9:16 vertical canvas.
Track the active subject smoothly without sudden horizontal jumps.
During speaking shots, keep the presenter's head and upper torso visible.
During demonstrations, include both hands and the complete product.
Do not crop baked-in labels or on-screen instructions.
Use stable framing when the subject is not moving.
The prompt is a production brief, not a guarantee. Review the generated motion and correct it with keyframes or shot-level edits.
Use safe areas for captions and interface overlays
Do not place critical text directly against the top, bottom, or sides of the composition. Social interfaces can cover parts of a vertical video, and the visible overlay arrangement may vary by destination. Keep editable captions in a deliberately clear region and preview them with representative interface guides when available.
If the original video contains text that cannot fit inside the crop, choose one of these alternatives:
- Rebuild the text as an editable vertical title.
- Place the landscape slide inside a designed background rather than cropping it.
- Split a dense slide into multiple vertical scenes.
- Cut to a close-up of the relevant chart or label.
Step 4 — Correct tracking shot by shot
Run automatic tracking only after deciding what each shot is about. Then inspect the result at normal speed and frame by frame around cuts, crossings, and fast gestures.
Fix these four frequent problems:
- Late tracking: The frame follows after the speaker has already moved. Move the position keyframe earlier or separate the shot before retracking.
- Overactive motion: Minor head movements cause the frame to drift constantly. Reduce tracking sensitivity if the tool offers it, or replace the section with a stable manual position.
- Wrong-subject switching: The tracker jumps from the presenter to another face or object. Divide the clip and assign a target for each segment.
- Meaningful object loss: The face remains centered while the demonstrated product leaves the frame. Widen or lower the crop, or cut to a dedicated product close-up.
A useful manual fallback is to add position keyframes immediately before the subject starts moving and shortly after the subject stops. Keep the path restrained. The viewer should notice the presentation, not a frame that continually chases it.
Editorial rule: A stable crop is usually preferable to unnecessary tracking. Add motion only when it preserves information or improves the composition.
Step 5 — Prove the reframe with a before-and-after check
Before calling the edit complete, collect evidence from the actual source and export. Do not describe the vertical version as improved merely because an AI preset completed successfully.
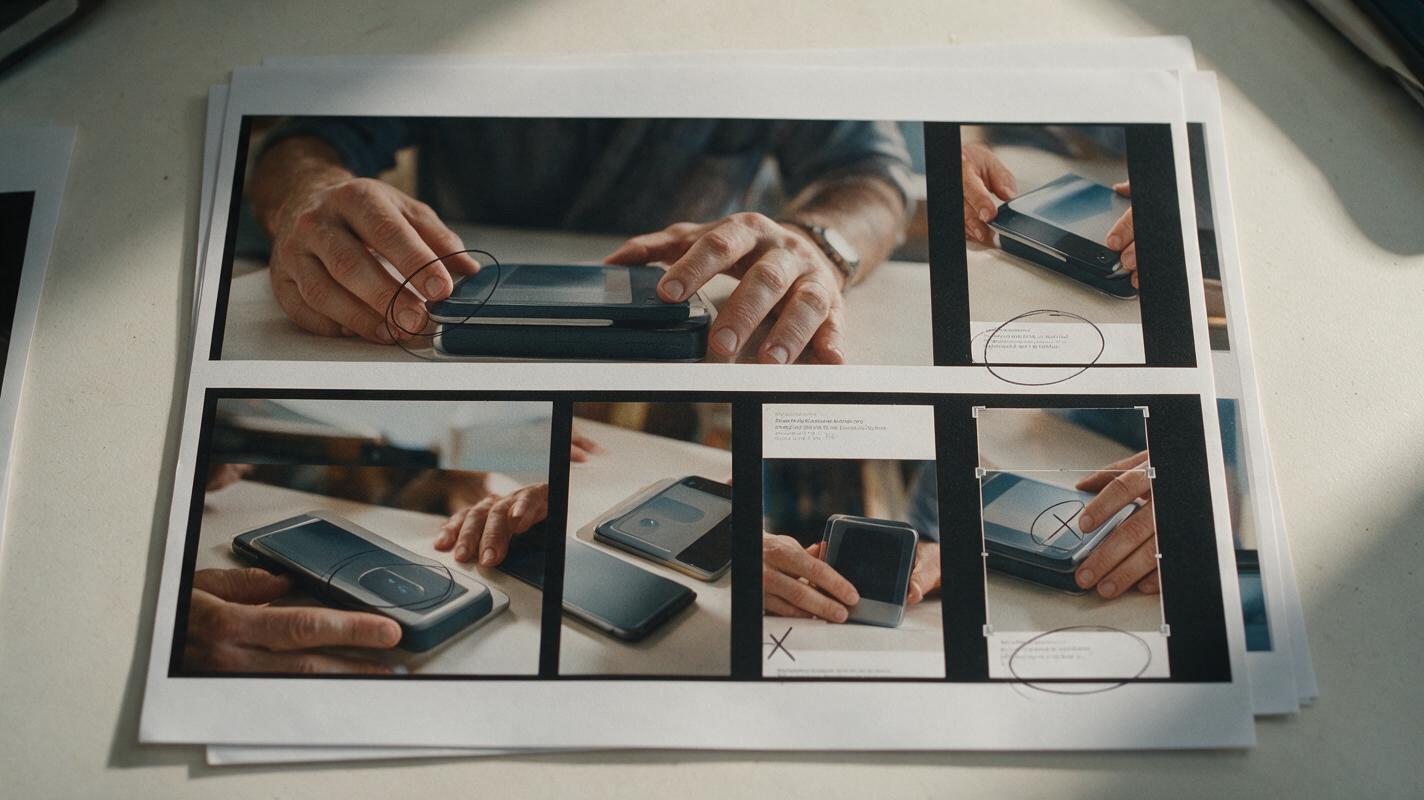
Export matched stills from at least three demanding moments:
- The widest presenter gesture.
- The closest product interaction.
- The slide or scene containing edge-positioned text.
Place the original and reframed stills side by side. Then complete this evidence table with observations from your own files:
| Check | Before: landscape source | After: vertical export | Pass condition |
|---|---|---|---|
| Primary subject | Record location in frame | Record crop and position | Subject remains readable |
| Hands or product | Record full visible area | Note any clipping | Story-critical action is retained |
| On-screen text | List visible labels | List missing or rebuilt labels | Required wording remains legible |
| Tracking motion | Not applicable | Note jumps or lag | No distracting correction is visible |
| Image defects | Note noise or softness | Check whether crop magnifies it | No newly distracting defect |
This is a repeatable before-and-after test rather than an invented quality claim. Save the comparison stills with the project so another editor can verify the decisions.
Step 6 — Apply enhancement only where the crop reveals a problem
A tighter crop can make existing noise, compression artifacts, or softness easier to notice. Inspect the final crop at its intended viewing size before deciding to enhance videos with AI.
If noise is the specific issue, test a short section with conservative denoising. Compare moving details such as hair, fabric, fingers, and product edges. Excessive processing can remove real texture or produce unstable detail between frames.
Use this compact test configuration as a decision record:
Test segment: 5 to 10 seconds with motion
Problem observed: noise / softness / compression / none
Processing tested: denoise / upscale / other
Reference: untreated vertical crop
Review points: face, hands, text, edges, frame-to-frame stability
Decision: keep / reduce / reject processing
Process the full video only after the short test solves a visible problem without introducing a more distracting one. Reframing should remain the main task; enhancement is optional and evidence-led.
FAQ
Can AI automatically convert every landscape video to vertical?
It can automate an initial crop and tracking pass, but results still need review. Multi-person scenes, slides, rapid movement, and demonstrations with important hand activity often require manual shot-level decisions.
Should the speaker always stay in the center?
No. Centering can work for a direct-to-camera introduction, but the composition should move when another element becomes essential. Leave deliberate room for gestures, products, captions, or graphics.
Is video reframing the same as using an AI video enhancer?
No. Reframing changes composition and aspect ratio. Enhancement addresses a visible image problem such as noise or insufficient detail. One does not automatically require the other.
What should I do when a slide cannot fit in 9:16?
Avoid squeezing unreadable content into the frame. Rebuild the slide for vertical viewing, divide it into several scenes, or show the full slide inside a designed vertical background and emphasize details with close-ups.
Final checklist
- Duplicate and preserve the original landscape edit.
- Mark every change in the story's visual subject.
- Create the vertical canvas before setting tracking targets.
- Keep faces, gestures, products, and required text inside the composition.
- Correct tracking separately around cuts and subject changes.
- Compare matched before-and-after stills from difficult moments.
- Use denoise or upscale processing only for an observed problem.
- Review the final export at normal speed before publishing.
Keywords
video reframe, ai video tools, video to video ai, ai video enhancer, denoise video, ai video presets, make videos in one click
Decision: PUBLISH — The article addresses a concrete vertical-reframing task with a verifiable review workflow and avoids unsupported claims about MagicBoat features.