Video-to-Video AI: Restyle Property Walkthroughs Without Layout Drift
Learn how to restyle a smartphone property walkthrough with video-to-video AI while protecting room geometry, fixtures, windows, and camera motion. This practical workflow combines conservative generation, locked reference frames, shot-level prompting, and real before-and-after checks.
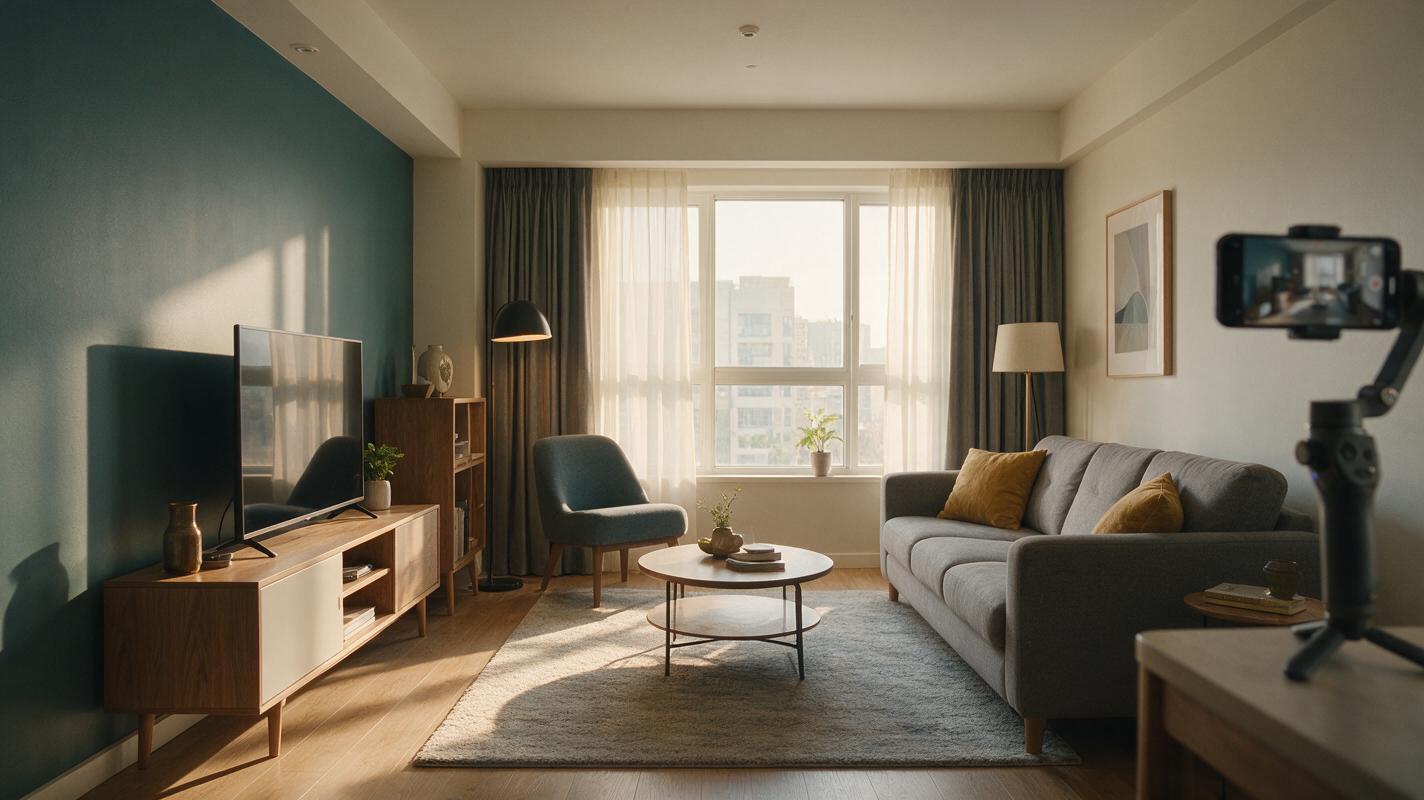
Table of contents
Restyle the atmosphere, not the property
Video-to-video AI can give an ordinary property walkthrough a warmer, more polished atmosphere, but aggressive generation may move windows, replace furniture, bend walls, or invent architectural details. For a credible listing video, the objective is to preserve the recorded property while refining lighting, color, texture, and mood.
This tutorial uses a realistic scenario: turning a slightly cold, flat smartphone walkthrough of a furnished apartment into a warm editorial presentation. It does not attempt to transform daytime footage into a materially different property. Permanent features must remain unchanged, and any substantial visualization should be disclosed to viewers.
Core rule: if a generated change could affect a buyer’s understanding of the property, reject it or identify it clearly as a visualization.
Cover recreation prompt:
Photorealistic editorial photograph of a modern furnished apartment living room during a property video shoot, one smartphone on a compact stabilizer visible at the edge of the frame, warm natural window light, realistic walls and furniture, no people, no logos, no screens, no text, MANDATORY CAMERA: eye-level 24 mm wide-angle view with straight vertical lines, landscape 16:9 composition, believable real-estate photography, restrained colors.Step 1 — Audit the source clip before applying AI
Begin with the highest-quality original file. Messaging-app copies and previously exported social videos contain compression artifacts that can be mistaken for real textures. Video-to-video models may amplify those artifacts into unstable wall patterns or shimmering furniture edges.
Watch the clip once at normal speed and once frame by frame. Mark the following risk areas:
- Structural lines: doorframes, ceiling edges, window borders, tiles, shelves, and countertops.
- Reflective surfaces: mirrors, televisions, glass tables, stainless-steel appliances, and glossy floors.
- Occlusions: moments when furniture, plants, or doors cross one another.
- Exposure changes: transitions between a dark hallway and a bright room.
- Fast turns: whip pans or rapid movements that create motion blur.
Split the walkthrough at doorways, direction changes, and major exposure shifts. Clips of a few seconds are easier to inspect and regenerate than one uninterrupted tour. Keep the source frame rate and resolution consistent across every segment.
Visual recreation prompt:
Photorealistic four-frame contact sheet showing the same furnished apartment walkthrough at successive moments: entrance, doorway transition, living-room reveal, and window-facing finish; identical walls, windows, sofa, rug, lamps, and plant in every frame; no labels, no text, no interface, no logos; MANDATORY LAYOUT: four equal landscape frames arranged left to right inside one 16:9 canvas; MANDATORY CAMERA: eye-level smartphone-wide perspective with stable straight architecture; cinematic editorial realism.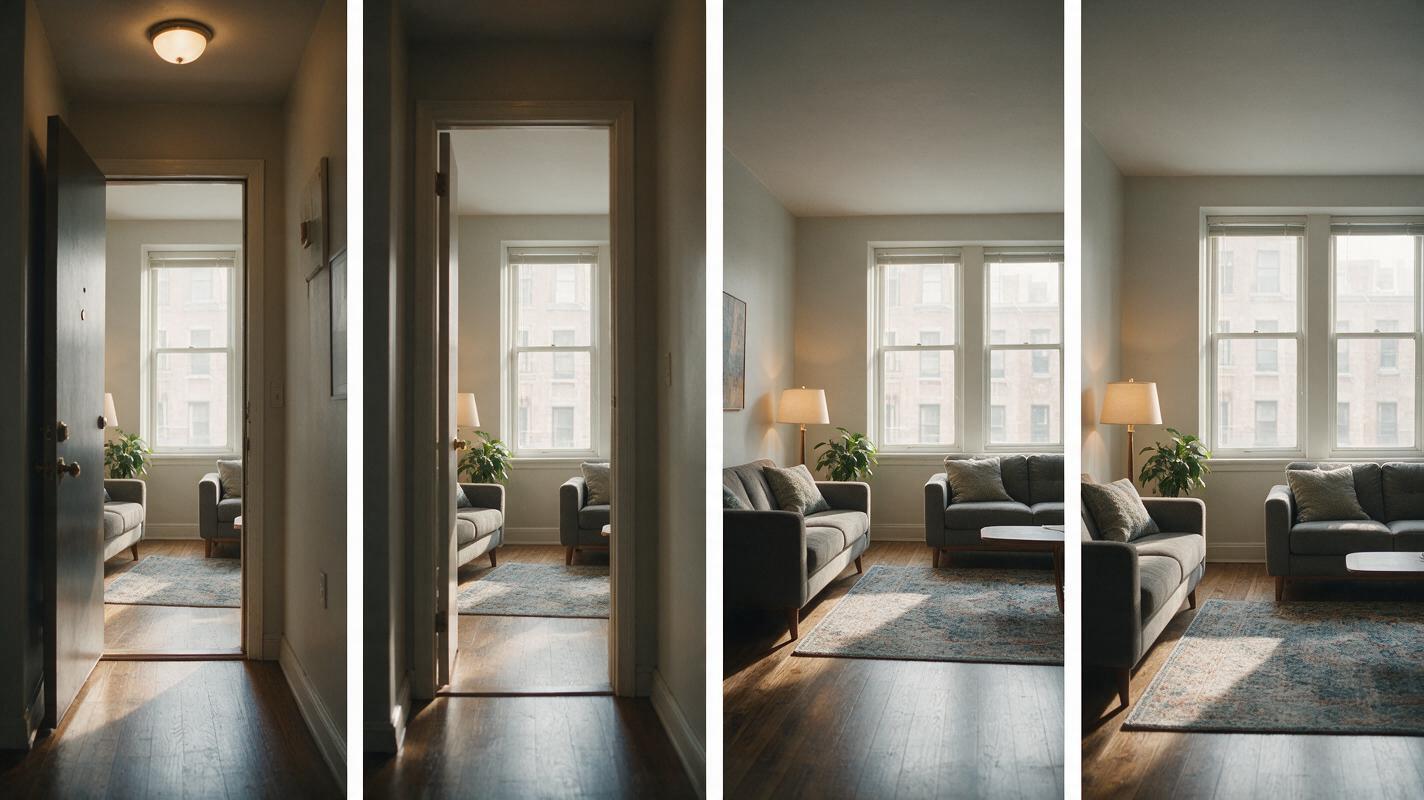
Step 2 — Choose the least destructive transformation route
Not every clip needs full generative restyling. Select the route according to what is wrong with the footage rather than what sounds most advanced.
| Route | Best use | Main risk | Review priority |
|---|---|---|---|
| Conventional color grade | Exposure, white balance, contrast, and saturation | Crushed shadows or clipped windows | Scopes and skin-neutral surfaces |
| Direct video-to-video edit | Controlled atmosphere or surface-level style changes | Geometry and object drift | Architecture and reflections |
| Reference frame plus animation | A short shot with a strong approved hero frame | Motion may differ from the source | Camera path and parallax |
| Selective masked edit | One local region, such as an overexposed window | Visible mask boundaries | Edges across consecutive frames |
Use ordinary color tools first when the required result is achievable without generation. Choose direct video-to-video AI only when the desired atmosphere cannot be created convincingly through grading. If the available model does not accept an existing video, extract an approved reference frame and use an image to video workflow for a very short replacement shot.
Step 3 — Build a locked visual reference
Export a sharp frame from the middle of each shot. This becomes the visual contract for the generated version. It should show the permanent architecture clearly and avoid heavy motion blur.
Create two lists before prompting:
- Allowed changes: warmer white balance, softer highlight roll-off, restrained contrast, subtle evening-inspired ambience, and more cohesive color.
- Locked details: room dimensions, wall positions, windows, doors, built-in fixtures, furniture count, upholstery color, floor pattern, artwork, and exterior view.
Where supported, provide the exported frame as a visual reference. A multi-model workspace is useful because different models interpret preservation language differently. MagicBoat’s ai video generator provides one place to explore available generation routes, but direct video editing depends on the selected model. When that mode is unavailable, use the locked frame as the input and generate only a short, low-motion shot.
Visual recreation prompt:
Photorealistic split comparison of one furnished apartment living room, left half with flat cool smartphone lighting and right half with restrained warm editorial lighting; absolutely identical wall geometry, window size, sofa, rug, table, lamp, plant, floorboards, artwork, and exterior view on both halves; no text, no divider labels, no logos, no UI; MANDATORY CAMERA: locked eye-level 24 mm view from the doorway, straight vertical lines; MANDATORY LAYOUT: symmetrical side-by-side comparison in landscape 16:9.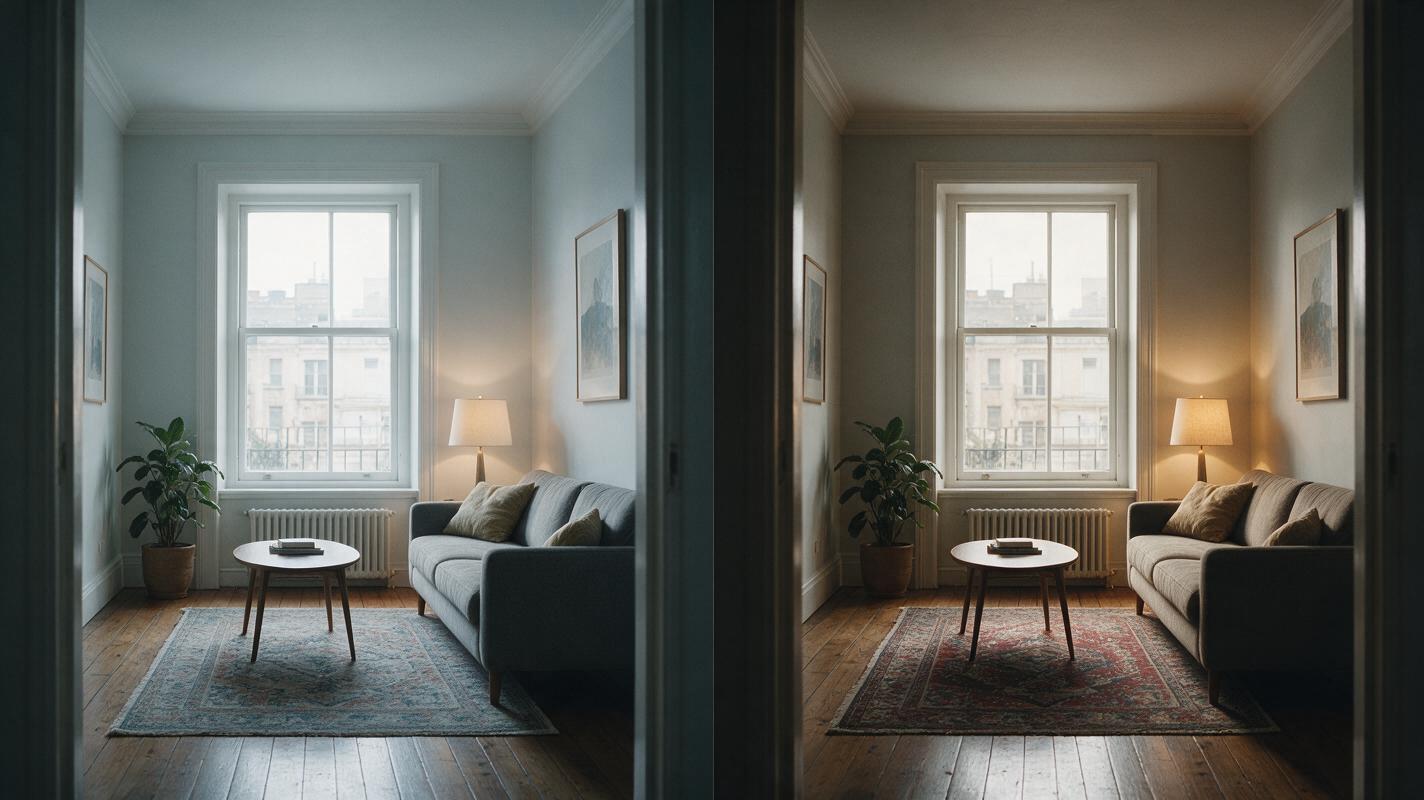
Step 4 — Prompt for preservation before style
A useful property prompt describes what must remain fixed before it describes the new mood. Avoid vague instructions such as “make this luxury.” They encourage the model to replace ordinary objects and redesign the room.
Use a prompt like this for a warm editorial pass:
Preserve the exact apartment shown in the source video. Keep the original room dimensions, wall and ceiling positions, windows, doors, floorboards, built-in fixtures, furniture, artwork, textiles, plant, and exterior view unchanged. Preserve the original camera path, timing, and natural parallax. Apply only a restrained warm editorial color treatment: neutral white walls, gentle warm practical-light ambience, controlled window highlights, realistic material texture, moderate contrast, and natural shadows. No redesign, no new furniture, no removed objects, no altered architecture, no moving decor, no artificial sunbeams, no text, no people, no logos. Photorealistic property-video finish.For models with a separate negative-prompt field, use:
warped walls, curved doorframes, changing windows, duplicated furniture, missing fixtures, moving artwork, flickering floor texture, unstable reflections, invented rooms, altered exterior view, excessive HDR, oversaturated orange lighting, artificial blur, text, watermarkGenerate the shortest useful duration first. Conservative style strength and restrained motion usually make evaluation easier, although control names and ranges vary by tool. Change only one setting between candidates so you can identify what caused an improvement or failure.
Step 5 — Repair transitions without hiding structural errors
Doorway transitions are frequent failure points because multiple planes overlap while the camera moves. If a generated doorway bends or changes width, do not conceal the problem with motion blur. Regenerate that short section or retain the original footage.
A practical edit can combine original and generated material:
- Keep the original frames during the fastest camera turn.
- Cut to the generated treatment after the camera settles.
- Match exposure and color on both sides of the edit.
- Use a short dissolve only if corresponding edges remain aligned.
If the delivery format is vertical, complete the visual treatment before using video reframe. Reframing first can remove structural references at the sides of the image, making geometry errors harder to recognize. Keep a wide master for verification and produce social crops from the approved edit.
Step 6 — Capture real before-and-after evidence
Do not judge the result from a single attractive frame. Export matched frames from the original and candidate at the same timestamps. Also compare both clips in motion at full size.
| Evidence check | What to compare | Reject when |
|---|---|---|
| Opening frame | Door, walls, furniture count, floor pattern | Any permanent feature moves or changes |
| Mid-pan frame | Vertical edges and object overlap | Lines bend or objects merge |
| Window frame | Window divisions and exterior view | The view or window structure is invented |
| End frame | Fixture positions and room proportions | The apparent room dimensions change |
| Playback loop | Texture, reflections, shadows, and exposure | Details pulse, crawl, or flicker |
Record observations rather than assigning unsupported quality scores. A useful review note is specific: “The left doorframe remains straight, but the rug pattern flickers from 2.1 to 2.8 seconds.” That note tells you whether to mask, regenerate, or restore the source segment.
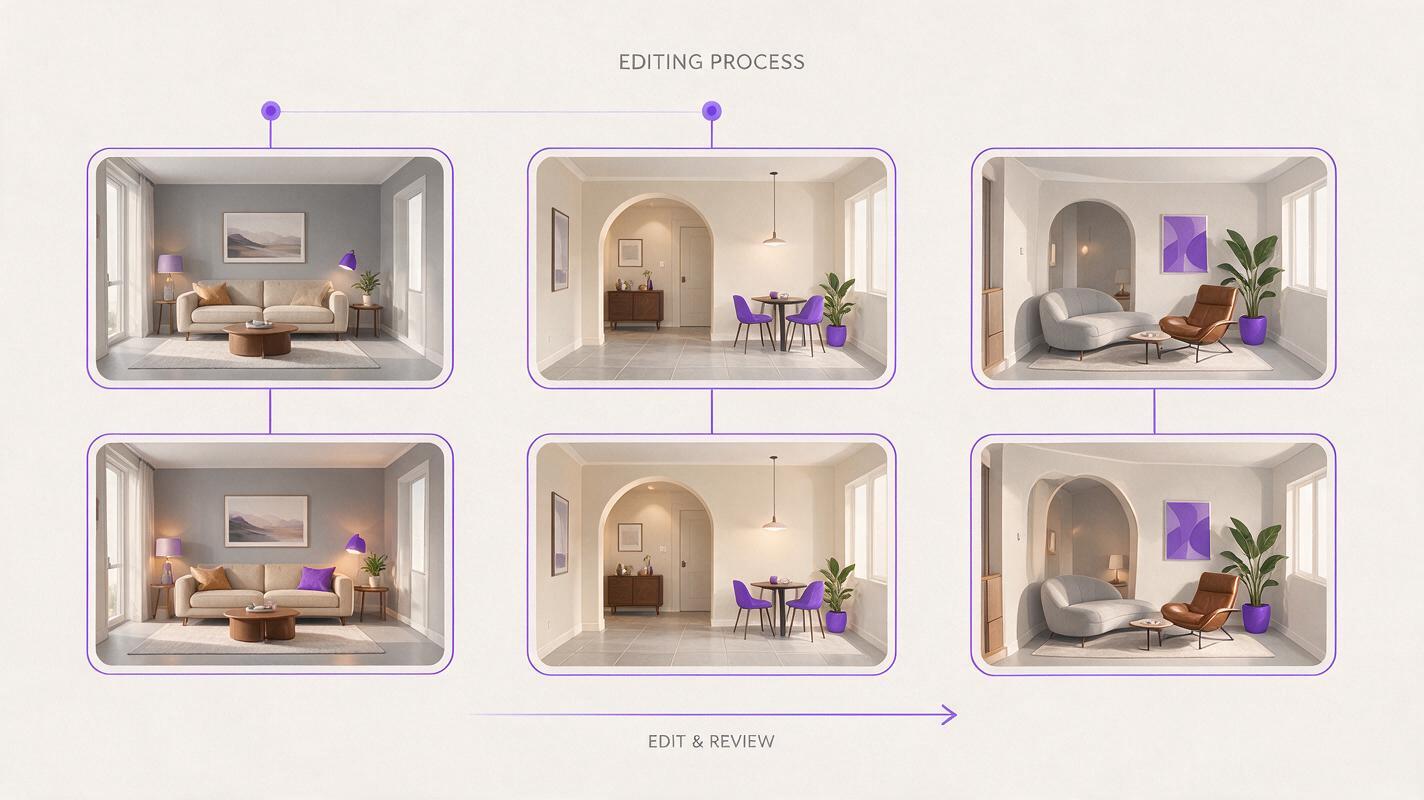
Visual recreation prompt:
Neutral editorial process diagram made from six realistic apartment video frames with no words: three source frames across the top and three precisely time-matched warm-restyled candidates below, thin simple connector lines between matching frames, identical architecture and furniture in every pair, one lower frame subtly showing a bent doorway as a failure example; no interface, no logos, no labels, no text; MANDATORY LAYOUT: clean two-row three-column grid on a light neutral background, landscape 16:9.Step 7 — Apply finishing only after structural approval
Enhancement cannot rescue an architecturally incorrect generation. Approve geometry first, then make modest finishing adjustments. Useful operations can include gentle temporal denoising, exposure matching between shots, restrained sharpening, and a final resolution pass when the output genuinely needs it.
An AI video enhancer should not be used to manufacture hard edges around windows or furniture. Inspect the export at 100 percent for halos, waxy surfaces, shimmering floorboards, and unstable foliage outside windows. Compare the enhanced version against the approved generated master, not only against the softer phone source.
Save the approved prompt, reference frame, aspect ratio, and finishing choices as reusable ai video presets for later rooms. Keep room-specific locked details separate; copying a living-room object list into a bedroom prompt can cause unwanted additions.
When you are ready to compare generation routes for a short test shot, try these models for free using one locked reference frame and the preservation-first prompt above.
FAQ
Can video-to-video AI change daytime footage into twilight?
It can create a twilight-inspired visual treatment, but major exterior and lighting changes increase the risk of misrepresentation and temporal artifacts. For property marketing, preserve the real exterior view and disclose material visualization.
Should I denoise the source before generation?
Only when noise is severe enough to confuse the model. Use a conservative pass and retain texture. Heavy denoising can erase material detail and produce waxy walls or furniture.
Why does furniture change during a camera pan?
Motion blur, occlusion, and weak reference control can leave the model uncertain about object identity. Shorter shots, clearer reference frames, lower transformation strength, and explicit locked-detail language can reduce the problem.
Is a generated property walkthrough suitable for a listing?
That depends on local advertising rules and the nature of the edit. Do not alter permanent features or conceal defects. Label substantial virtual staging or visualization clearly and retain the original footage for review.
Sources
Final checklist
- Use the original source file and divide it at movement or exposure changes.
- Lock architecture, fixtures, furniture, floor patterns, and exterior views.
- Request atmosphere and color changes without redesigning the room.
- Test short segments before processing an entire walkthrough.
- Compare matched before-and-after frames and full-motion playback.
- Reject geometry drift rather than hiding it with blur or enhancement.
- Disclose material visualization in property marketing.
Keywords
video to video ai, ai video tools, enhance videos with ai, ai video enhancer, video reframe, ai video presets